CS 194 Project 5: [Auto]Stitching Photo Mosaics
Richard Chen
In this project, we use homographies to stitch together images in a mosaic. This can be done by hand picking some correspondences between multiple pictures. My results for image rectification are shown below.
Part 1: Image Warping and Mosaicing
Original Image
Reference Image
Rectified Image
Original Image
Reference Image
Rectified Image
The rectification is actually not too bad. It clips some of the information on the sides and extends the last pixel where it is clipped. This is because some of the newly calculated points are too negative or much larger than the original image.
Mosaicing
Now that we're able to warp images according to a homography matrix, we can blend together several images with hand picked correspondences to make some good looking matrices.
Image 1
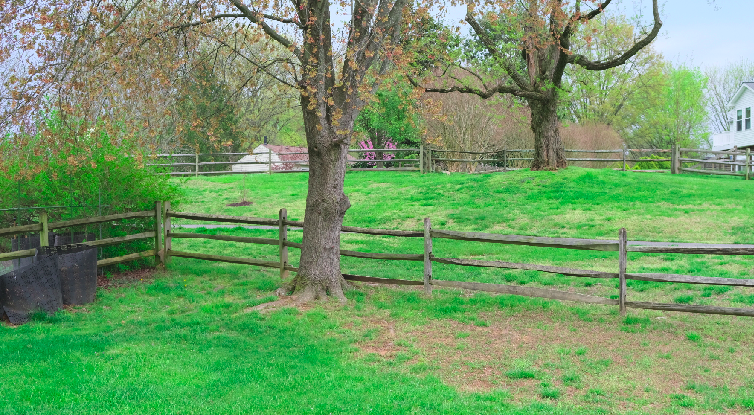
Image 2
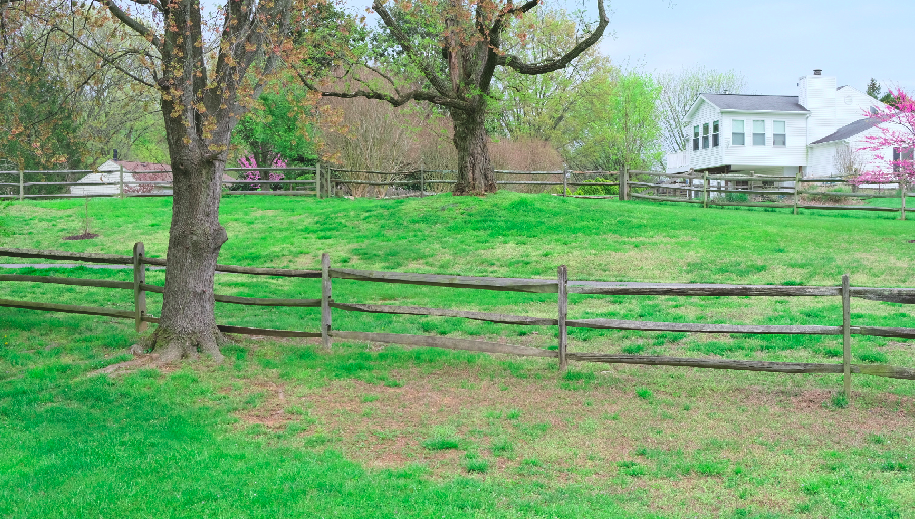
Image 3
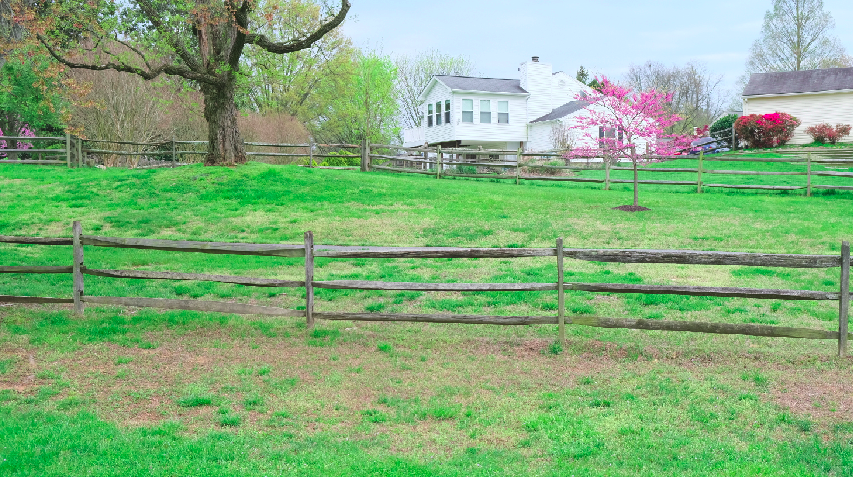
Mosaiced image
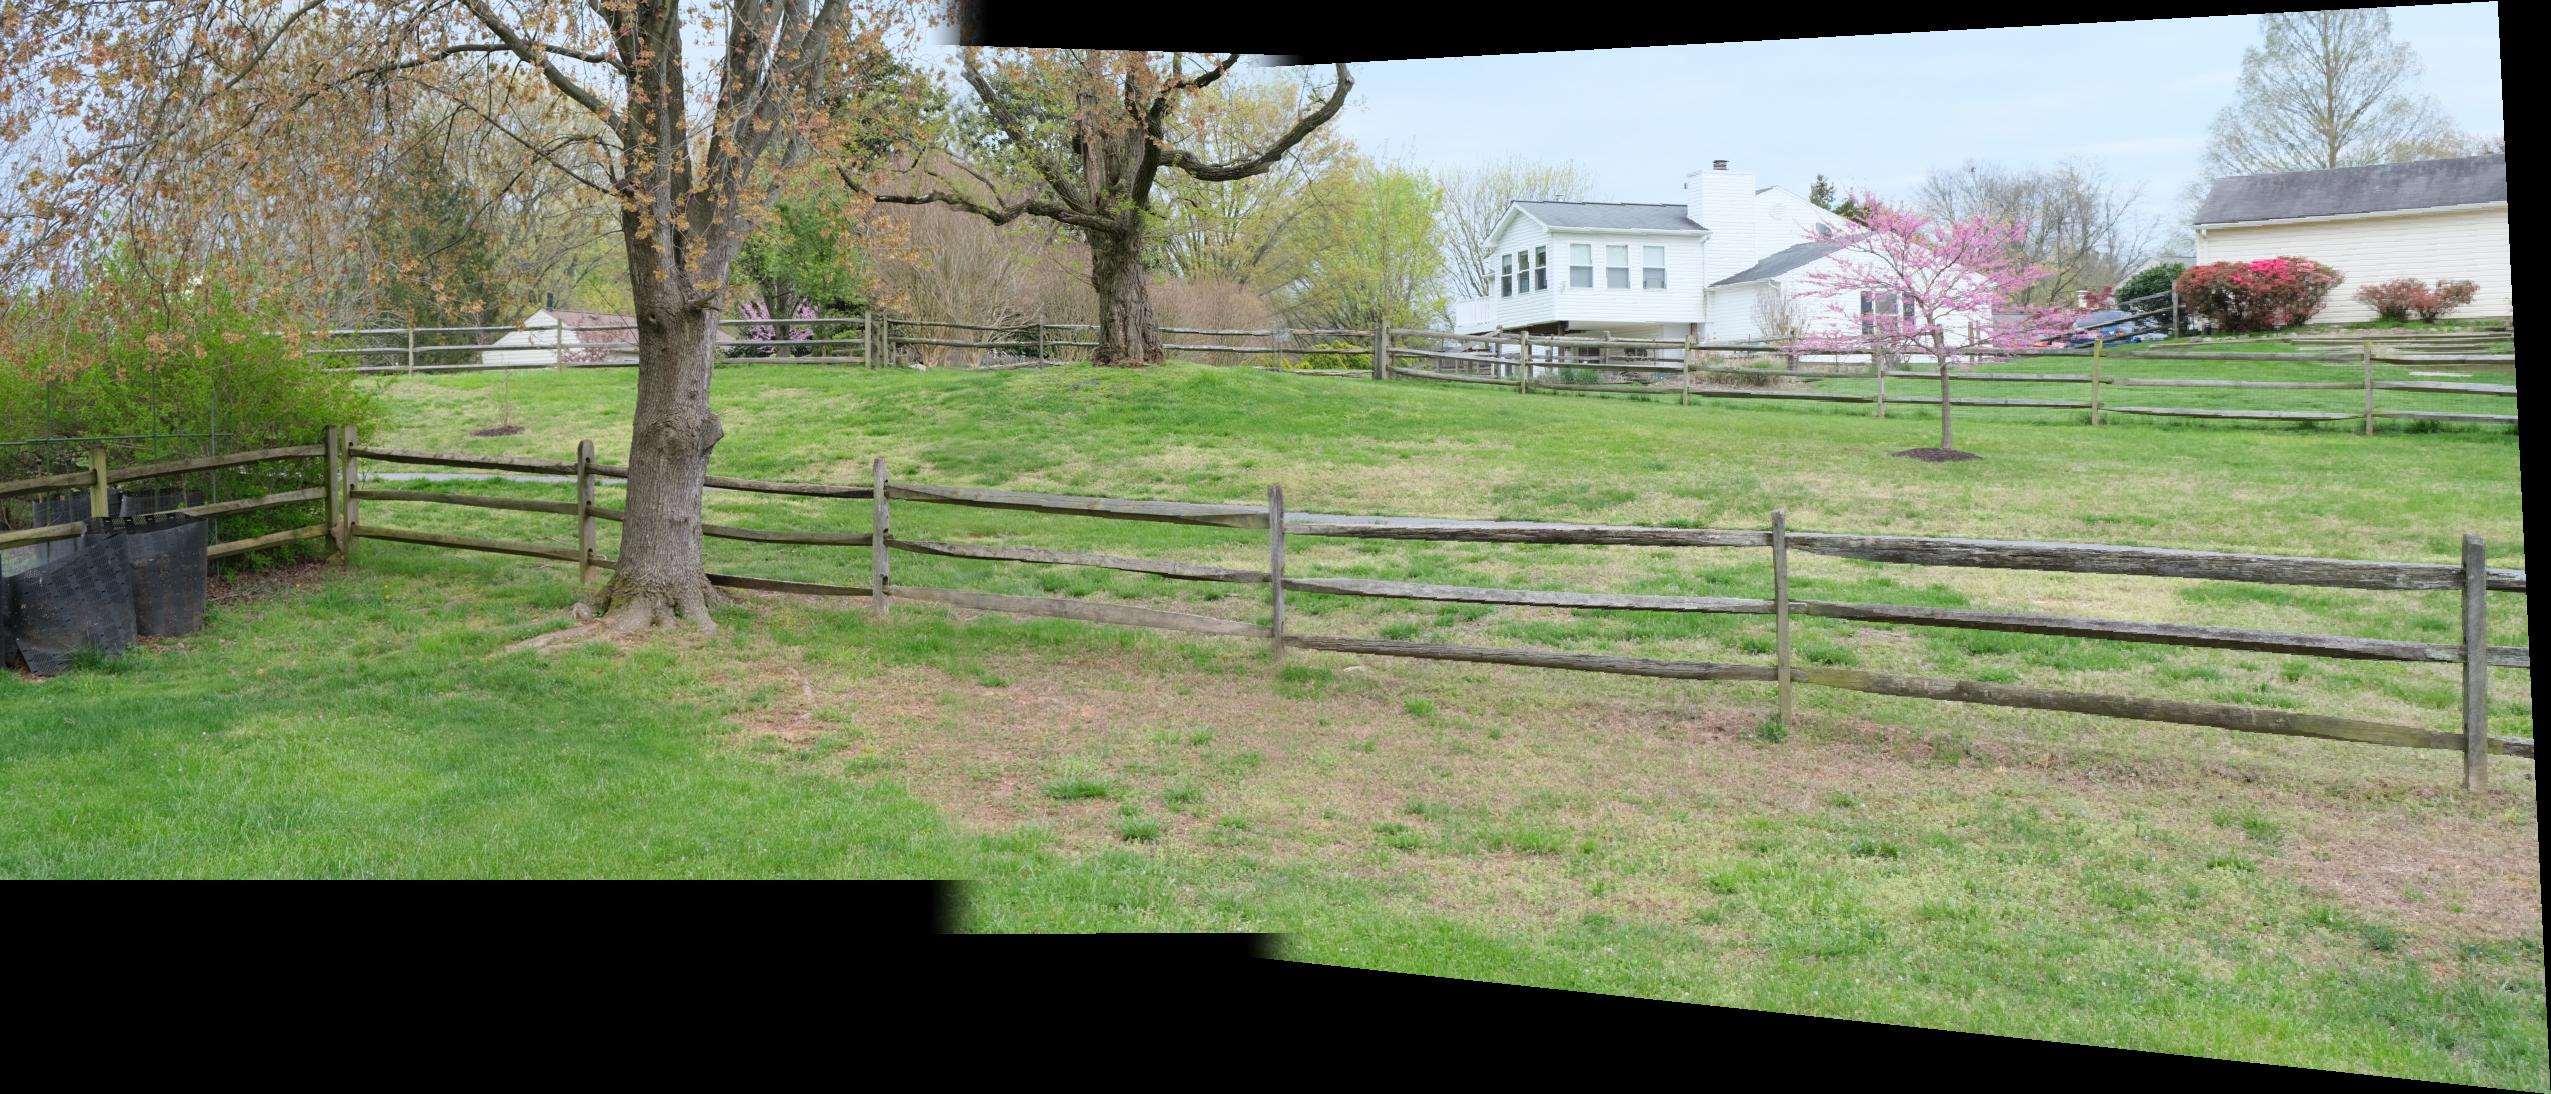
The blending wasn't very hard to do. I just did a cross fade between the multiple images. I computed homographies of images 2 and 3 with relation to image 1 and then blended them together. Doesn't look half bad!
Part 2: Feature matching for autostitching.
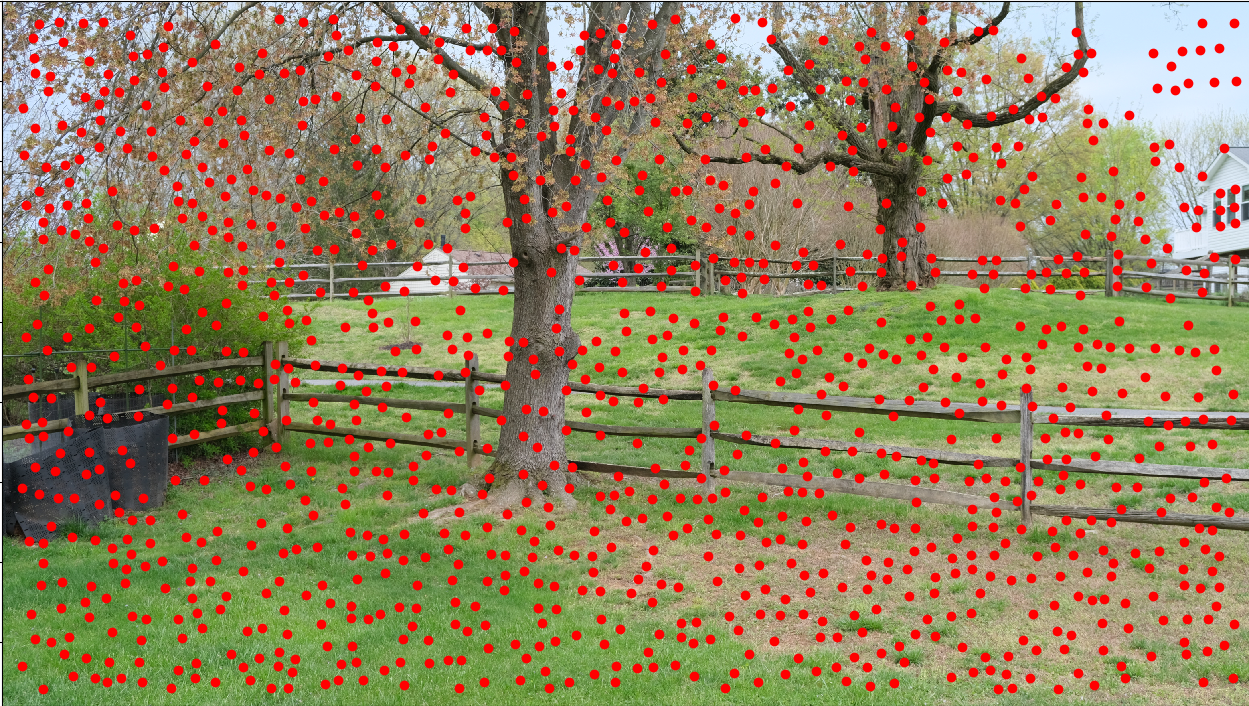
Harris Point Detector
This part isn't too hard because the code was provided for us. Let's take a look at what it looks like initially.
Harris points
There are way too many harris points right now, so we want to prune it down to some more interesting harris points. I implemented the ANMS algorithm in order to select the "cornierist corners". Let's look at the top 250!
ANMS
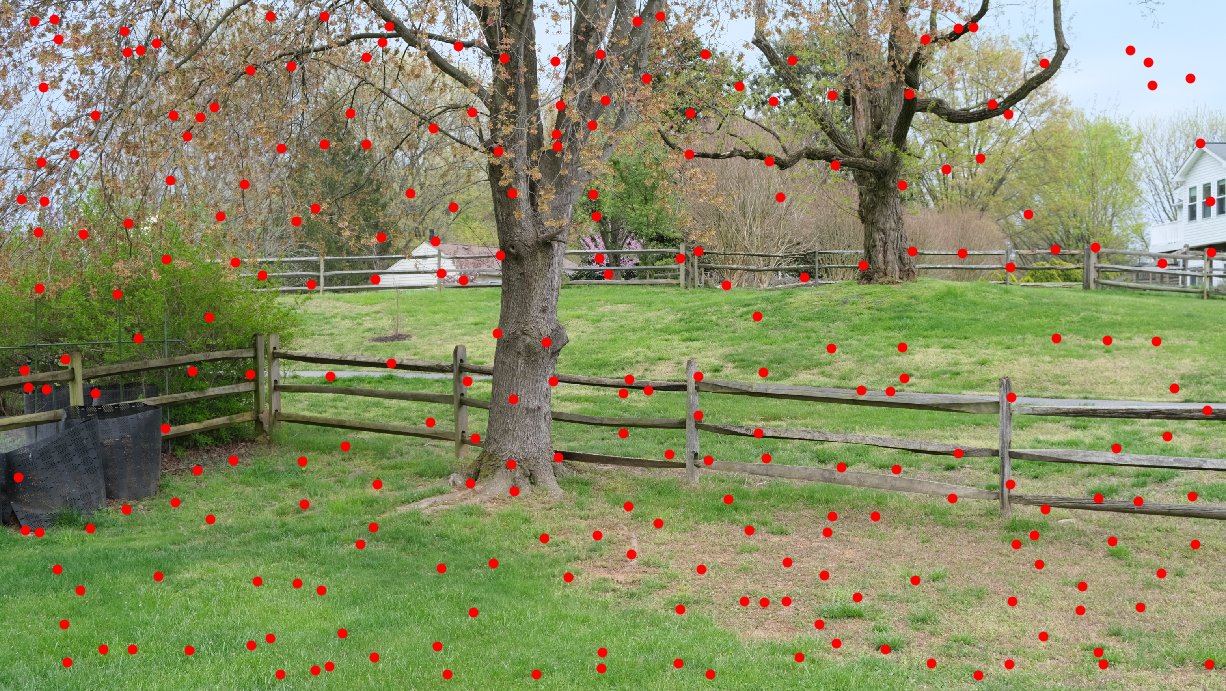
Hey, doesn't look too bad. It's seemed to have taken some pretty good points in the picture. Next I implemented the feature extraction. This part wasn't too hard. All one has to do is choose a 40x40 patch around the chosen points from ANMS. After this, you can downsample to make it an 8x8 patch instead and then normalize using the patches mean and standard deviation. This can let us compare patches to each other and see what they look like. The basic idea behind downsampling is to remove high frequency noise so we can look at defining characteristics of each patch. I'm honestly surprised this can be done with such a simple idea.
Feature matching
Now that we've extracted features from each image, we can match features to each other by looking at what the ratio of their 1-nn/2-nn is. The idea is if two points really do match each other, their L1 distance should be very small while their L1 distance to any other point must be pretty high. This takes some fine-tuning, and I ended up going with a value of 0.6 as a threshold.
Selected points from img1

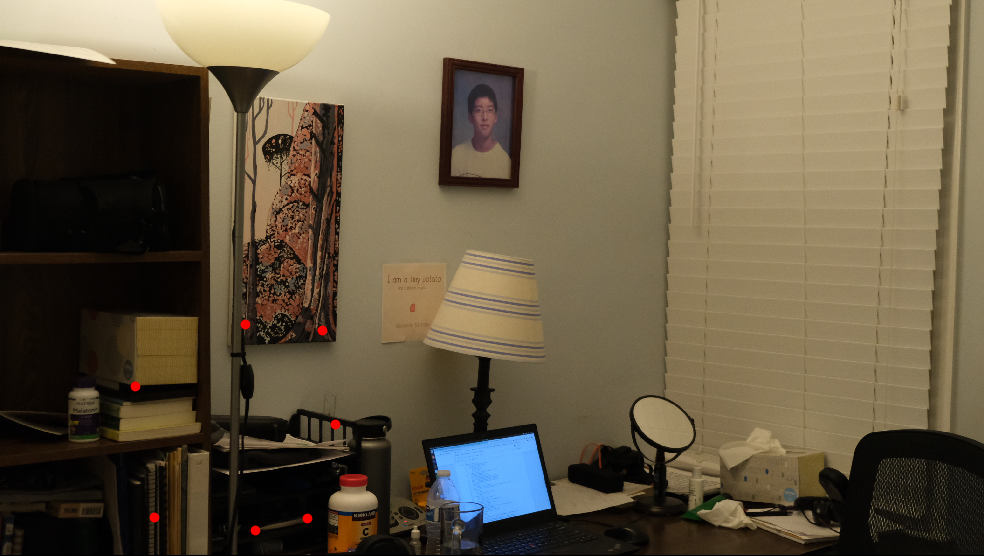
Matching points from img2
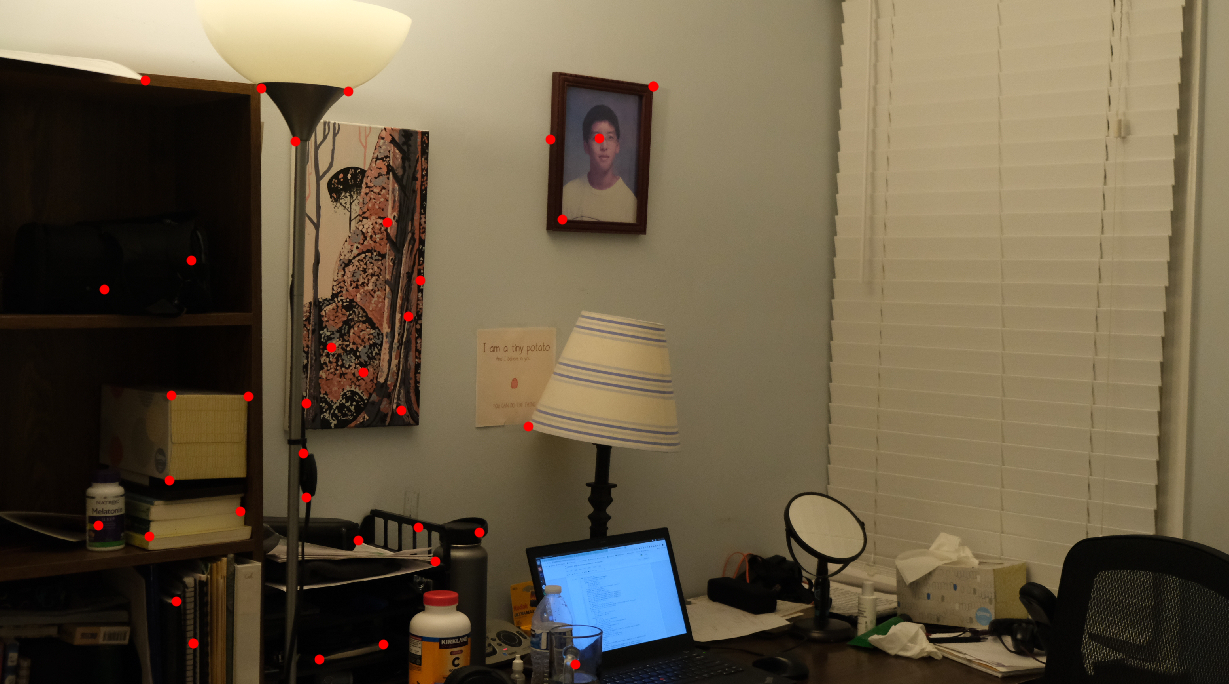
This looks like the feature matching did a relatively good job. Almost all of the matches look correct. However we do notice there are some mistakes after the feature selection. One example is the series of points along the bottom left of the pictures. In the first image, there are 3 points snaking vertically along the books on the bottom shelf. In the second picture, there are only 2 points. Those do not match! We need to fix this, and RANSAC can come to the rescue.
RANSAC
The basic idea behind RANSAC is we can randomly sample some points from one image and the corresponding points in the second image. We compute the homogrpahy, and then warp our points in image 1 and see how close they are in value to the actual points in image 2. If the points are true matches, the error should be very small when we look at the difference between our transformed points, and the actual points. I repeat this process 100 times to ensure I get a good homography matrix and good set of matching points out of it. I compute the ssd and chose a threshold of 0.6 to choose my wanted matched points, and then compute a homography from this set of points.
RANSAC image 1
RANSAC image 2
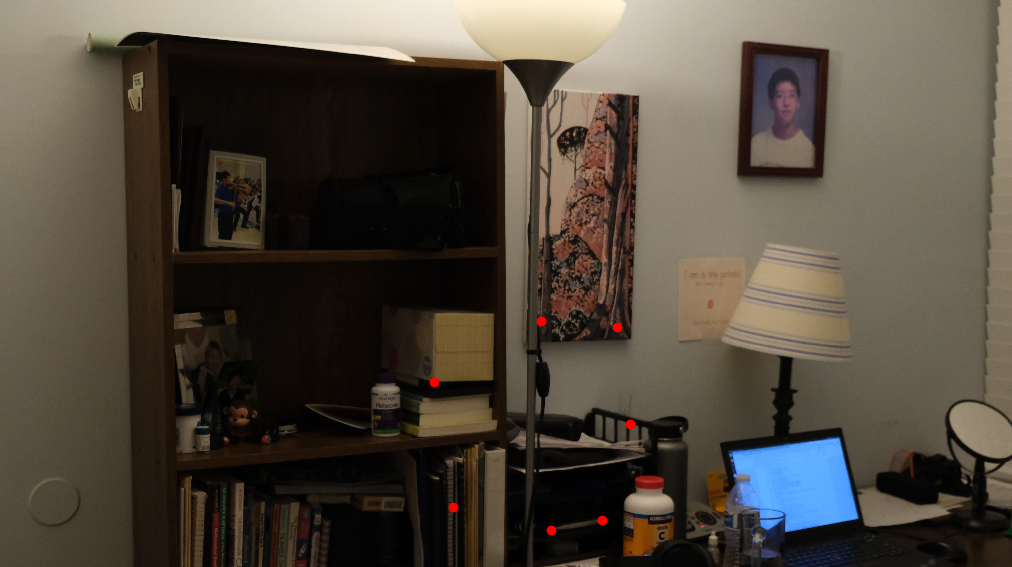
We can see all 7 points selected are correct.