In this project, I used projective transforms to warp images and create mosaics. To start, I took several image pairs with my smartphone camera and annotated them with common feature points.

To warp one image to align with another, we need to be able to compute homographies between point feature sets. Given nx2 points p and p', we want to find a 3x3 matrix H such that p' = H p. Since we don't care about scaling, we can constrain the bottom right entry of H to be 1, which means our perpspective transform H has 8 degrees of freedom. Since each point correspondence gives us two equations in our system of equations, we need at least four correspondences. We collect more than this so to make our calculation more robust to noise and solve via least squares.
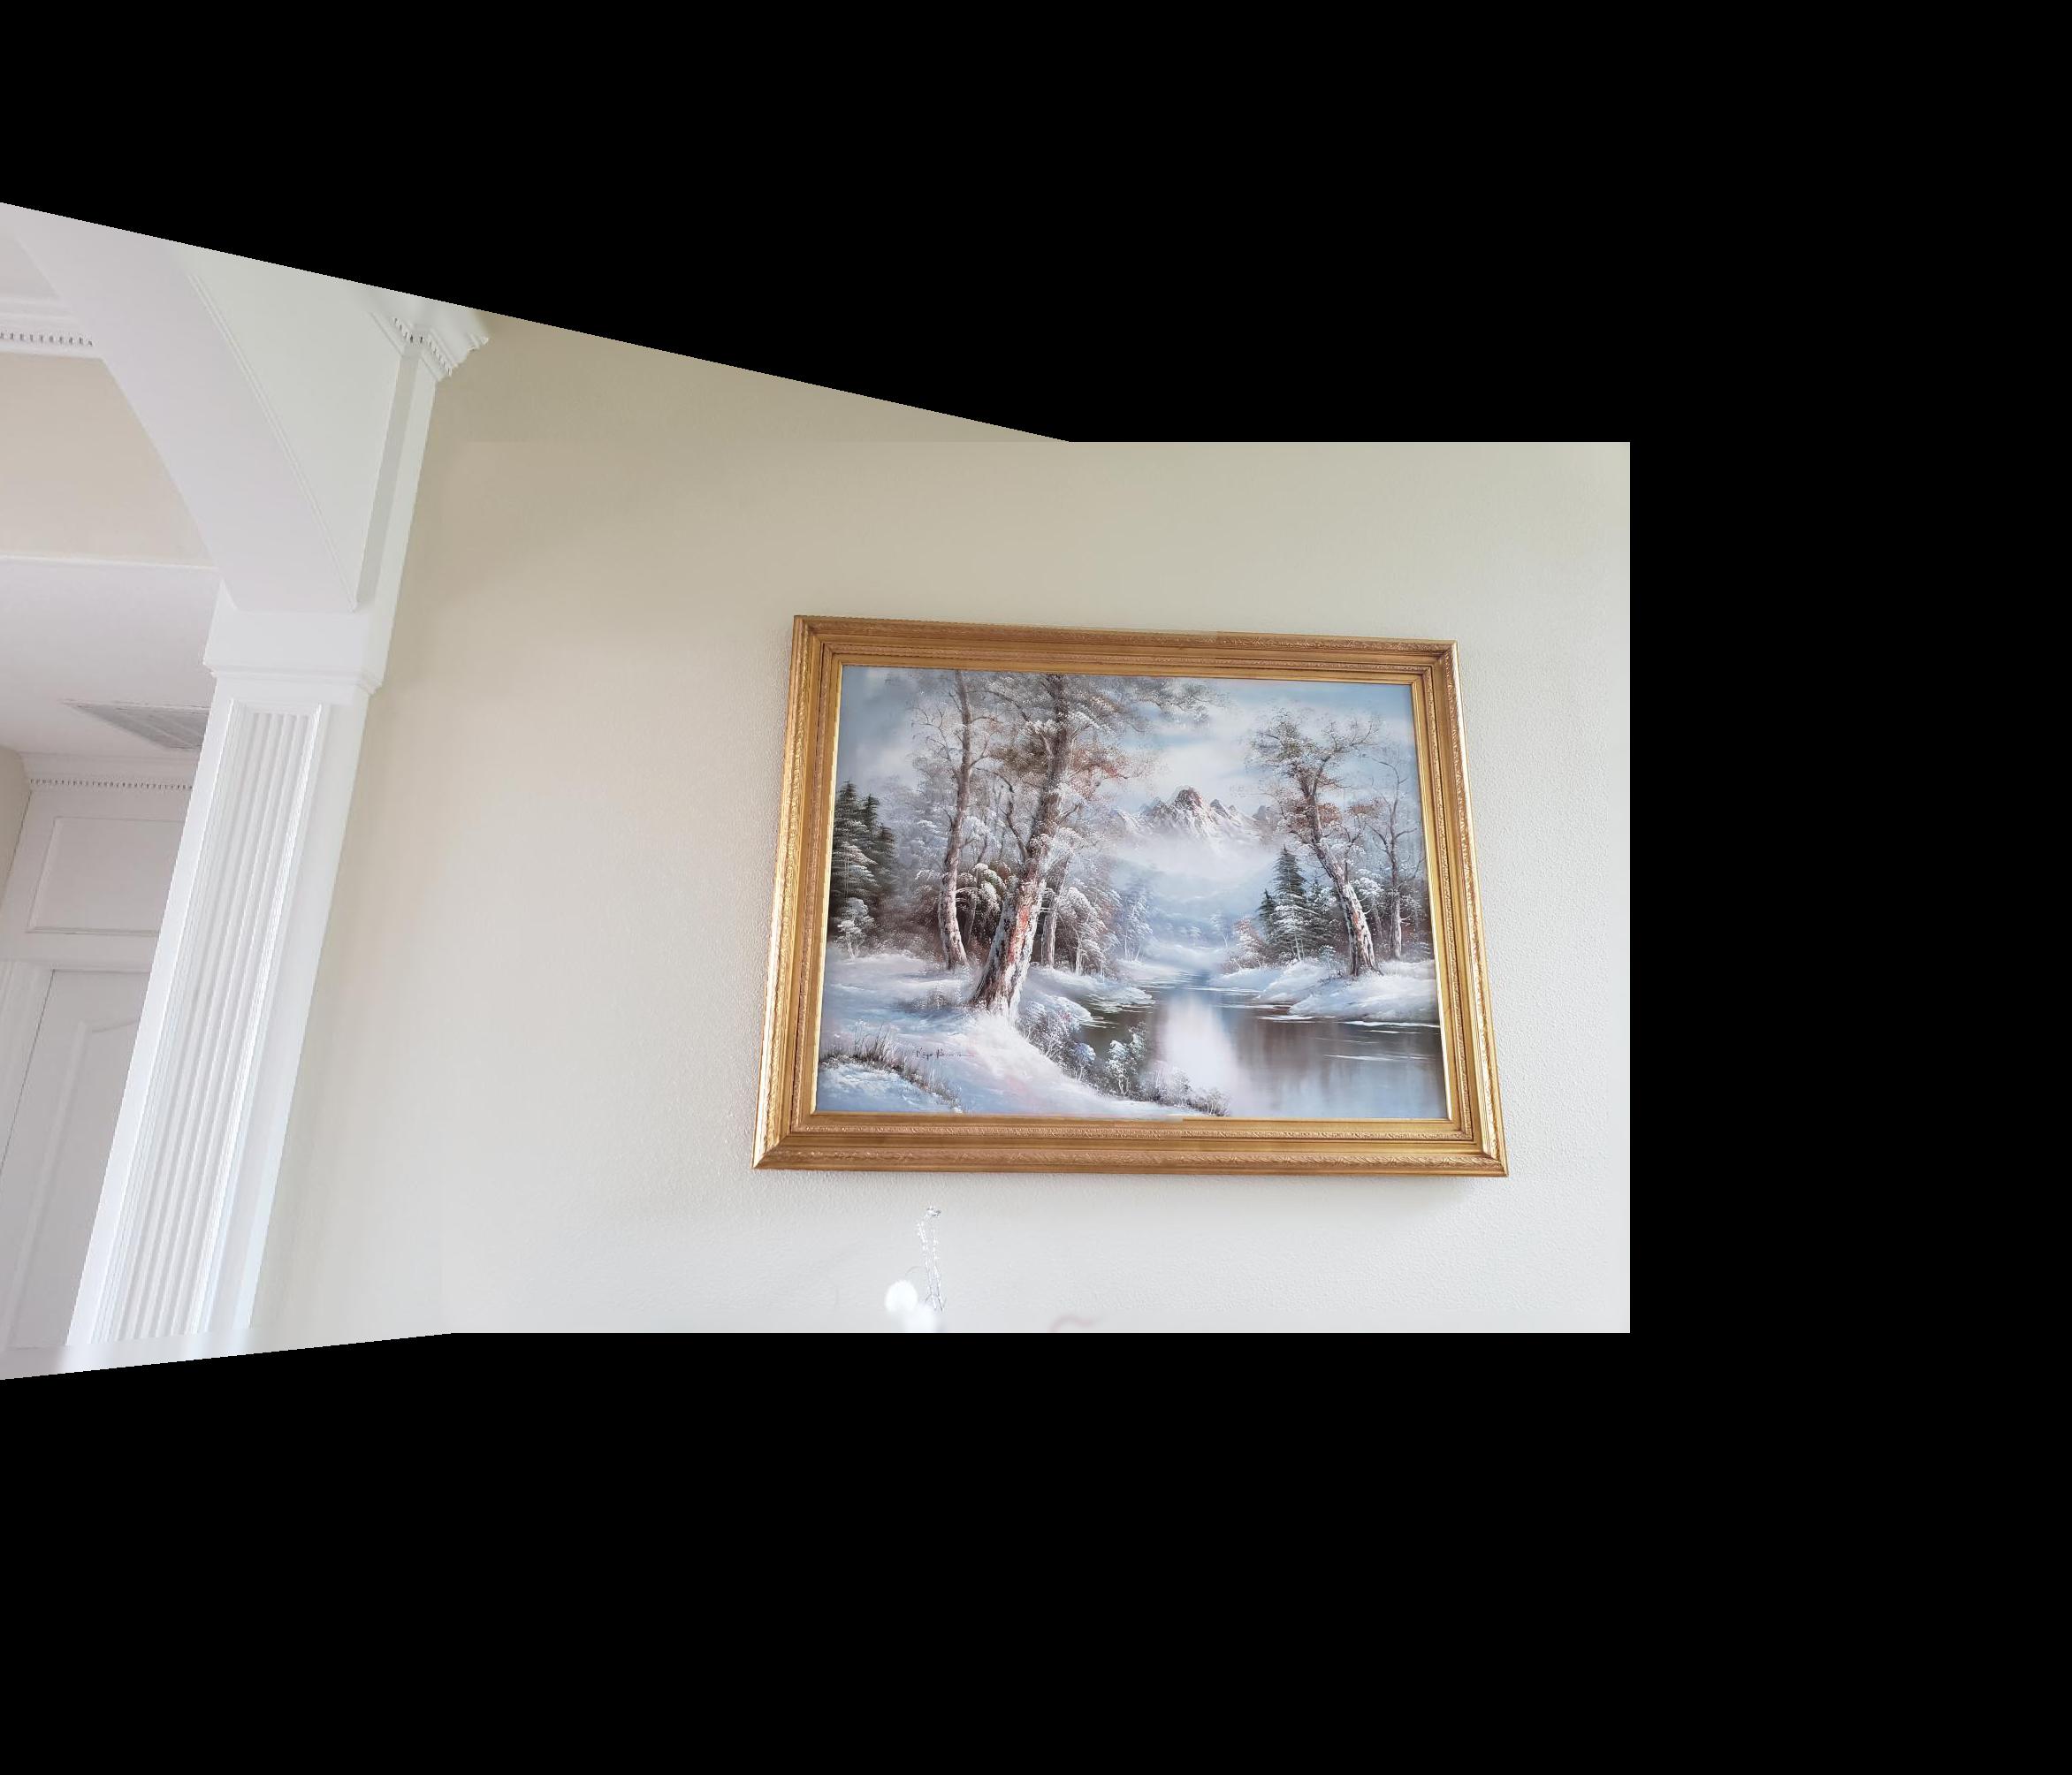
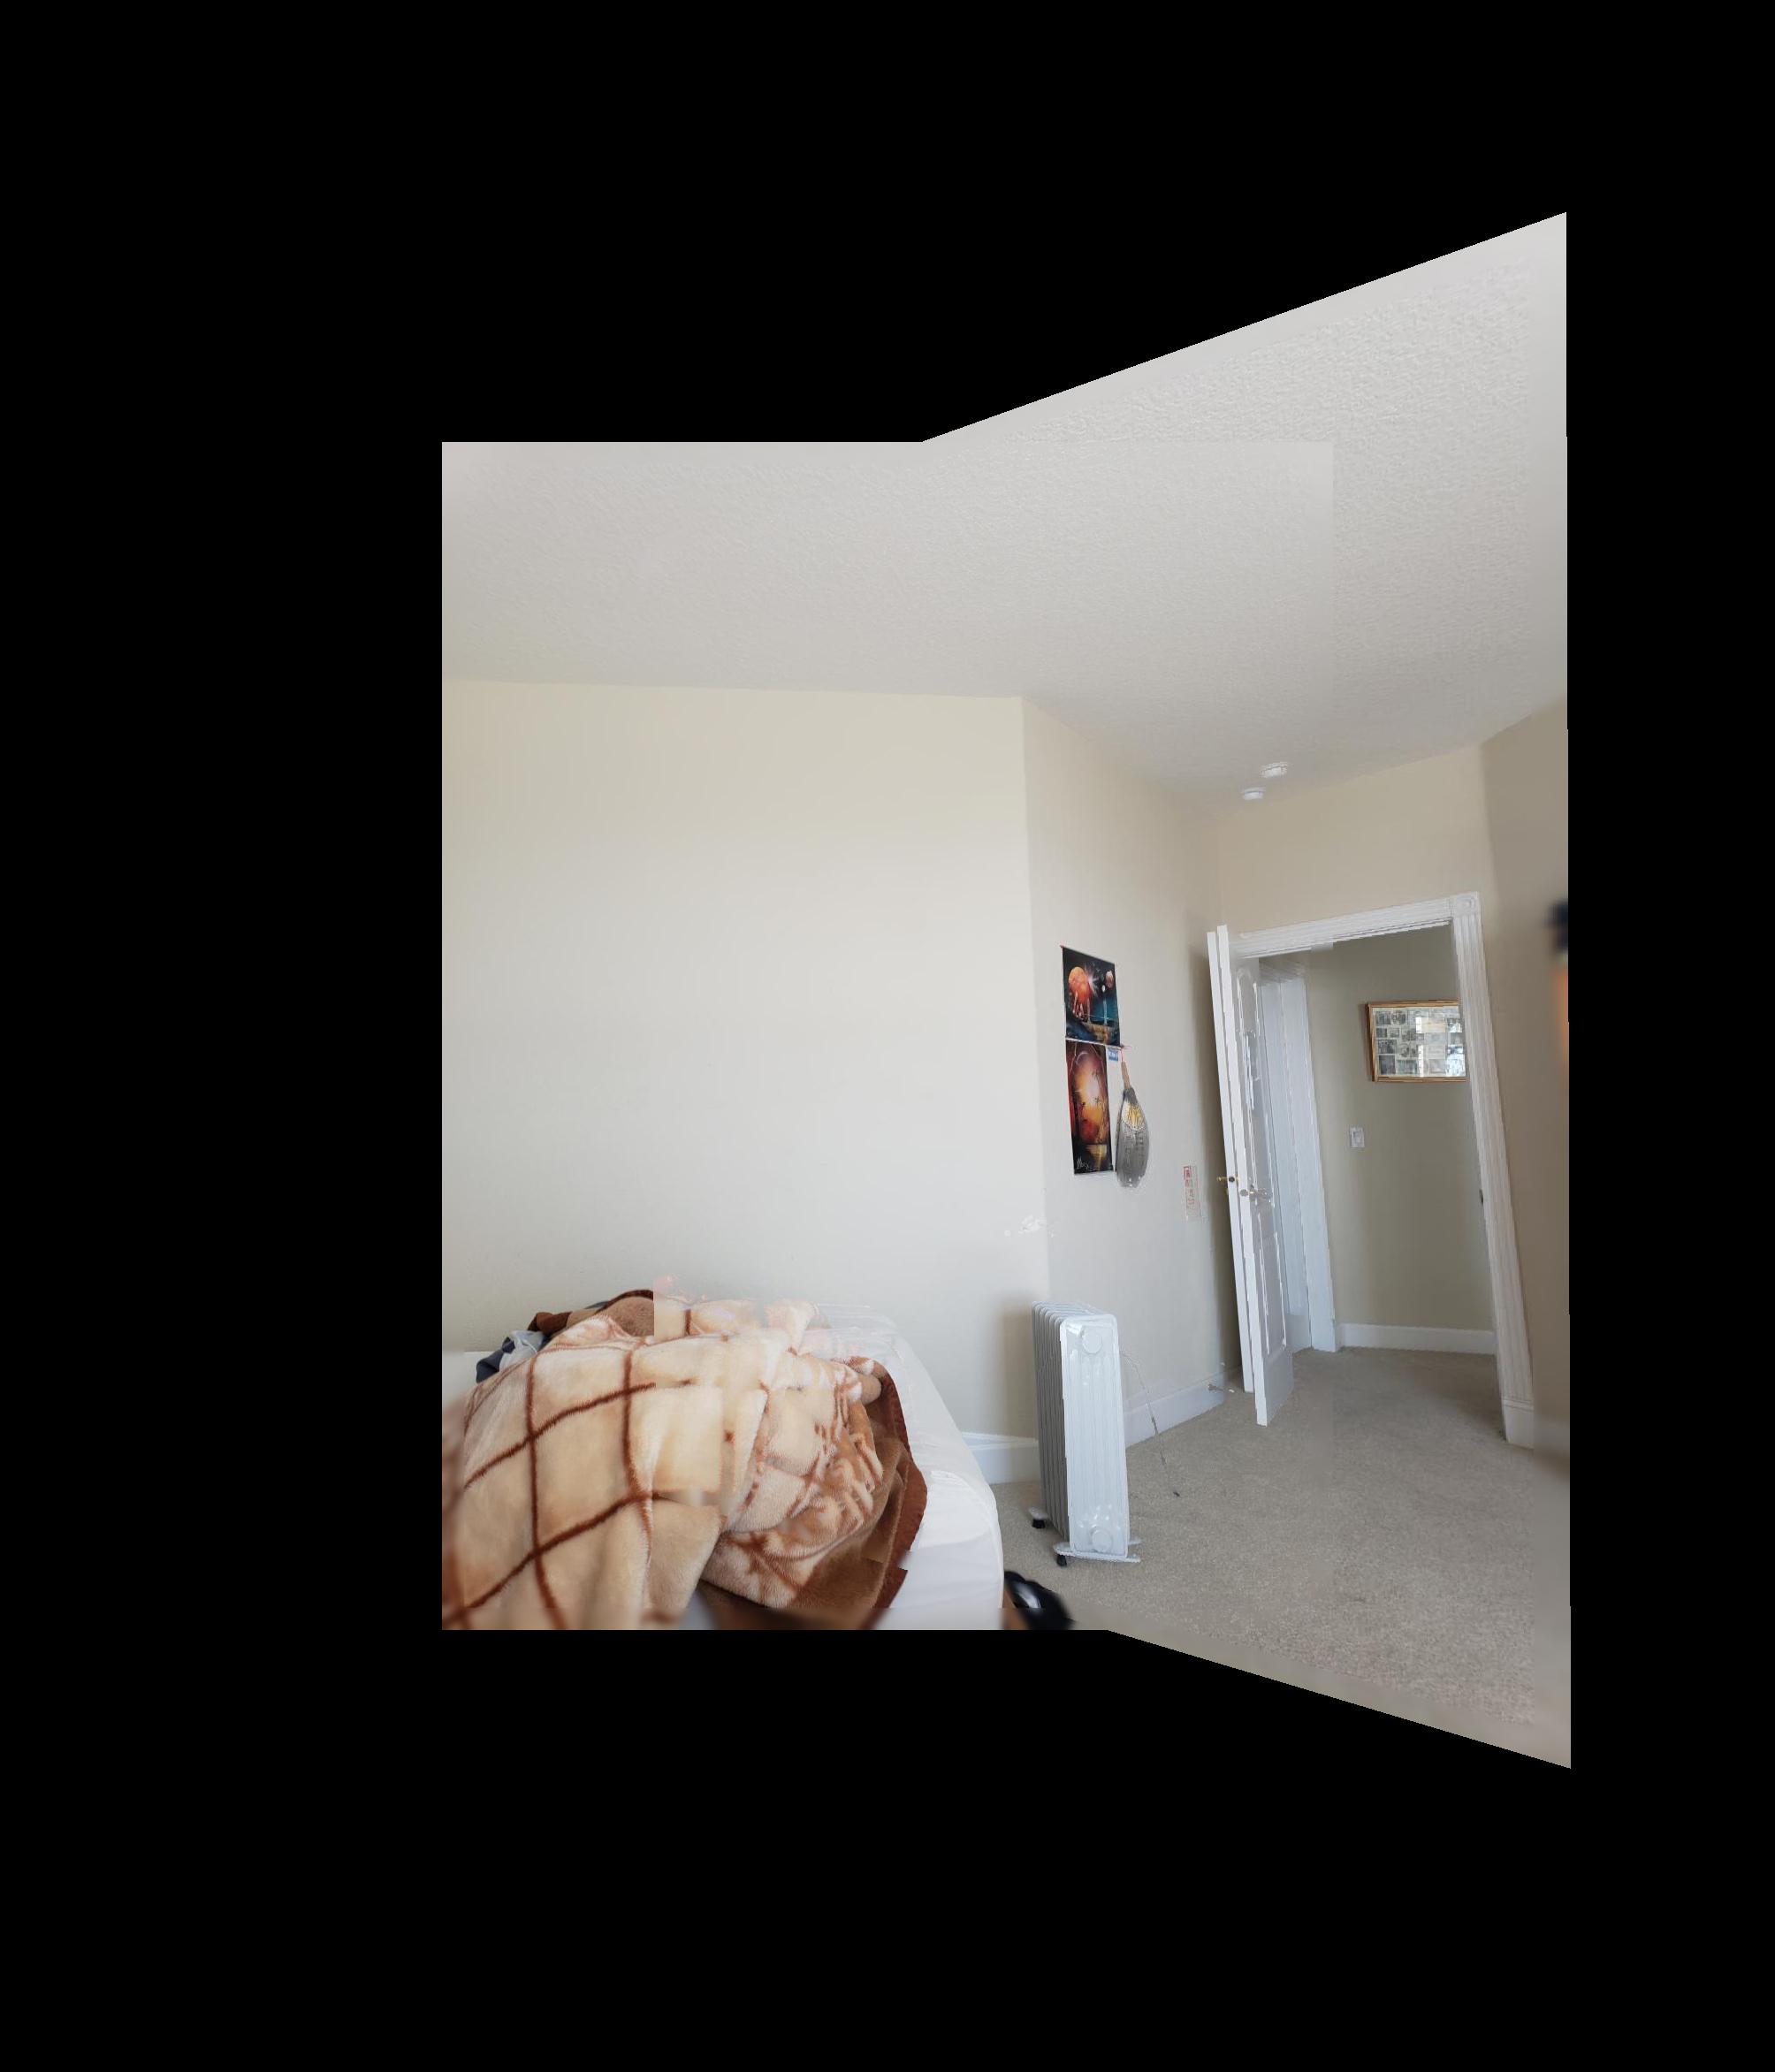
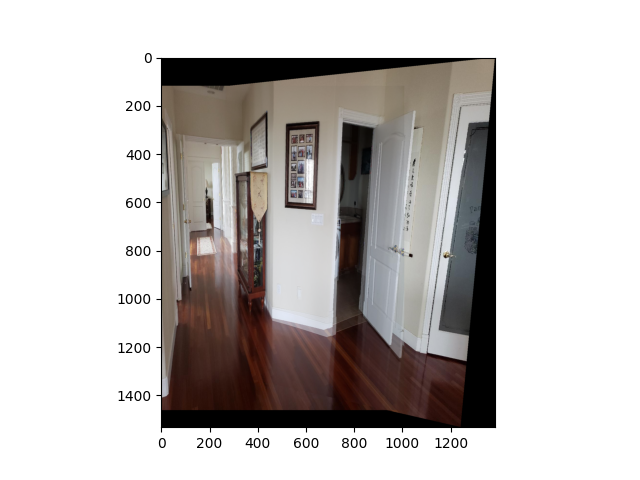
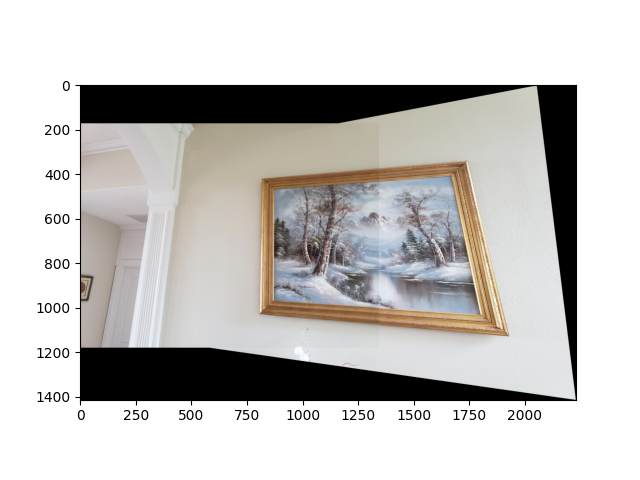
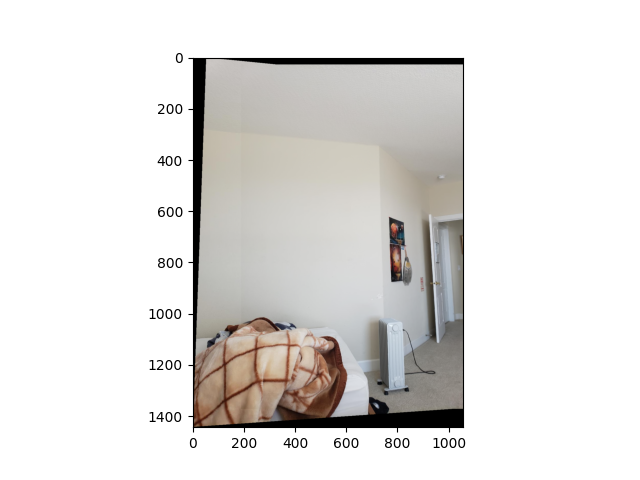
With the ability to compute homographies, we can now warp images. To do this, we transform the pixel coordinates of the destination image back into the original image frame and fill in our image with pixels from the original image. To illustrate this, we perform rectification by transforming our image such that we get an aligned view of objects in the scene. Here are two examples.
Now, we can blend mosaics together! If we compute the homography between two pairs of images, we can project one image on top of the other and blend them to create panoramas. To deal with edge artifacts, we can take the maximum pixel value and feather the edges of the images. Here are three examples.
For the second part of the project, I implemented a simplified version of "Multi-Image Matching using Multi-Scale Oriented Patches" by Brown et al. Using this approach, I was able to automatically detect and match features between two images to create image mosaics.
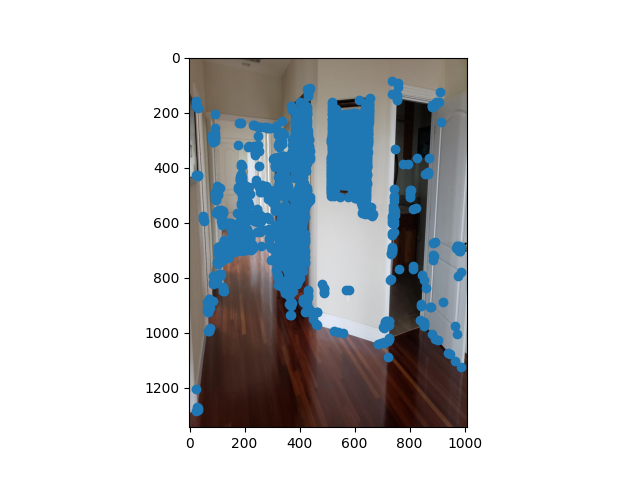
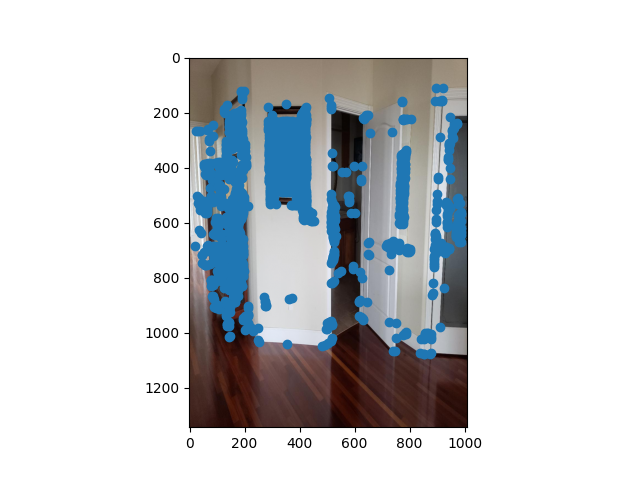
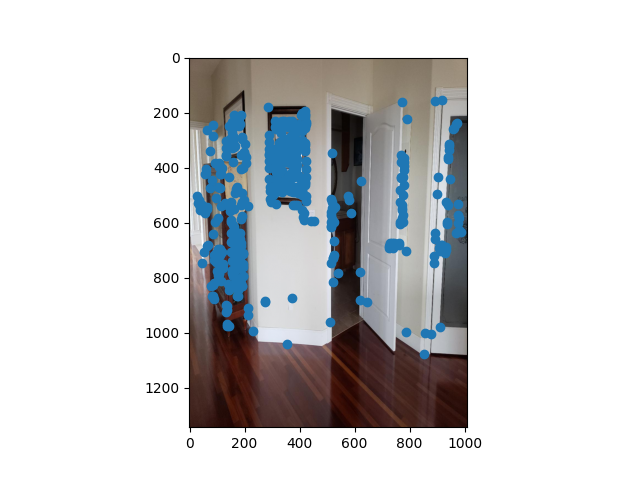
First, we use the Harris Interest Point Detector to generate a collection of interest points in our source images. This was implemented for us, so I won't dwell on the details. Below are the generated Harris interest points for two source images.
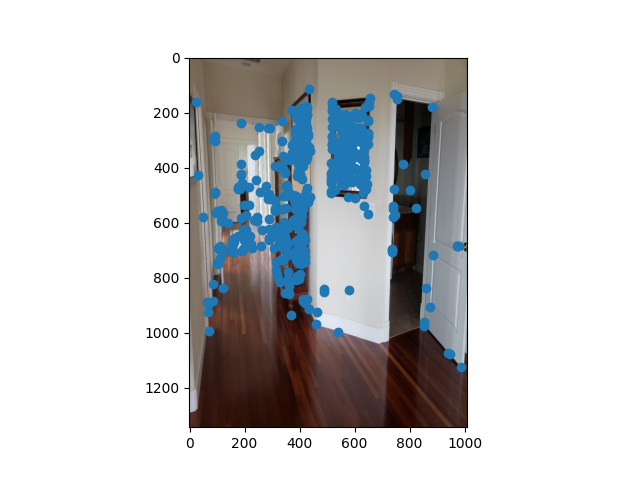
Well I'm out of slip days, so I skipped this part. Instead I just selected 500 random interest points and did the rest of the steps as usual. Here are those points.
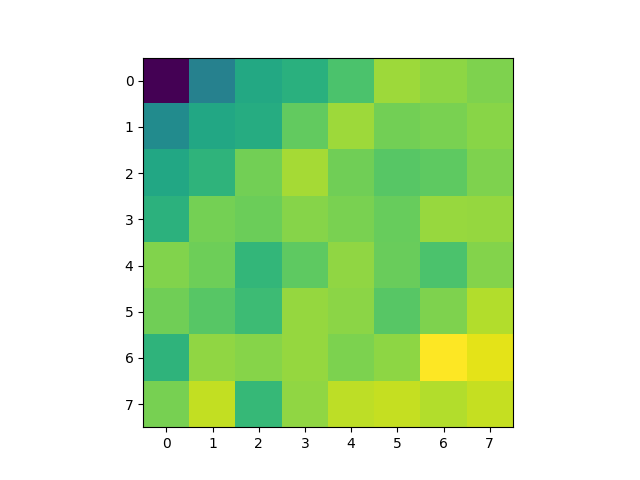
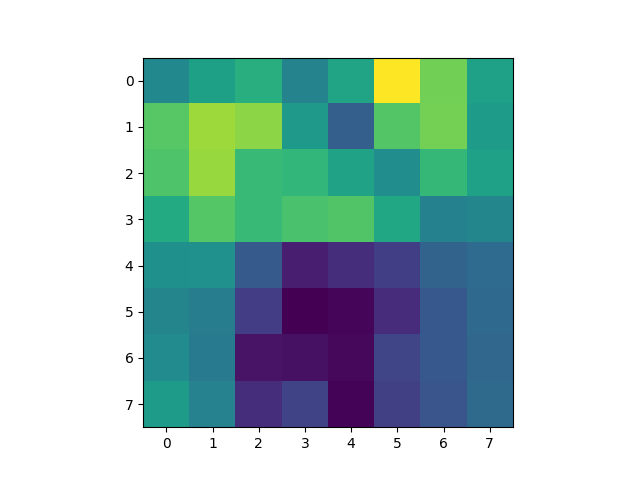
Next, I extracted features from images using our selected points. We extracted 8x8 image patches from 40x40 windows centered around interest points and applied bias/gain normalization. Here are some of the extracted features.
To match features between images, we computed the pairwise SSD between our two feature sets and used the Lowe approach of thresholding on the ratio between the first and second nearest neighbors to reject outliers. Afterwards, we used RANSAC to further reject outliers and compute a robust homography estimate between the two images. Then, we use the homography to construct a panorama as we did in part 1. Here are three panoramas I made.
Reading research papers can be exceedingly time-consuming, especially if you're not familiar with a lot of the related work. Moreover, I found that using existing implementations of certain methods to help debug different parts of your pipeline can be useful and save a lot of effort.