
600 x 900 for easier processing. Images are in jpg format.
|
|
|
|
|
|
|
|
|
Any two images of the same planar surface can be related by a homography, which is a 3 x 3 matrix with 8 degrees of freedom that can fully express projective transformations. To recover such homographies, since there are 8 unknowns, we need 4 corresponding points. After the corresponding points are established, we can compute the homography matrix H with p' = Hp where p and p' are points in homogenous coordinates. However, this would be prone to noise. To solve this issue, we can set up a linear system of n equations (i.e. a matrix equation of the form Ah = b where h is a vector holding the 8 unknown entries of H ) and solve it using least square.
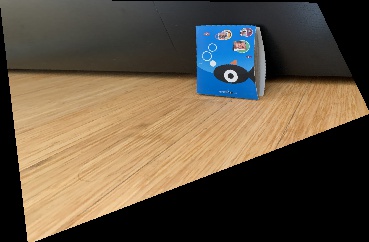
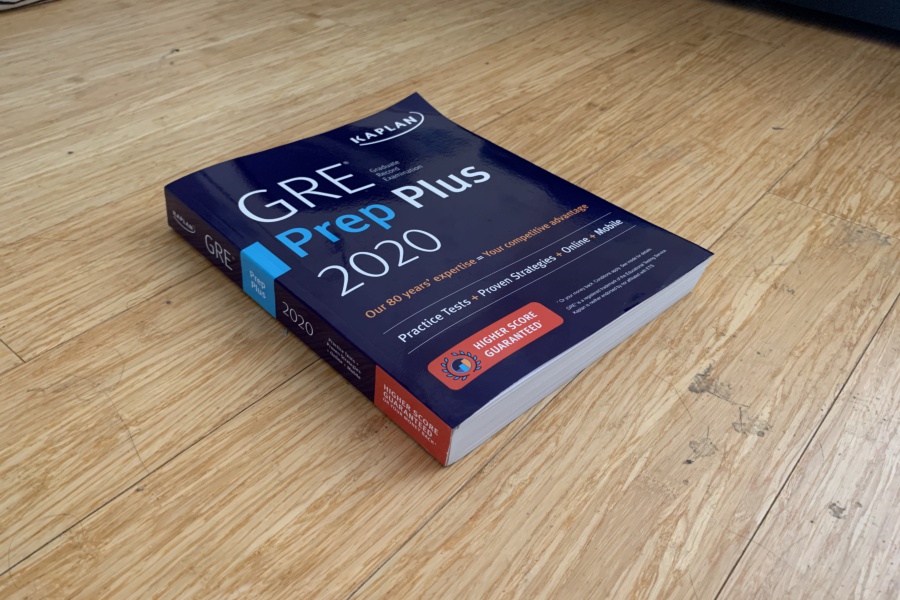
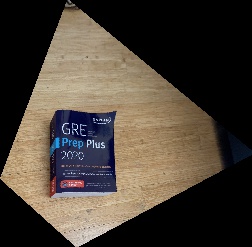
Image rectification is an application of projective transformation. We can establish four corresponding points of the original image which should be the four corners of a square in rectified view. With these corresponding points, we can calculate the homography as mentioned above. We show two examples of image rectification below.
| Original Image | Rectified Image |
 |
 |
 |
 |
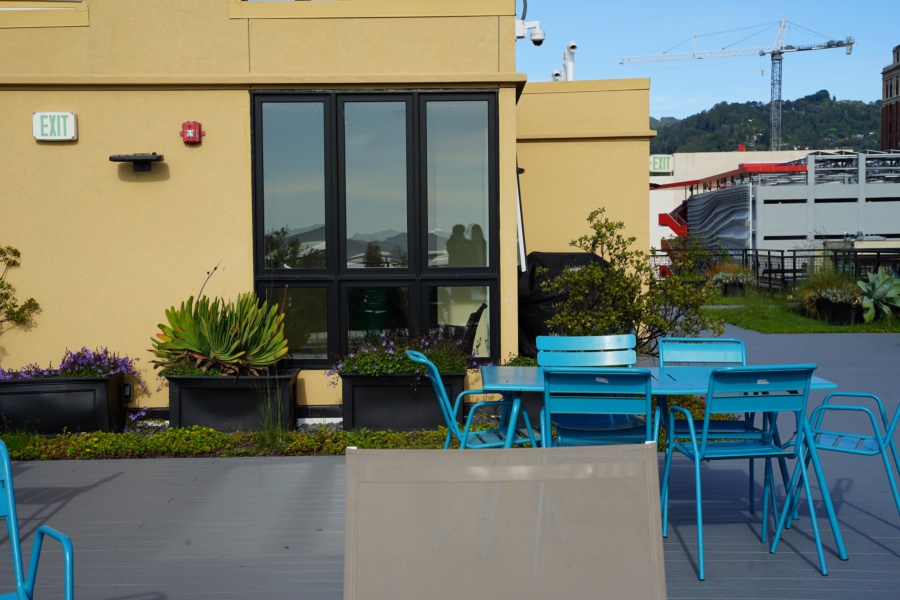
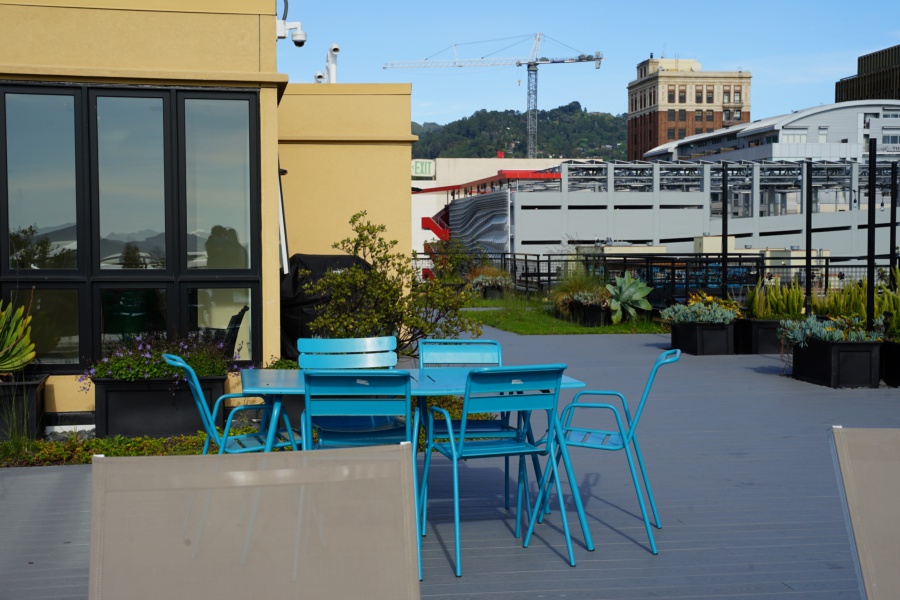
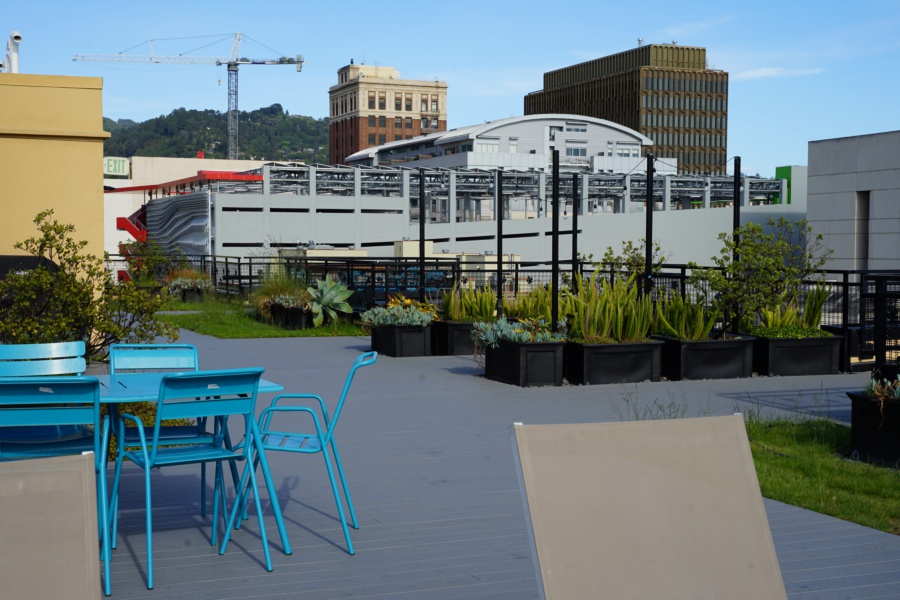
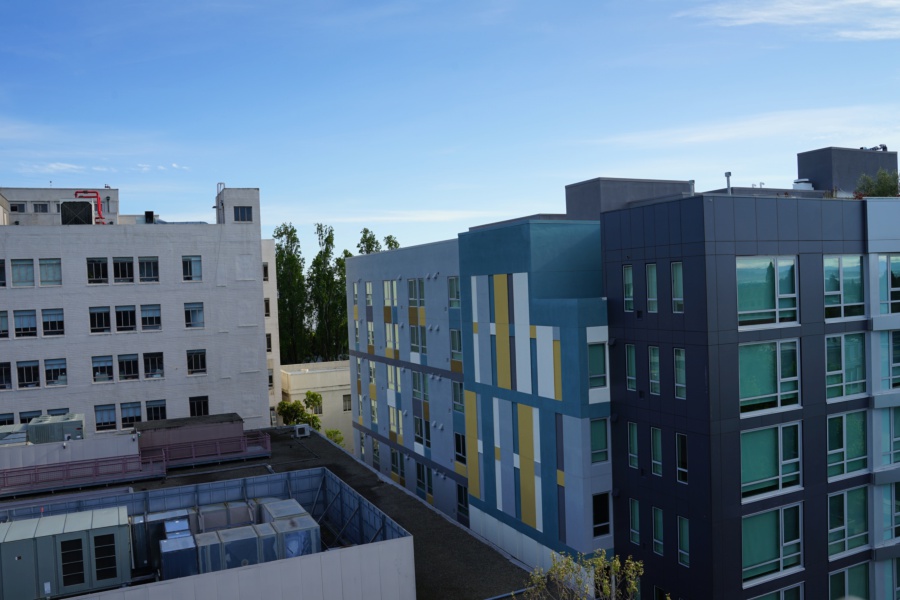
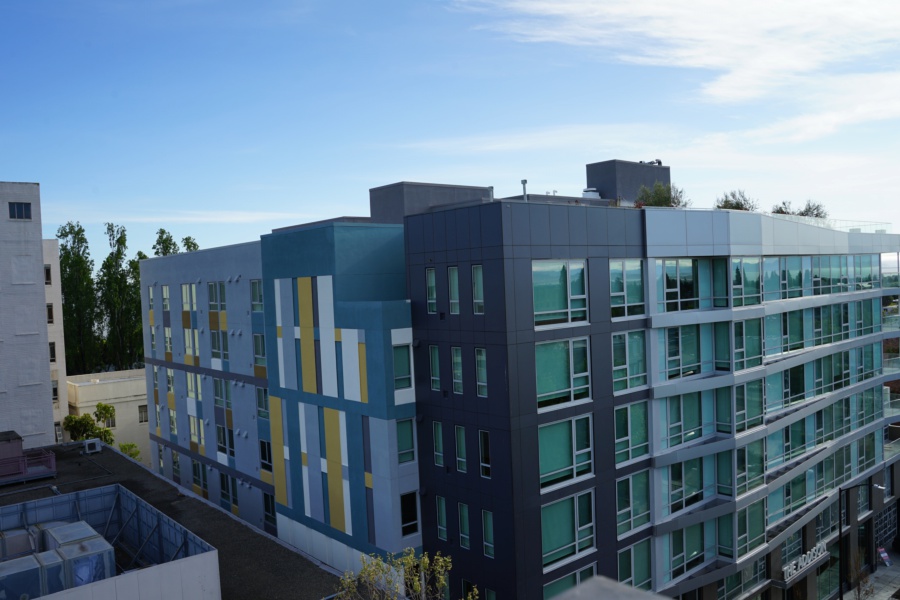
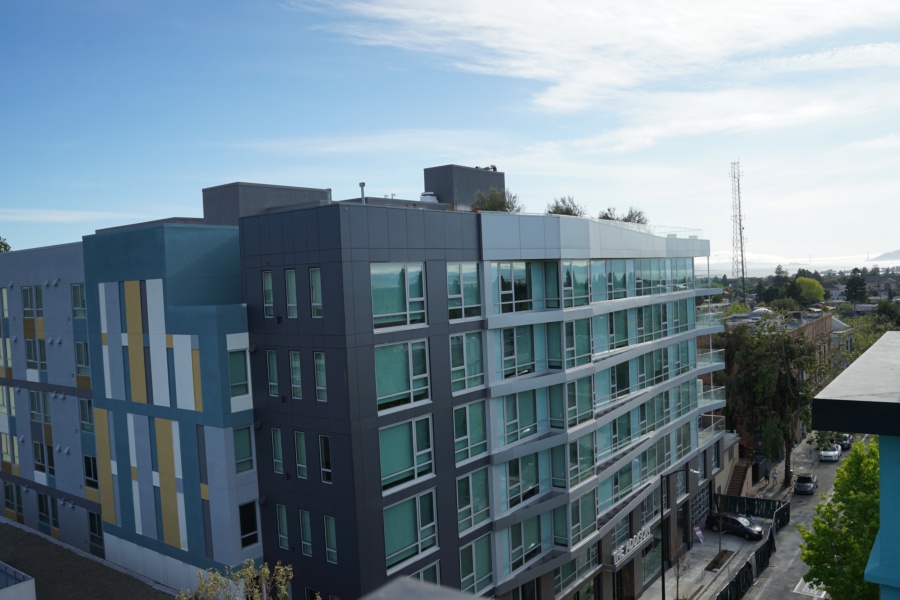
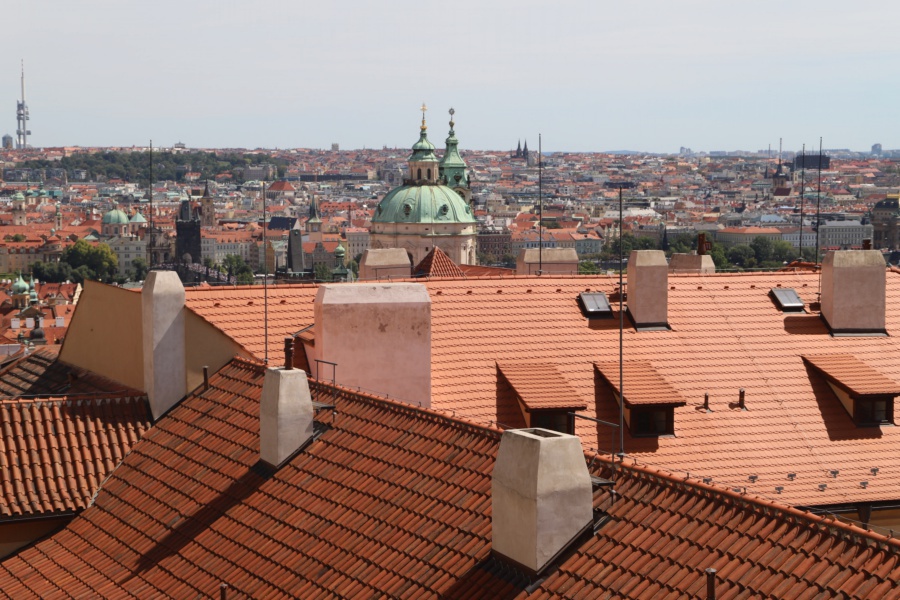
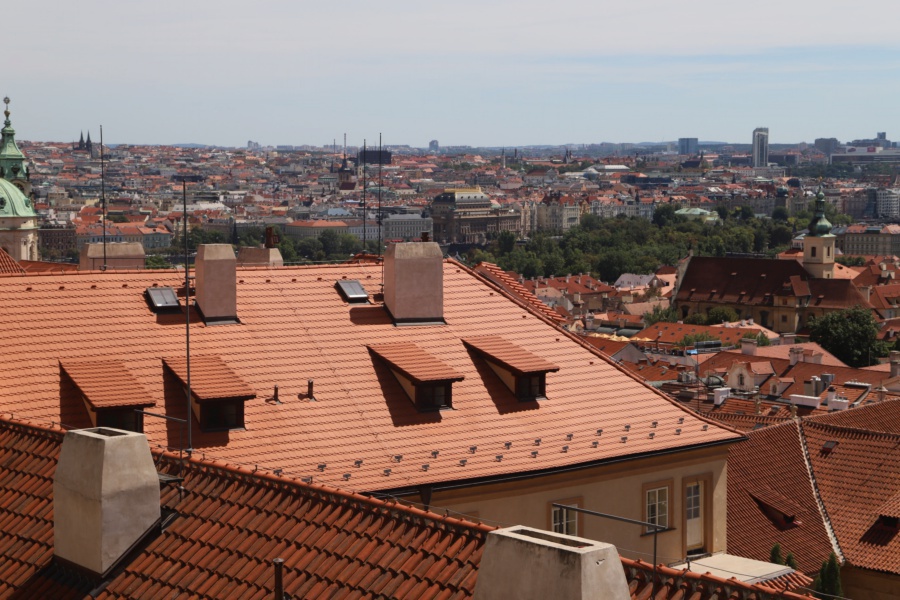
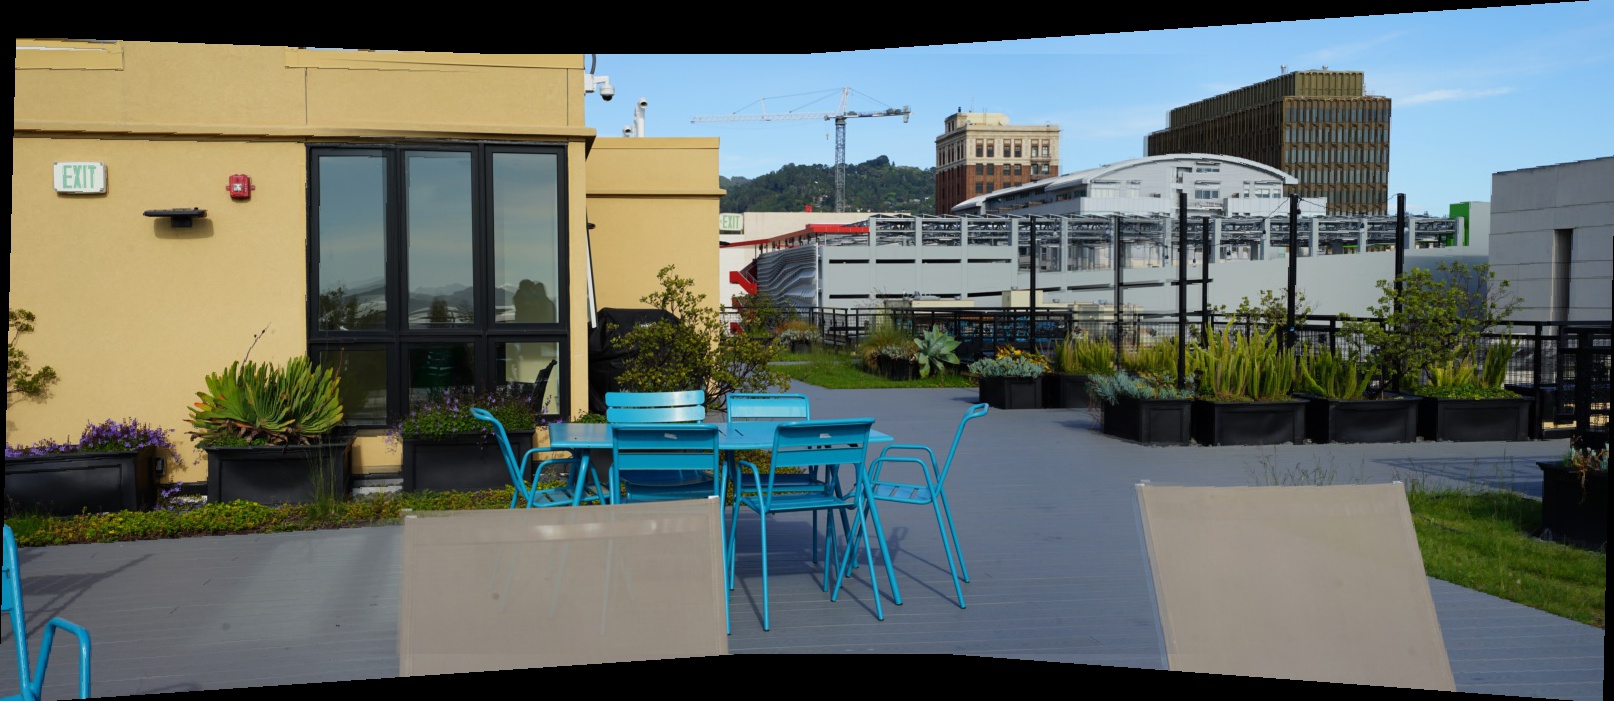
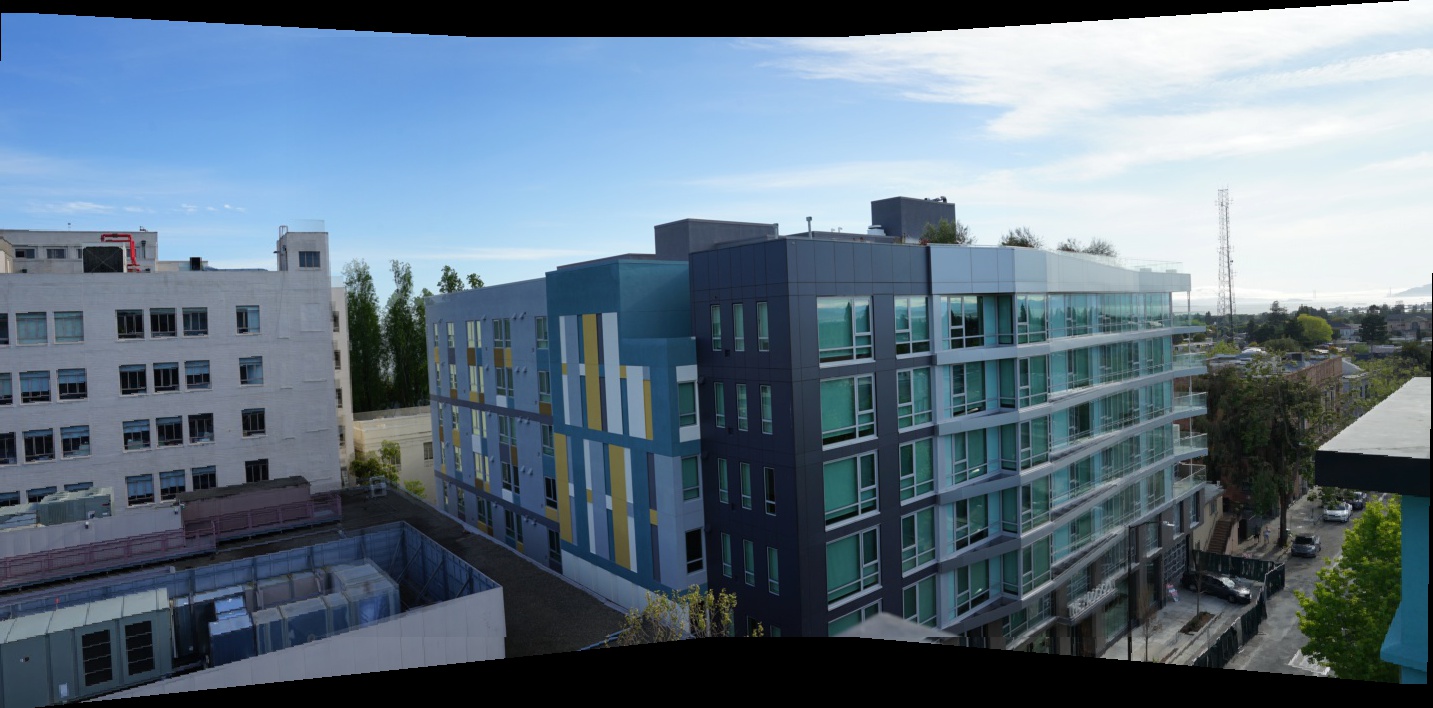
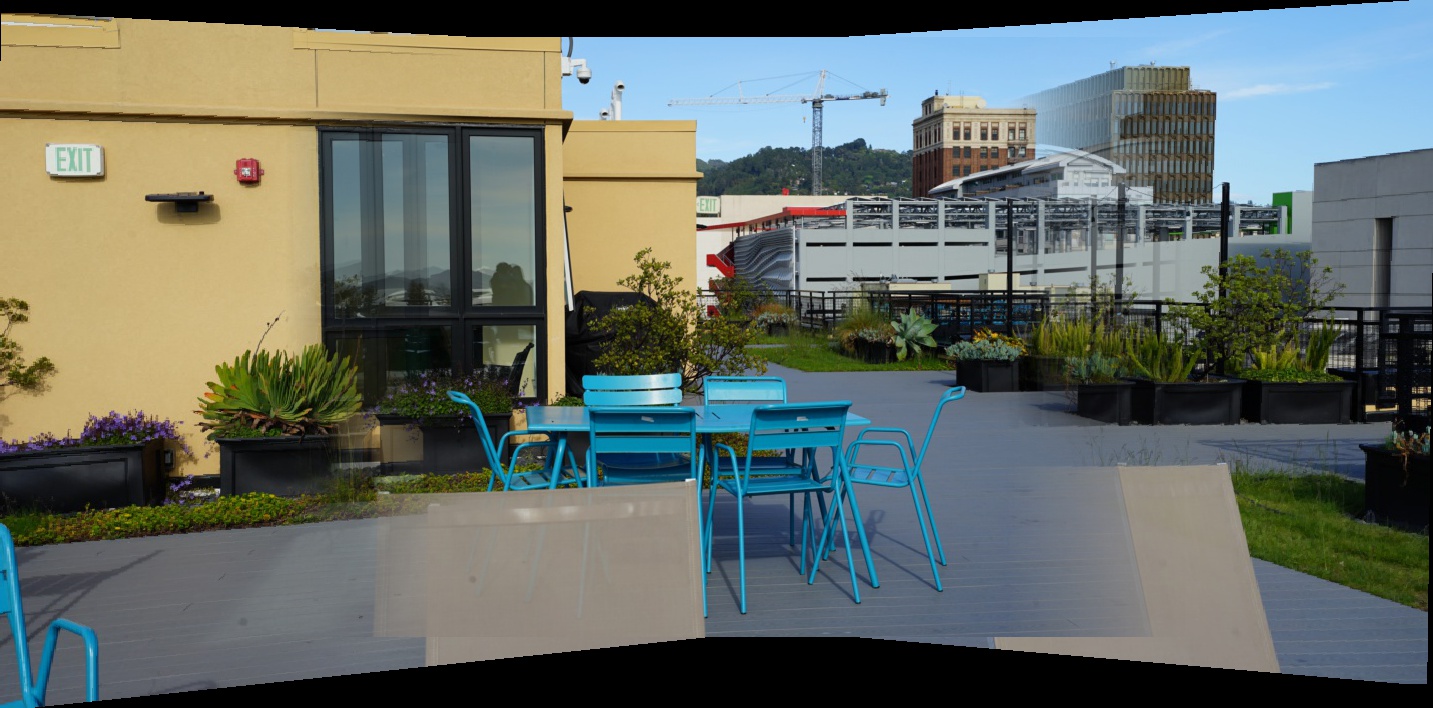
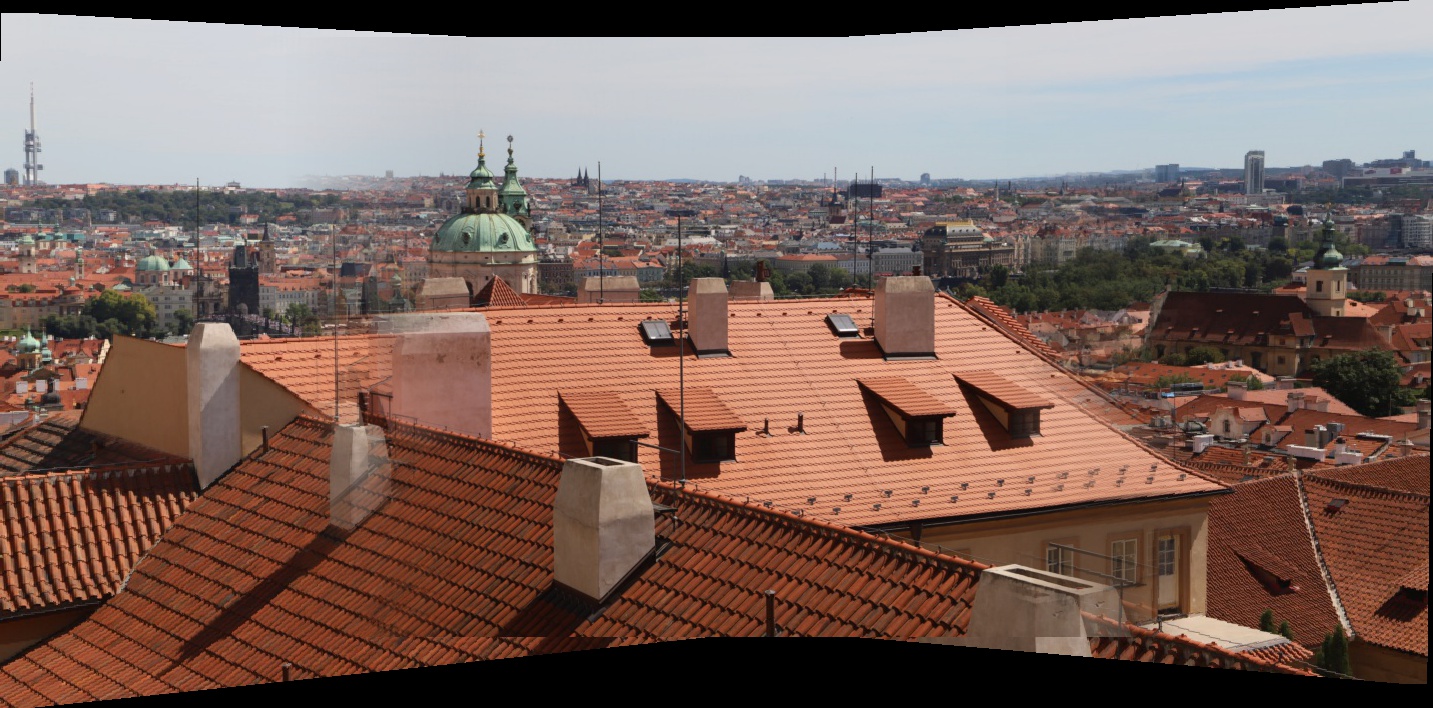
We can also utilize recovered homographies to blend multiple images and form a panorama. We find the corresponding points manually between any pair of images and compute the homography. Then we can set one image as the anchor and transform the other with the homography. Lastly, we blend the two images with alpha blending. Below we show examples of reconstructed mosaics of the sets of images captured above, each with 10 corresponding points.
 |
 |
 |
It is really cool to see what a homography matrix can do! With fully expressed homographies, we can projectively transform an image, and such projective transformation has so much potential as it can be used to rectify an image, make an image mosaic, and do so much more!
Next we explore how we can automate this process by following the paper “Multi-Image Matching using Multi-Scale Oriented Patches” by Brown et al.
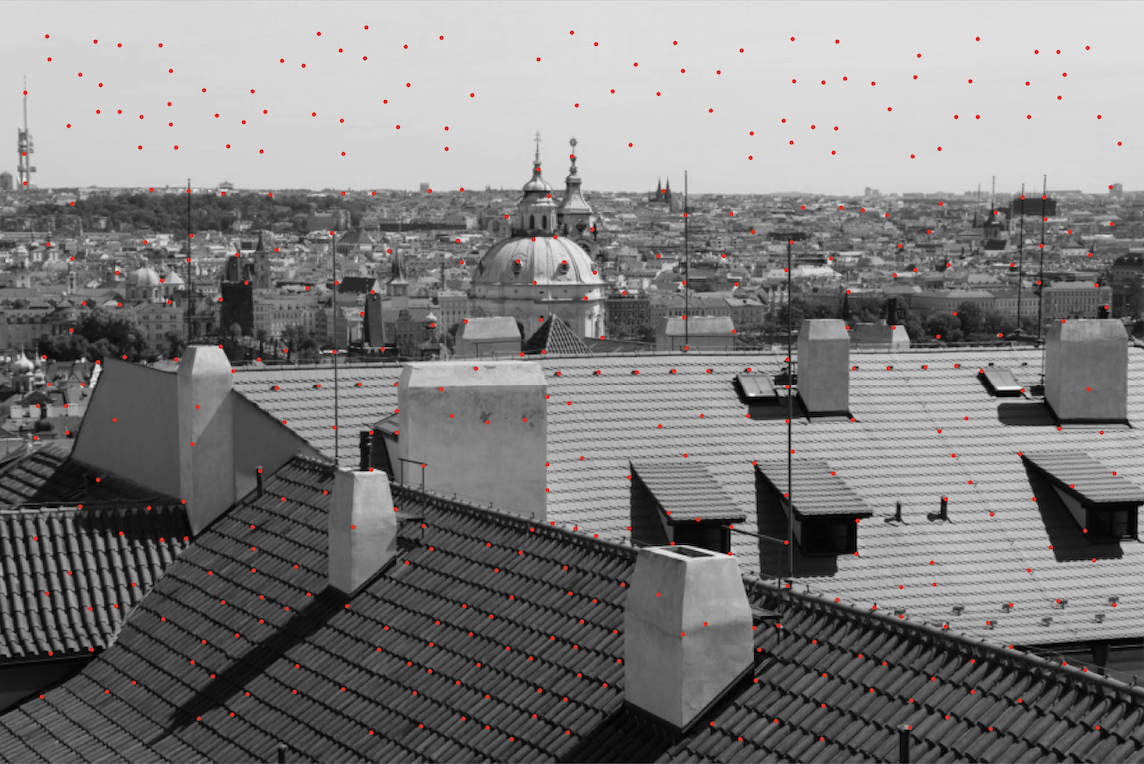
We find the corner features using Harris Interest Point Detector as in Section 2 of the paper. It finds points that contain corners by determining the response of a small moving patch of the image. This makes the detector invariant to rotation. We show an example with the Harris corners overlaid on the image.
 |
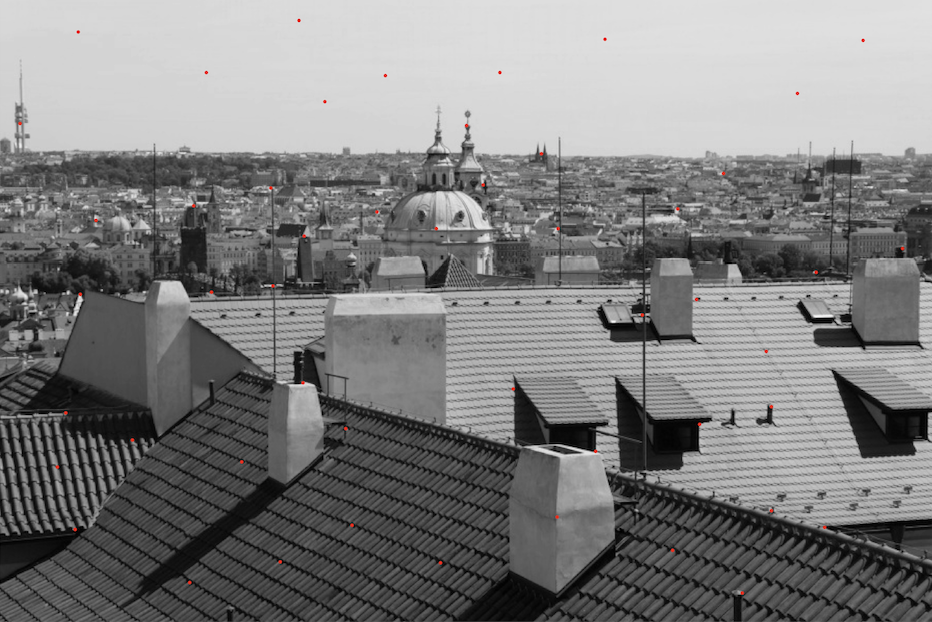
We also reduce the number of interest points by implementing the Adaptive Non-Maximal (ANMS) Suppression proposed in Section 3 of the paper. This makes sure there are less interest points and these points are still as evenly distributed as possible. We show an example of the same image which is processed through ANMS so that there are 50 points. In practice, the number is usually set to 200 - 500.
 |
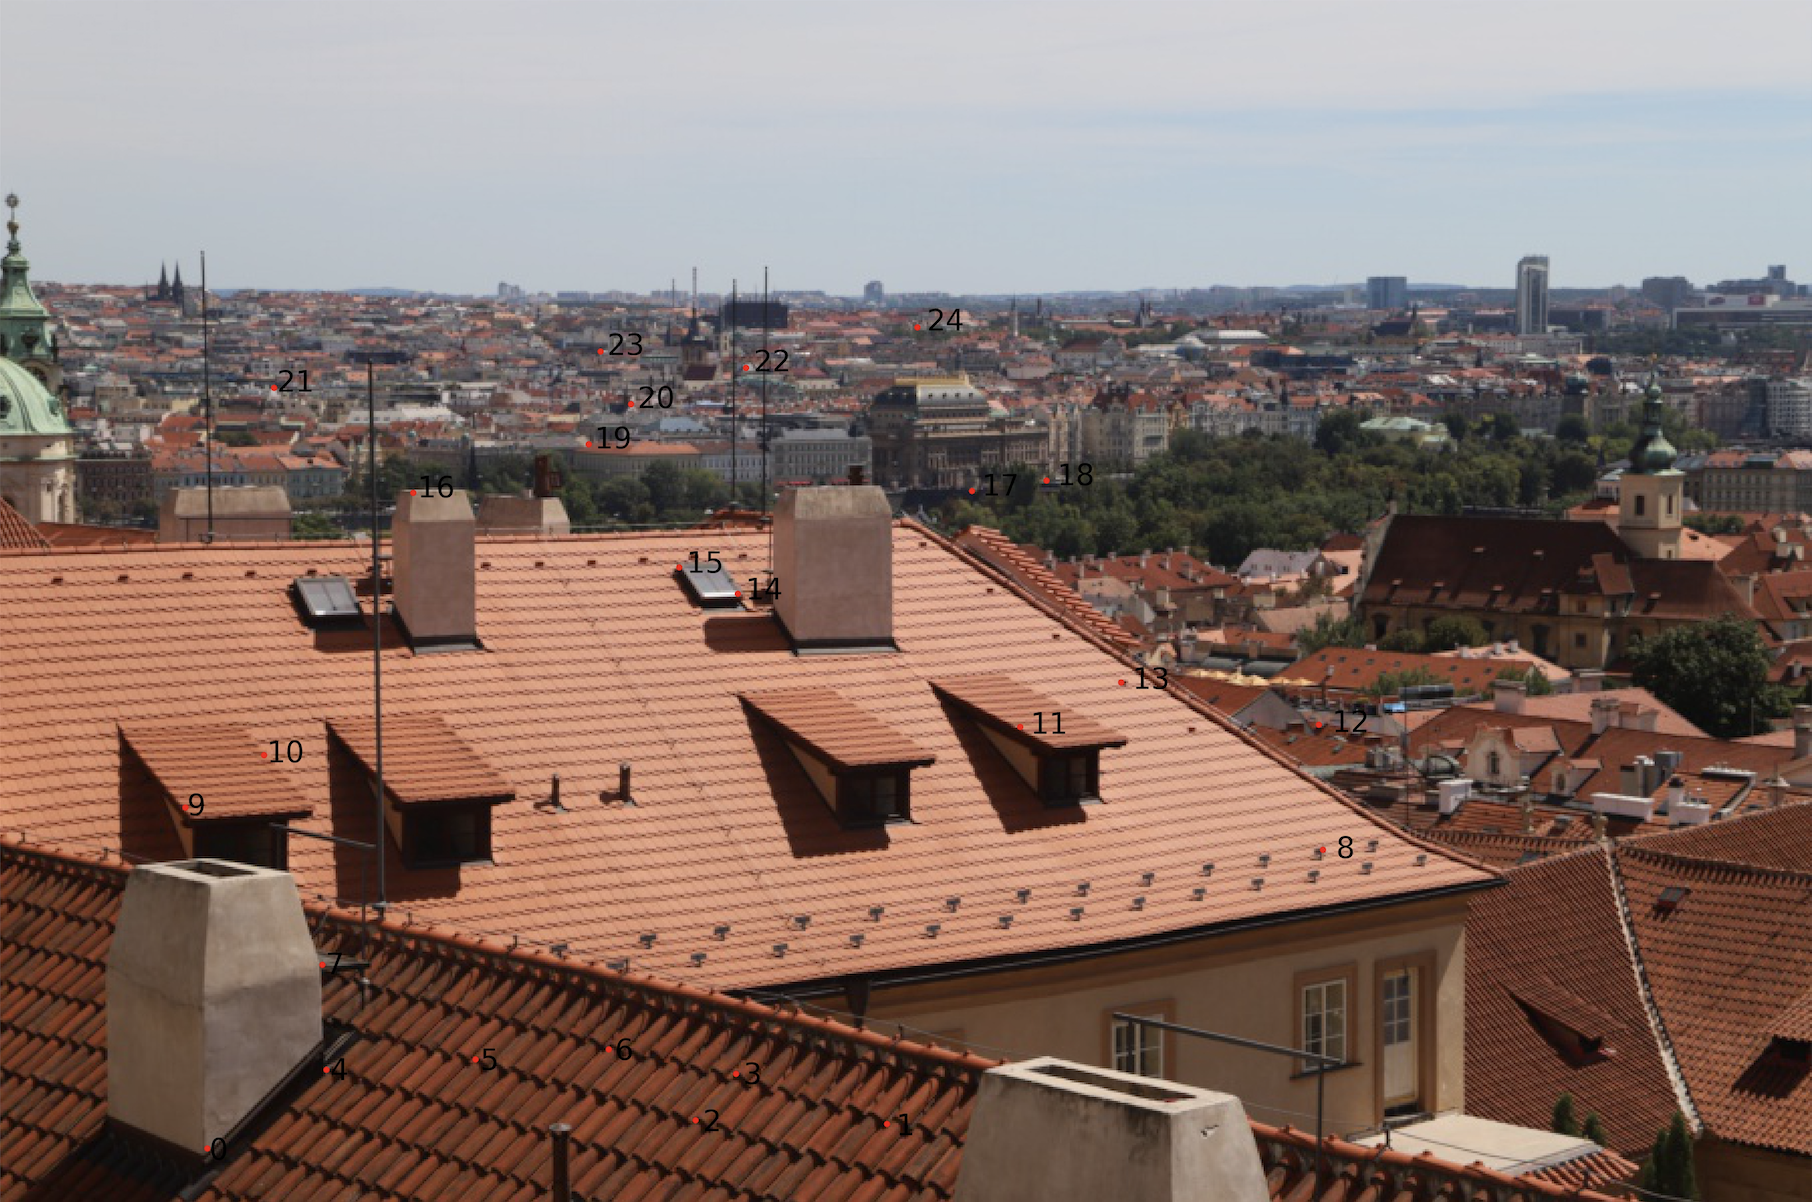
We also implement feature descriptor extraction and feature matching as in Section 4 and Section 5 of the paper. In feature descriptor extraction, we extract a 8 x 8 patch of the gaussian-blurred image around each interest point with spacing s = 5. And then in feature matching, we find the nearest neighbor and the second nearest neighbor points and calculate the L2 distance between the warped points and the target points. Then we return the matching that satisfies the Lowe thresholding as discussed in the paper. After obtaining the matching, we further use a robust method (RANSAC) to repeatedly find high-confident points that we can use to calculate the homography. The points obtained after RANSAC are indeed semantically meaning. We show two examples below.
| Key Points in Image 1 | Key Points in Image 2 |
 |
 |
 |
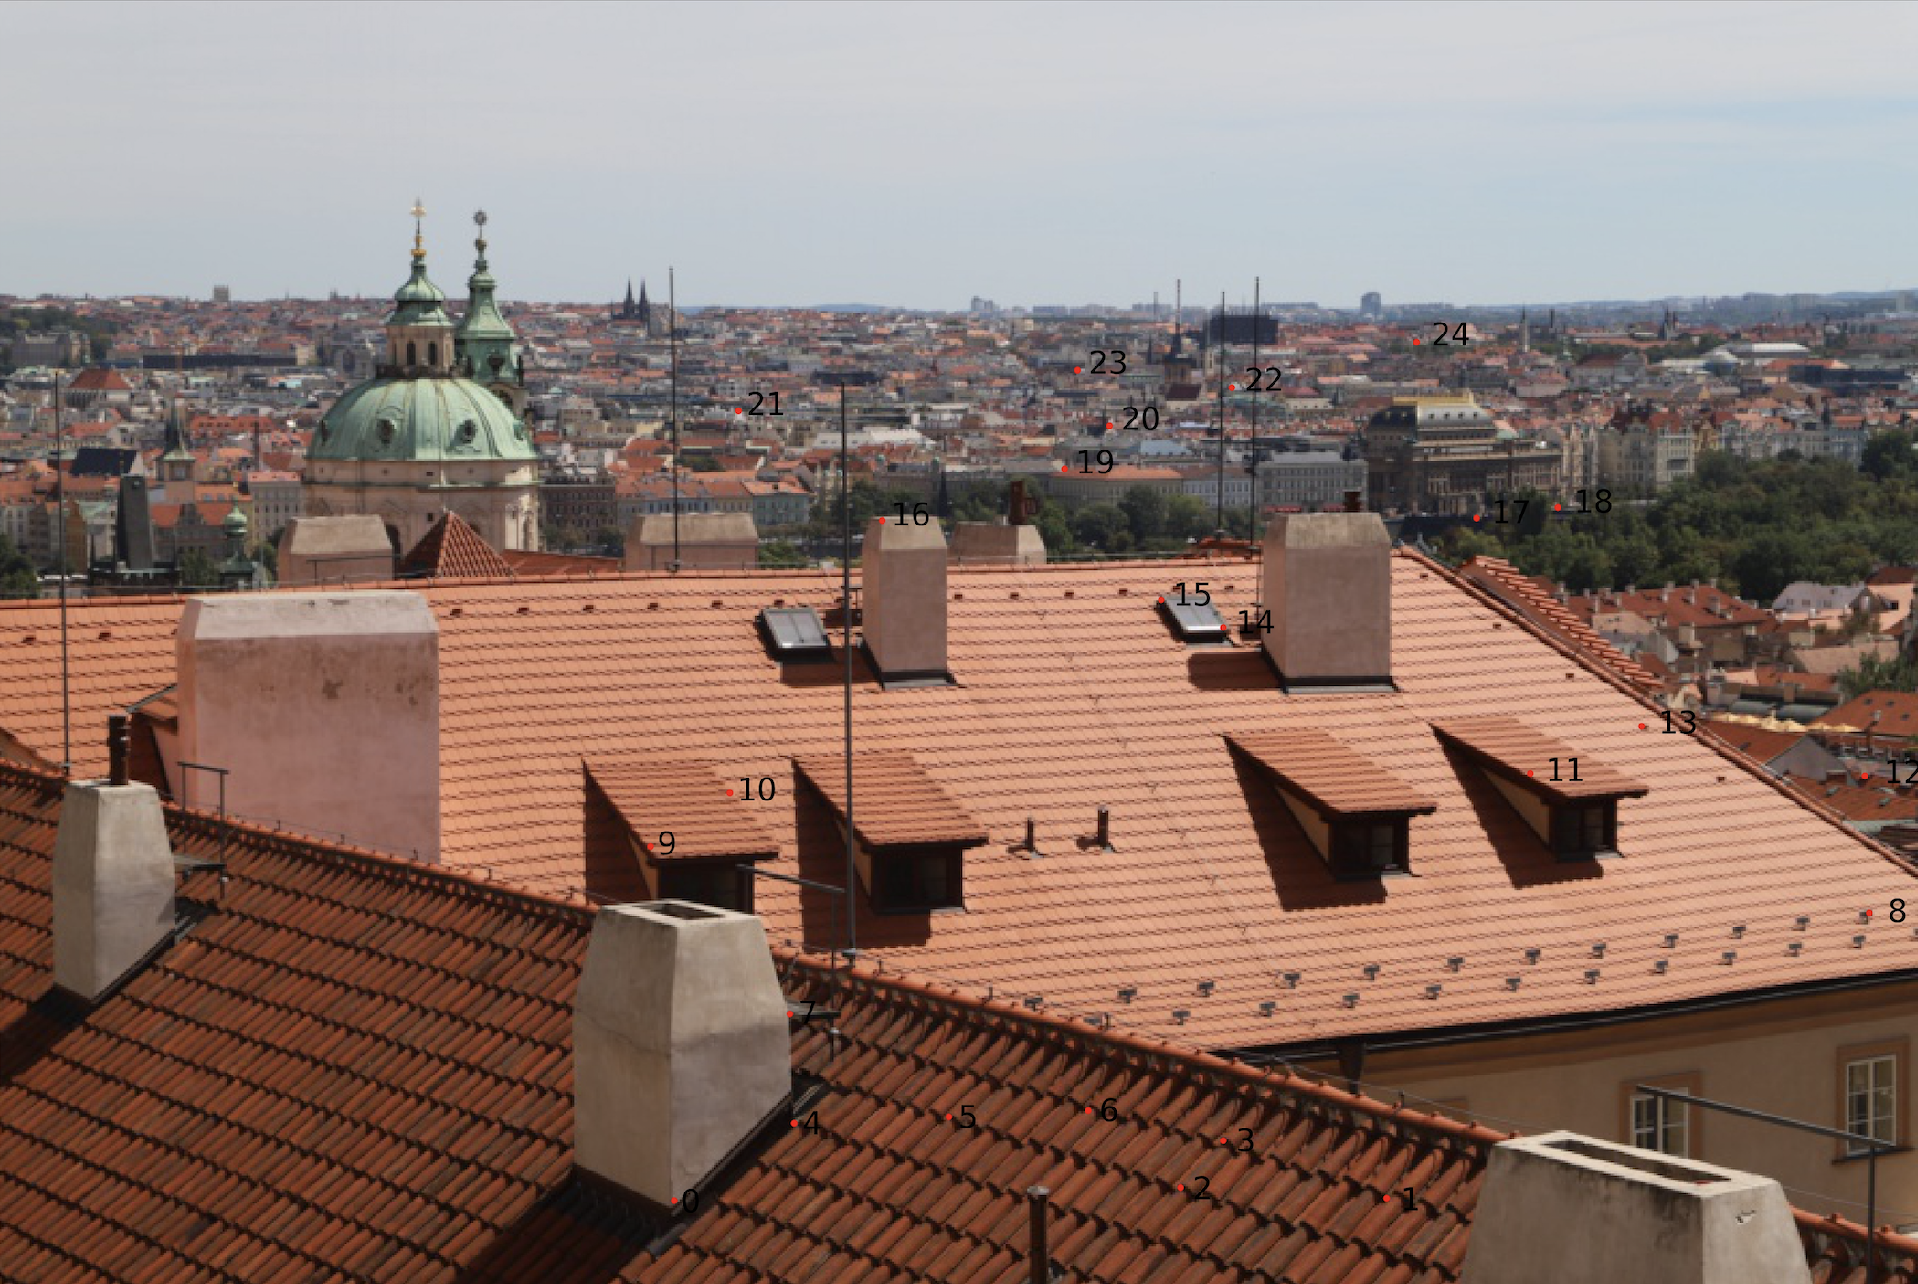 |
Finally, we repeat the steps as in Manual Image Mosaic to blend images together to form image mosaics. We show the mosaics obtained from the same three sets of images used above. Note that the resulting images still have blurred sections where the method fails to blend perfectly (compared to manual ones) and they may be improved with tuned parameters.
| Manual | Auto |
|
 |
|
 |
|
 |
It is exciting to see how we can automate feature finding for making image mosaics. Although it may seem intensive engineering with all the process we need to use to recover robust points, the techniques we are using are so statistically elegant!