Xuanbai Chen,cs194-26-ags
In the first part of projest 5,we will make some mosaic images and rectify imgages,so that the perspective field is larger. I will warp two or more images into the same angle and blend them together.
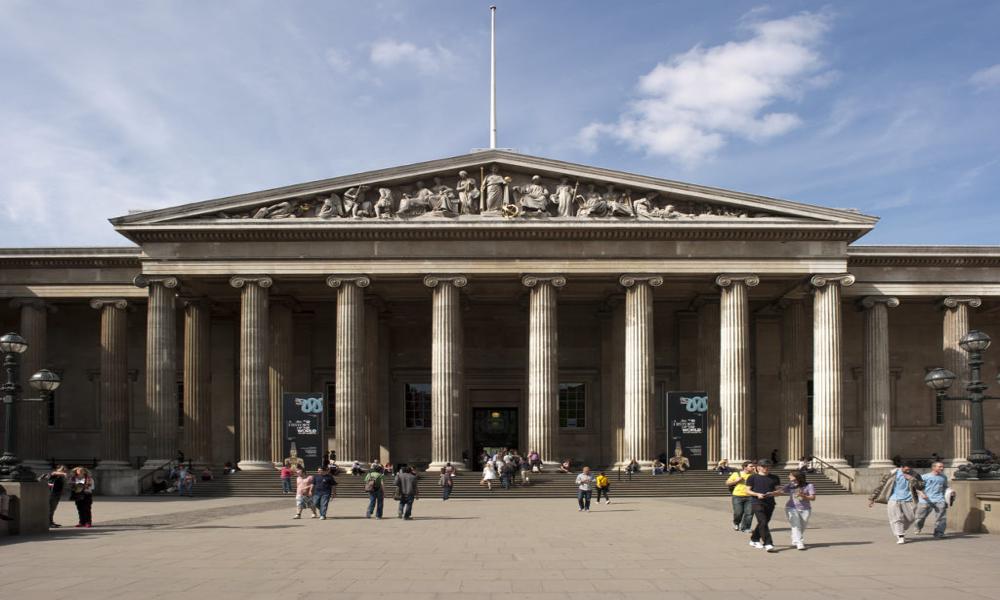
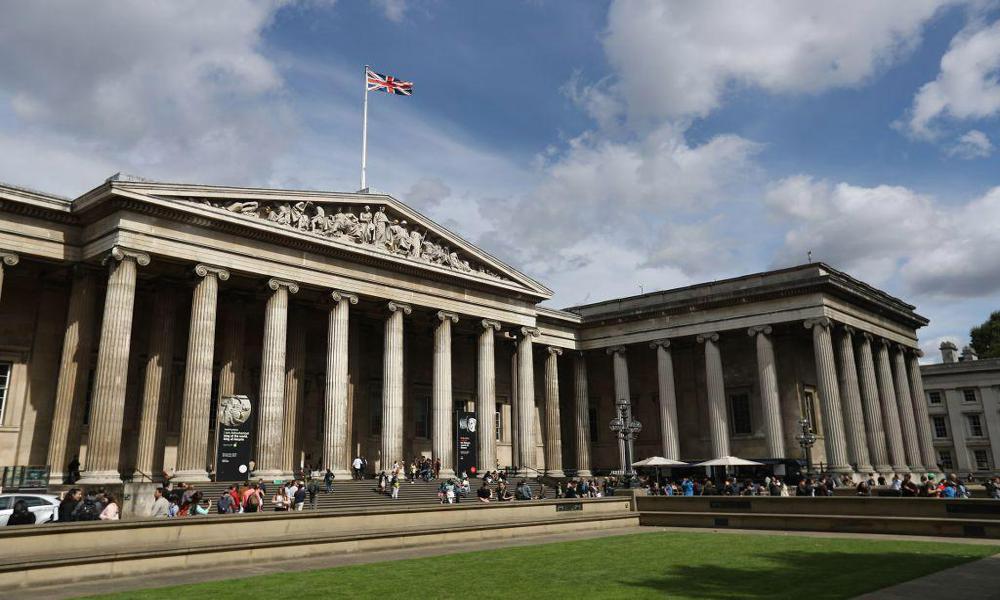
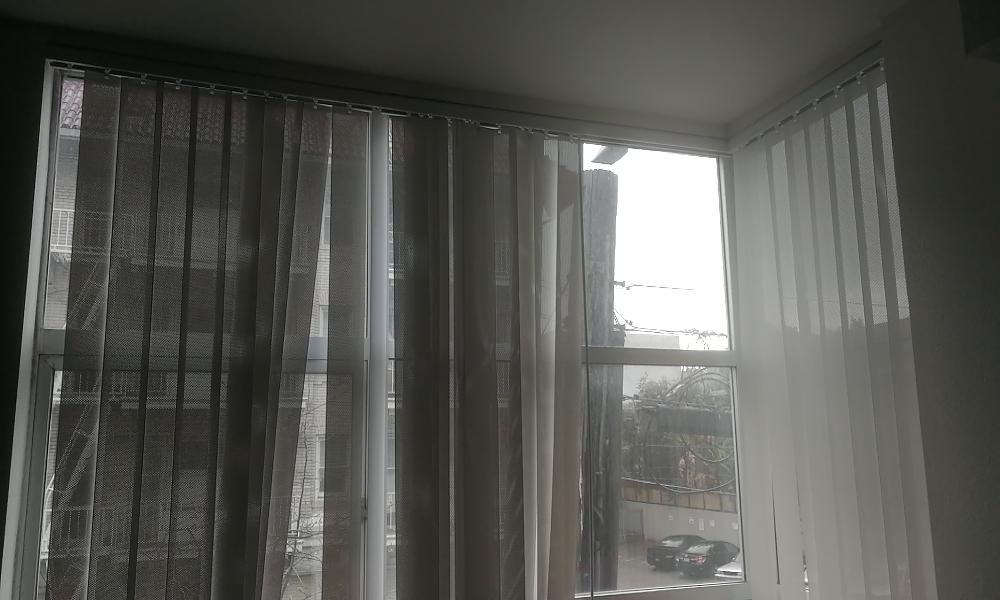
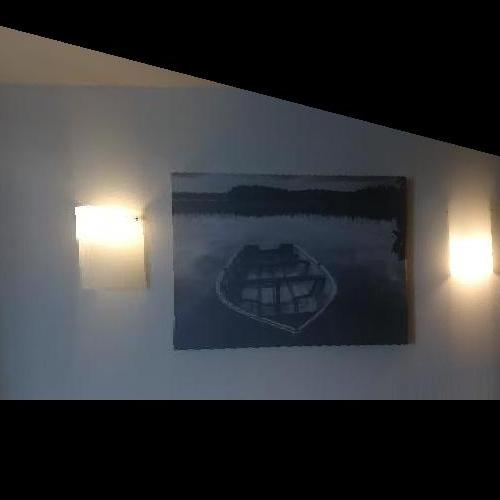
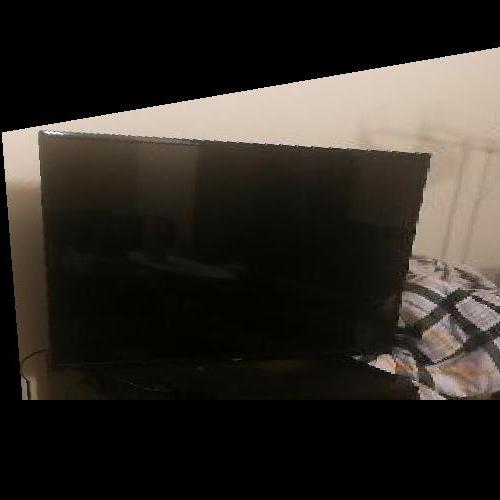
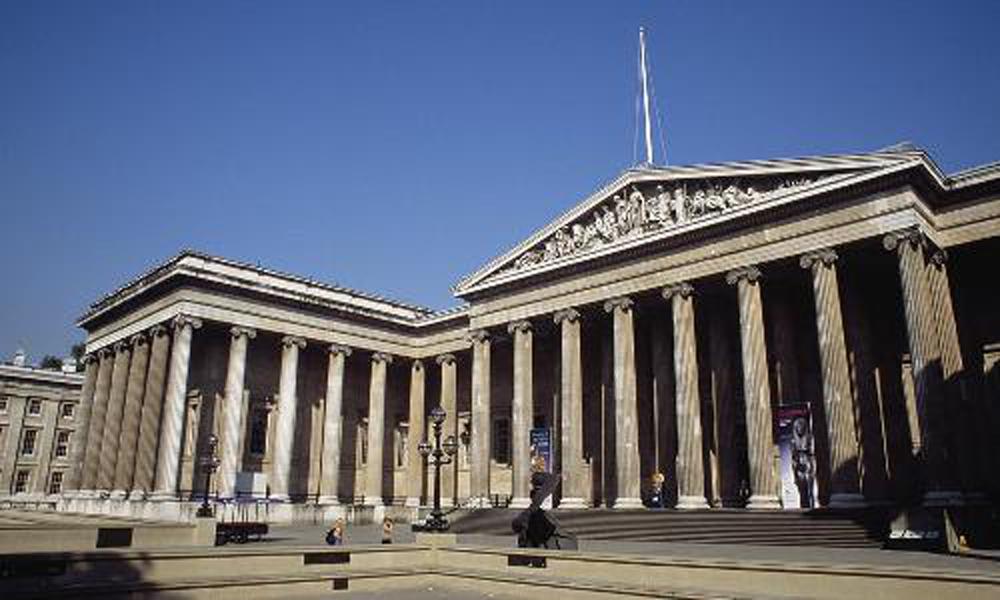
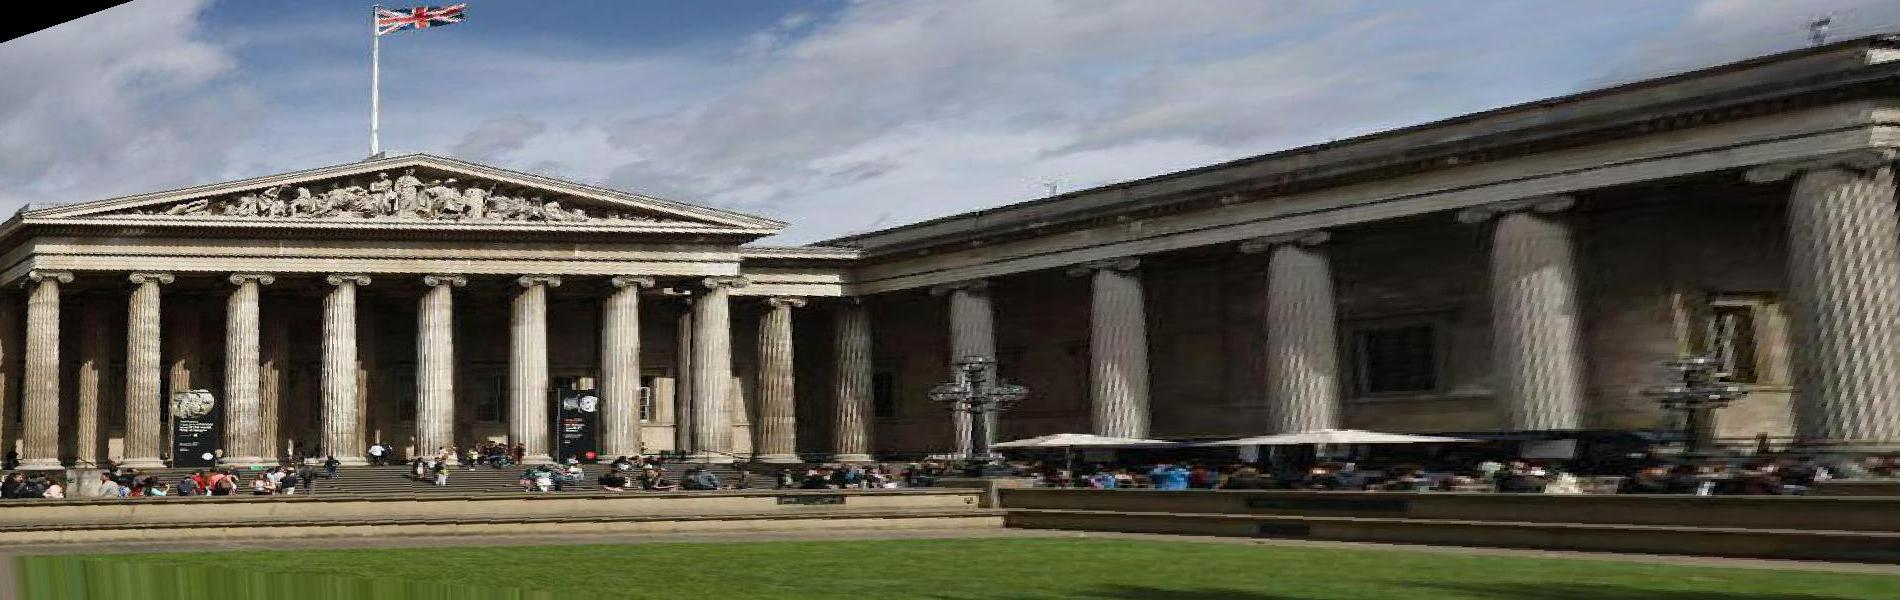
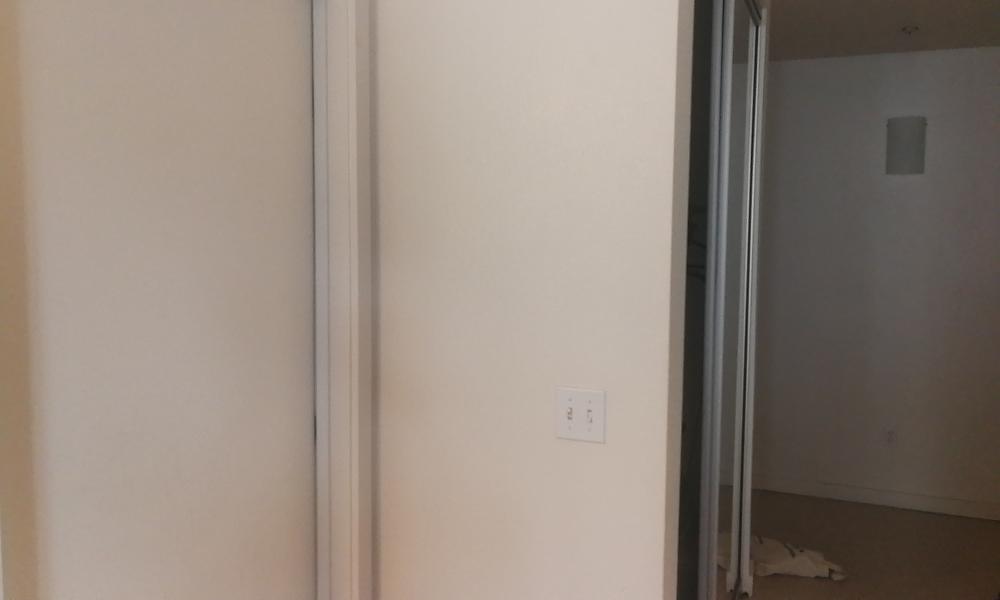
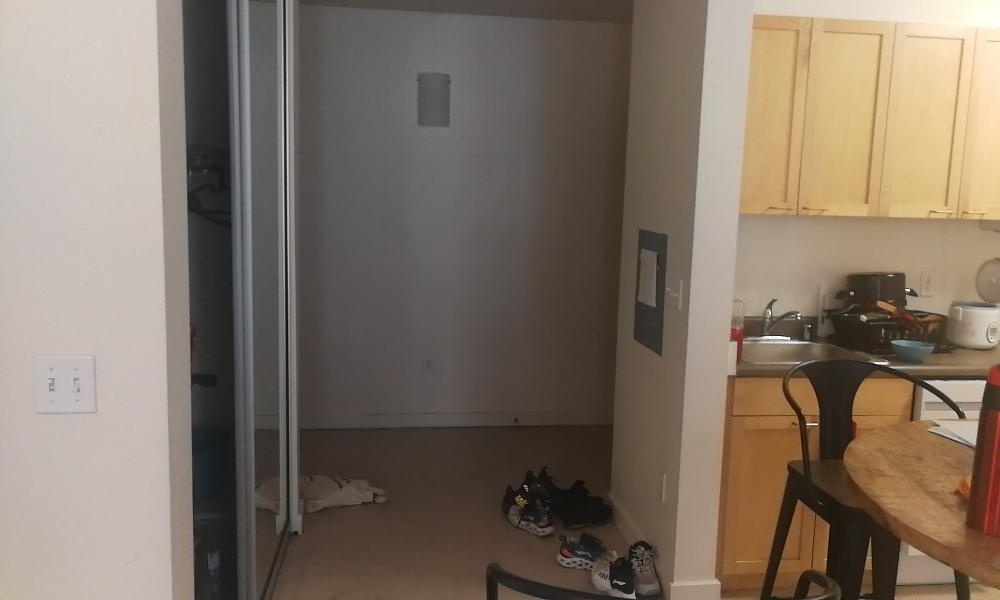
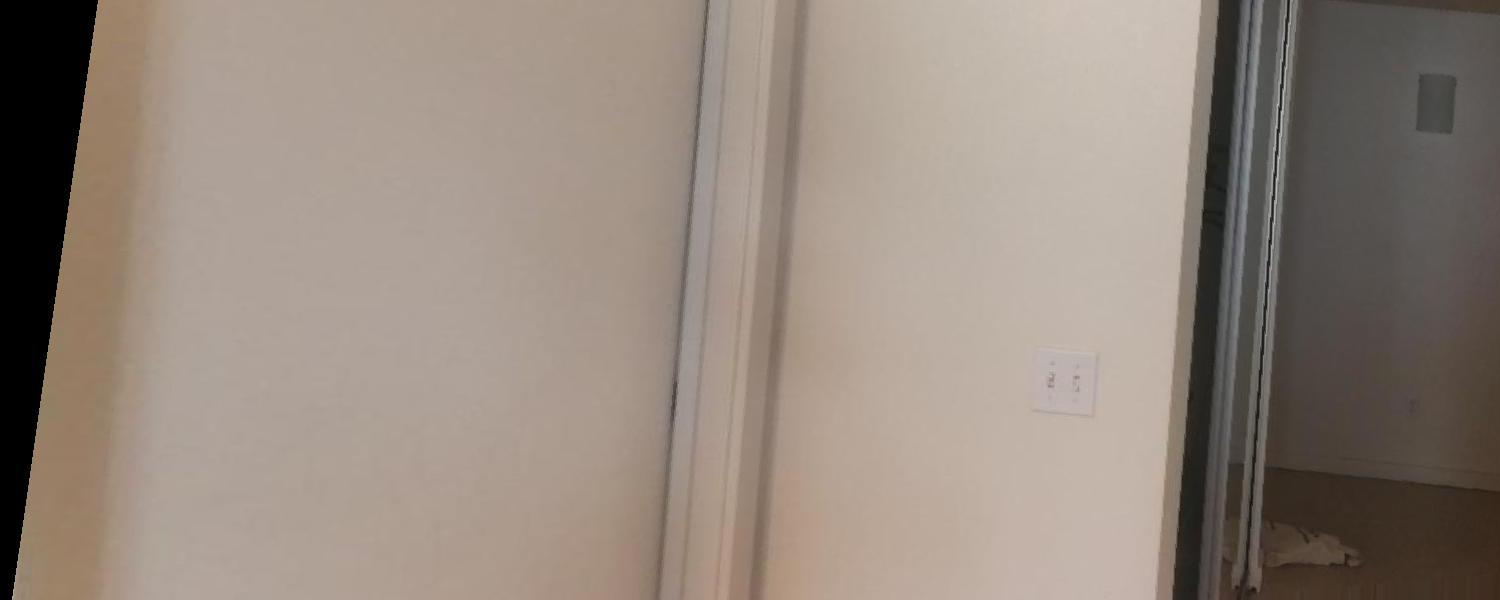
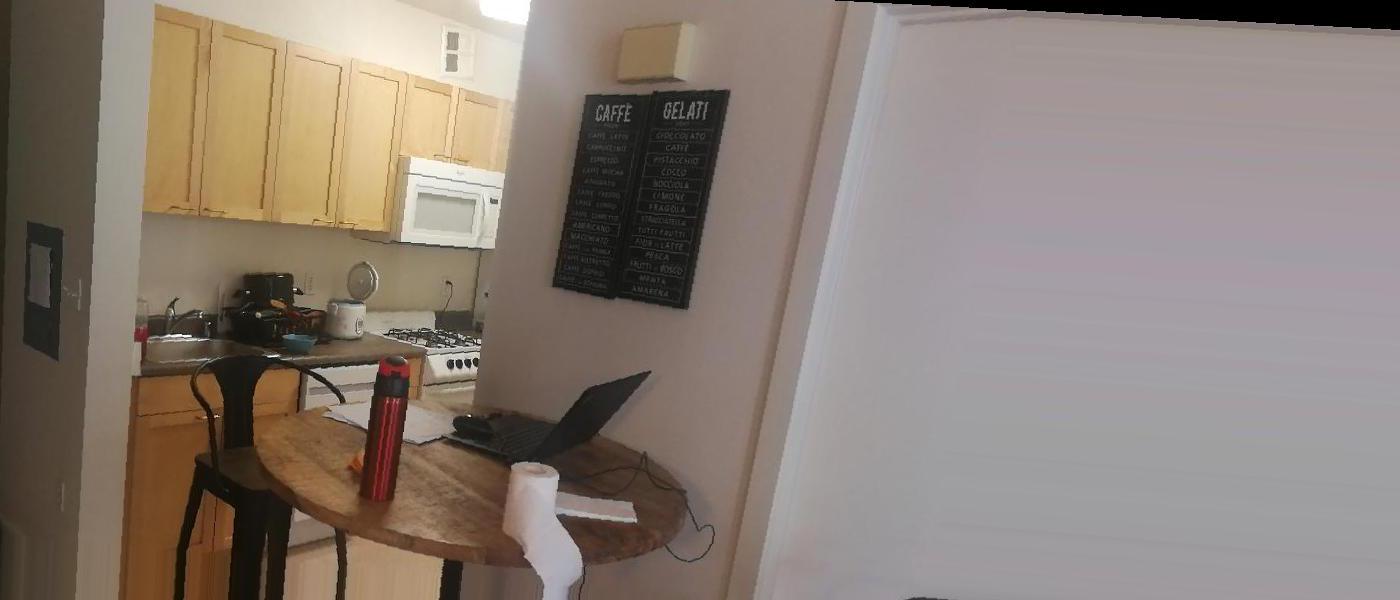
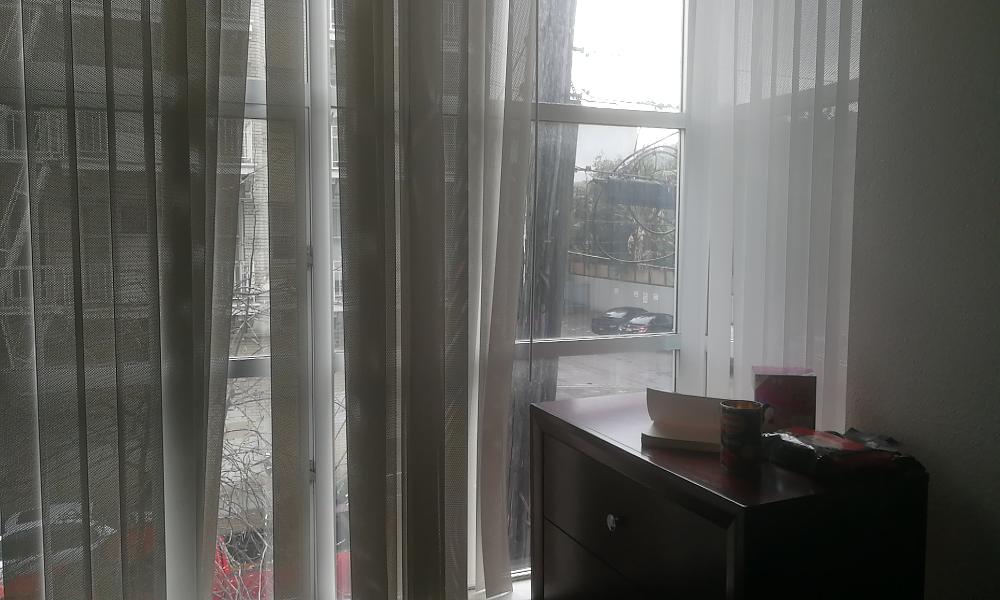
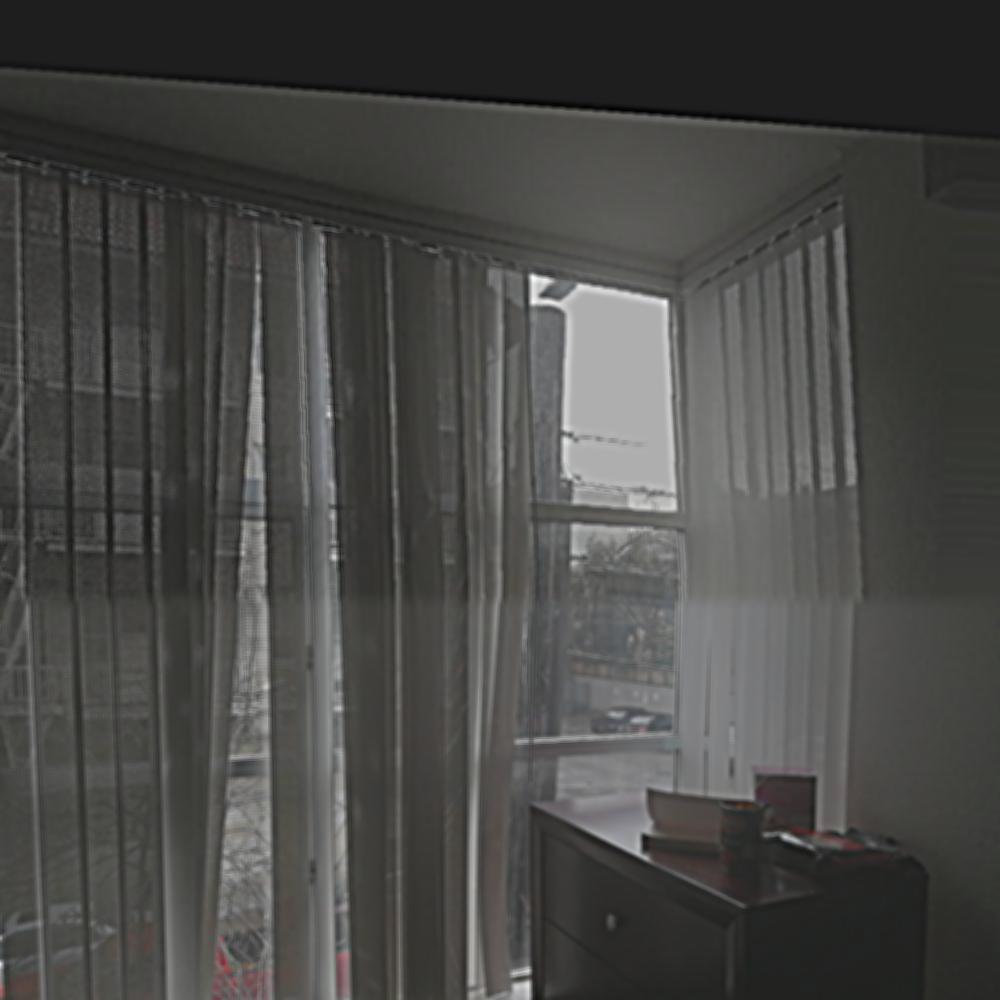
I find pictures from the webite from different angle of the same building (the British Museum), and also took some photos from my cell phone since the cell phone does not expert in taking photos, the resolution is a little bit low. I will show some of the images I use below:
Just like the face morphing in project 3, we also need a 3*3 matrix to 'translate' from one image to the other. There are 8 parameters that we need to know so we should pick at least 4 points to solve the equation sets. But in order to get a more stable results,the more correspondent points, the better. And then we use least-squares to get the best results. The math formulation is as below:
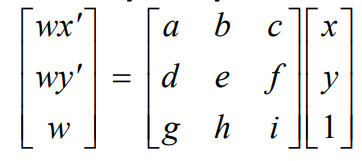

A should be parameter matrix and b should be value matrix. And we will generate the parameter which minimize the equation above.
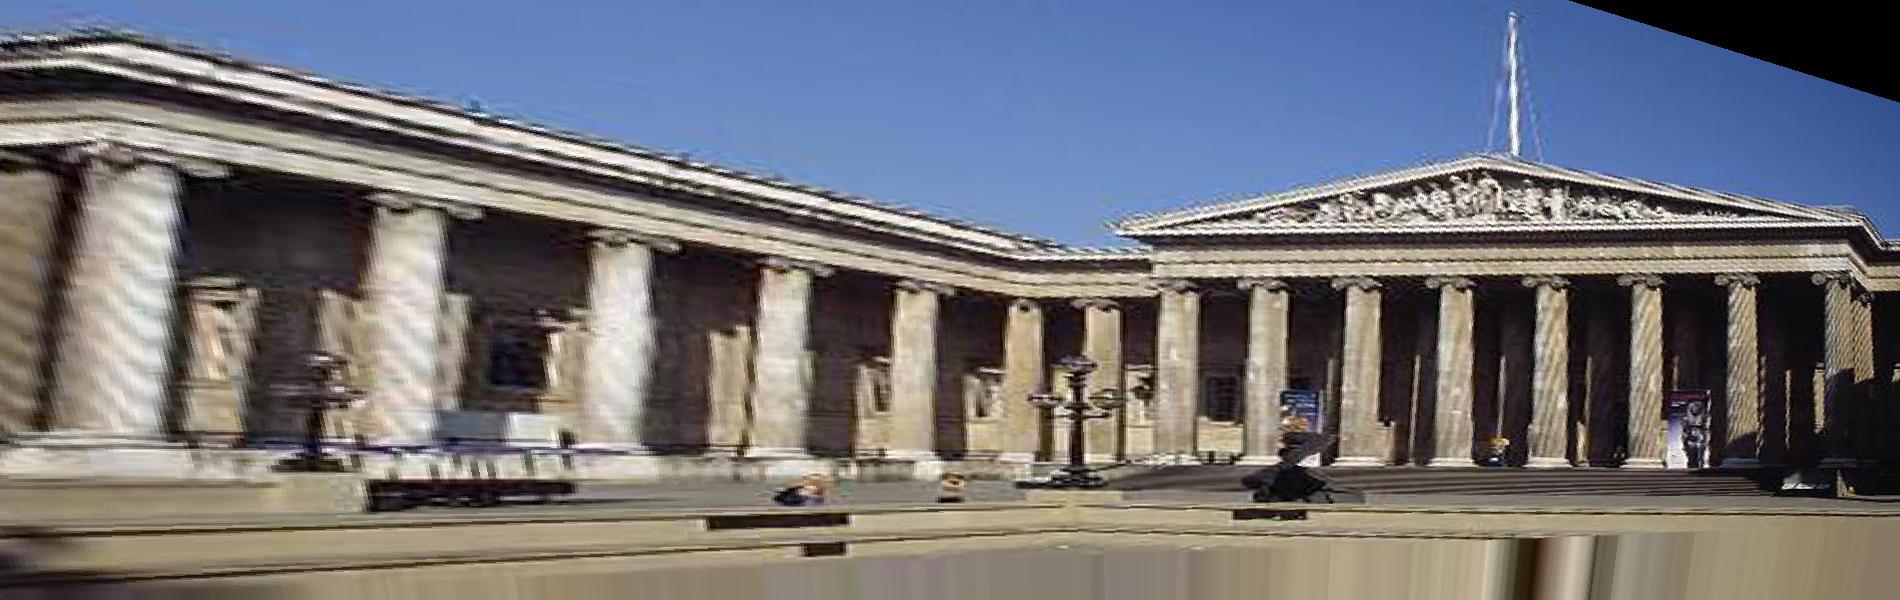
In order to get a better performance, I use inverse warp to rectify the images. Unlike the warp of project3. This time if we want to 'translate' image1 to image2, we need to acquire all the image1 to another image. And in order to get every points pair. I use a larger array from negative 1 times the size of image to positive 2 times the size of image. If the point multiply the matrix H is negative, just delete it. Since there are still some negative points, I also use a large mask(black) to get the 'translated' image (add the abs of minimize value of every value to get positive value) and then crop it to get the final result.
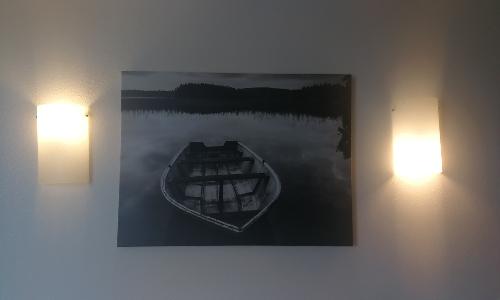
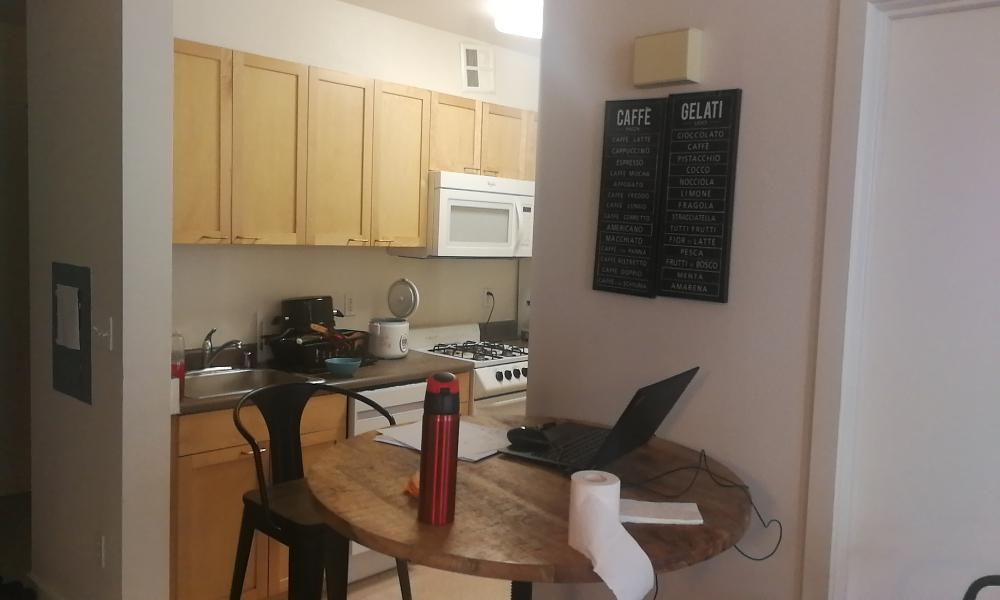
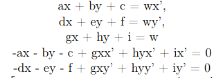
Original Image : Reference Image
Result


Result
In this part,we can just use Laplacian pyramid what we implement in project2. The only difference is that we need to know the size of mask and find the same content of different images to make them aligned.
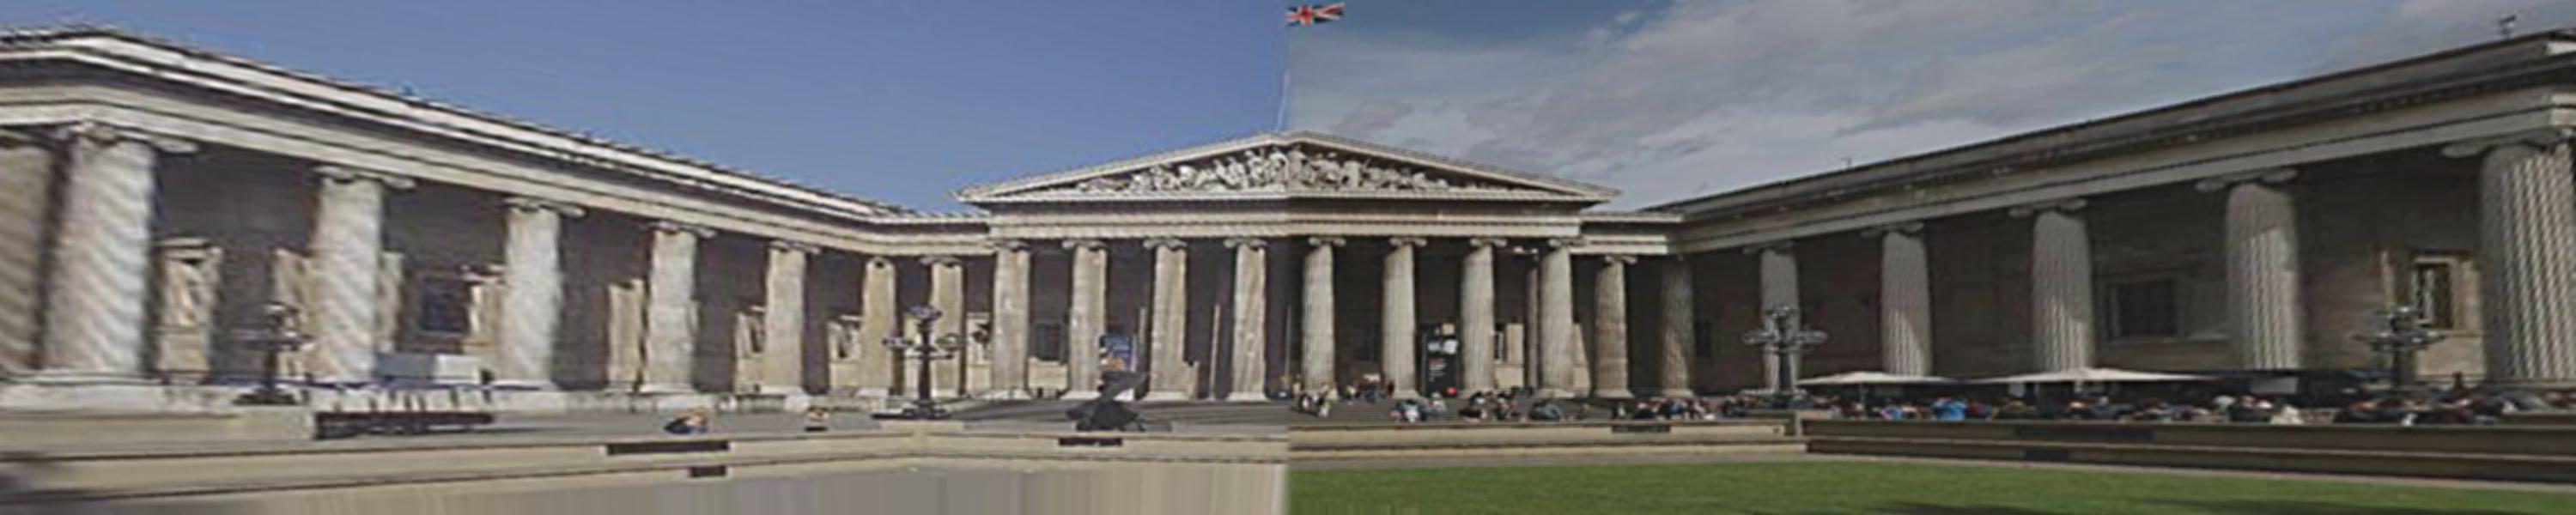
Three examples of mosaic images:


In the second part of project5, we will implement the auto-stitching without using ginput and in that way it's more accurate and easier to have a better result.
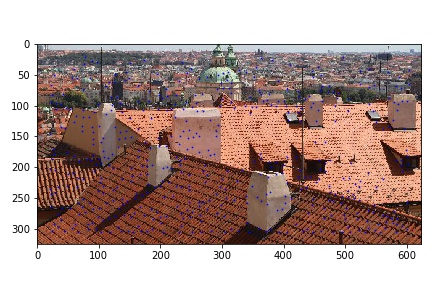
I just use the sample code to generate blue points on the background.The key point should not be in the range of 20 to the edge.The bigger of the image,the more of the key points . I use the sample images which provided in the piazza to test and I also use some of image which I used in partA.
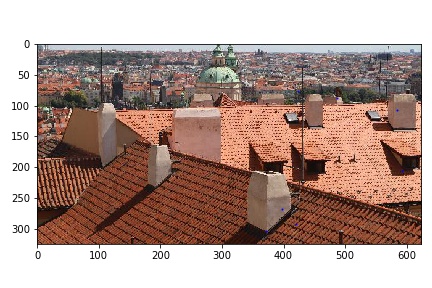
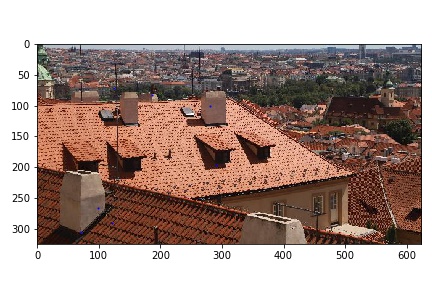
Origin images:
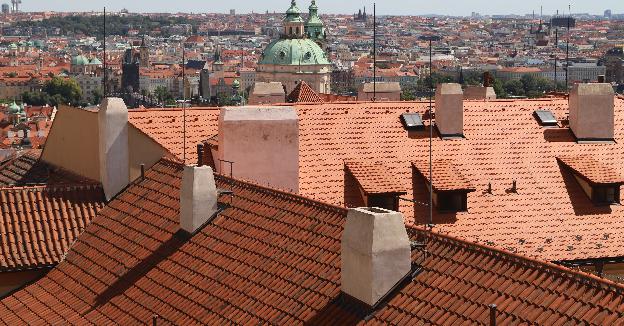
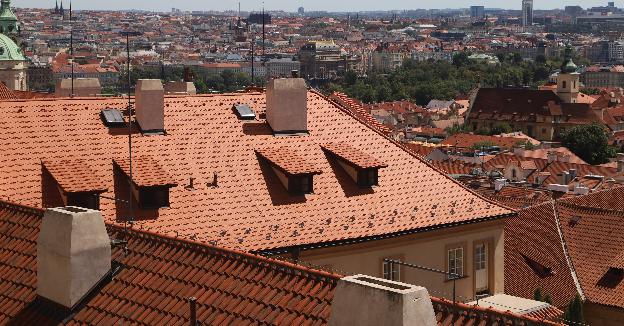
Harris Interests Points images:
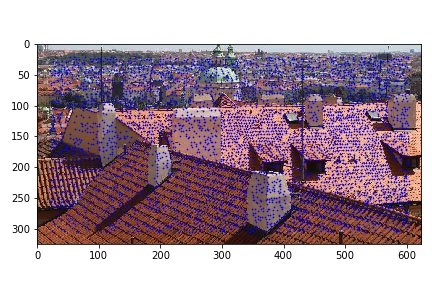
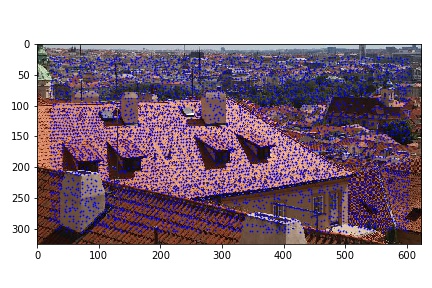
In order to reduce the harris key points and select the best 500 Harris Interests points, I use the Adaptive Non-Maximal Suppression(ANMS) . The Crobust is 0.9 and the math formualtion is as below:

After using ANMS,we should extract 8*8 patch features from 40*40 patch of blured image by downsampling since it will be more accurate. We should also normolized every feature vector respectively. After doing that we should flatten them into 500*64 vector.
After extracting features,we should match all the feature and record their SSD distance. I also use the sample code which is provided. For each point in the first image, I find the two points in the second image with the smallest difference scores (i.e. highest similarity) and calculate their score ratio. If it is below our threshold (default=0.5 as per Brown et al.), then we keep our match between the point in the first image to the point in the second image with the lowest difference score.
We can randomly select 4 matching points and use these 4 points to acquire homography matrix H and warp all the key points by the matrix. Record the number of inliers and keep the largest one. My for loop repeated for 10000 times. After choose the best matrix,warp one image to the other by using a larger canvas.
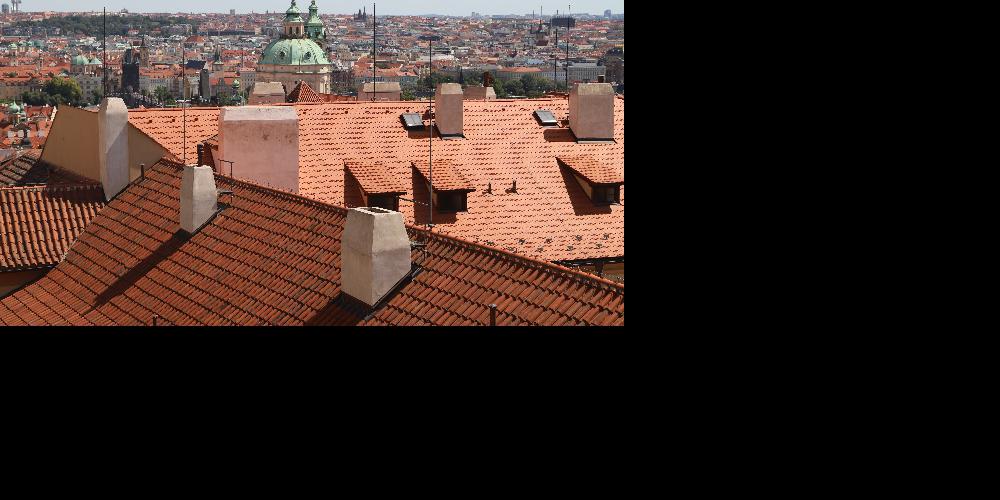

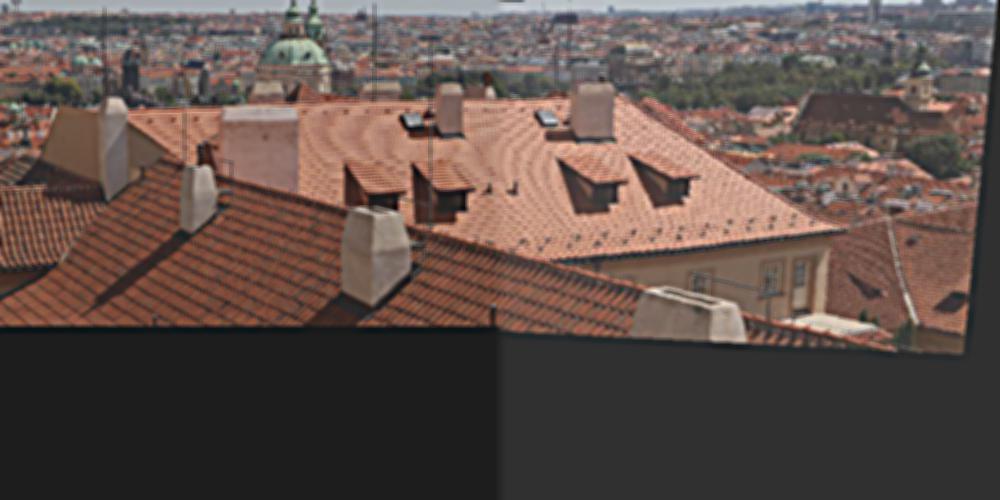
I also use Laplacian pyramid to blend images. The first two images are images that I got from piazza and the last two images are images from part A. And I also make comparison.
Example1:
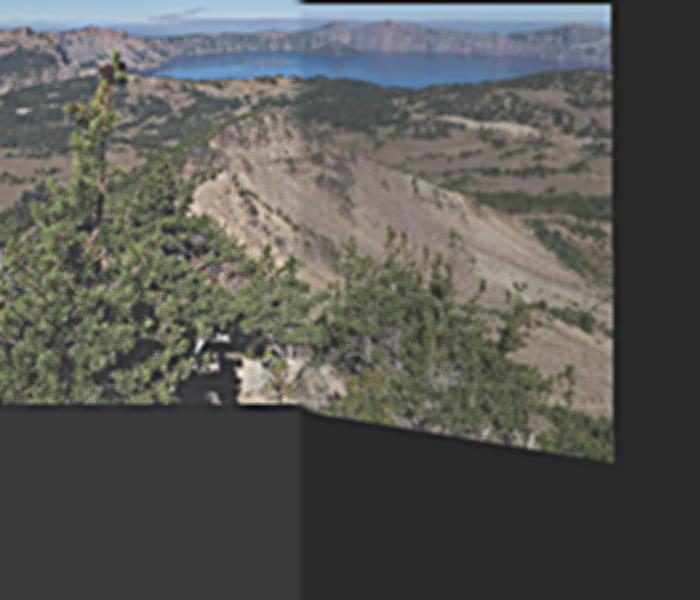
Example2:
Manually : Automatically
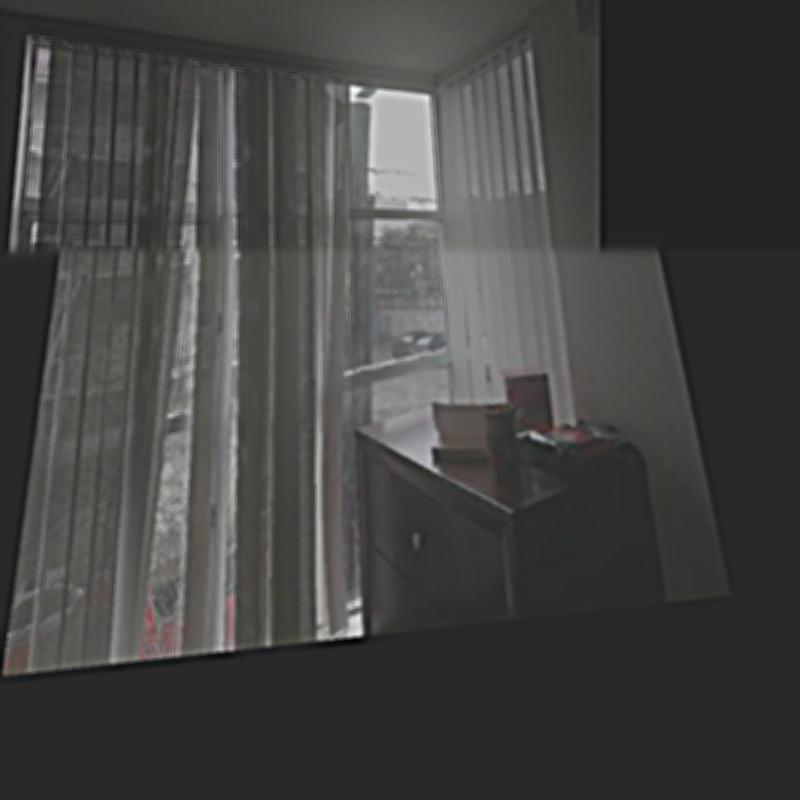
Manually(Up) : Automatically(Down)
I learned a ton in the first part of project 5. The most important part is the warp part. I got more familar with the warp function. It was just like the combination of project2 (blend using a laplacian pyramid) and project 3(how to warp one image to another image. It is like a overview of the former project and I really get funin this project. I also learned about how to extract feature from image and choose close one.