
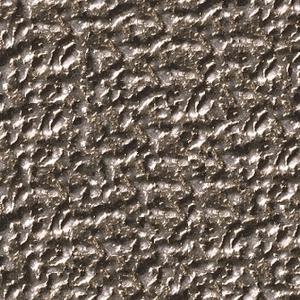
The goal of texture synthesis is to create a larger texture sample from a pre-existing smaller sample without visible seams. Texture transfer maps the texture of one sample onto another object while preserving that object's appearance.
| |
|
|
|
|
|
Fill the larger image with the small square patches randomly picked from the sample texture.
Fill the larger image with the small square patches randomly picked from the sample texture.
The method follows overlapping quilting with one additional step. Instead of copying the patch directly to the current result, find a min_path so that along the min_path the ssd between the overlapping regions are smallest. To find the path, I used dynamic programming. After getting min_path, leave the left part/ the top part of the path as it is and copy the selected patch only to the right/bottom part of the path. This can be achieved by creating a binary mask with ones over the region down/to the right of the path and multiply the mask with the selected path.
Notice: it is important to select a good window size so that it can capture the desired texture.
 |
 |
 |
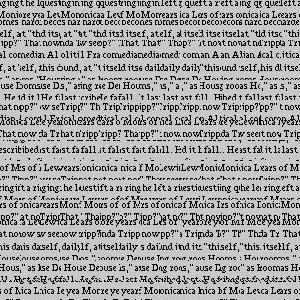
Random: It preserves the text texture and yet the space between lines are uneven and some lines tend to overlap with each other.
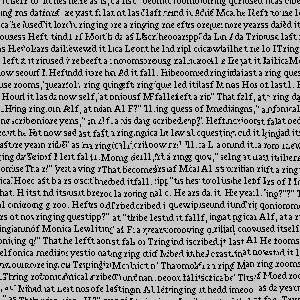
Overlapping: The image preserves text texture and the space between lines are even. Yet, some letters of the words tend to be squeezed together.
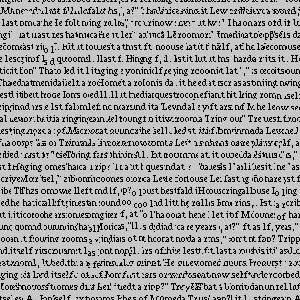
Seam_finding The result is pretty similar to overlapping method. There are less squeezed words and overall better aligned.
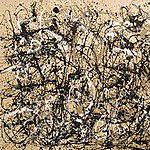
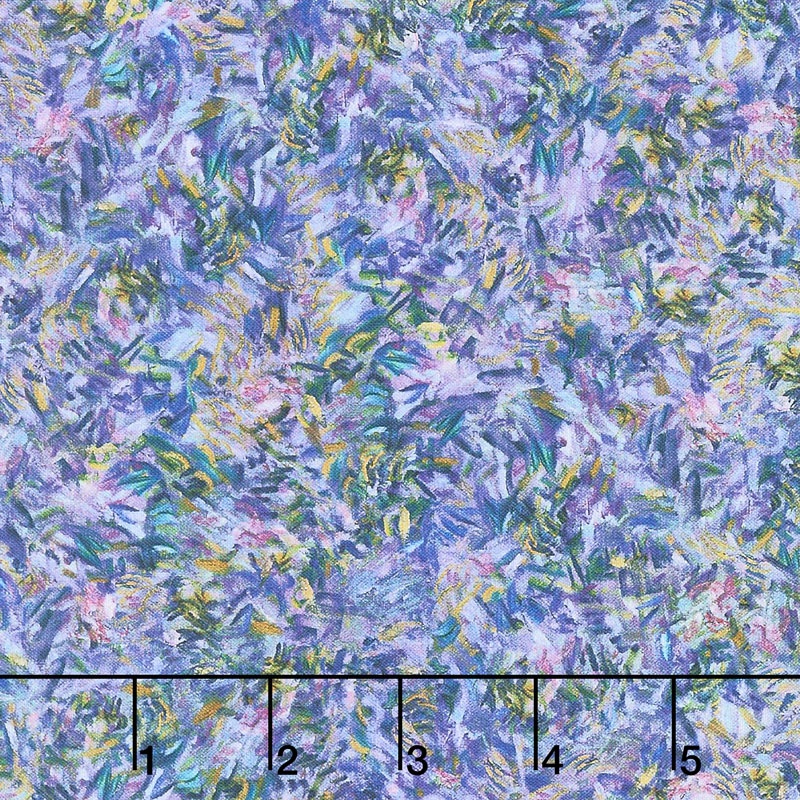
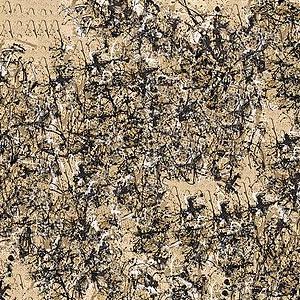
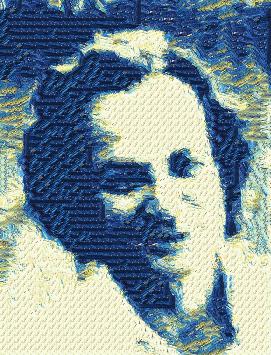
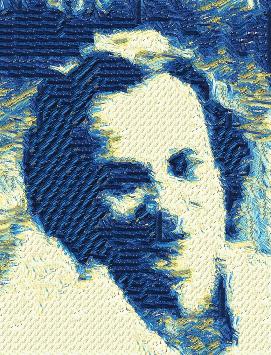
Here are 5 more results. I also tried to mimic the texture two world famous paintings: Jackson pollock’s Autumn Rhythm and a part of Claude Monet’s waterlily.
 |
 |
 |
 |
|
|
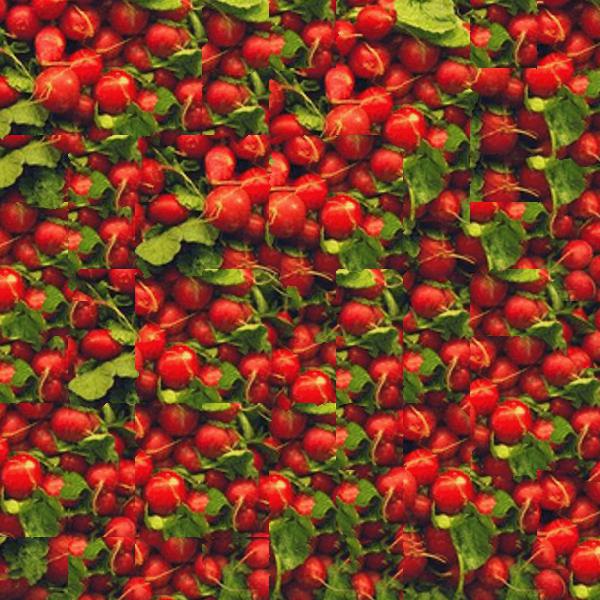
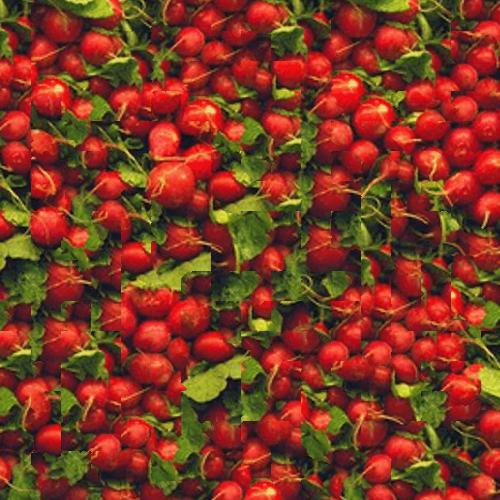
Yet the algorithm failed to produce a satisfying result on radish texture. This is because the texture of radish requires a rather large patch size and leaves are confusing make it hard to create a perfect seam. Here is a failed example of radish.
 |
 |
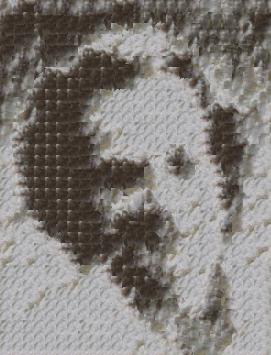
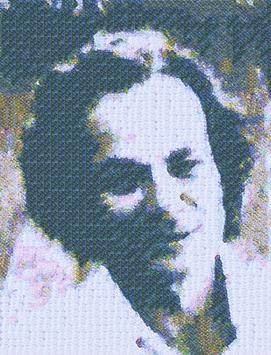
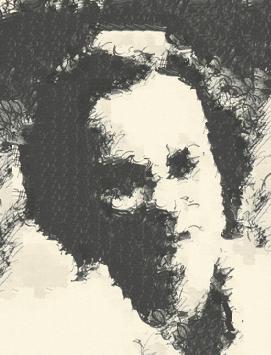
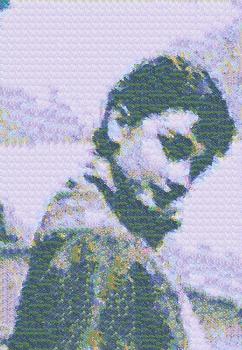
To achieve transfer textures, add one additional error term to the cost term in image quilting with seam carving. I used the SSD between the sample patch and the patch in the target that corresponded to the patch in the output we were trying to fill. Thus, the cost of each patch is now a weighted sum alpha*overlap_error + (1 - alpha)*target_errorwhere overlap_error is texture and target error is the additional error between the sample patch and the target texture. I find smaller patch size gave better results because it can make the boundary between the patches more natural.
Compare different patch size.
 |
 |
 |
 |
 |
 |
I implemented seam-cut with dynamic programming in python. Here are some details in process.
 |
 |
 |
 |
 |
The objects which are far away from the camera do not vary their position significantly when the camera moves around while keeping the optical axis direction unchanged. The nearby objects, on the other hand, vary their position significantly across images. Averaging all the images in the grid without any shifting will produce an image which is sharp around the far-away objects but blurry around the nearby ones. Similarly, shifting the images 'appropriately' and then averaging allows one to focus on object at different depths.
For every image taken by the camera in position (u, v), shift the image by c * ((u-8), (v-8)). This shift the image towards/away from the central image produced by the camera in position (8,8). Then we average all the images at once. With a positive constant, we have a closer focus while a negative constant gives us a deeper focus.
Here are two gifs that each includes refocused images with parameter c ranging from -1 to 3 with an interval of 0.25. As we can see the images are changing the focus from the back to the front.
 |
 |
By averaging fewer images, we have a smaller aperture since there are fewer displacement among the images thus creating less bury effect. By averaging larger number of images, we have a wider aperture.
Here we set parameter r as the radius of the aperture. We include all images with position (u,v) if the distance between (u,v) and the center (8,8) is less than r. Here are some results with different r and same focus (c=1).
 |
 |
 |