CS194-26 Final Project
by Heidi Dong
I chose to work on Lightfield Cameras and Seam Carving! I really enjoyed our options for the final projects, and overall this is one of my favorite CS classes that I've taken!
Lightfield Camera: Depth Refocusing and Aperture Adjustment with Light Field Data
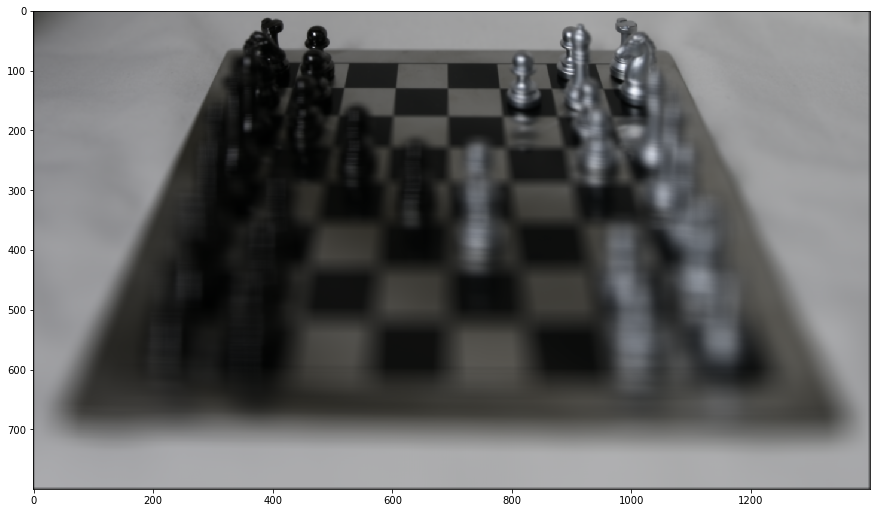
The main idea of this project is based on this paper by Ren Ng et al. To get our lightfield data, we capture an array of images in a grid. Then, we can get cool effects like changing the depth of focus with simple operations like shifting and averaging the images. I used the chess dataset from Stanford.
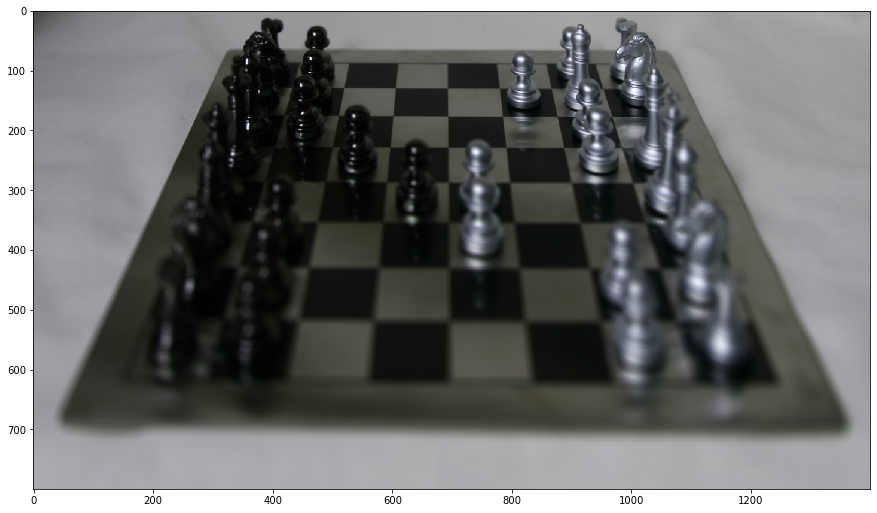
Averaged image with no shifting
When I just average all images in the dataset, then the result is that only the objects further away look like they're in focus. This is because when a camera's position is translated, the objects in front move a lot, while the objects in the back don't move much.

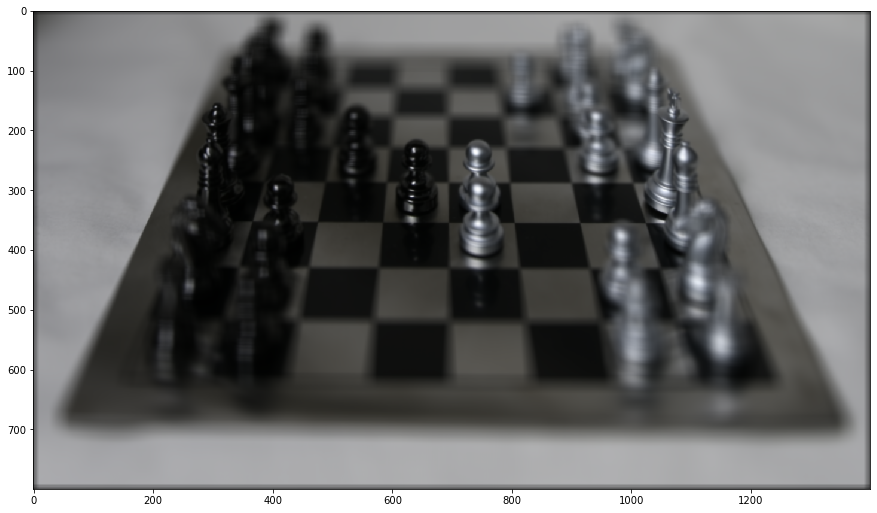
Depth Refocusing
Animated gif of results:
Each image has x and y coordinates representing the image's relative position. If we know how the particular image is offset from the center, then we know the direction to shift the image for alignment. Since the coordinates are at an unknown scale, then we multiply this by a constant, c. So, the shift is like:
offset_x = c * (center_x - x)offset_y = c * (center_y - y)
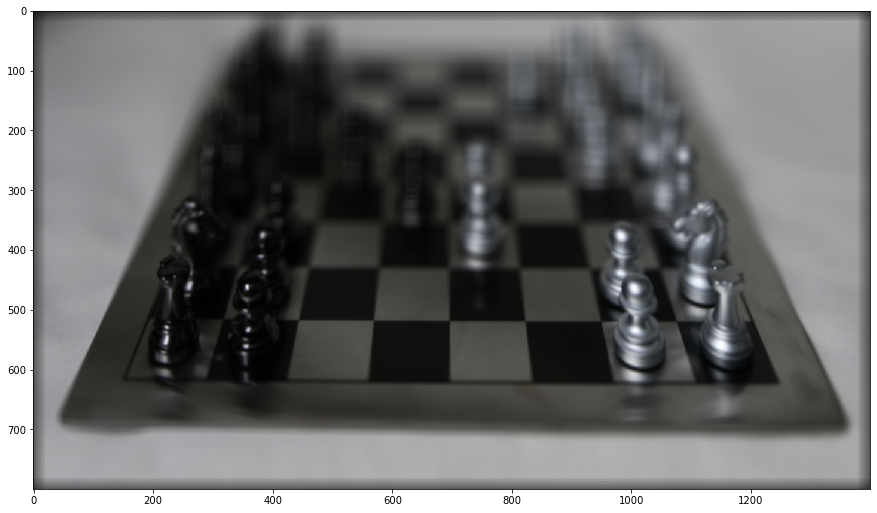
The coordinates of the center point is just the x and y associated with the center image. When the constant is positive, then objects further away will be in focus, and when the constant is negative, then closer objects will be in focus.
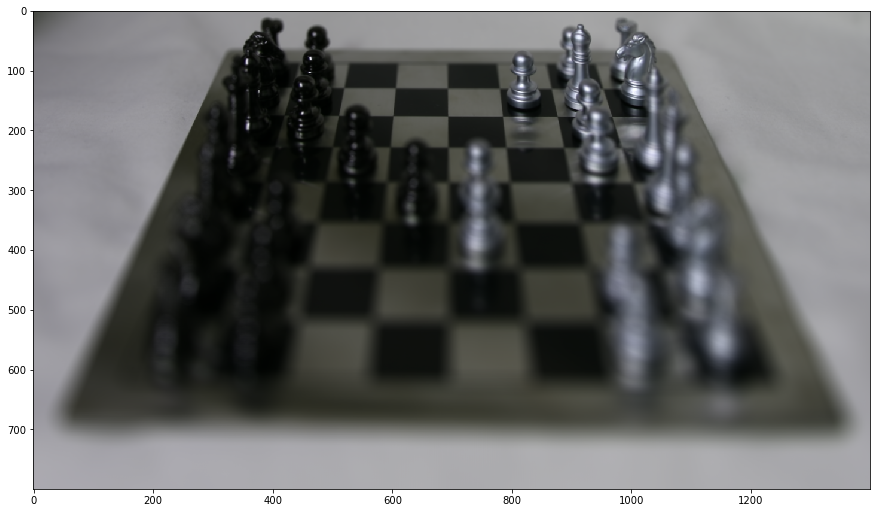
c = +0.1
c = -0.1

c = -0.25
c = -0.5
Aperture Adjustment
Animated gif of results:
The size of the aperture represents how much light is captured by the camera. Using more images is like using a larger aperture, because more of the scene is captured, and there is more data. Similarly, using fewer images simulates a smaller aperture. To create this effect, we'll only average the images positioned within a certain radius from the center camera. We calculate the distance of the image coordinates from the center to determine whether to include the image data. As you can see, a larger aperture makes the photo look more like a close-up shot of the objects.
r = 5px -> 4 images used

r = 10px -> 11 images used

r = 20px -> 47 images used
r = 40px -> 189 images used
r = 80px -> all 289 images used

Bells & Whistles: Using my own data!
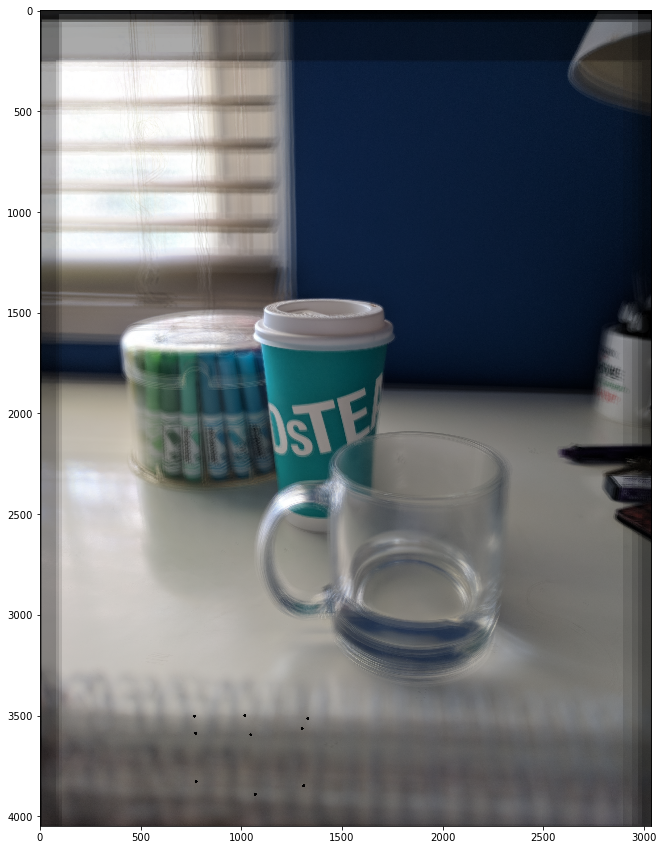
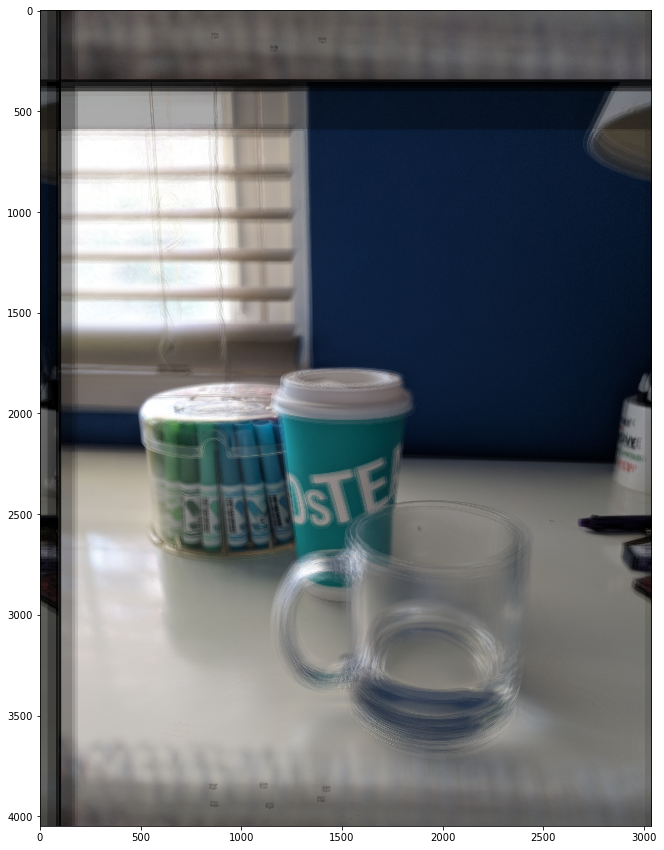
I wanted to try collecting my own data and seeing if I could recreate the simulated depth and aperture effects. I used my Pixel phone camera to take 9 photos in a roughly 3x3 grid. I tried to keep the grid consistent by using a spiral notebook in the foreground as reference.
After several attempts, I continuously had an issue where my images were too far apart from each other, since my grid was not very precise. I ended up manually aligning my images in Photoshop first, such that the teal cup is in focus. Then, I used the spiral notebook in the foreground as a reference to determine the pixel coordinates of each image's position.
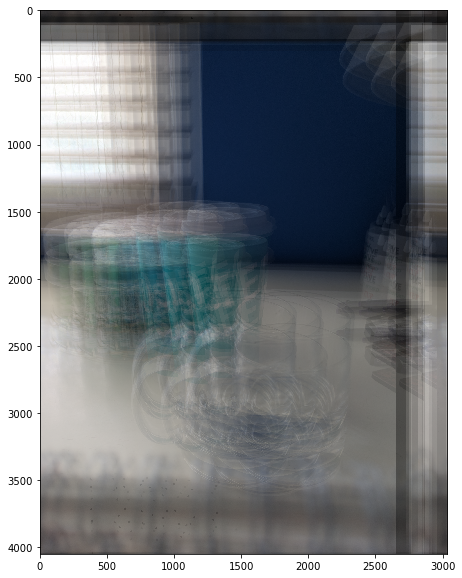
This is the averaged image. The black dots in the bottom left indicate the grid that my images are positioned in:
I used the same methodology as before to simulate the depth refocusing. I attempted to get the glass mug in focus, but it didn't really work. My guess is that since my coordinates are based off of the spiral binding in the bottom left corner, and there is probably some lens distortion near the edges of the image, then my coordinates are not precise enough for aligning the images properly.
c = -0.05
c = -0.1

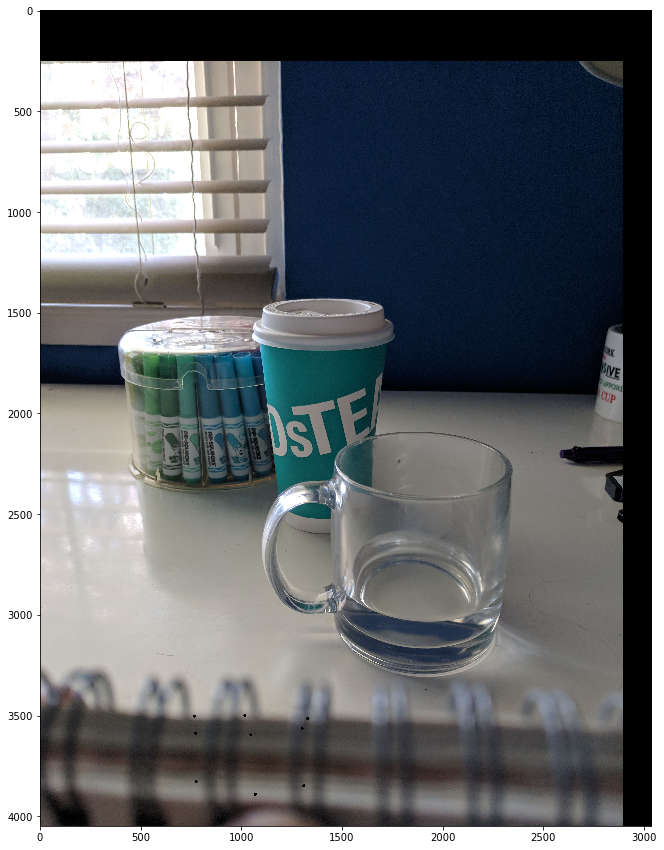
However, with a big enough shift, the spiral notebook in the foreground aligned pretty well!! I think this is because my image coordinates are based on the spiral notebook, so it was able to recover the focus better than the glass mug. Here is the result, albeit blurry:
c = -0.7
For aperture adjustment, you can see the effect of only looking at the center image (simulating a small aperture), versus increasing the radius and averaging all 9 images (simulating a larger aperture).
I was very surprised that even with my rudimentary phone images, I could still achieve some of the simulated effects!
Final thoughts on lightfields
I had heard of the Lytro camera before, a long time ago, and I thought it was really cool that we got to learn about how it worked!! I was surprised that the depth and aperture effects could be simulated with such simple operations. I think I achieved a better understanding of how having a grid of cameras creates the data necessary for these effects, but I don't fully understand the equations and lens diagrams in the research paper.
Seam Carving
Seam carving is a context-aware method of resizing images, as described in this paper. The main idea is that we find sequences of pixels spanning opposite side of the image to remove, such that removing those seams minimally disturbs the appearance of the image. We determine the "importance" of each pixel with an energy function of our choosing. Then, we find a seam of lowest-importance in the image using dynamic programming. Finally, we can resize the image by removing the pixels of that seam. We can repeat this process to resize an image to our desired dimensions. By resizing an image with this method, we are able to maintain the main subjects of an image, since they usually have more distinct details that stand out, making the pixels more "important," depending on our energy function.
Calculating the energy at each pixel
For my energy function, I decided that the energy of each pixel would be the differences between the pixel colors on the sides of the pixel:
e(y, x) = (img[y-1][x] - img[y+1][x])^2 + (img[y][x-1] - img[y][x+1])^2 Thus, a seam of solid color would be less important than a seam of highly varied colors. This helps preserve the detailed parts of an image, since details are created by high-frequency color changes.
Finding seams
As detailed in the paper, we can use dynamic programming to compute the cumulative minimum energy M at each pixel of the image:
M(i, j) = e(i, j) + min(M(i-1, j-1), M(i-1, j), M(i-1, j+1))
Basically, it's the energy at that particular pixel plus the minimum cumulative energy of the neighboring pixels above it, assuming we were finding a seam to go from the top to the bottom of the image. To find horizontal seams, we can just transpose the image and then find a vertical seam.
Successful examples
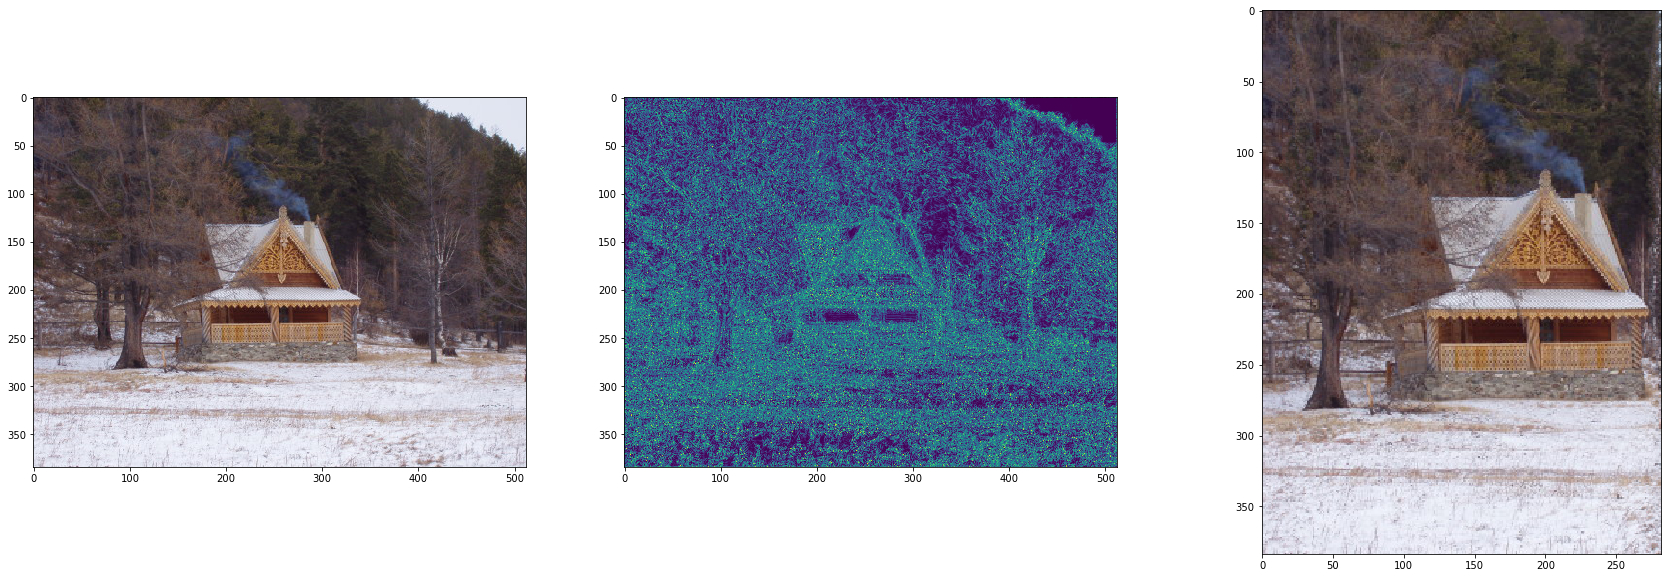
In this following example, I removed 230 vertical seams from the image. The original image is on the left, the energy representation is in the middle (lighter = more energy), and resized result is on the right. In the result, the house and tree are preserved because they have more color variation, and indicated by the higher energies.
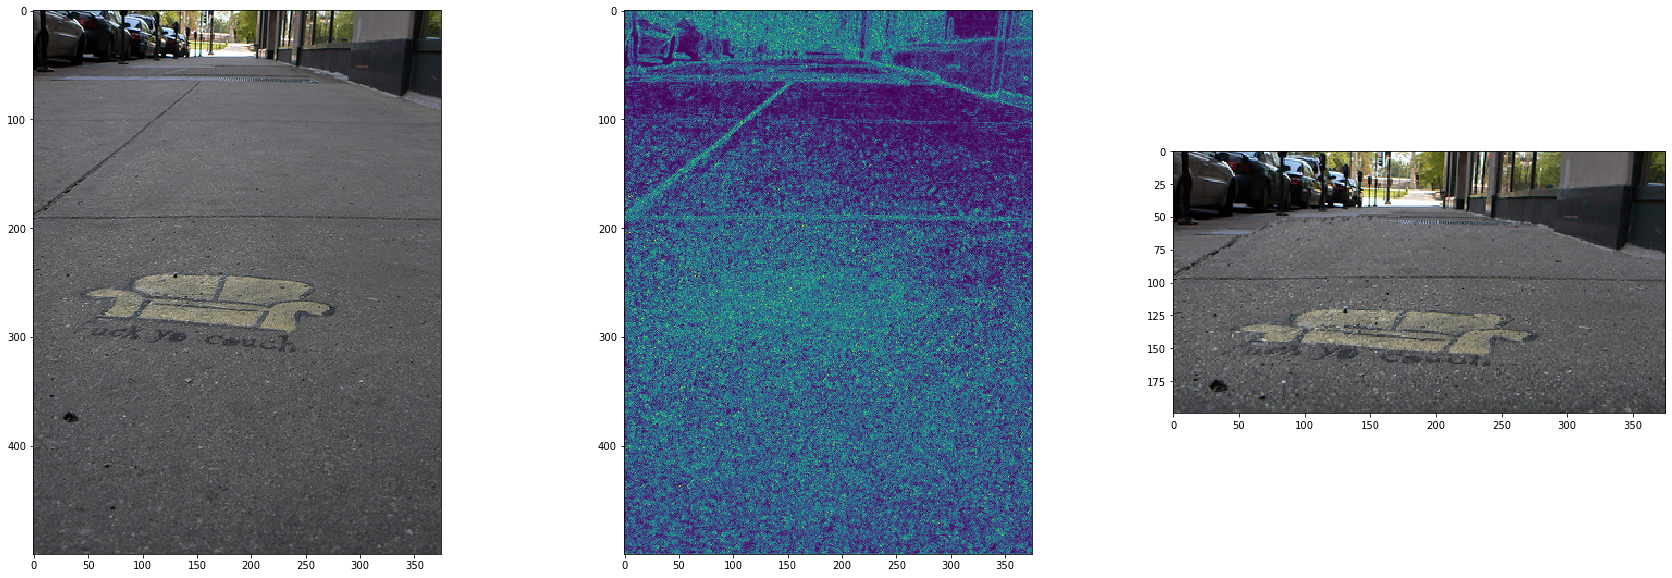
This example shows the result of removing 300 horizontal seams. The low-energy area is the middle patch of sidewalk, as indicated by the energy image.
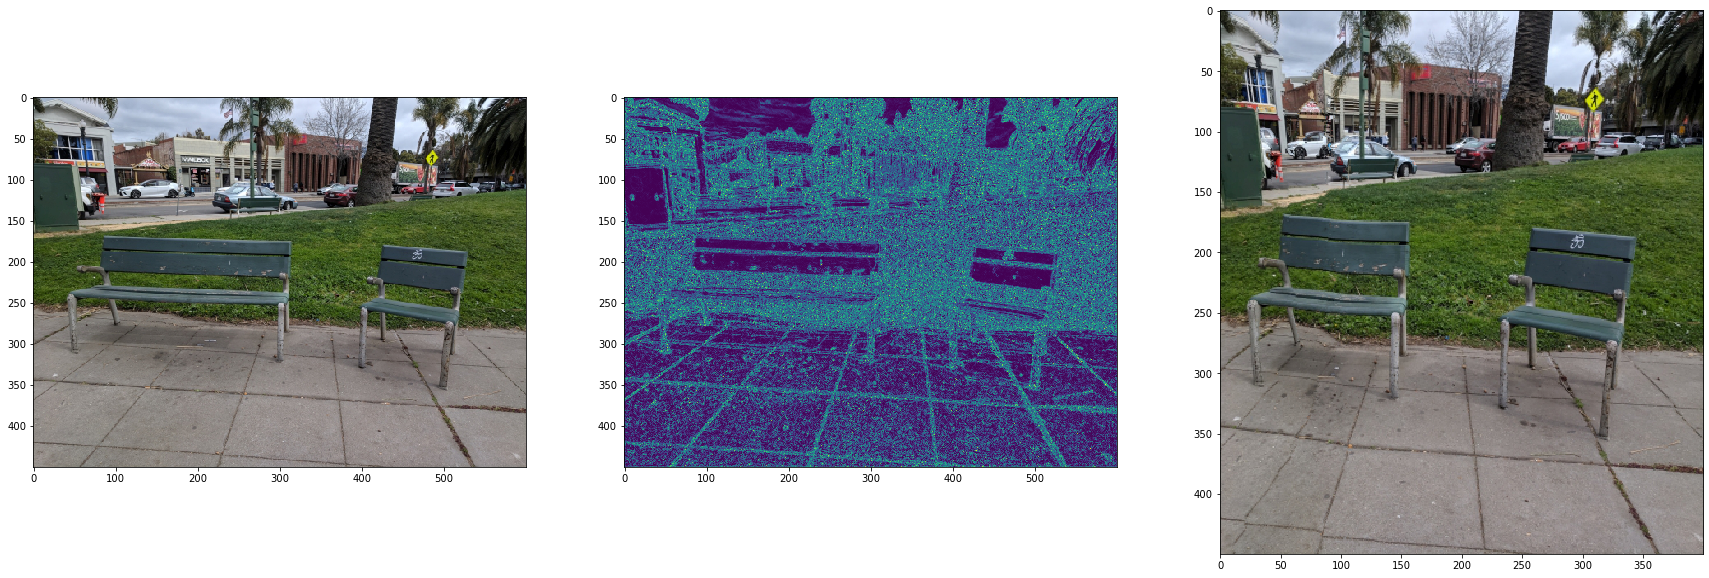
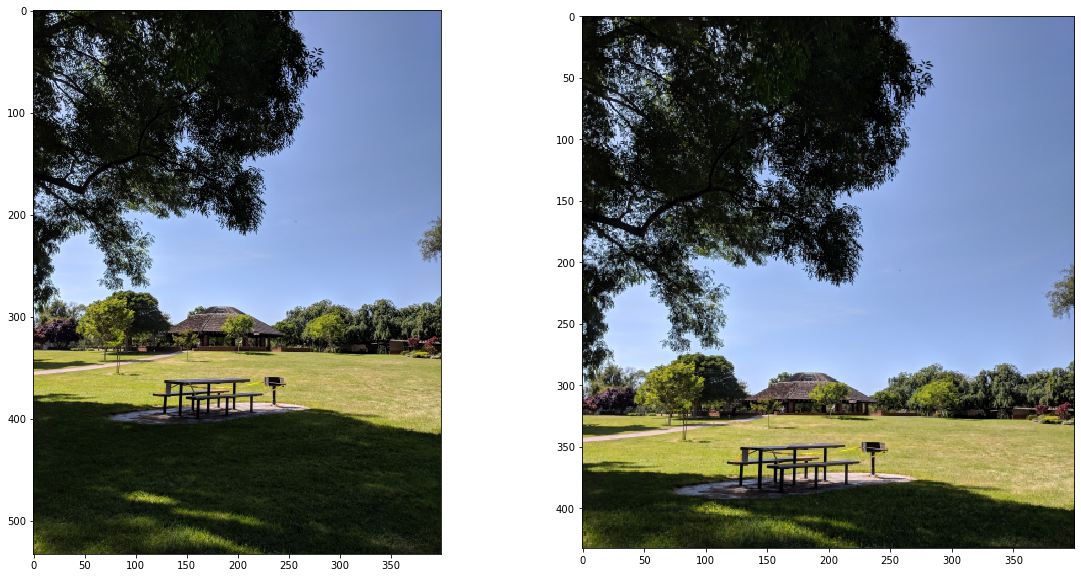
I thought this was a fun example of removing vertical seams, because the long bench is shortened, but the image is still largely preserved! We still get the essence of the image (two pieces of seating in a park).
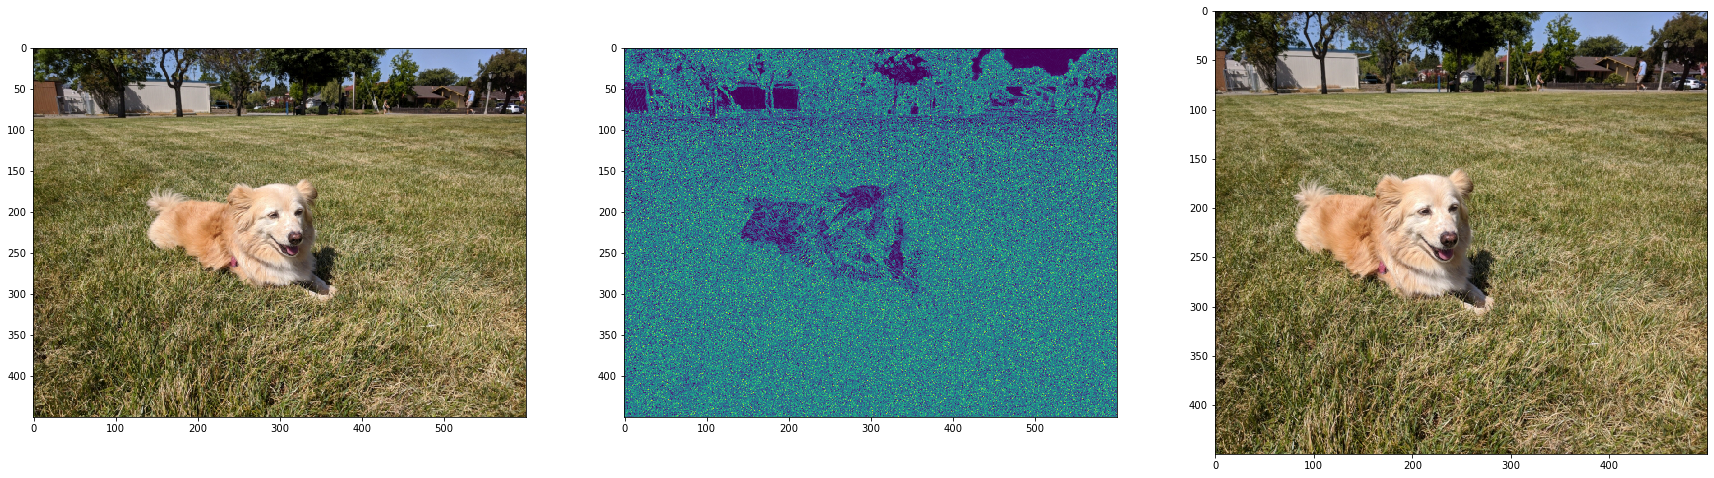
I tried removing vertical seams on this picture of my dog. I was surprised that my dog wasn't distorted much, but it seems like my dog's fur is more solid colored than the grass, so some vertical seams that include my dog were still cut in the process.
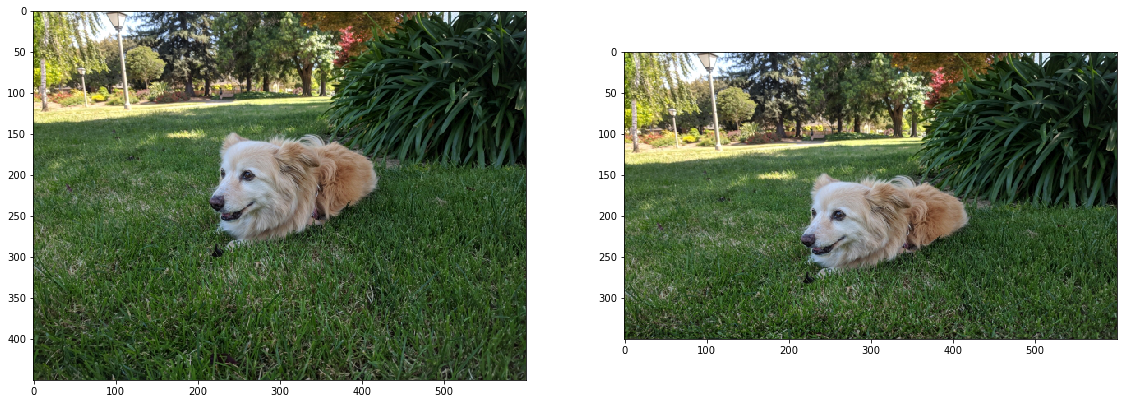
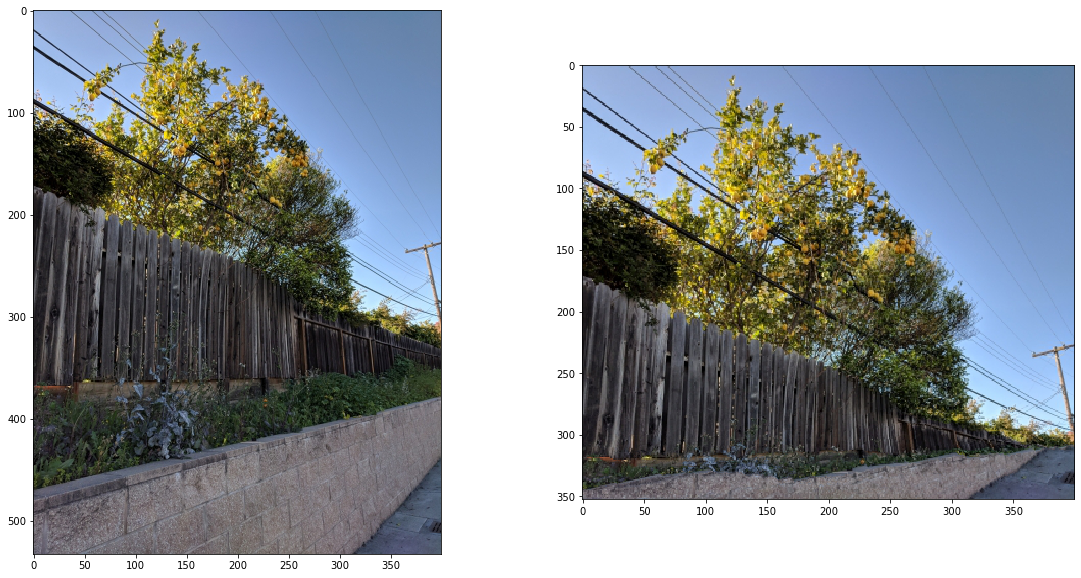
Here are a few more similarly successful image resizing examples, with the original image on the left, and the seamcarved image on the right:
Failure cases
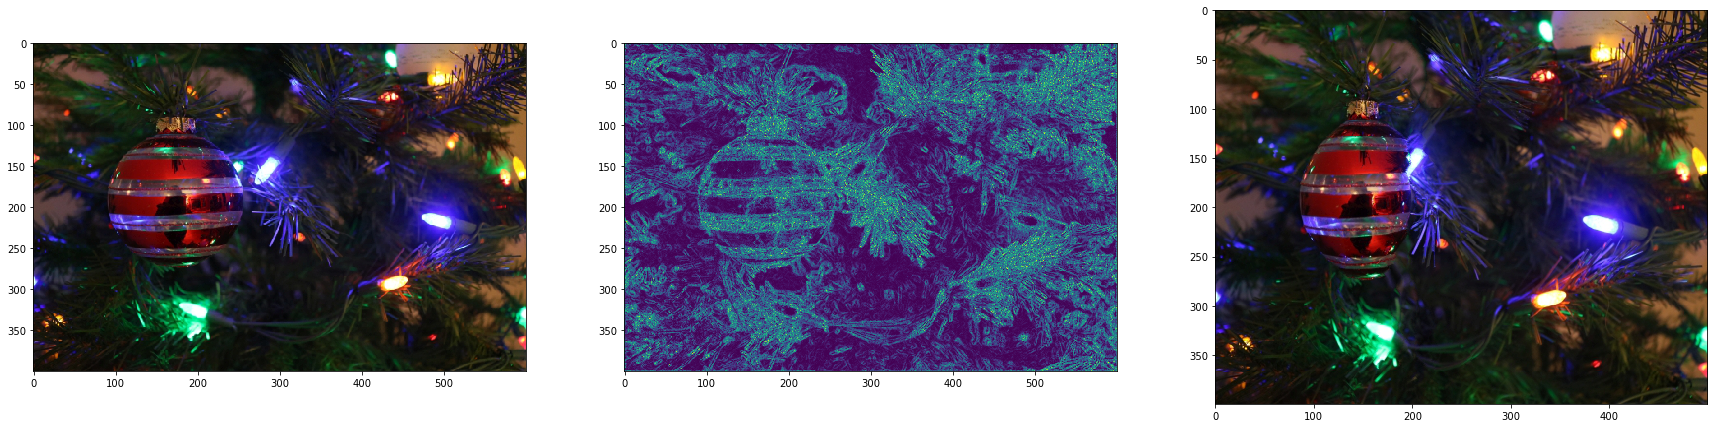
In this example, I thought that the vertical seams that get removed would be the dark patches of the Christmas tree. Instead, the colorful ornament got distorted:
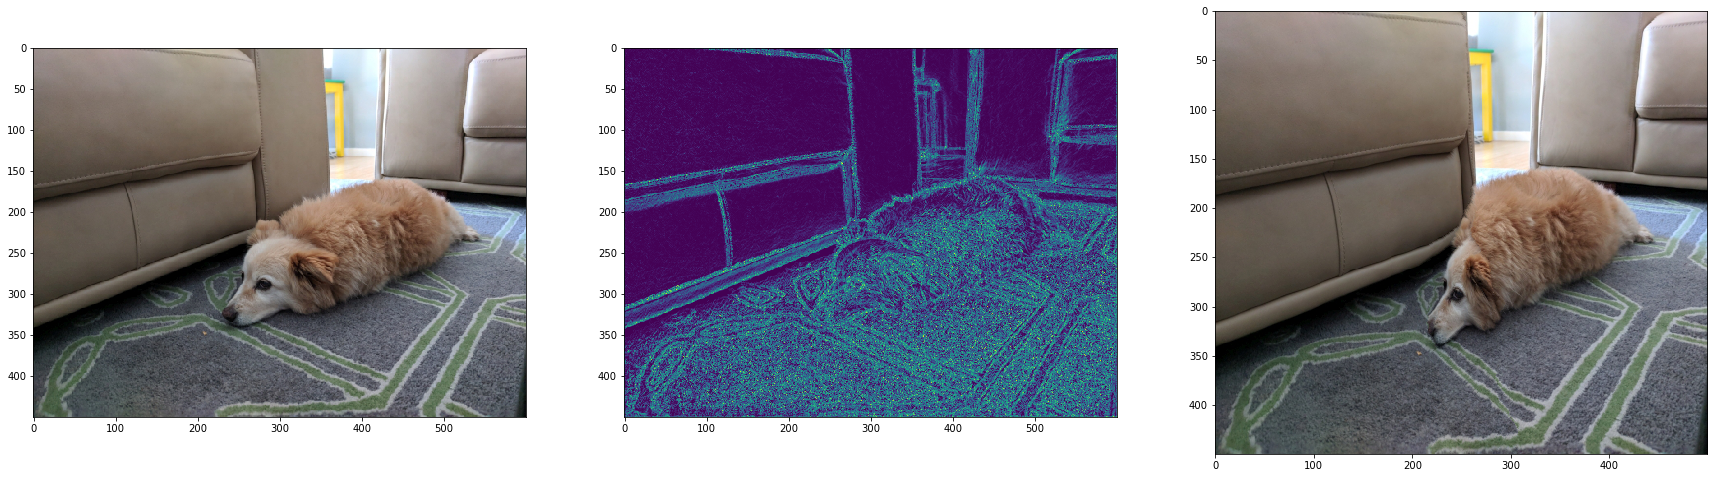
This example fails because my dog is a similar color to the couch, which made that middle area an optimal area to remove. As a result, my dog/potato got squished. :(
Final thoughts on seam carving
I've seen this method of seam carving before, but I had never read the research paper. I learned a lot more about the formal mechanics of this method by reading the paper, even though research papers are difficult to read. This project was also a good refresher on dynamic programming. Overall though, I found this project surprisngly fairly straightforward!