Final Project Part 1 - Seam Carving
Project overview
This project was inspired by the paper Seam Carving for Content-Aware Image Resize by Shai Avidan and Ariel Shamir. We determine the "least important" seam (sort of like a continuous line across an image) in the image, and then we remove that seam to shrink the image. After a few iterations, we obtain a signficiantly resized image with almost no distortion to the key image objects.
The paper also describes ways to stretch images, diagonally resize an image, and remove objects. It is interesting stuff, but it is not implemented in this project.
Carving images
First, we have to define an energy function, which indicates how important a pixel is to the composition of the image. I used a simple gradient function as my energy function. Then, I implemented a dynamic programming algorithm which computed the lowest energy seam value and would be able to backtrack up the entire image to determine what path led to this seam. Finally, in a loop, I would remove the lowest energy seam at each iteration and shift pixels around to form a resized image.
I only implemented it for determining vertical seams (top to bottom), so for determining horizontal seams, I simply transposed the image before starting the seam carving loop, and transposed again after fully resized.
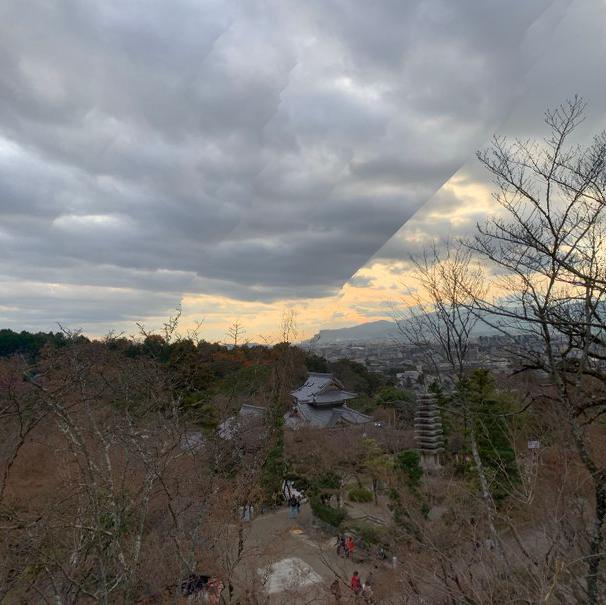
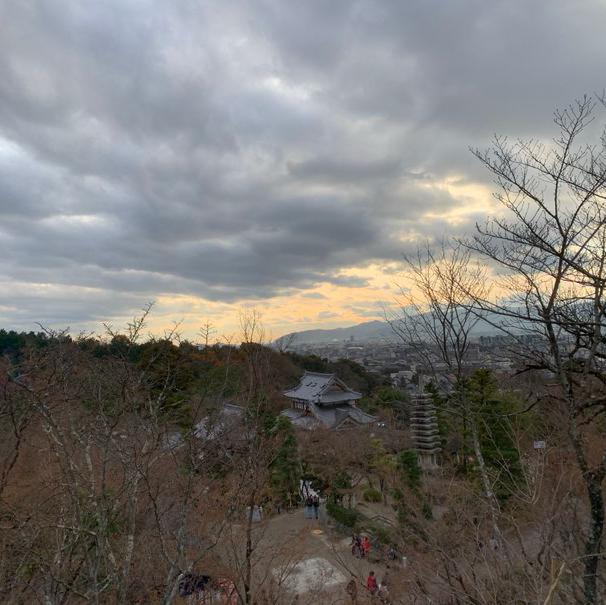
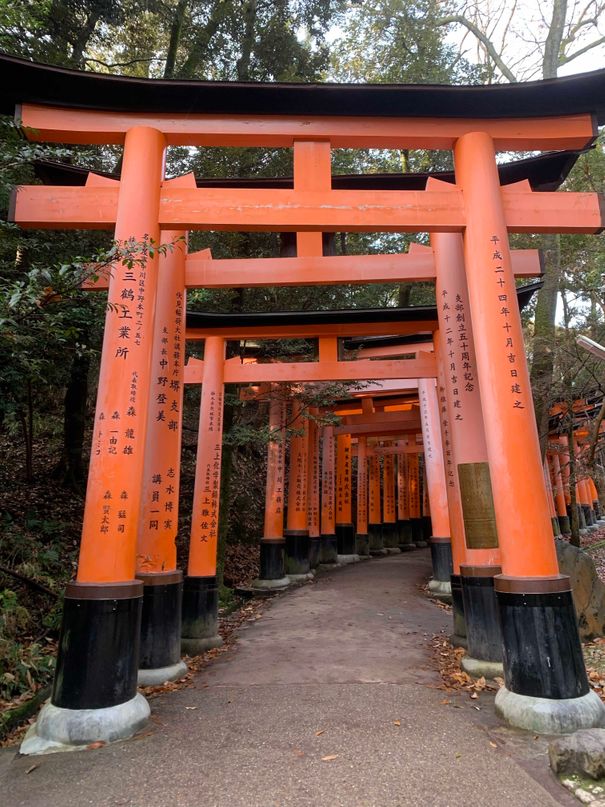
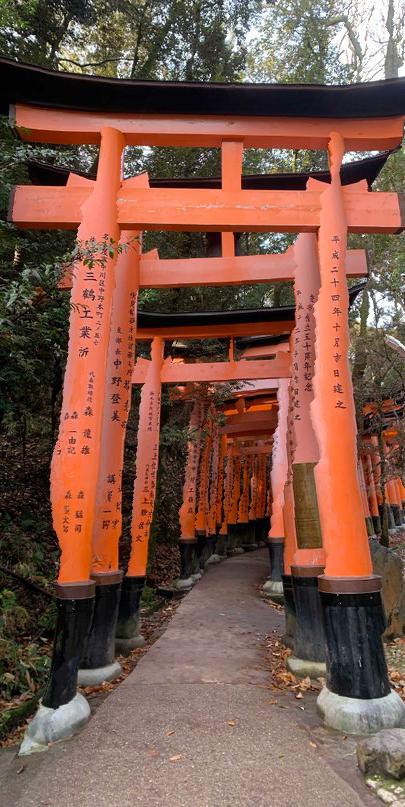
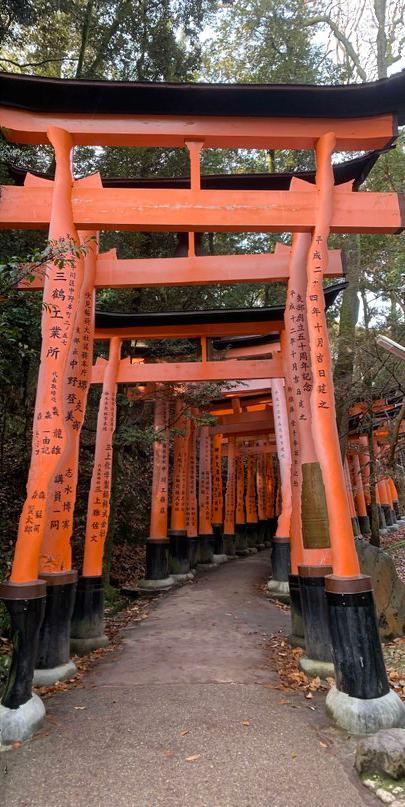
Here are some examples of images that worked out well (both horizontally and vertically carved)


Bells and Whistles: Comparing different energy functions
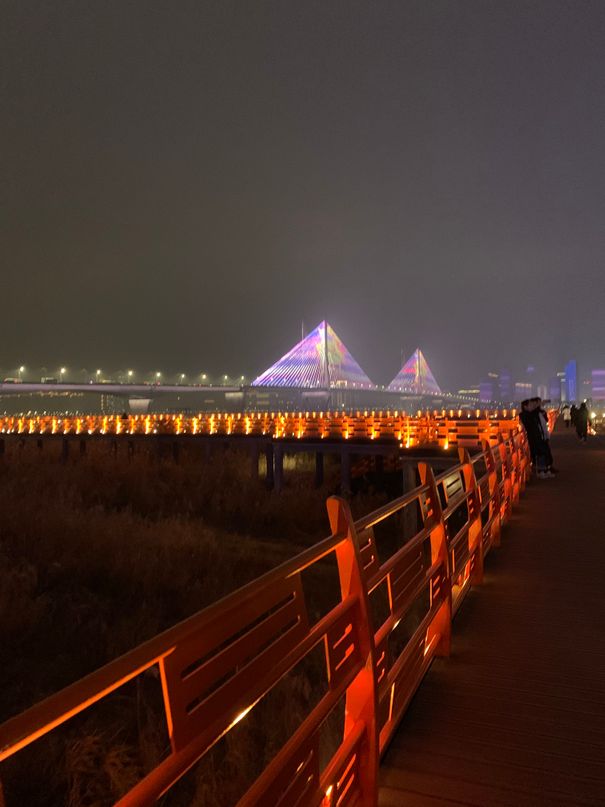
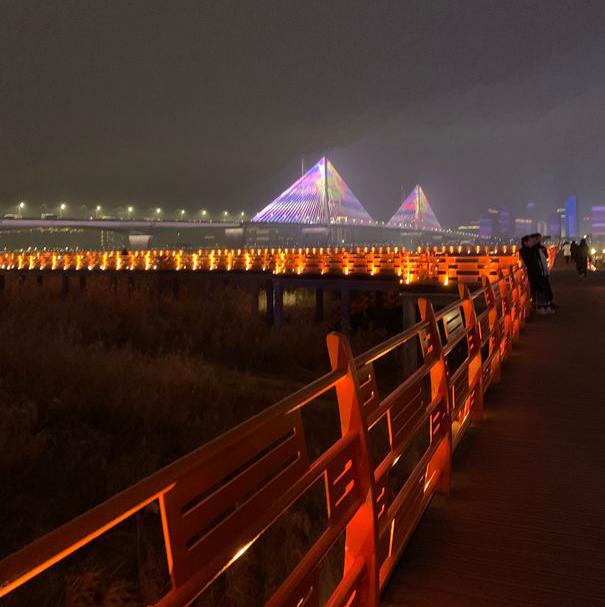
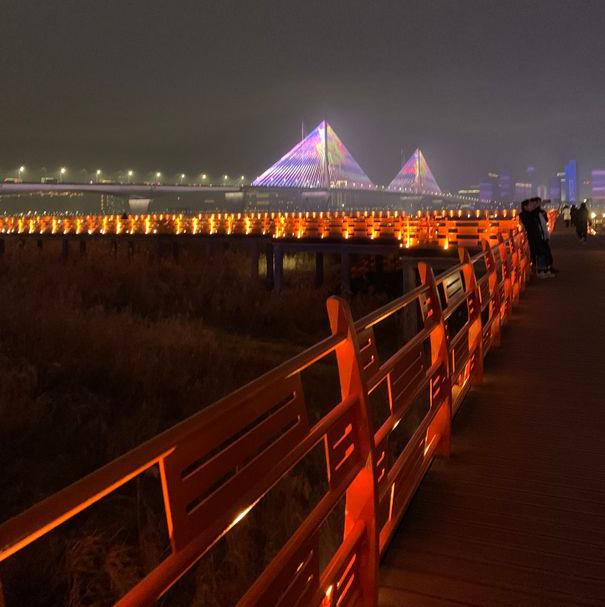
I implemented both an L1 and L2 gradient function, and I expected that they would perform similarly. However, this was not the case, especially in scenes that involved clouds. L1 gradient function led to more artifacts. Even when I thought L1 performed well, the artifacts become more noticeable when compared to the L2 function (specifically in the bridge photo). L2 gradient also appears to make more of the sky disappear in the bridge image, which (to the human eye) appears to be the least important part of the image.
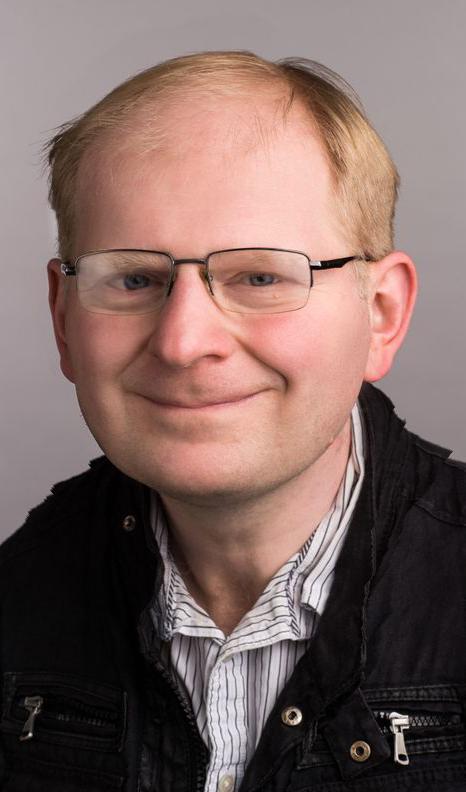
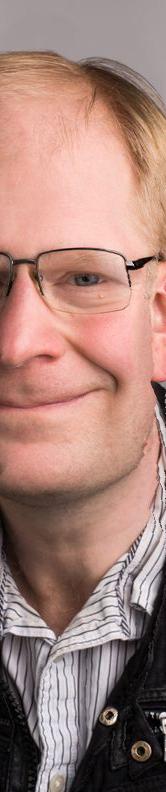
Failure cases
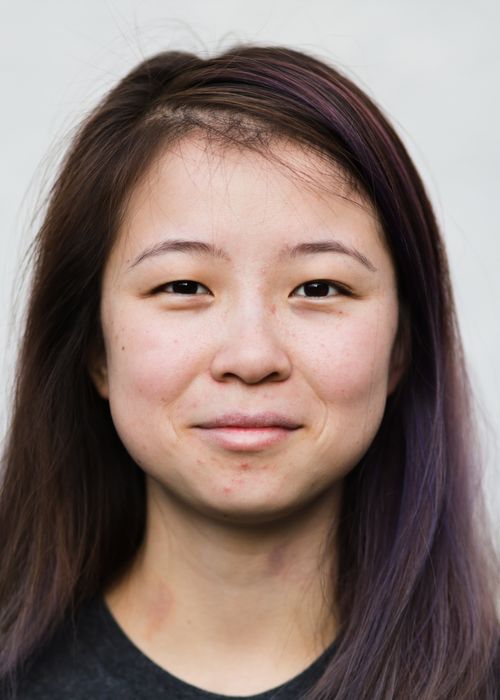
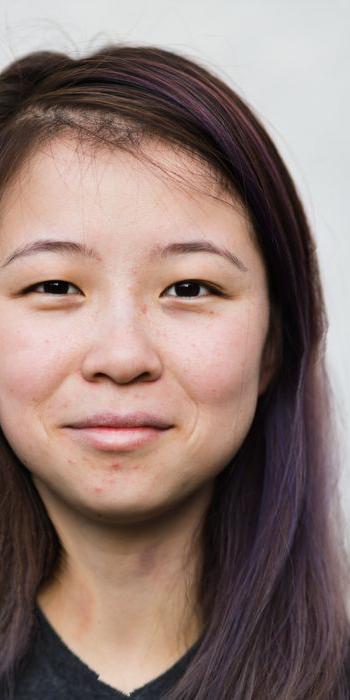
Some of these images didn't do so hot regardless of which energy function we used.
If you carve too much of the image, it will look bad even if the energy function is good. This is shown in the last row with Professor Efros's face, where too many seams removed also removes part of his face.


Conclusions and Takeaways
I really did not expect that a simple change in calculating the energy function could produce such noticeable results, in both the success cases and failure cases. Even though the computer can run the algorithm quickly, the magic still mostly comes from the user designed energy functions. Different functions work differently on an image. A computer can only do so much, so there is definitely an art to computer vision, which I think is the most important thing I took away and appreciated from implementing seam carving.