Final Project #1: Seam Carving
In seam carving, I implemented an energy function and dynamic programming algorithm that carves an image by removing unimportant seams.
The energy function I used is the sum of the squared x and y gradients at each pixel (over all color channels). The reason this is a decent energy function is because it assigns higher energy to the edge pixels, which are more "important" as they tend
to preserve the shape of objects in a scene. After implementing the energy function, I removed minimum cost seam using a simple dynamic programming. I was able to generalize the DP algorithm to both vertical and horizontal resizing by simply rotating the source image
if desired.
For the extra credit (required bell and whistle), I implemented seam insertion, which adds seams into the image and elongates it.
Include lots (six or more) great examples of resized images (either from yourself or the internet, but remember to attribute!). Show us your implementation works.
Below are 7 examples of seam carving (showing the before and after). To prove it works, I have included the 3 example images from the specs, modified to different sizes than the ones in the spec (but the overall carving priority is the same)
I have included examples of shrinking vertically and horizontally.
|
|
 Shrunk horizontally by ~50%. The source image is from the specs.
|
|
|
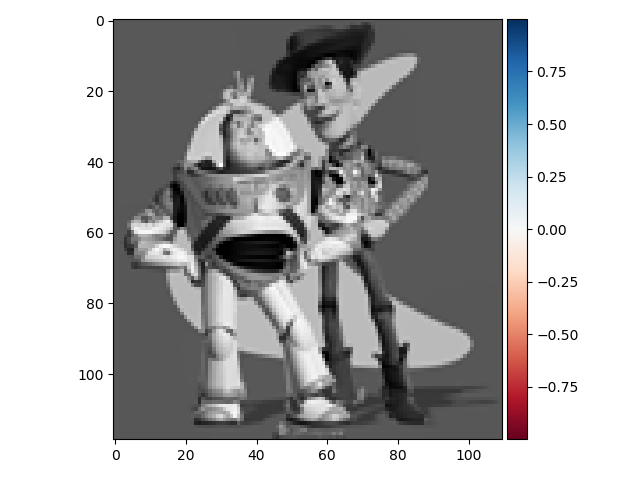
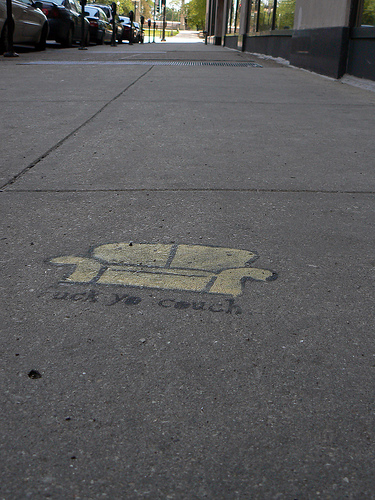
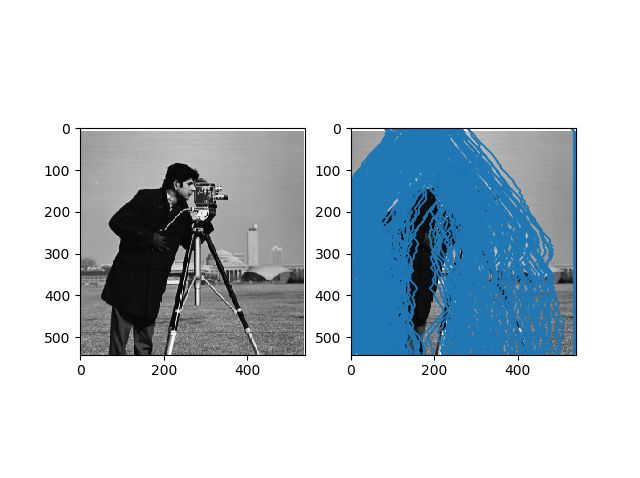
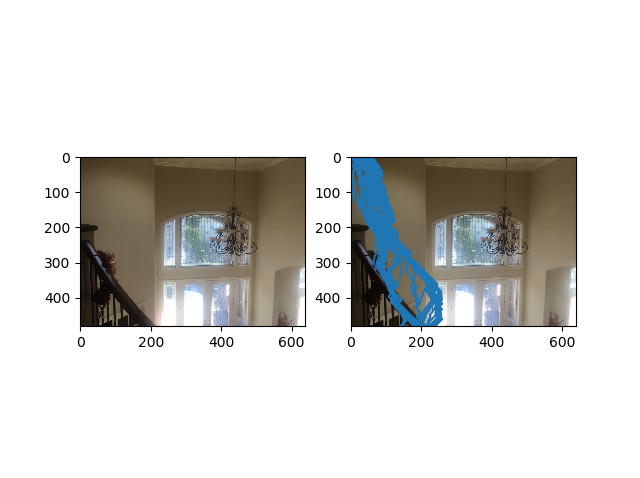
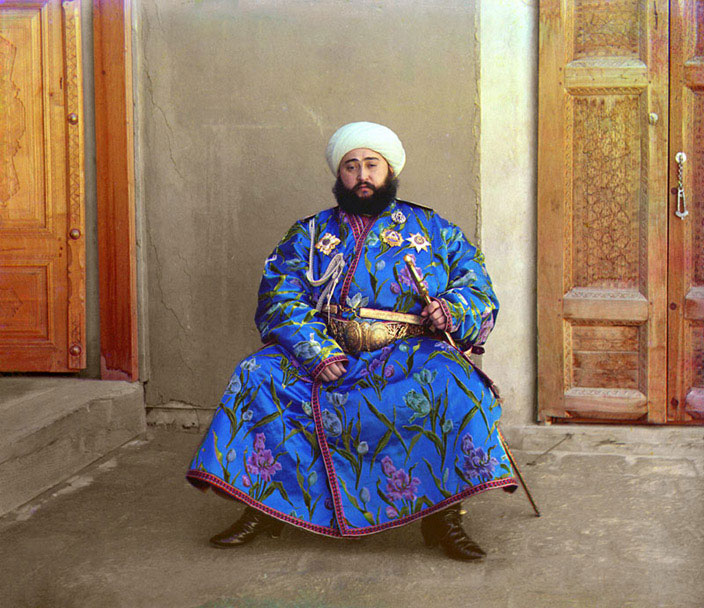
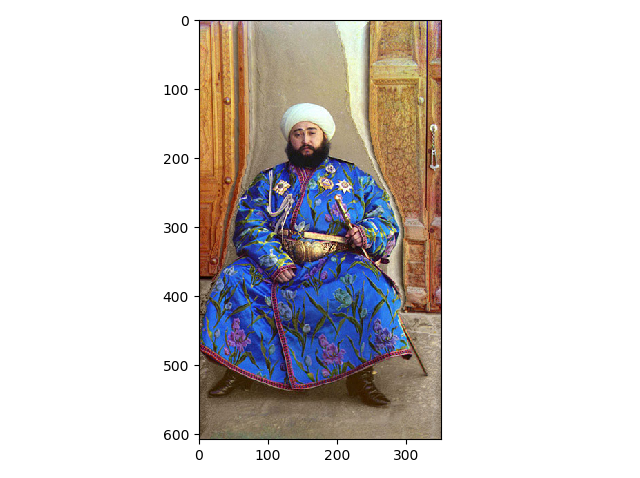
 Shrunk horizontally by 60%. The source image is from the specs. Although this one technically failed because the person's structure is modified, it is a good example that proves
that algo behaves correctly.
Shrunk horizontally by 60%. The source image is from the specs. Although this one technically failed because the person's structure is modified, it is a good example that proves
that algo behaves correctly.
|
|
|
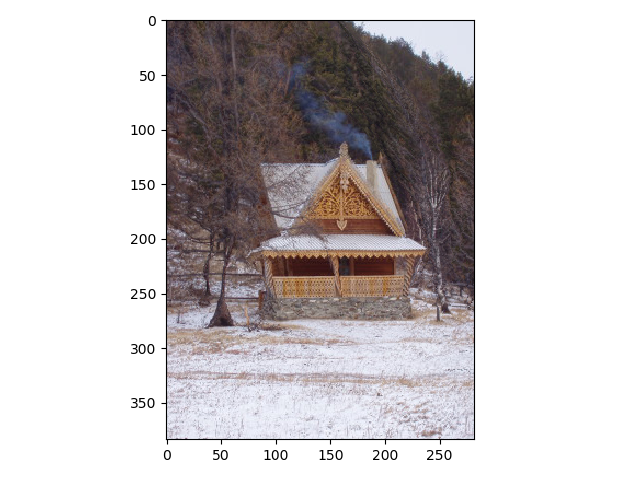
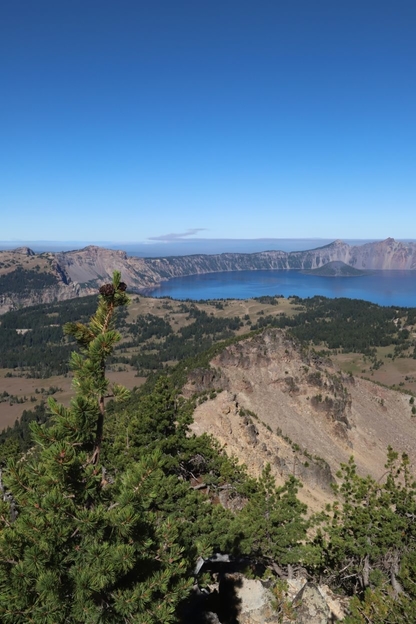
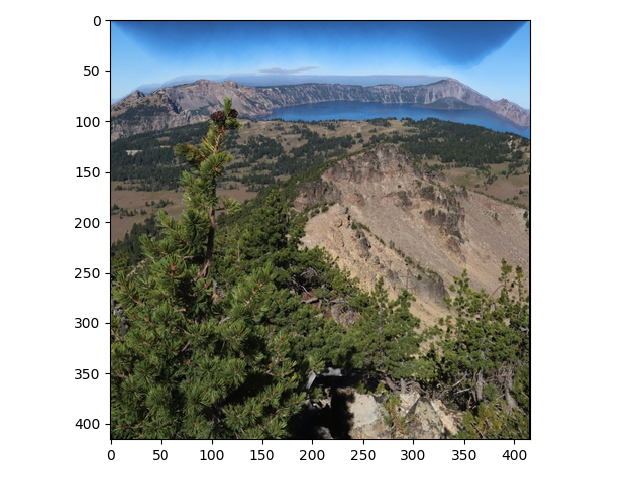
 Shrunk vertically by ~40%. The source image is from the specs.
|
|

|
 Shrunk by 50% horizontally. The image was taken by me.
|
|
|
 Shrunk by 50% horizontally. The image was provided by course staff for Proj 5.
|
|
|
 Shrunk by 50% vertically. The image was provided by course staff for Proj 5.
|
|
|
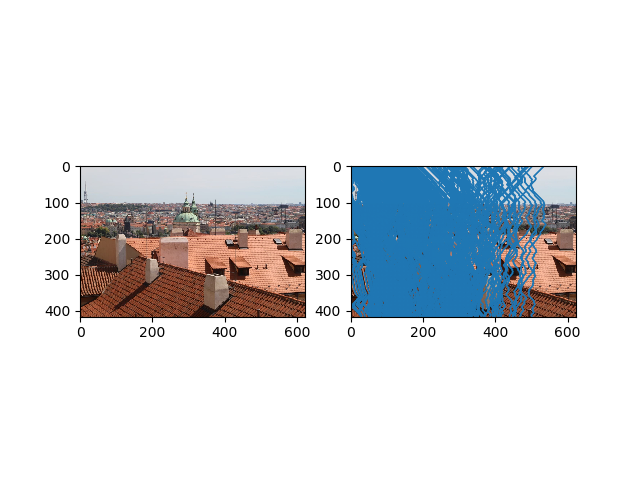
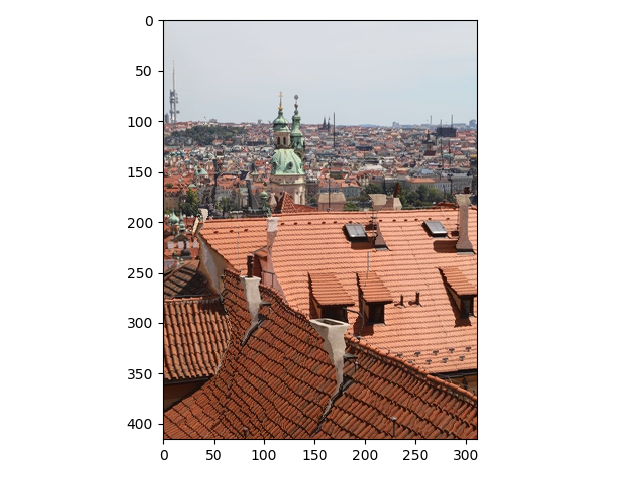
 Shrunk by 50% horizontally. The image was provided by course staff for Proj 2.
|
REQUIRED BELL AND WHISTLE: Dazzle us with any bells and/or whistles you've added in.
The required bell and whistle I completed is seam insertion. To get this working, I simply inserted ("duplicated") seams that have low importance (using the same energy function as before); however, to ensure the algorithm generated
nice images, I made sure to penalize seams that have already been used AND
seams that share the same pixels as those that have already been used. This encourages the algorithm to pick unique seams to add, which typically generates better stretched images.
|
|
|
 Increased vertically by ~5%. The source image is from the specs.
|
|
|
|
 Increased horizontally by 10%. The source image is taken by me.
|
Once we're riding high on your success, calm us down with some examples of where your code doesn't work.
Below are 3 examples where my code does not work. One is from the specs. The other two are from proj2 and proj1 specs. The reason these fail is because these objects (e.g. faces and doors) are noticeably different when seams are removed from them. This is because humans pay
more attention to the geometry of certain objects (e.g. faces). Specifically, objects that humans assign a certain shape to (e.g. doors are rectangular and humans have roundish faces) are more sensitive to changes.
|
|
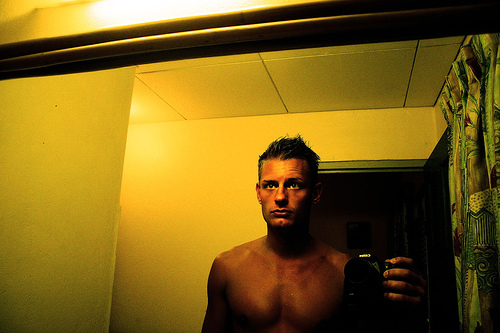
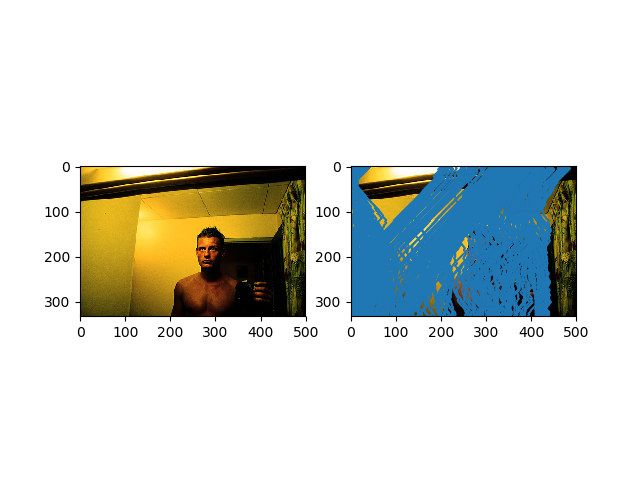
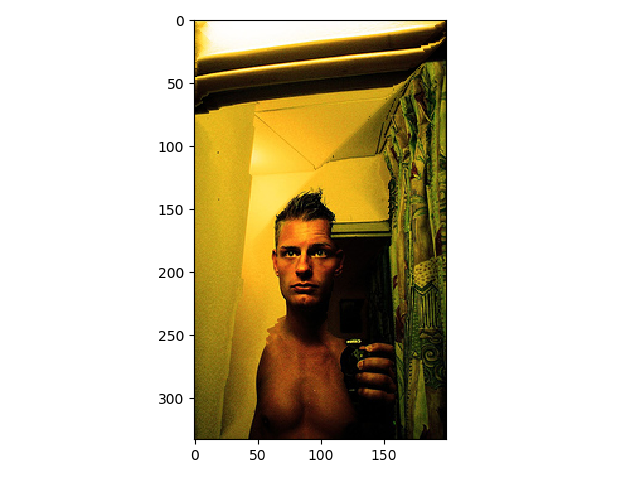
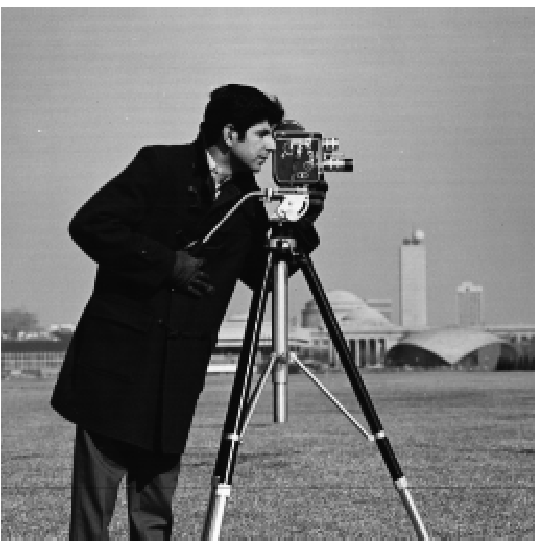
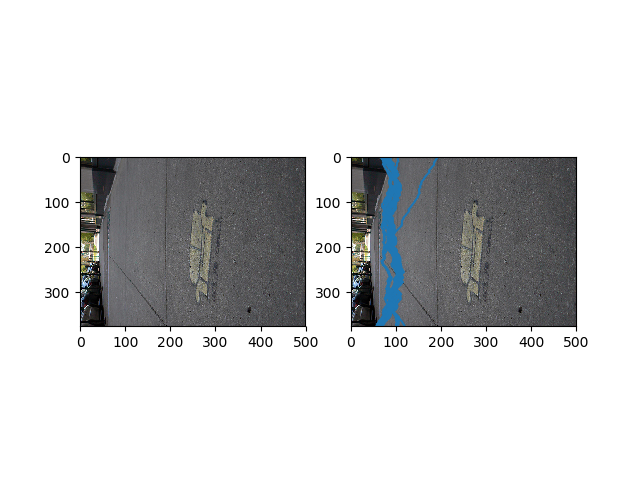
 Decreased horizontally by 50%. The source image is from proj2. Notice his left shoulder has some artifacts; thus, it is an example where the code does not work well.
|
|
|
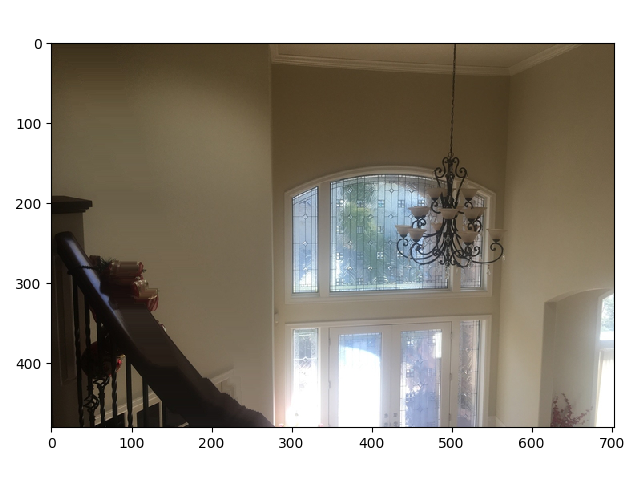
 Decreased horizontally by 50%. The source image is from proj1. Failure because the doors and wall in the background is completely mutated. A good thing is the person has been preserved.
|
|
|
|
Shrunk horizontally by 60%. The source image is from the specs. Although this one technically failed because the person's structure is modified, it is a good example that proves
that algo behaves correctly.
|
Tell us about the most important thing you learned from this project!
Seam carving works particularly well on images with uniformly colored backgrounds and unimportant geometries.
Final Project #2: Gradient Domain Fusion
Use both words and images to show us what you've done (describe in detail your algorithm parameterization for each of your results).
Part 2.1 Toy Problem (10 pts)
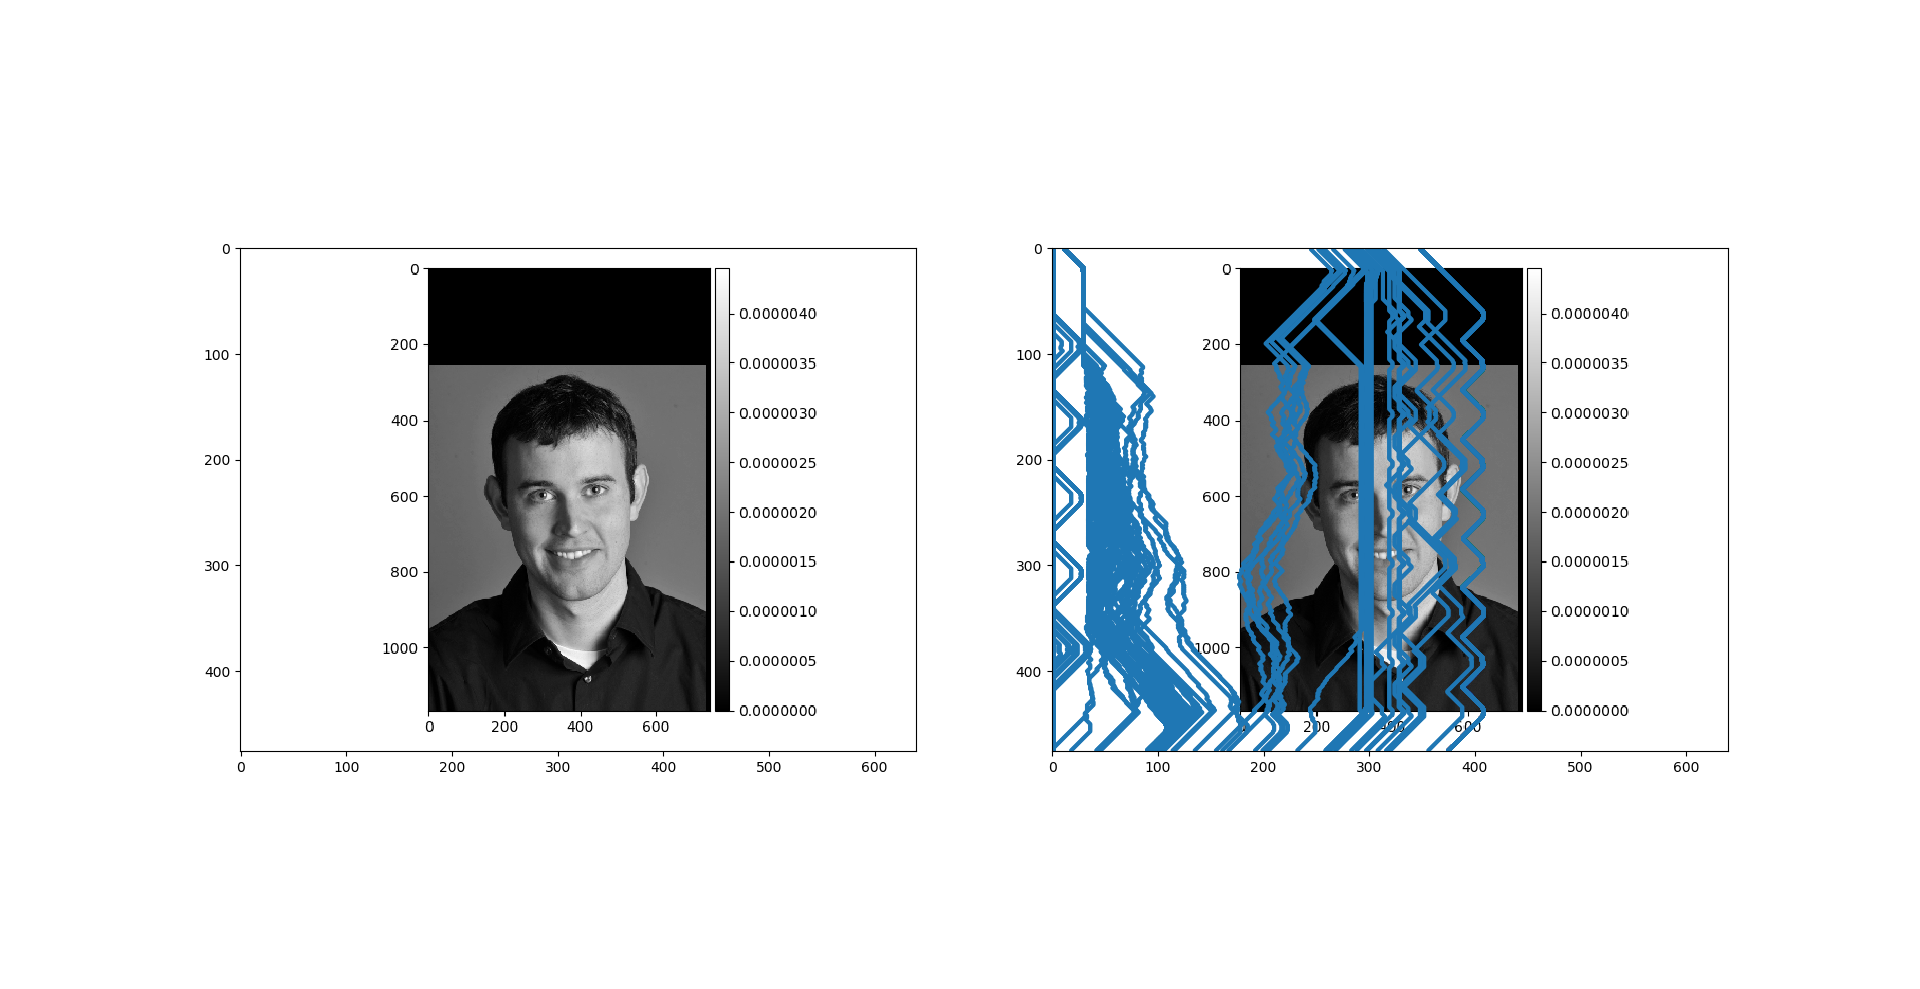
For the toy problem, I optimized a set of constraints using least squares, which allowed me to reconstruct the toy image. The constraints give us the difference between the gradients in the source image and our image to solve. We want to minimize these constraints, which
intuitively makes sense as we want to reduce the difference in gradients. There is a 3rd constraint that ensures the top left corners of the images have the same color, which helps us determine the intensity of the image to solve. Overall, this part was pretty straightforward;
personally, I found figuring out the dimensions of A, x, and b to be the most difficult part of this question. After I realized I just need to store all the constraint information for each pixel, I was able to determine the dimensions of all the relevant
vectors and matrices. For example, the dimension of A is just
2*total number of pixels + 1 since there are 2 constraints that apply to all pixels and one constraint that only applies to the top left pixel. Here is the specific set of constraints (image from specs) I solved:
Below is the original and reconstructed result:
Part 2.2 Poisson Blending (30 pts)
For poisson blending, I approached it the same way as the toy problem, setting up some constraints and solving using least squares. Some minor adjustments I had to make were creating masks (which I did manually), performing the calculation on 3 channels, setting the im2var to focus only on
the cropped region, realizing there are now 4 objective functions (which changes the dimension of matrices and vectors), and taking care of the edge case where a pixel may lie outside of the cropped region when we need its intensity value for calculation. Besides for those adjustments, this part was very similar to the toy problem.
Here is the blending constraints I solved:
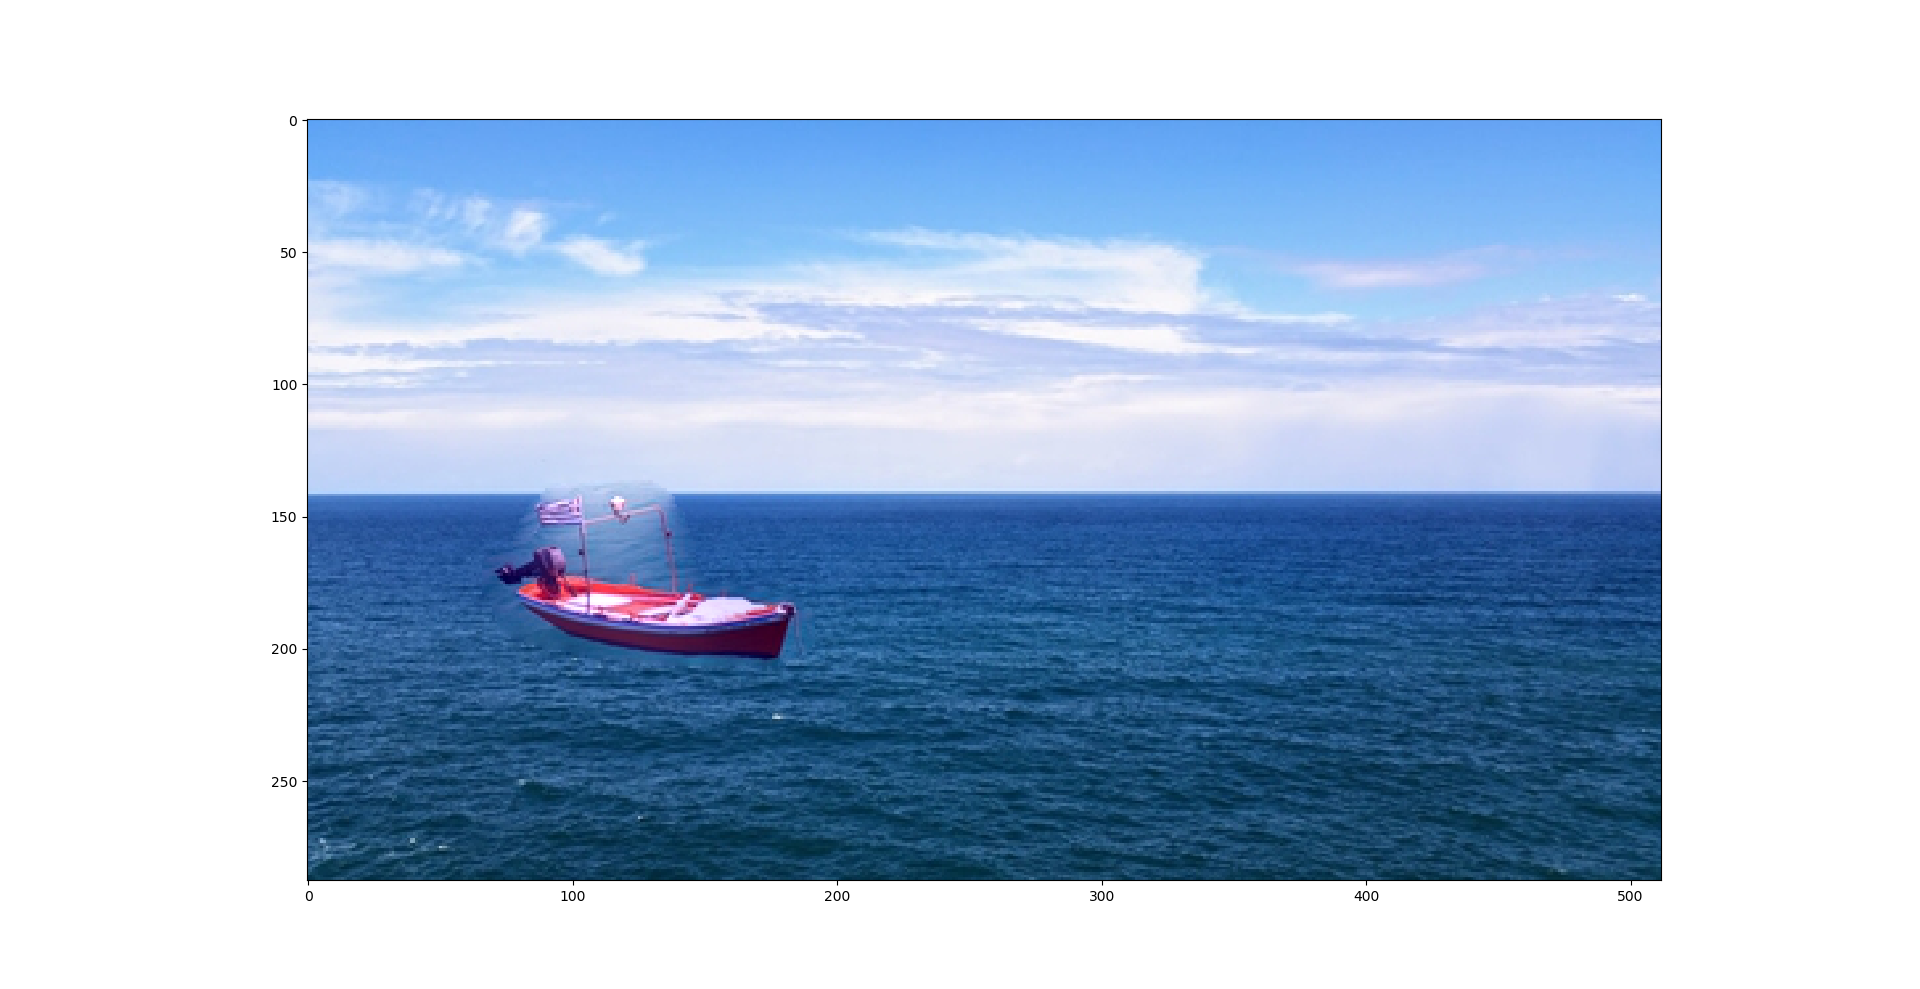
Below are four results of the poisson blending process.
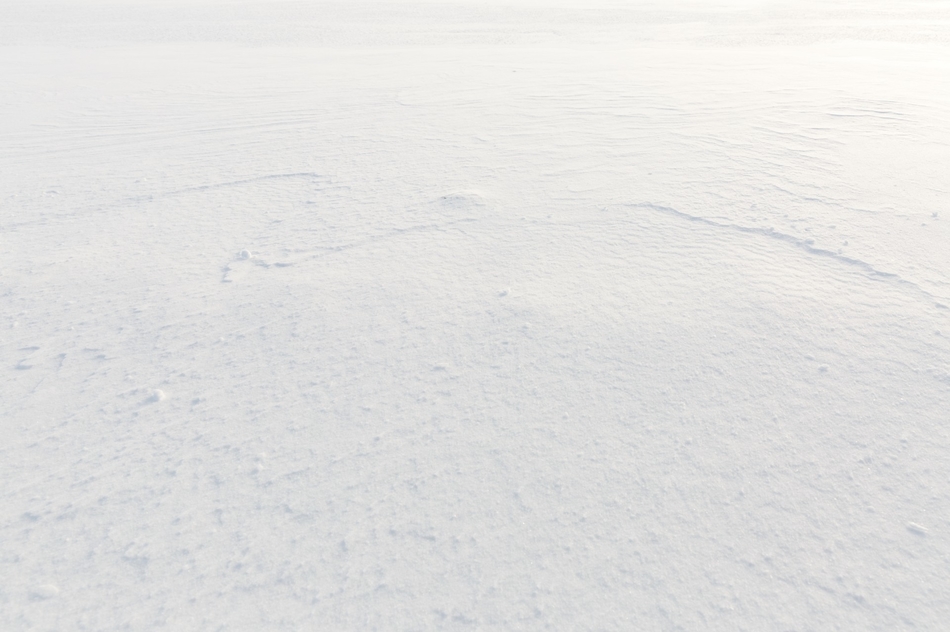 Image from: https://www.publicdomainpictures.net/en/view-image.php?image=109740&picture=white-snow-background
|
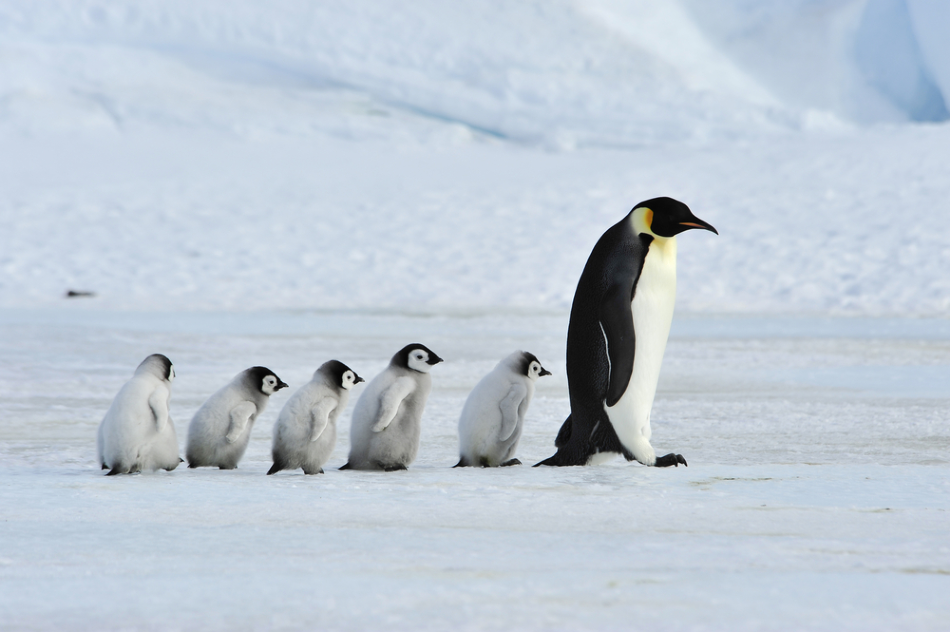 Image from: https://www.azocleantech.com/article.aspx?ArticleID=1061
|

|
|
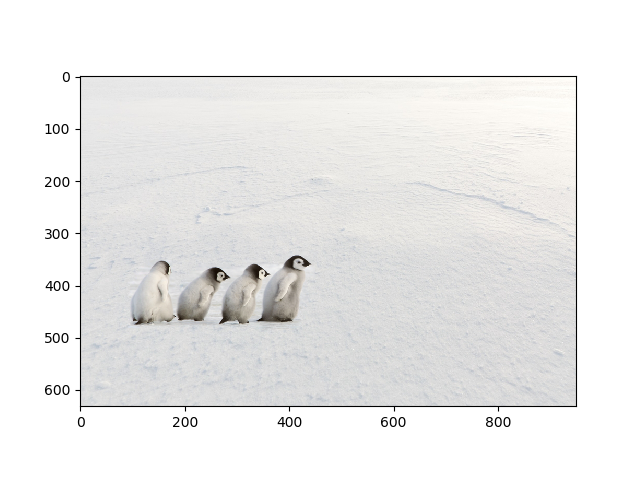
This result was generated using the same algorithm as above. The only difficulty was generating a new mask for it. Overall, the blending is pretty good, although there is some noticeable white smear on it, due to the difference in gradients in the source/mask image.
Thus, because poisson blending tries to match the foreground and background gradients, we see this white smear.
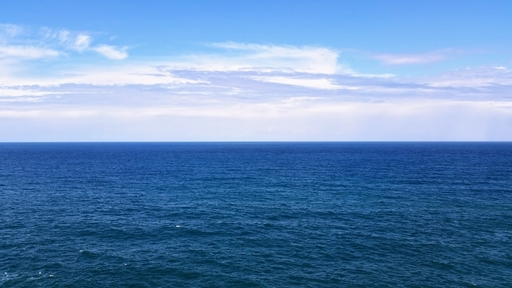 Image from: https://unsplash.com/photos/v1vR1c7yBHY
|
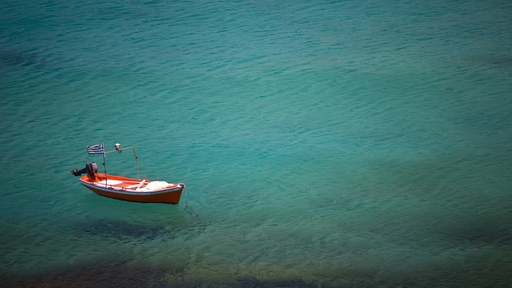 Image from: https://pixabay.com/photos/boat-ocean-alone-single-floating-336551/
|
|
|
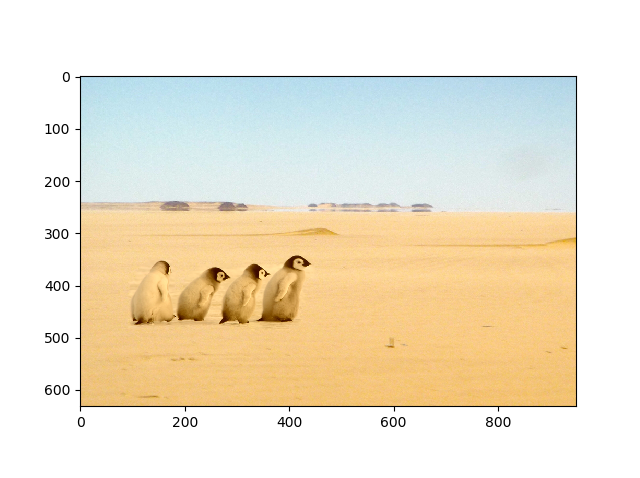
Here are the same penguins from above placed in a desert environment. Poisson preserves the gradients, but not the overall intensity, which is why the penguins have changed colors:
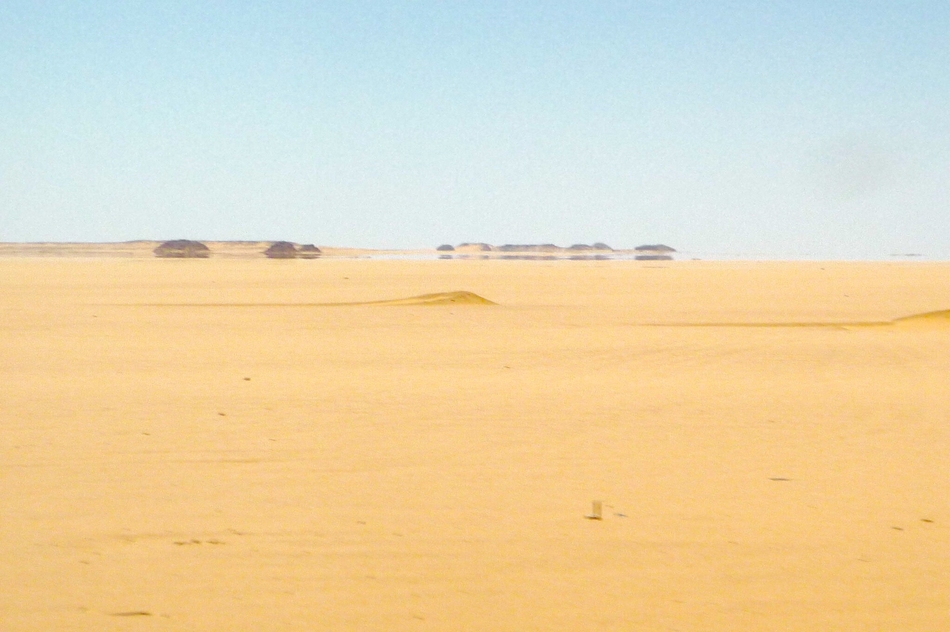 Image from: http://onesky.arizona.edu/2017/06/when-thuraya-rises/
|
Image from: https://www.azocleantech.com/article.aspx?ArticleID=1061
|
|
|
|
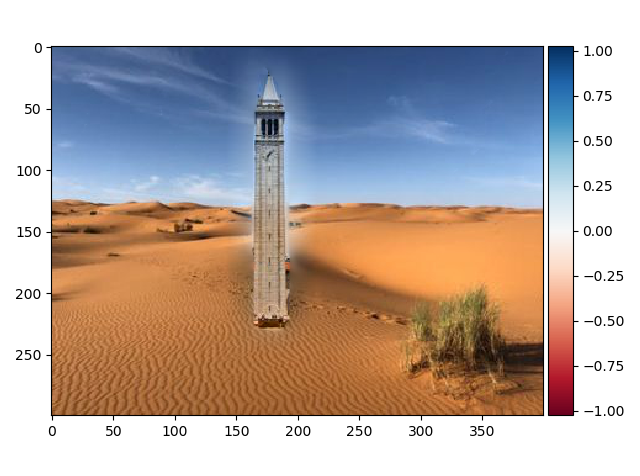
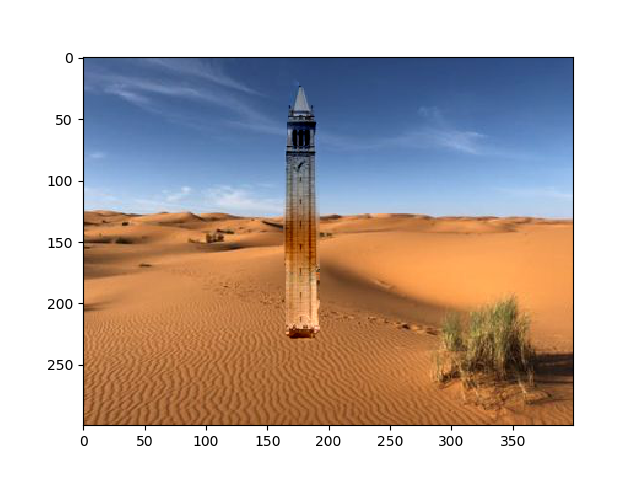
Here is a failure case. The gradients are very different in the actual sand and the sky, so poisson's attempt to preserve these differing gradients causes the campanile's color to look off:
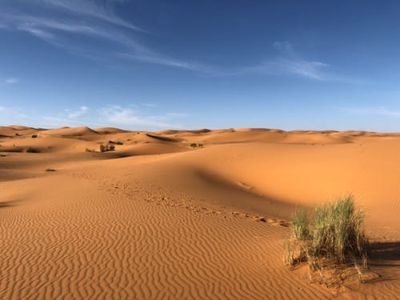 Image from: https://www.pexels.com/photo/green-grasses-on-sahara-desert-1001435/
|
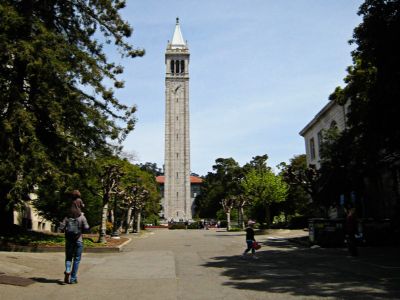 Image from: https://www.510families.com/quarter-day-trip-the-campanile-at-uc-berkeley/
|
|
|
Here is the laplacian result of a campanile in desert from proj 2. Interestingly, it performs better in this case since the gradient differences incorrectly color the image in poisson blending.
What I learned
In this project, I learned it is important to choose images with similar intensity backgrounds, if one wants gradient domain fusion to work well.