Augmented Reality and Seam Carving
CS 194: Computational Photography, Spring 2020
Final Projects
Abby Cohn
"Poor Man's" Augmented Reality
Overview
In this project, I used video tracking, 2D image coordinates, 3D world coordinates, and camera matrices to project a 3D cube into a video. This resulted in a “virtual reality”-like scene in just a few steps.
Tracking
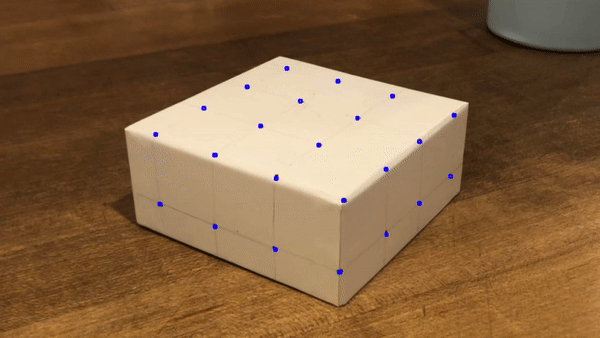
To begin, I filmed a video that I eventually used for the projection and tracking. I found a small white box, on which I mapped out 1-inch squares with clear points on each corner. Next, I decided to manually select key-points and use an off the shelf tracker. Using plt.ginput, I selected my points and labeled the corresponding 3D points accordingly, using the bottom corner of my box as the origin. I played around with the MedianFlow tracker and utilized the OpenCV MultiTracker to create and store separate trackers for each point. I used 4x4 patches around each point for the bounding boxes. Most of the points were tracked successfully throughout the whole video, while a couple were lost. My tracking results are shown below.
 video
video
|
 video with tracking
|
Camera Calibration
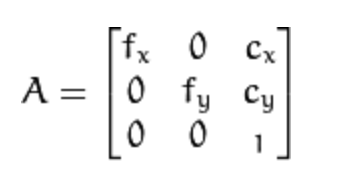
Next, I calibrated the camera. I created my camera matrix for each set of 2D and 3D points by using a “focal length” constant and homogenous coordinates. I repeated this step for all frames of the video and saved each computed matrix.
 general camera matrix
|
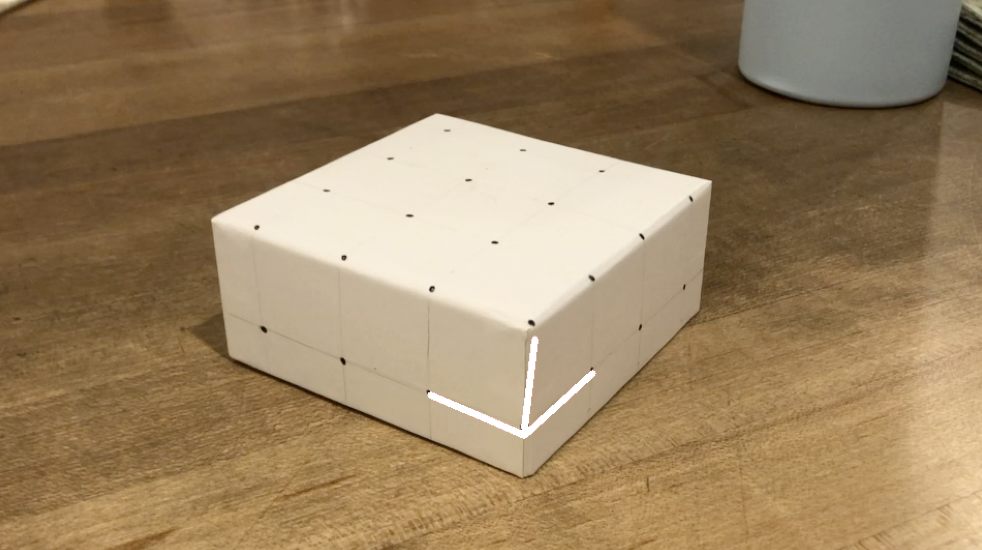 origin visualized
|
Cube Projection
Finally, to project the cube into the scene, I defined the axes for the 8 corners of the cube by 3D coordinates: [[0,0,2], [0,1,2], [1,1,2], [1,0,2], [0,0,1],[0,1,1],[1,1,1],[1,0,1]]. Using the projected imgpts, I used the cv2 draw cube function from the cv2 pose estimation and camera calibration tutorial.
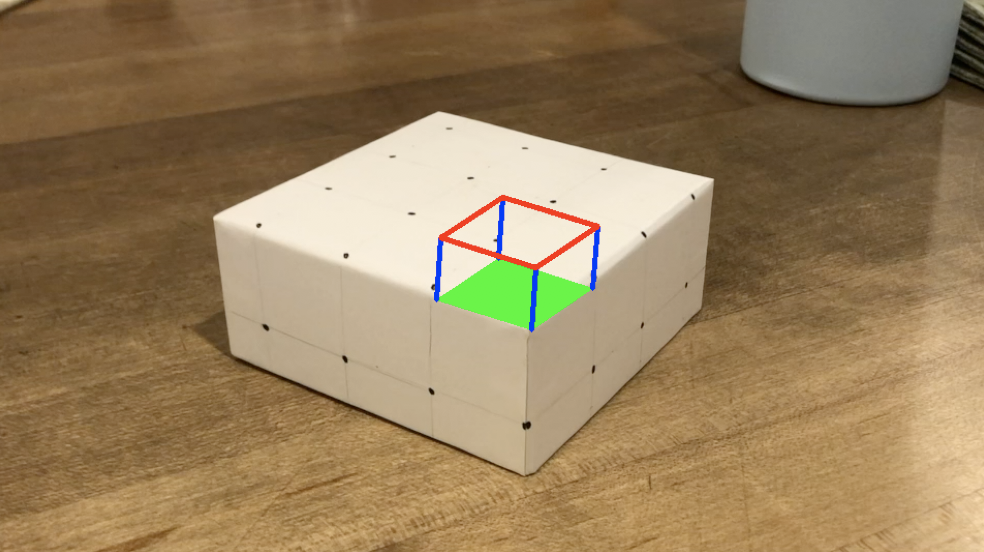 cube projected
|
Putting it all together, I used the camera matrix calculated for each frame inside my tracking loop and projected the cube into every frame. This resulted in a video with the cube tracked throughout!
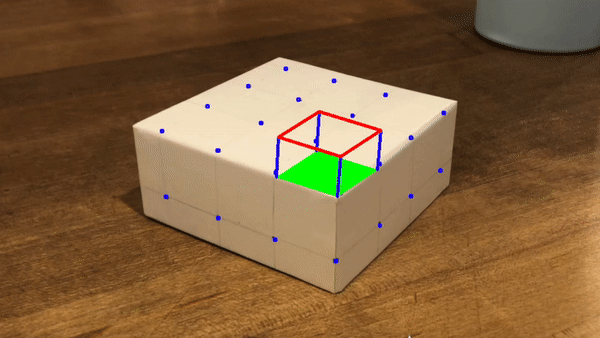 final product!
|
Seam Carving
Overview
Seam carving is content-aware, meaning we can resize images without losing pixels and information that are determined to be “more important”. The general steps for a successful seam carving implementation are determining the energy of each pixel in an image, using dynamic programming to find the minimum seam, and finally removing the seam.
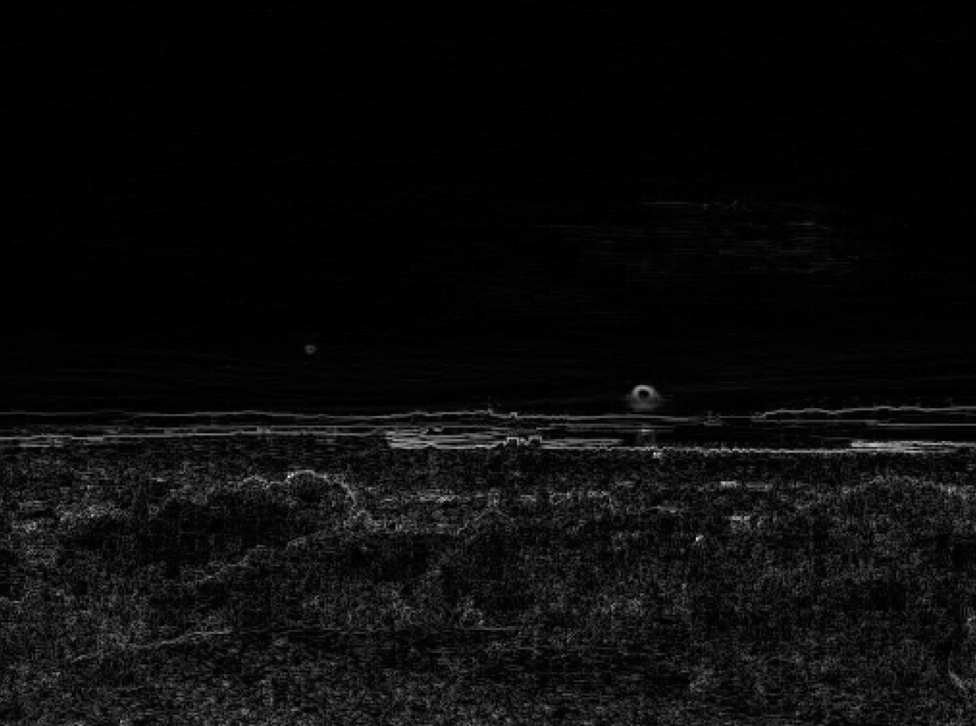
Energy Function
For my energy function, I used the gradient magnitude with finite difference operators, dx and dy. In order to get stronger edges, I ended up leaving the threshold pretty low. Below are the results of the energy function on a few images.
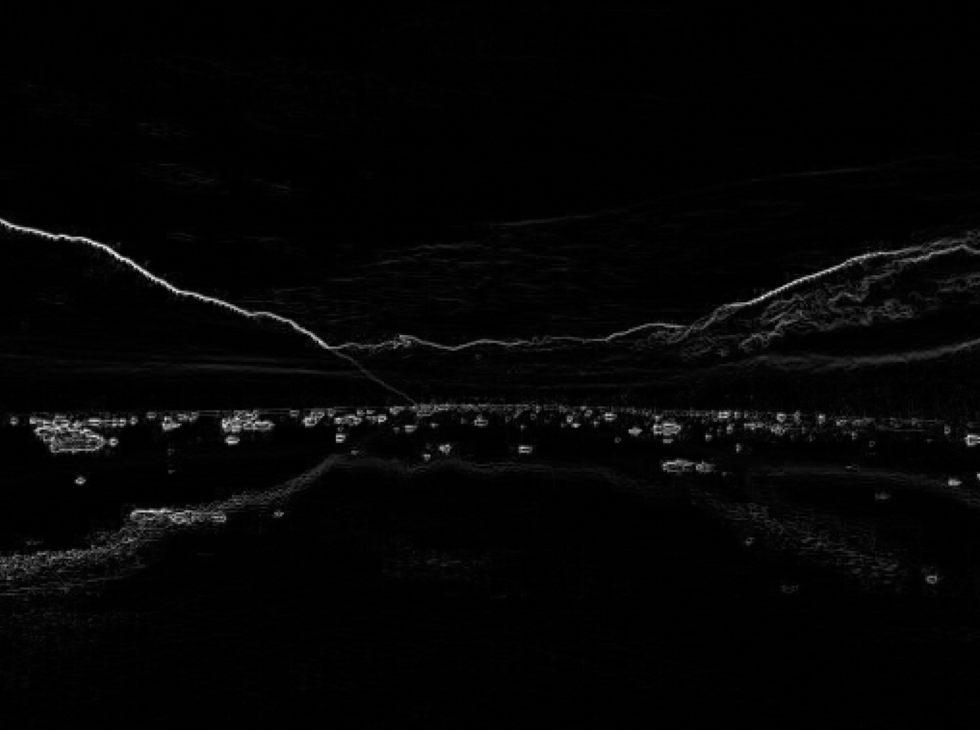
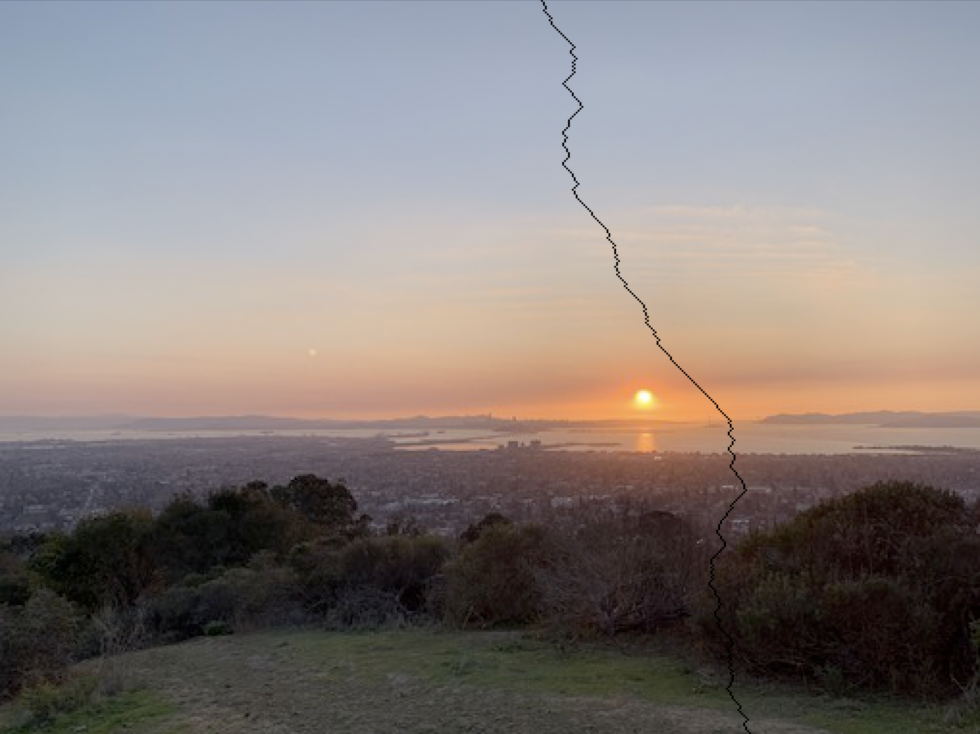
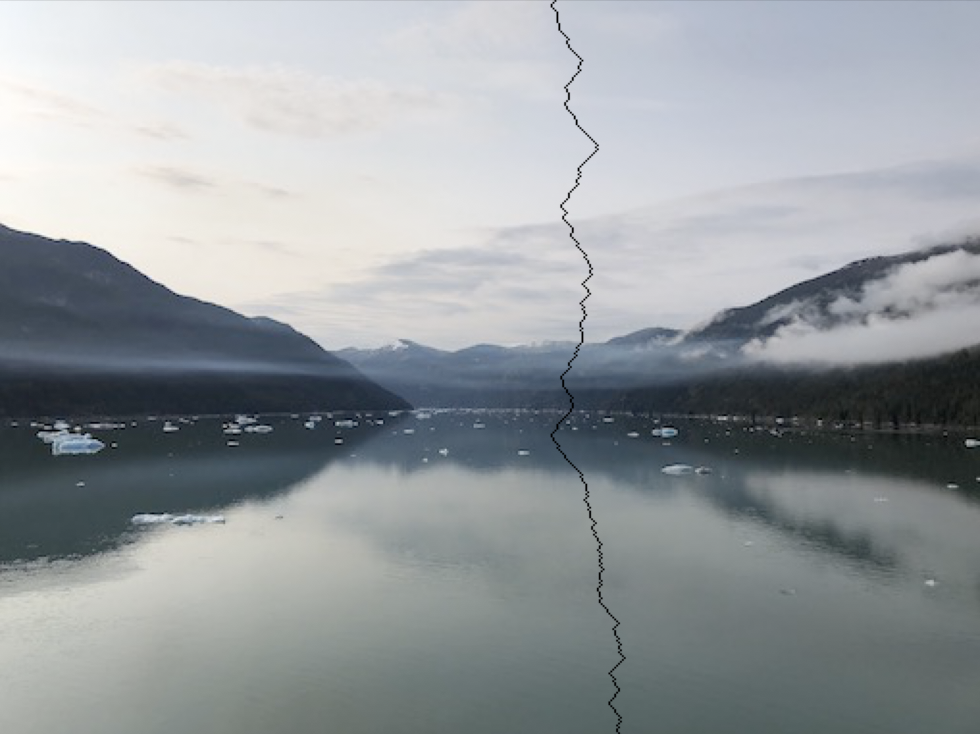
Finding The Minimum Seam
Next, I implemented the bulk of the seam carving algorithm by finding the minimum vertical seam. I began by starting at the second row and added up the total energy for all possible seams. Next, I “backtracked” by starting at the minimum value of the last row, which indicates the end of the minimum seam, and tracing the entire path back up. Some minimum seams are visualized below.
Seam Removal
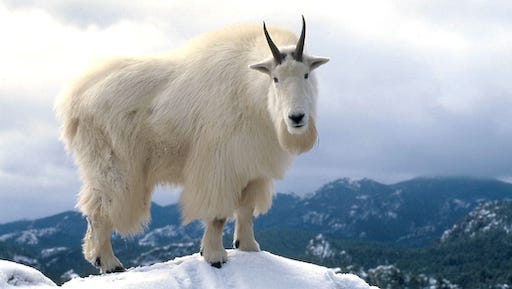
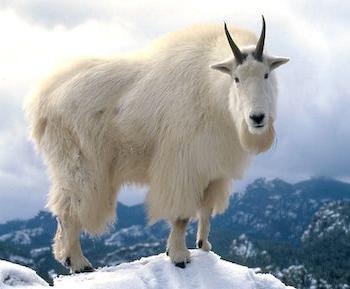
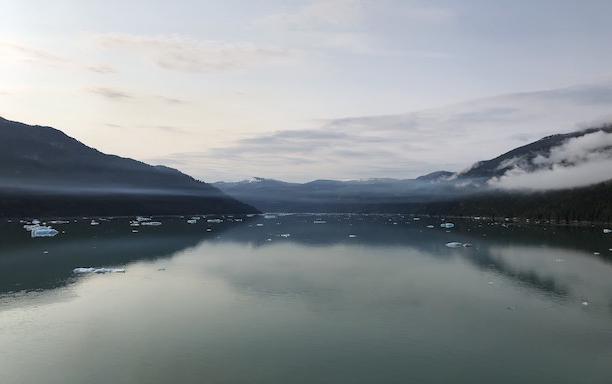
After finding the seam, I focused on the seam removal. I targeted the pixel to be removed in each row and constructed a reshaped image. I iteratively removed seams until the new dimension was reached. I also implemented a function to remove seams horizontally by rotating the image and running the vertical seam removal code. Some carving successes and failures are shown below. In some images with lots of sky, the horizontal carving resulted in large bits of sky getting removed. I think an improved energy function could help fix this issue a bit.
Successes
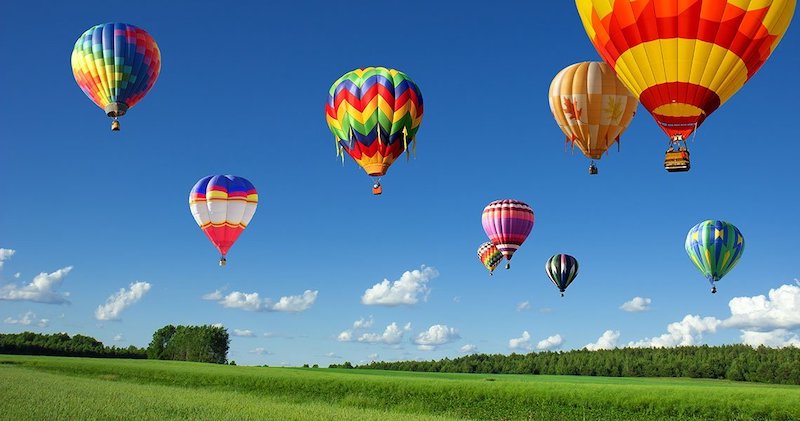
 512x384
|
 resized to 400x384
|
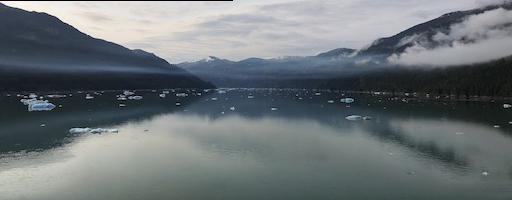
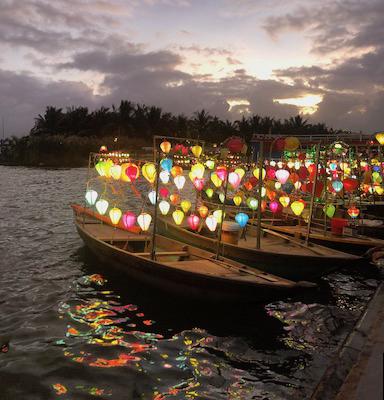
 512x384
|
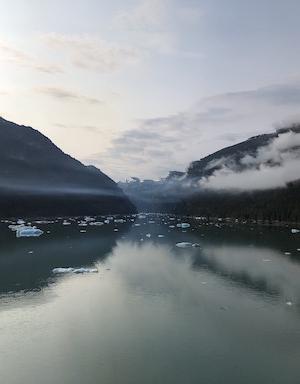 resized to 300x384
|
 resized to 512x200
|
 384x512
|
 resized to 250x512
|
 resized to 384x400
|
 800x421 (image from Kestrel)
|
 resized to 600x421
|
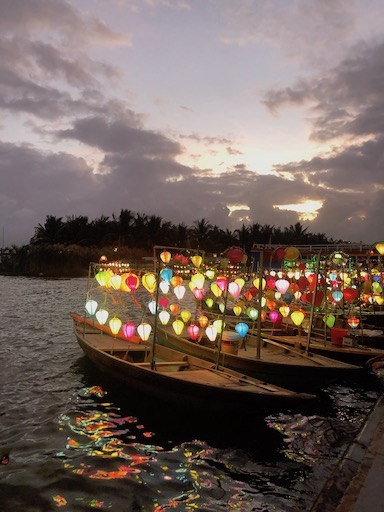
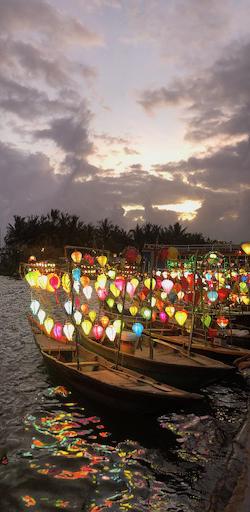
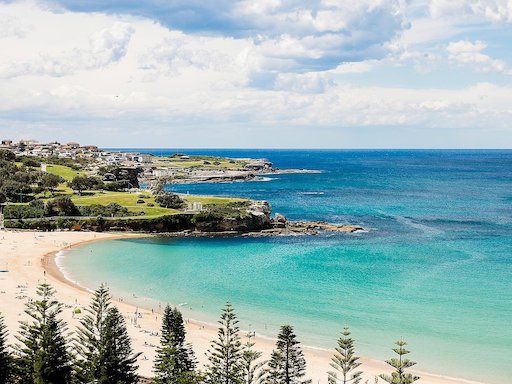 512x384 (image from IHG)
|
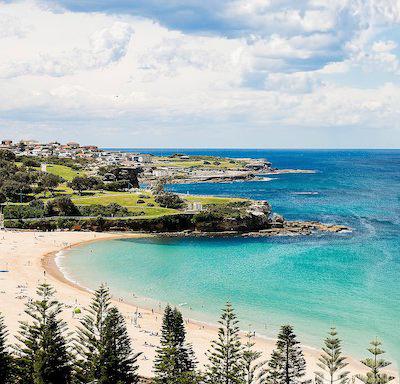 resized to 400x384
|