CS194 Final Project
Jonathan Tan cs-194-abl
Seam Carving
Seam carving is pretty cool! You basically carve "seams" out of an image as you'd expect, and repeat until the image is the size you want.
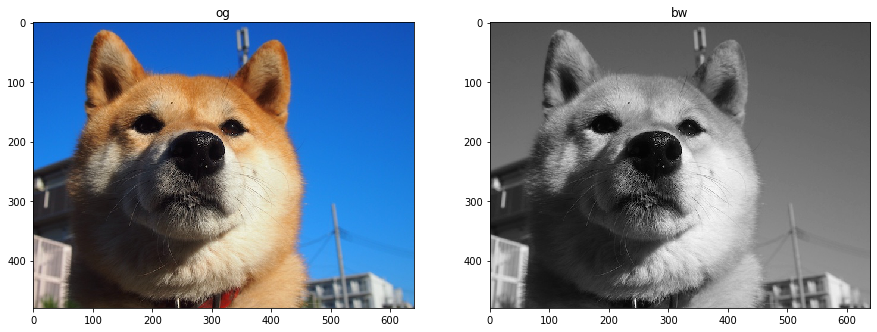
You start off by defining an energy function for each pixel. I decided to use the gradient magnitude, something we've used in project 2. After converting an input to grayscale, we turn it into said magnitude image.

Next, we use dynamic programming trickery to determine a seam that runs through the picture that has the lowest "energy". This way, we can remove the seam that looks the least important/contributive to our picutre i.e. "content-aware" resizing.
The problem is constructed as follows: we create an array, same size as our grayscale image, where each entry contains the cumulative energy of the lowest energied seam that connects to it. Subsequently we can set up a recurrence relation: in the vertical case, the first row of values are just equal to those values in the gradient magnitude image. Then the ones below are the sum of itself and the lowest bordering value to the top. We store backpointers and coordinates, propagate downwards, and backtrack to figure out which seam we want to remove. Examples follow:
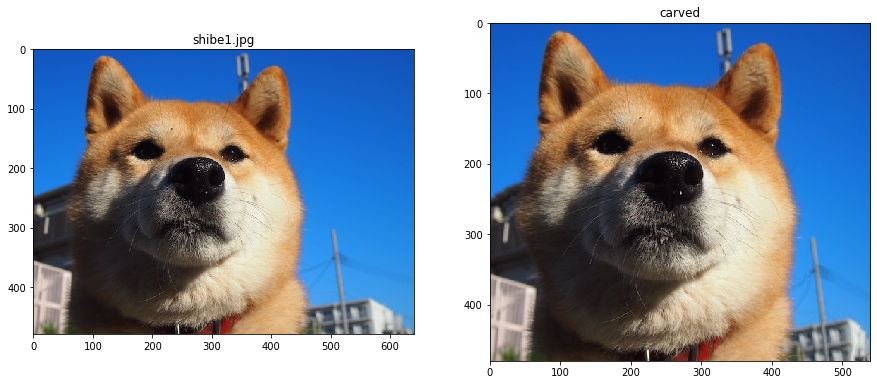
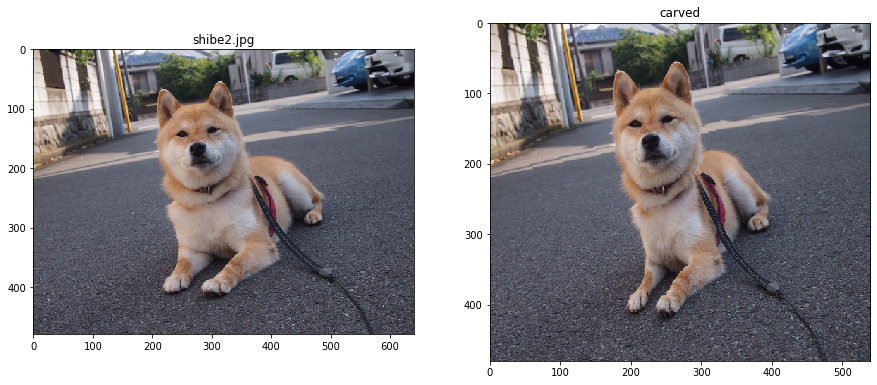
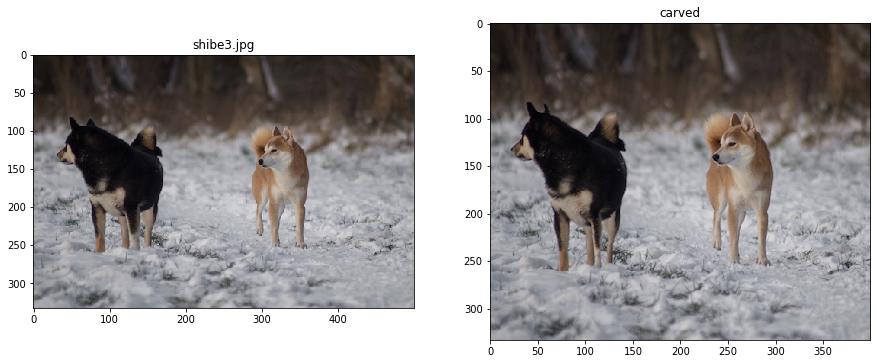
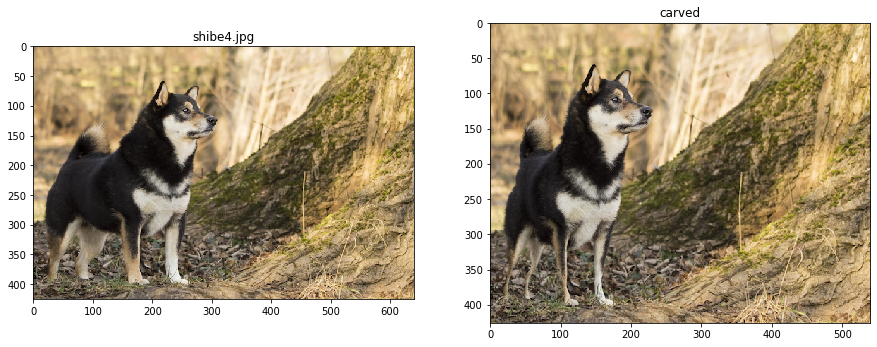
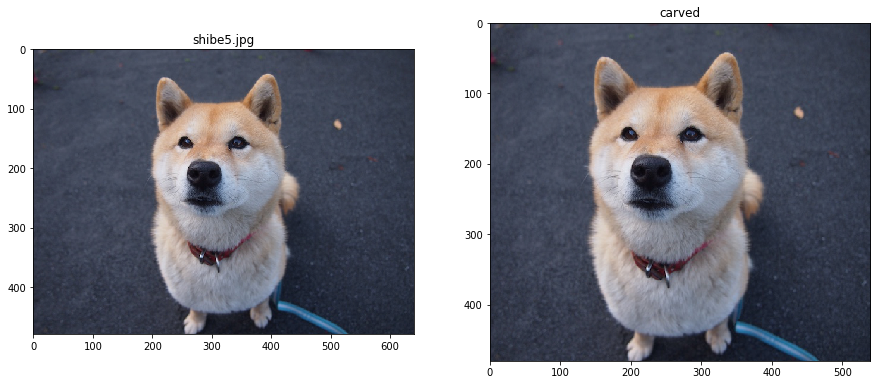
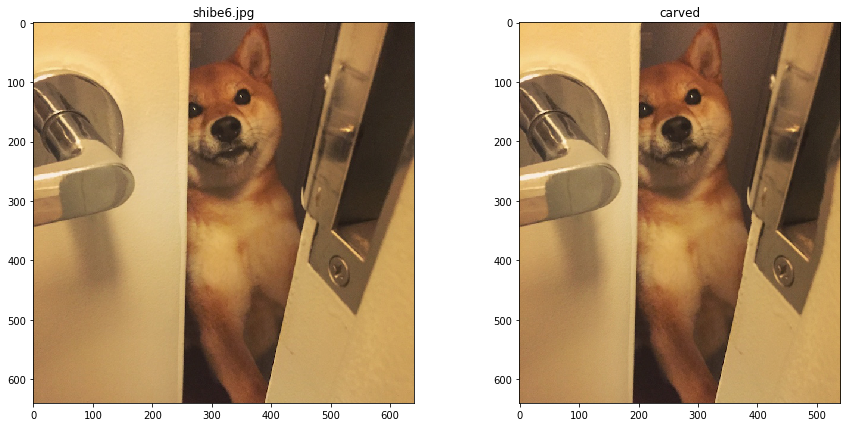
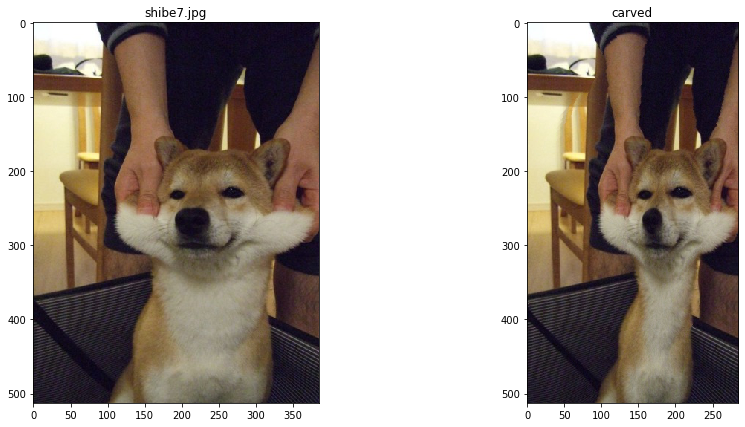
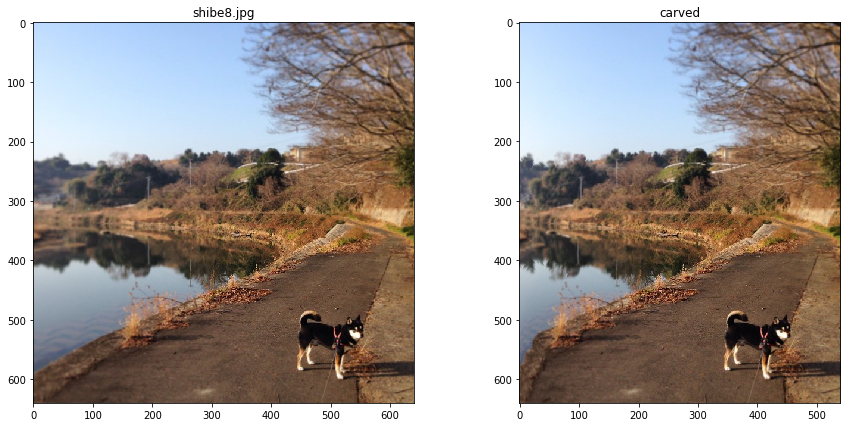
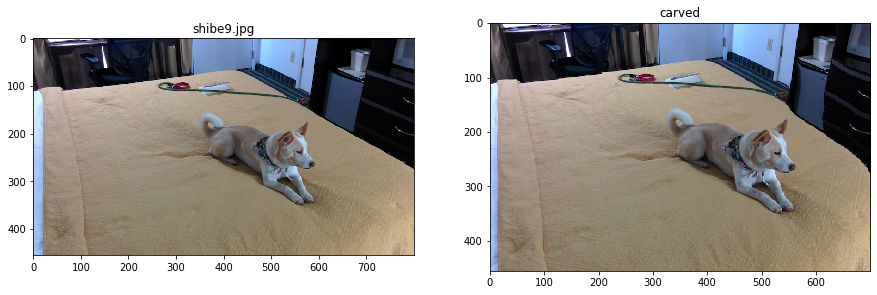
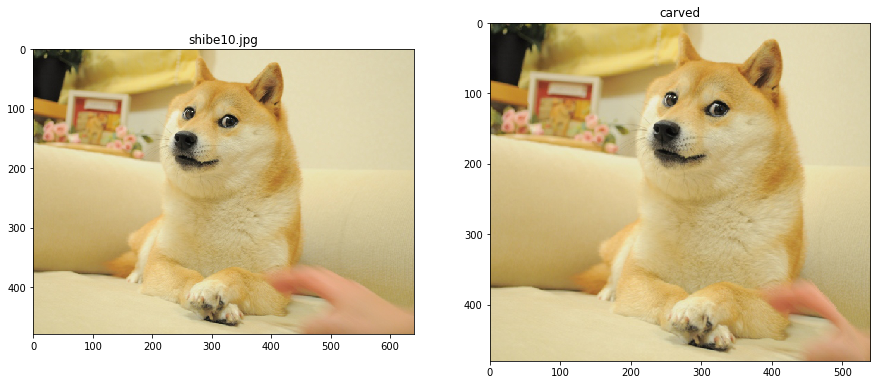
Every picture has been carved 100 times horizontally.
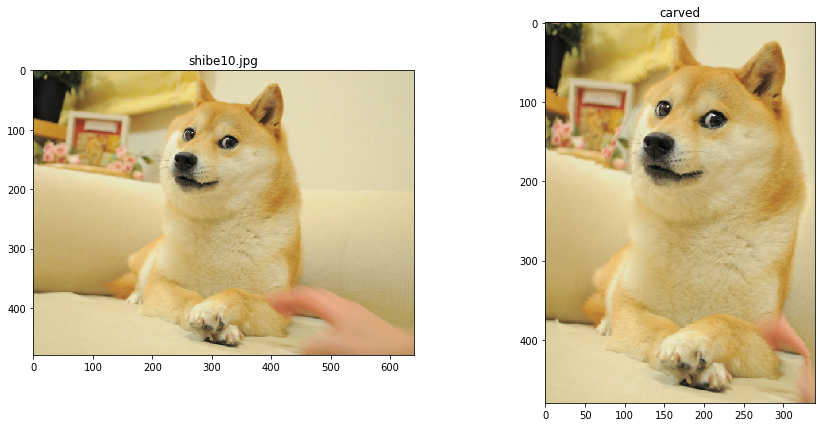
There's some pretty interesting failure cases here, but to be fair, anything can turn into a failure case if you carve enough times. The following is carved 300 times to show that scenario. You can see that we lose detail on the doge. Our energy function basically tries to preserve edges, so it works pretty well on pictures that have a lot of less edgy bland areas.
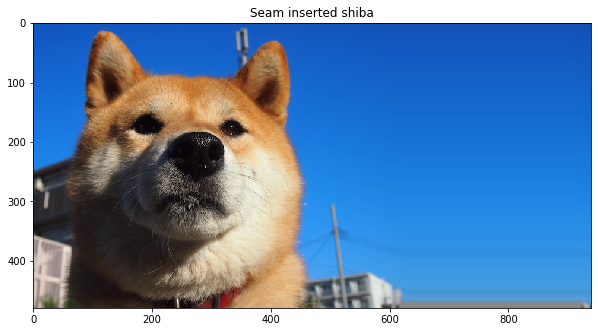
As a bell and whistle, I also implemented seam inserting: same logic as carving, but instead of deleting the seam, you average the sides of the seam and add that into the picture. This does run into a problem of where you basically insert at the same location over and over again, but the results are pretty good if you don't notice the draaaaaagged out powerline at the bottom.
Conclusion
Most important thing I learned here was that there's pretty unique ways to gracefully handle dynamic programming edge cases. When you propagate the seams downwards, you need to handle the pixels at the sides because they can only look to two adjacent pixels versus three. However, you could also initiate two dummy columns of pixels in the seam map that have infinite energy so the algorithm will just never pick them.
Lightfield Cameras
Depth Refocusing
So if we take sixteen cameras and arrange them in a grid and shoot a shot, we can recombine those sixteen pictures with different alignments to get different areas of focus on our picture.
Each lens comes with its grid coordinates. We basically take a constant, multiply it by the distance between that lens and its center, shift the image from the lens by that result, and average all the lenses. Center camera is at (8, 8). Formula is as follows:
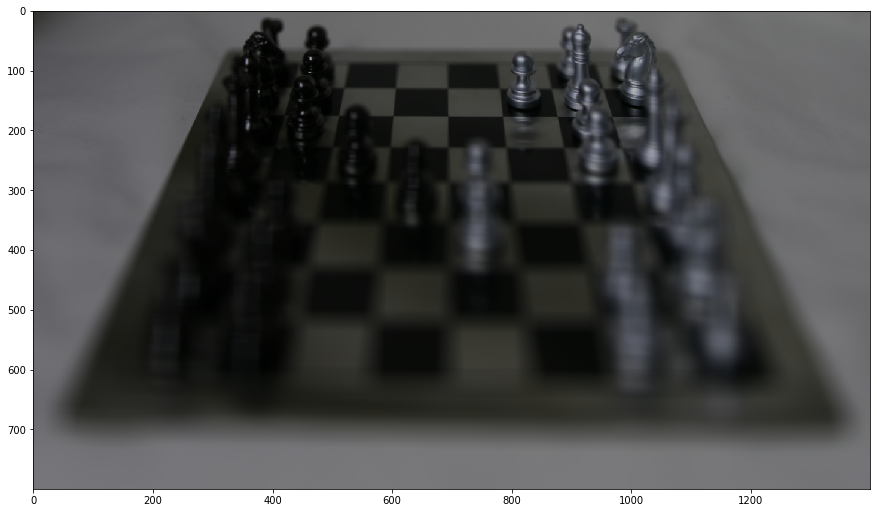
$$(u,v)_{shift} = c * [(u,v) - (u, v)_{center}]$$$$output = \dfrac{1}{16}\sum_{u=0,v=0}^{u=15,v=15} (u,v)_{shift} * (u, v)$$So here's the naive approach when you sum up the photos without alignment (constant=0):
And here's what happens when you align them.
c=.1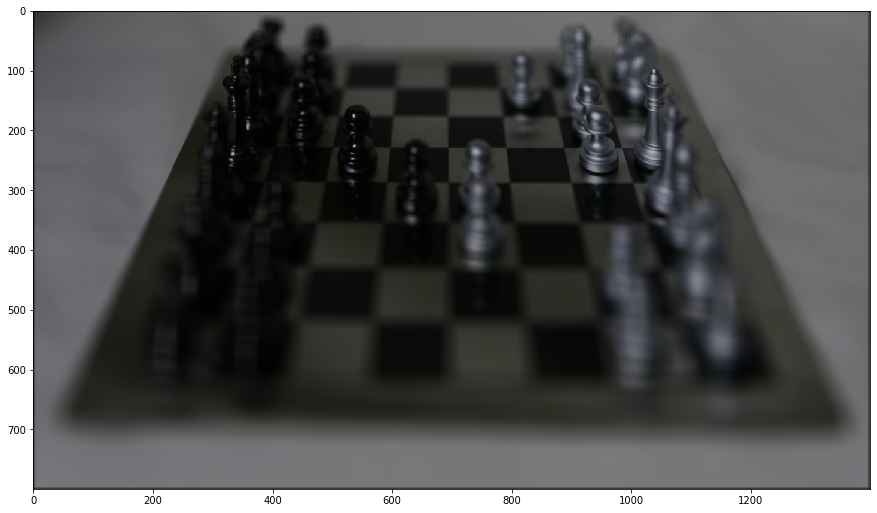 |
c=.2 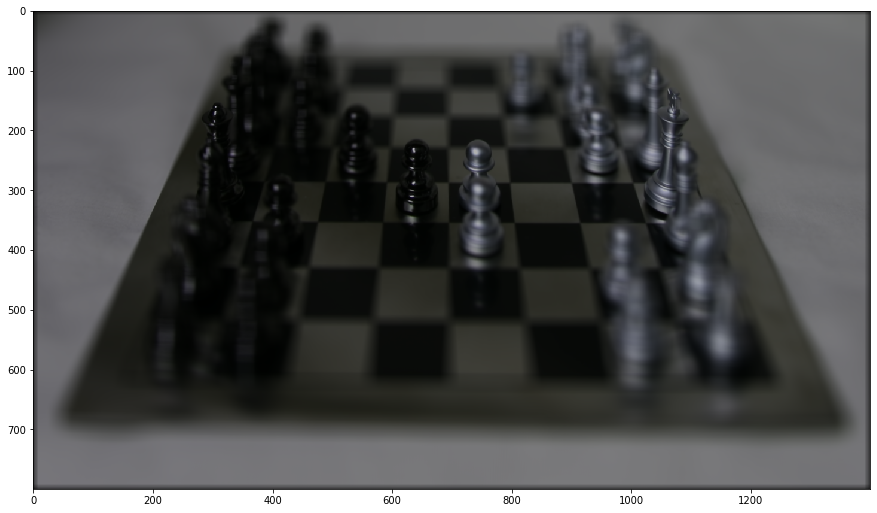 |
c=.3  |
c=.4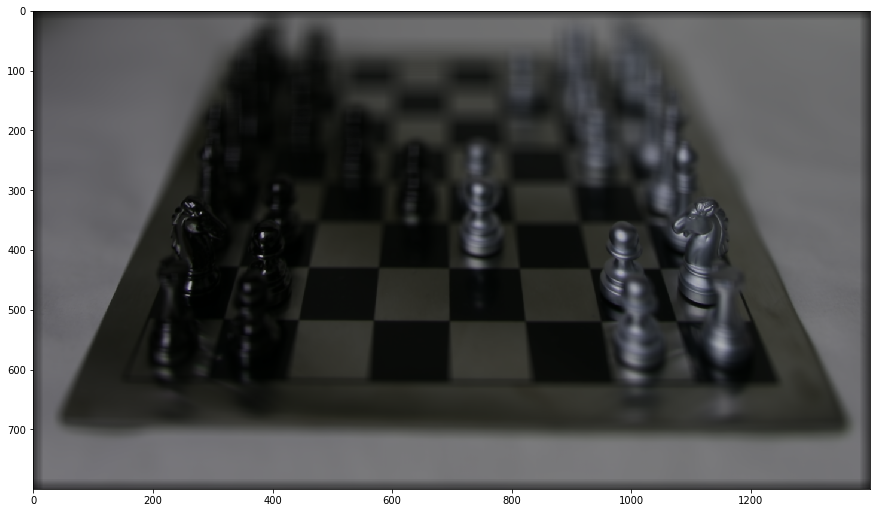 |
c=.5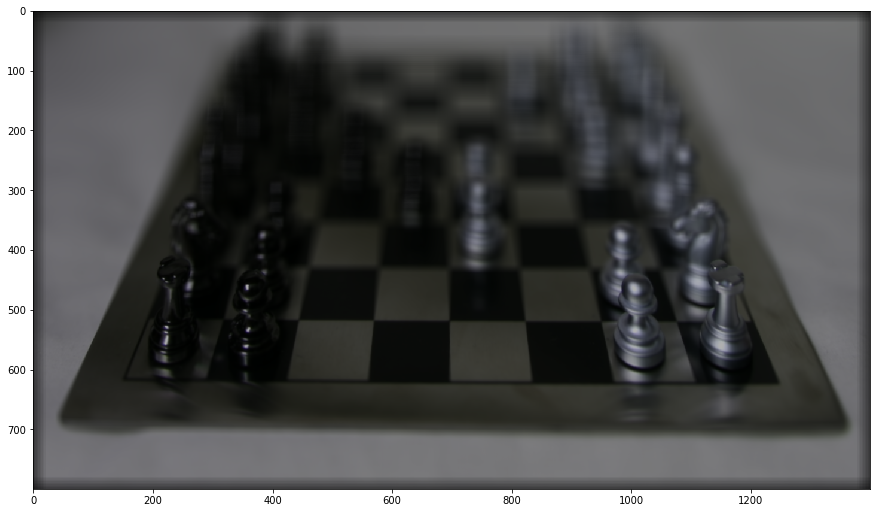 |
gif |
And here's the gif, but bigger:
Aperture Adjustment
Now remember that 16x16 grid of cameras? We generated the above images using every image, but if we limit how many images we use we can artificially adust the aperture of our shots. I'll align each image with constant = .2, but I won't use all the images right away.
This one is just the image from the center lens:
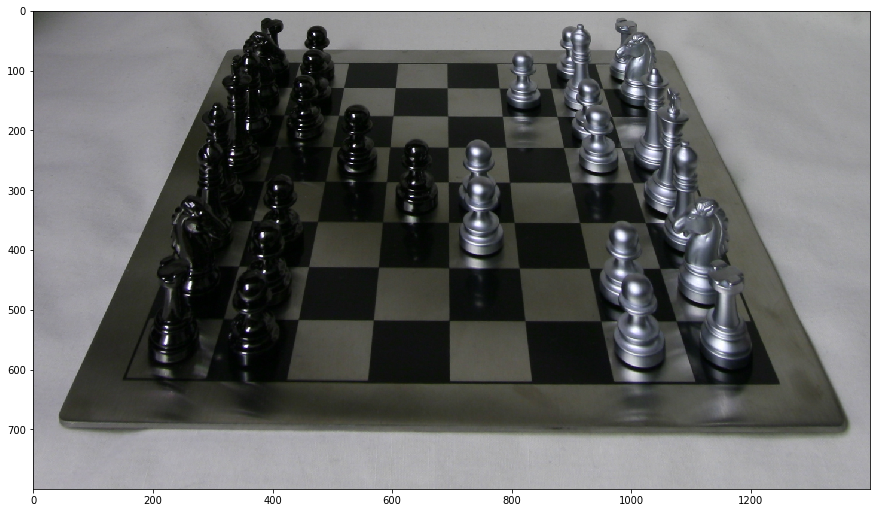
And here's what happens when you add surrounding images.
| Just the center lens |
Surrounding two images (5x5)  |
Surrounding five (11x11)  |
All images (16x16) |
Again, a gif showcasing the transformation.
Conclusions
Lightfields are neat. I feel like they should have taken off a lot more than they did: it's a shame that Lytro is no longer around. I really liked how simple and important it is to label your data correctly: e.g. something like out_09_04_-823.454773_-3335.965088_.png is easier to split than out_09_04_-823.454773_-3335.965088.png in Python because you don't have to handle the filetype delimiter when splitting on _. Ran into this problem because of inconsistent labeling between datasets.