Jingwei Kang, cs194-26-abr
Project 1: Seam Carving
Overview
The goal of this project is to reimplement the seam carving algorithm presented in Seam Carving for Content-Aware Image Resizing by Shai Avidan and Ariel Shamir. Seam carving is motivated by the need to resize images (without keeping the height/width proportion constant) while being aware of image content. For example, simply resizing the image will stretch the image content, while cropping may remove important content near the edges.
Part 1.1: Compute Energies
I stuck with the first energy function presented in the paper, which is simply the sum of the partial derivatives of the image. Edges in the image will naturally have a higher energy due to a sharp change in intensity. This energy is used to find the lowest-importance seam.
Part 1.2: Find and Remove Seams
We utilize the energy function and dynamic programming to find the seam that has the lowest total energy in the desired direction (e.g. horizontal vs. vertical seam). A more detailed description of how to find the seam may be found in the paper above. Seams are then iteratively removed until the desired dimensions are achieved.
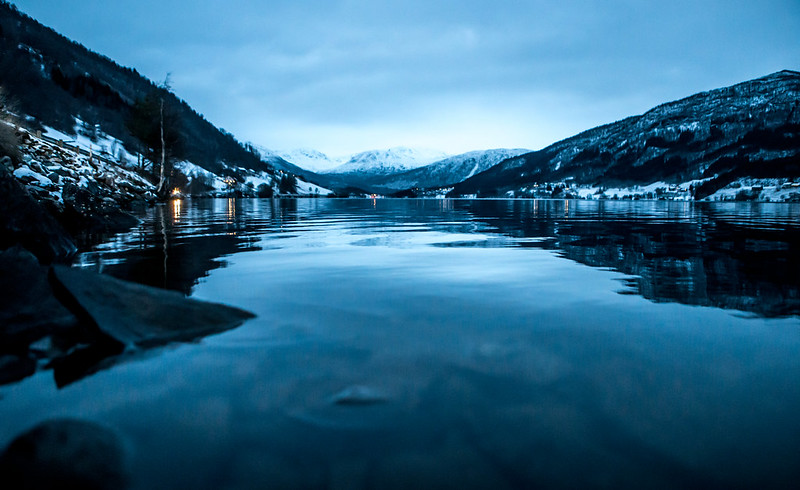
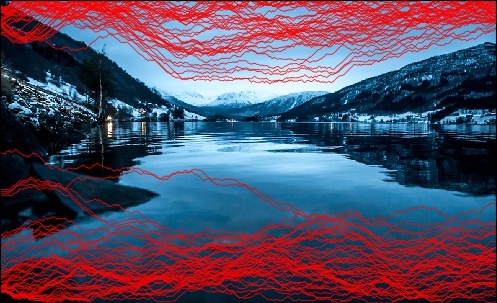
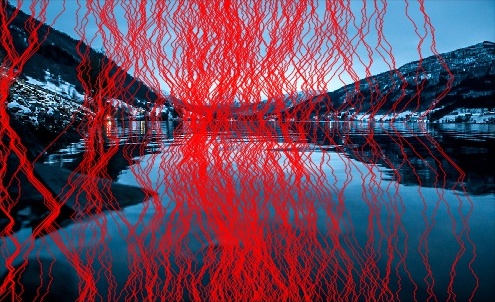
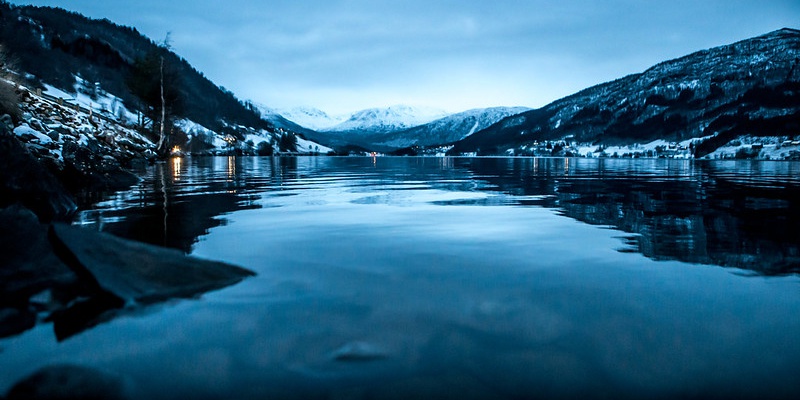
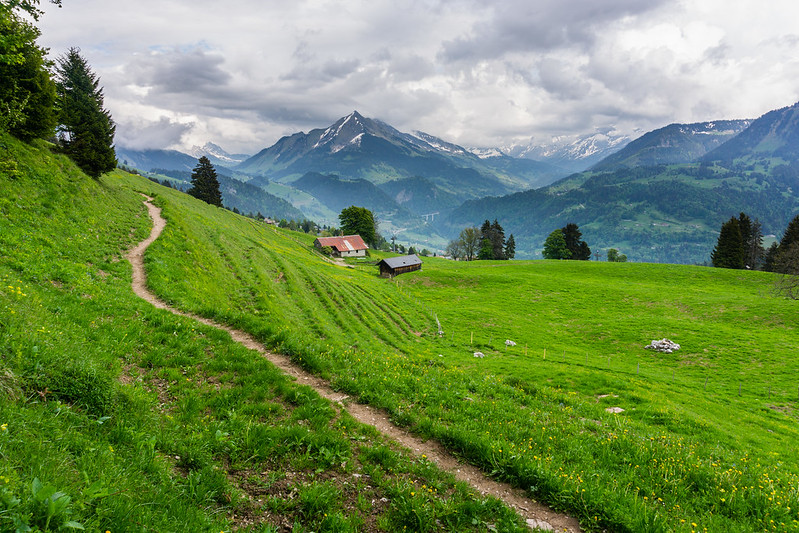
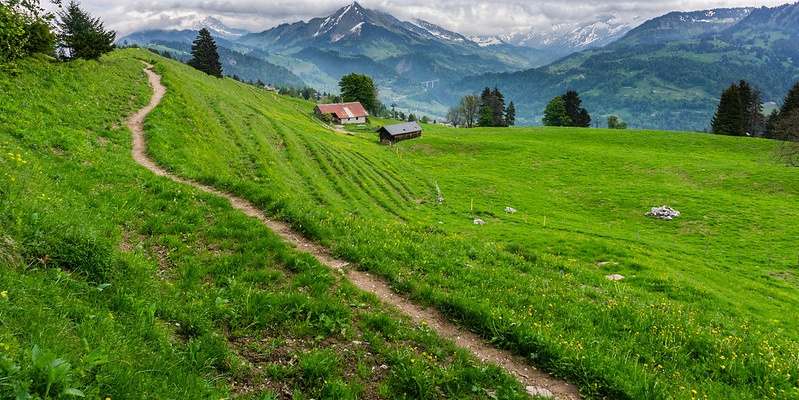
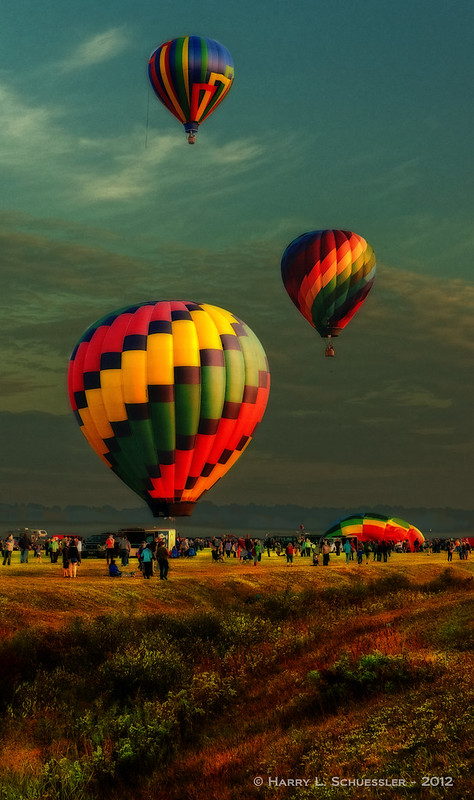
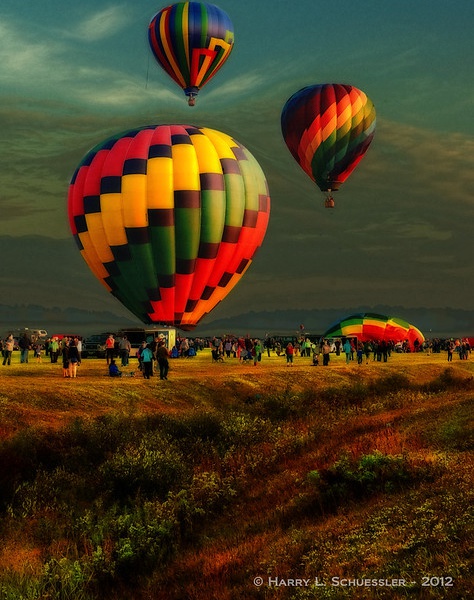
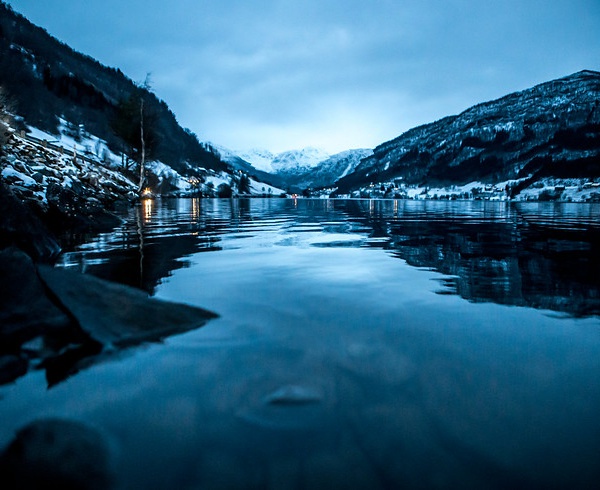
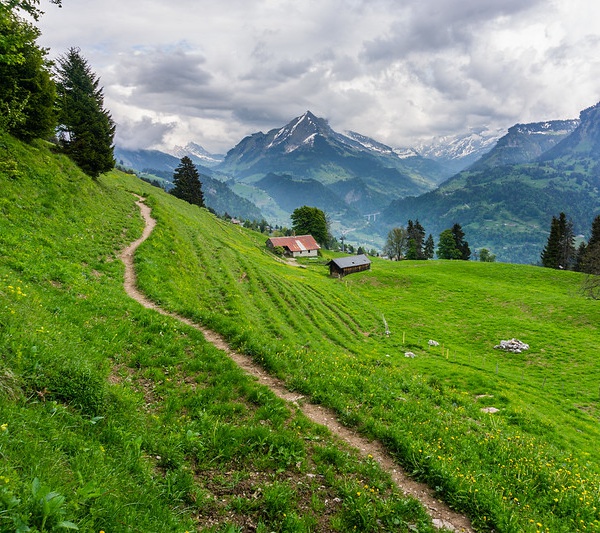
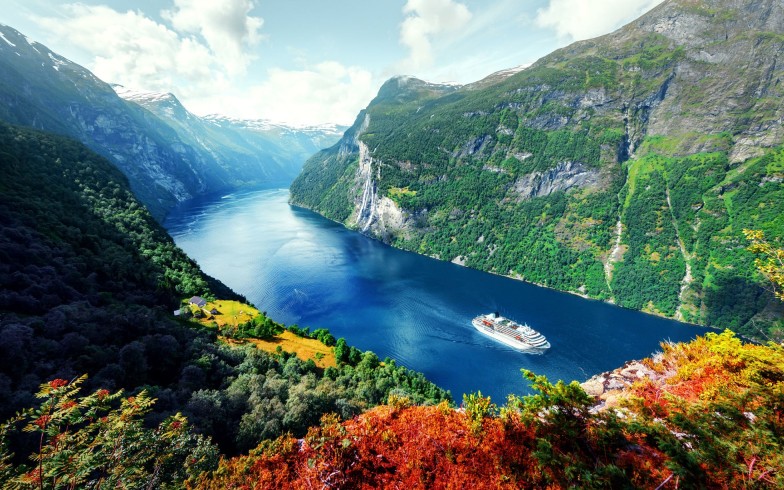
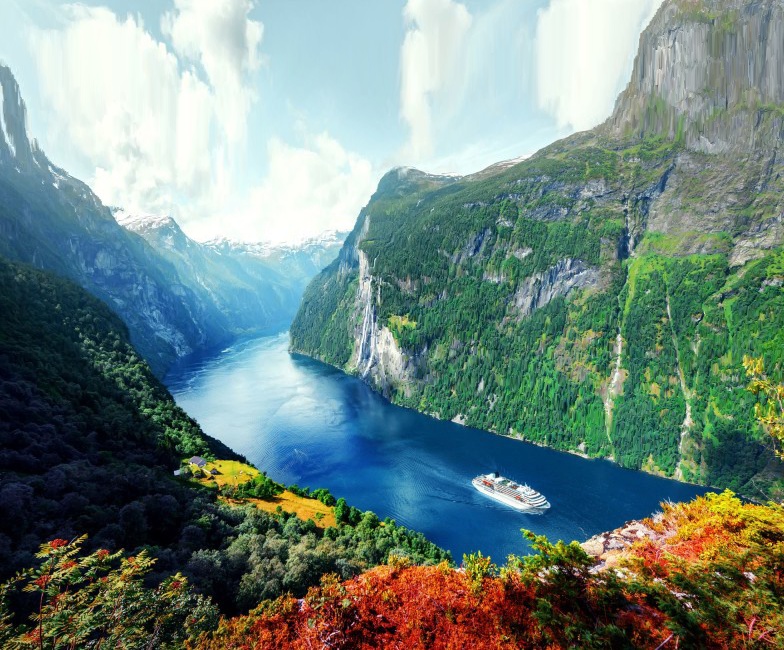
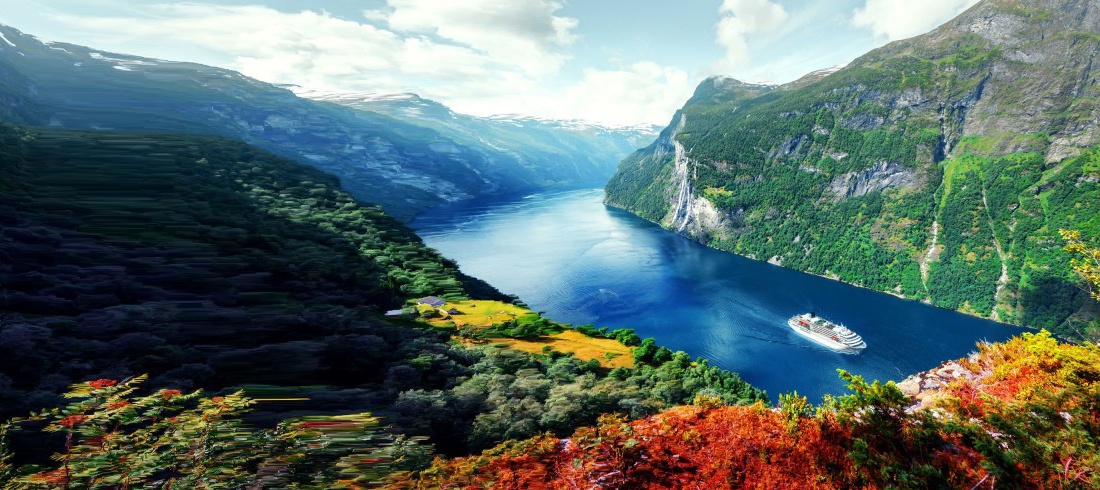
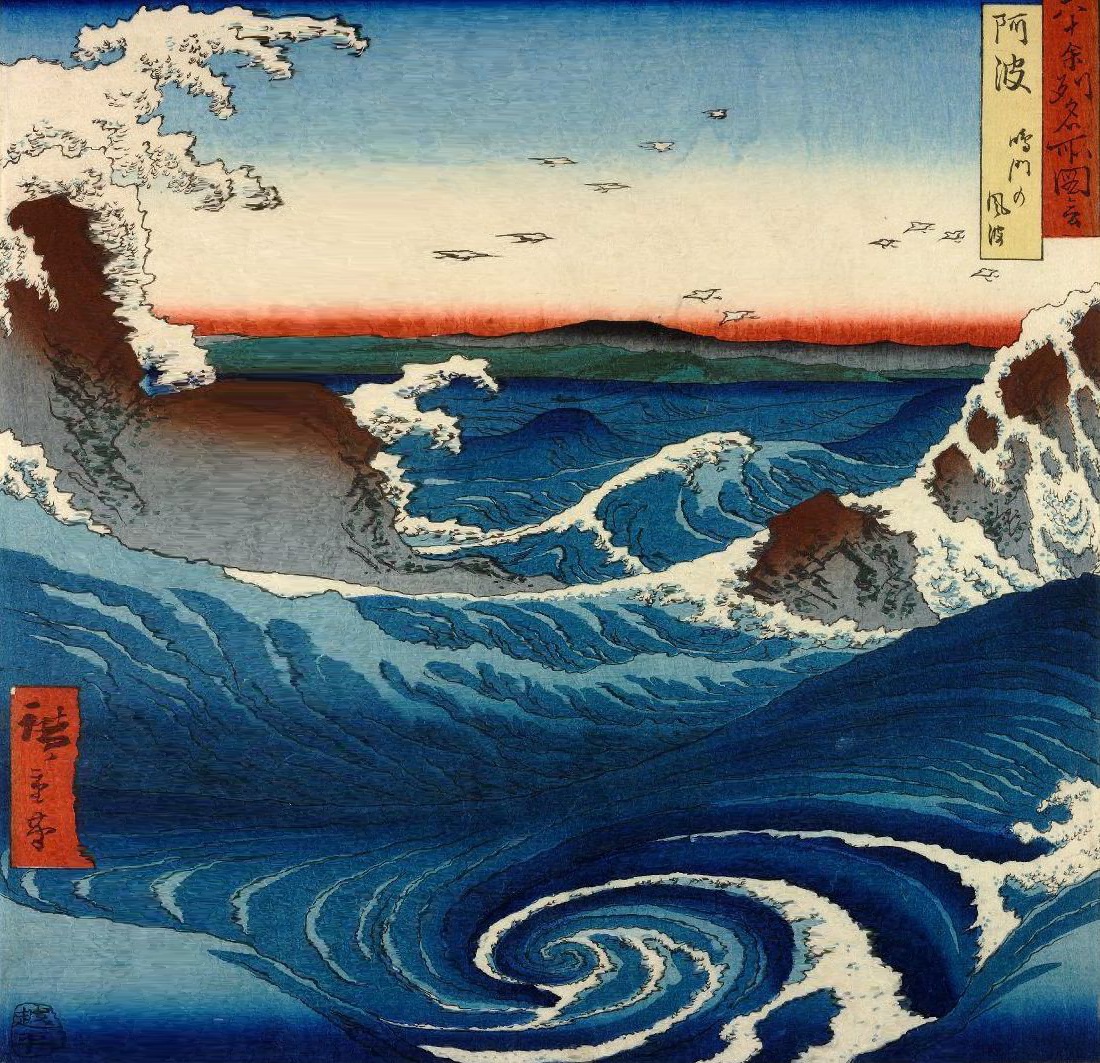
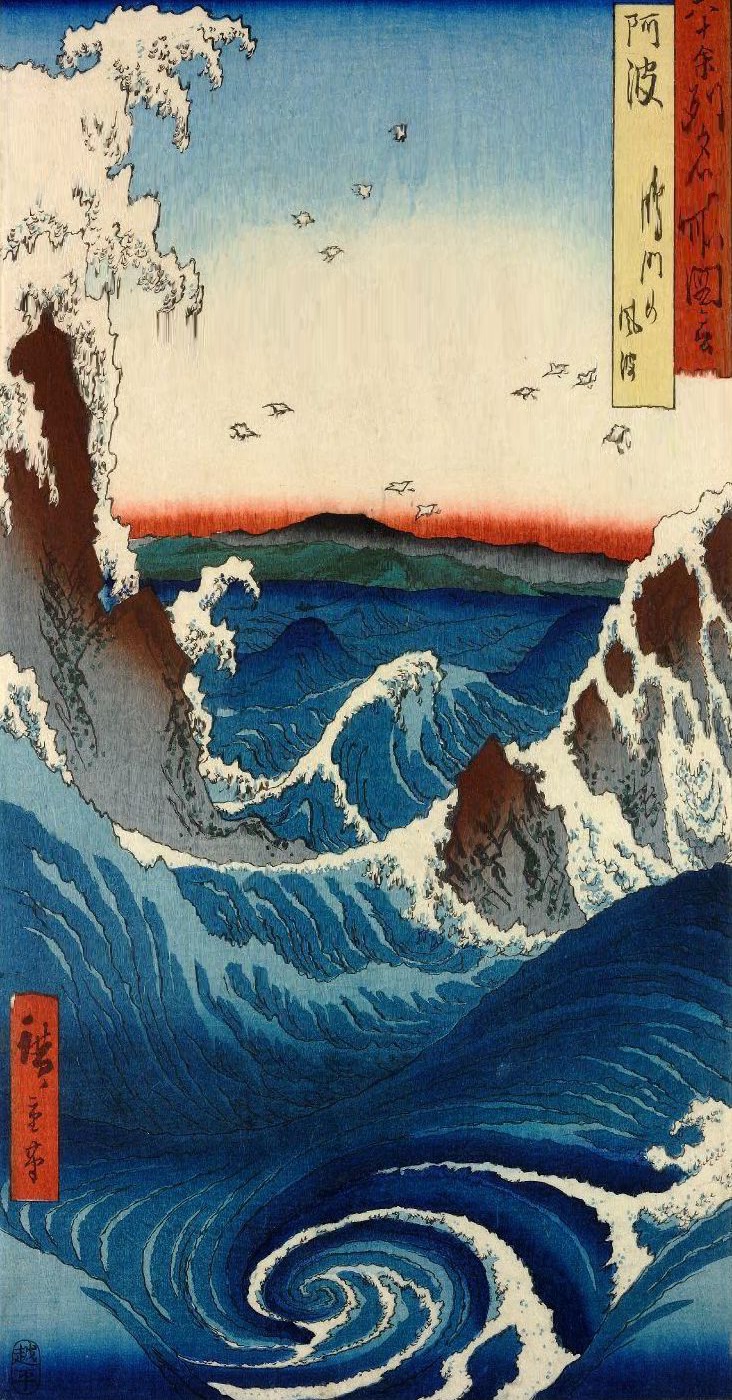
Norway [link] |
||
|---|---|---|
|
|
|
In the images above, we can see how the seams are often found in regions of water or sky. This is intutitive as in the images, we observe less change in the clouds, compared to the large contrast between the snow and mountains.
Part 1.3: Seam Carving Results
Horizontal Seam Carving
|
|
|
|
|

|

|
|
|
|
|
Vertical Seam Carving
|
|
|
|
|
|
|
|

|
|
|
|
|
|
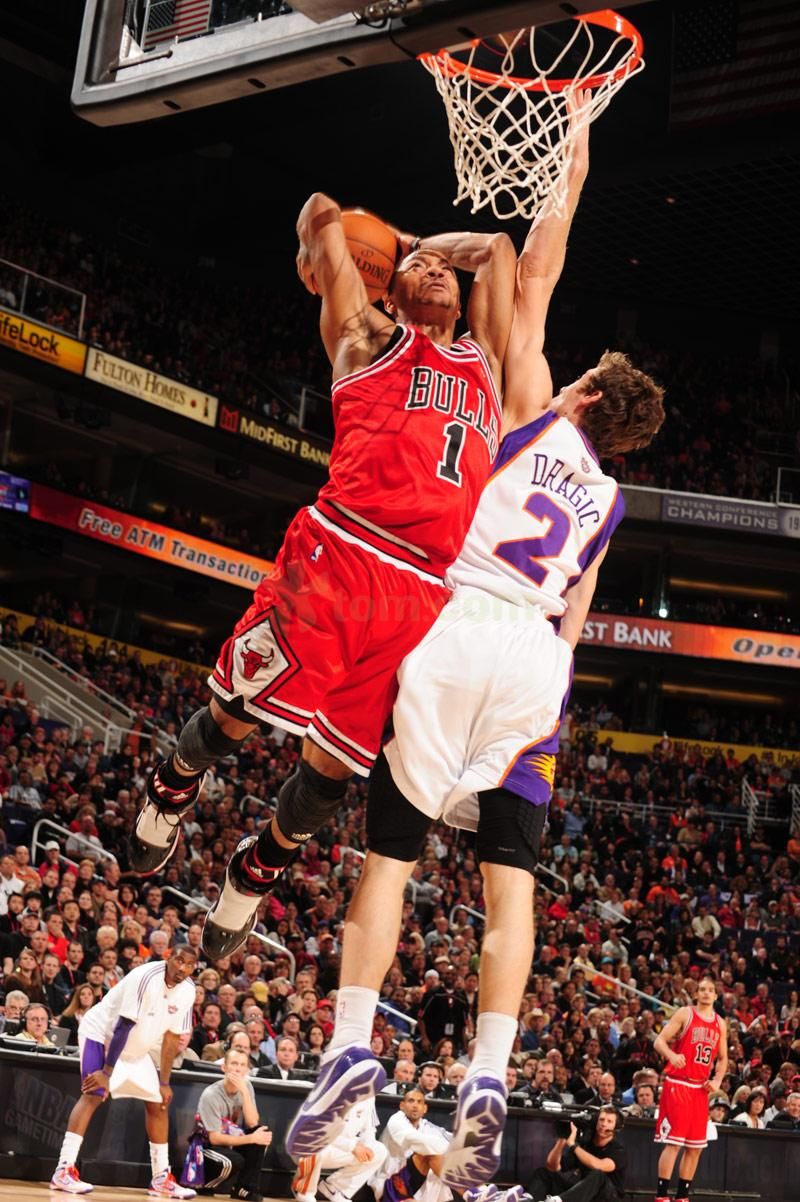
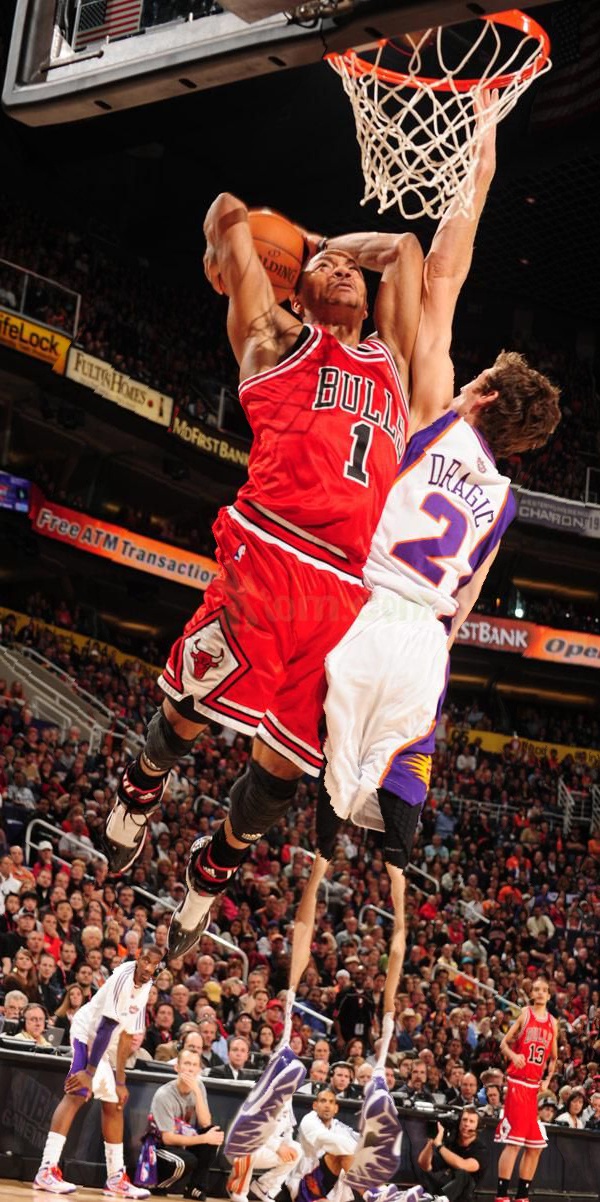
Failures
|

|
|
|
|
|
|
|
|
|
In the last example, we can easily see why seam carving would fail. We know that seam carving chooses seams with the lowest energy. In this case, Goran Dragic's jersey is pretty uniform in color, as is any exposed skin. Compare that to the tens of thousands of faces spectating and we can see why a seam through him would be of lower energy.
Part 1.4: Seam Insertion (BELLS & WHISTLES)
The goal of this part is to do the opposite of seam carve by inserting seams to extend images. To do this, we again find the lowest energy seam, but this time insert a seam in that location by interpolating its neighbors. However, note that we can't do this iteratively, because the lowest energy seam will likely continue to be the lowest energy seam, and we will extend the image unnaturally. Rather, we need to run seam carving to remove the same number of seams that we want to add. This finds and orders the seams, which we can use to add back to the image.
|
|
|
|
|
|
|
|
|
|
Takeaways
It was remarkable how straightforward the algorithm was given how realistic some of the output images could look. For example, the shrubby mountain on the right of the James Bond Island image was essentially flattened in the horizontal seam carving, but it still looks passable. The important takeaway for me was that no single energy function/algorithm will be a one-size fits all.
Project 2: Lightfield Camera
Overview
As discussed in Light Field Photography with a Hand-held Plenoptic Camera by Ren Ng, capturing multiple images on a plane orthogonal to the optical axis allows us to create effects such as depth refocusing and aperture adjustment by shifting and/or averaging the images captured. I utilized photos in the Stanford Light Field Archive, which were rectified and contained images on a regularly spaced grid. I used datasets that were taken over a 17 x 17 grid. The filenames of the images contain the position on this grid, as well as the camera position.
Part 1.1: Depth Refocusing
The idea behind depth refocusing is that objects farther away from the camera do not vary their positions as much as closer objects when the camera moves around (with the optical axis direction fixed). By controlling how much each image is shifted, we can effectively focus at a different depth. To determine the amount to shift each image by, I first parsed the filenames for the camera position to determine the average camera position. I then determined the offset of each image relative to the average camera position. Lastly, I multiplied the offsets by a "shift factor" to change the depth refocusing and averaged the images. Below are gifs that show the effect of depth refocusing over a range of shift factors, which were determined visually. I've indicated the range of shift factors below, where a smaller (negative) shift factor indicates focusing on farther objects.
|
|
|
|
Part 1.2: Aperture Adjustment
Similarly, we can simulate aperture adjustment by averaging a subset of images. Because finding parameters for camera positions could be a bit tedious (as in the previous part), I opted to use the relative positions on the 17 x 17 grid for this part. Then, simulating aperture adjustment is much more straightforward and I could use the same set of parameters for all my datasets (assuming they use the same grid). The smallest aperture is just the image in the center 1 x 1 grid. The next smallest aperture uses the average of the center 3 x 3 grid images, and so on.
|
|

|
|
Takeaways
I was surprised by how relatively straightforward it was to achieve these effects with just shifting and averaging operations. Additionally, I thought it was cool how these effects could be achieved in a post-processing stage, whereas you would generally focus an image while taking it.