Project 1: Image Quilting
Overview
Image quilting, a term coined by Professor Efros himself, is the idea of taking small patches from existing images to create a new image. In this project, we will use image quilting algorithms for texture synthesis and texture transfer. Texture synthesis is the process of creating a large texture from a smaller sample, and texture transfer is a method to render an object in the style/texture of another.
Texture Synthesis
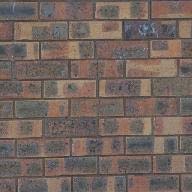
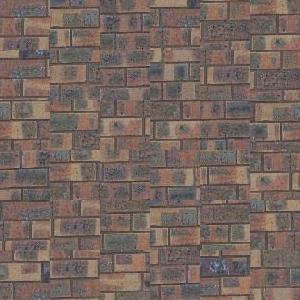
The naive method of texture synthesis is to randomly sample square patches from the original texture and blindly place them in a grid fashion. However, since it does not take into account relationships between patches, the final result (left) is not realistic. The lines from the row of bricks do not continue beyond one patch.
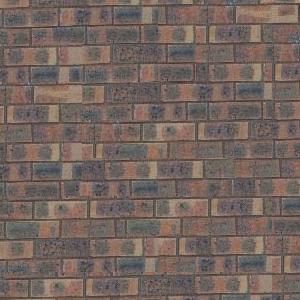
A smarter method is to take the already-placed patches into account when finding the next one. Rather than randomly choosing, we compute how well each patch would fit. We set the number of overlapping pixels as a parameter and compute the sum of squared differences (SSD) measurement in the overlapping region(s). Out of all patches within a certain error tolerance, we randomly select one to place down and continue the process. This results in a much nicer texture, as we can see from the middle image.
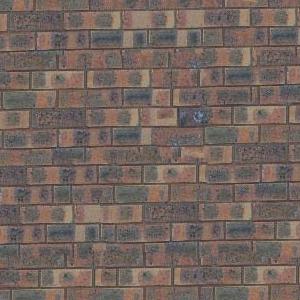
The last method is an optimization of the previous algorithm. We continue the patch selection as before, but when we place a patch, we use the minimum cut seam (again using SSD as our energy metric) rather than a straight seam down the middle. This further smooths out edge artifacts.
Overlap Region
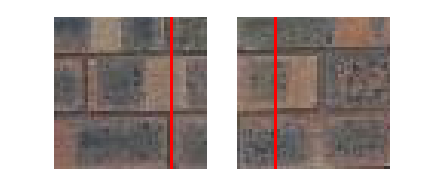
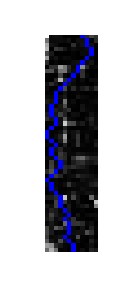
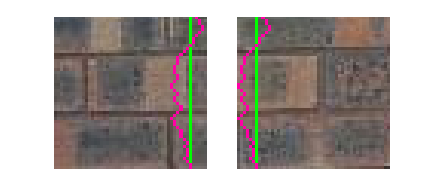
I use a toy example to explain the differences between the latter two algorithms in more detail. I have two 50x50 pixels patches to join together with an overlap of 12 pixels. The boundary of the overlap in each patch is highlighted with red in the left image. We then compute the SSD between the two overlapping regions, which forms our energy matrix. We use dynamic programming to find the seam through this region with the minimum energy. Note that the seam (in blue) avoids the high energy pixels to the best of its ability. In the final picture, we can see a clear difference between the two algorithms. The first (in green) uses a naive blending technique split down the middle, whereas the other uses the minimum energy cut for the most seamless transition.
Results
I used both the given samples as well as a few of my own textures to create a 350x350 pixel patch. I cropped all the final images to 300x300 pixels in order to circumvent the boundary conditions. I included both the original sample and the final texture (though both are scaled) below.

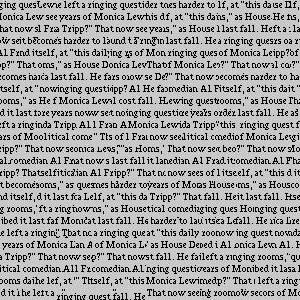
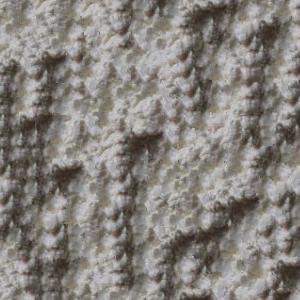

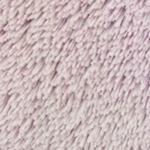
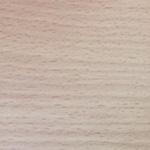

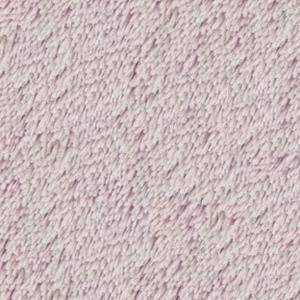
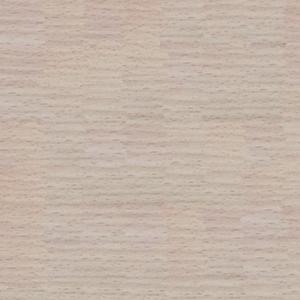
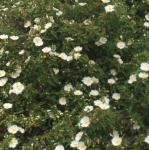
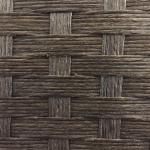
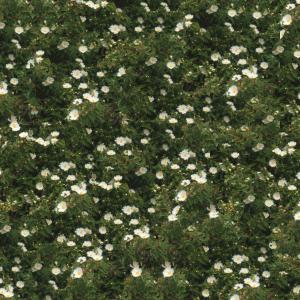
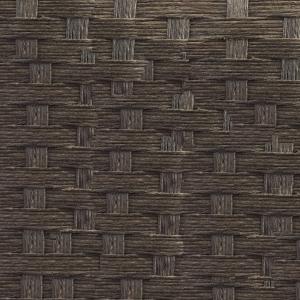
The effectiveness of image quilting is highly dependent on the sample texture. We can see that it works extremely well for textures that are inherently random. The carpet (top right), countertop (middle left), and the fur (middle center) are realistic. The algorithm falters a bit more on orderly textures; the bricks are not all straight, there is a slip-up on the last line of the text, and the latticework on the basket (bottom center) is thoroughly broken. Additionally, we can see from the table (middle right) that the result is sensitive to lighting changes. If looked at closely, we can visually see the patches in that texture because of the slightly different hue.
Texture Transfer
Texture transfer is the method of rendering an image with the texture of another. It turns out that the image quilting algorithm earlier can be adapted for texture transfer by changing the loss function. Rather than just comparing a potential patch with the overlapping region, we also compare it with a target image. This SSD adds an additional term to the cost function, which we then find the minimizing patch.
Note: Since I compared the patches with the actual target image, I could no longer circumvent the boundary condition, which is why there are black borders on the bottom and right sides.
The difference in the texture carving in the last three images is the patch size, with the latter images using larger patch sizes. We can see that as our patch size grows, we get more of the style from the texture sample at the cost of clarity to the target. This makes sense, as larger patches means less patches that could match with the target.
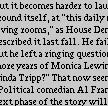
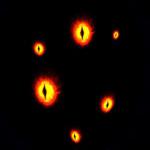
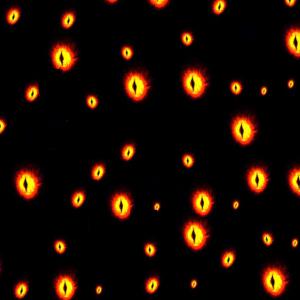
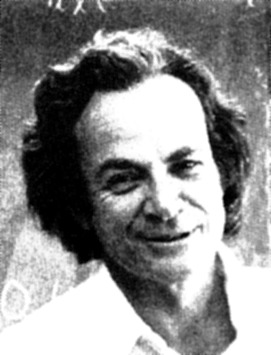
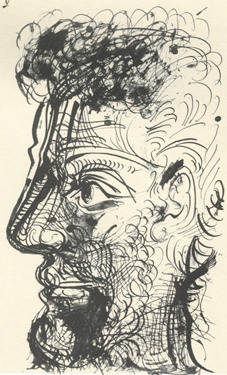
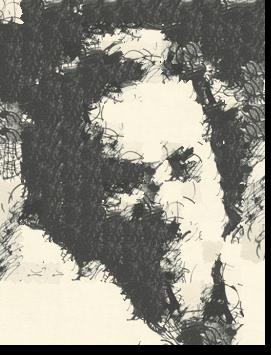
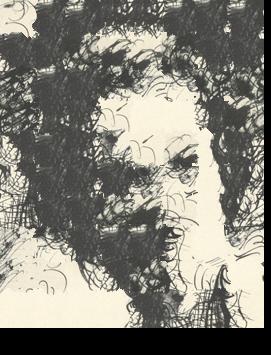
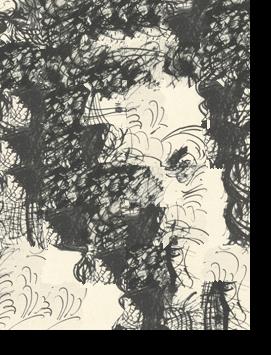
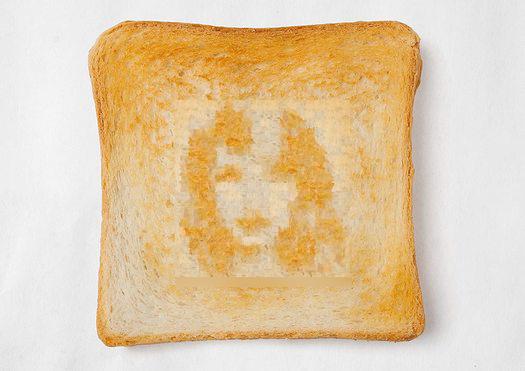
I also tried texture synthesis of people with toast markings. Unfortunately, it is hard to find toast pictures with high color contrast, which makes the final results hard to see without the reference.
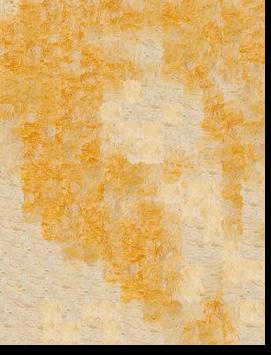
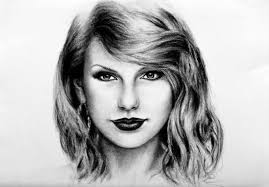
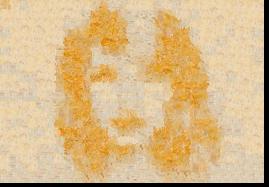
I chose the drawing of Taylor Swift because I saw I needed a high contrast between the background and the subject, which the Feynman image lacked. While there are a decent number of weird yellow-ish patches, the texture transfers came out pretty well.
Bells and Whistles
Given that I wrote my project in Python, I had to write my own version of cut.m.
I also dug out my Laplacian blending code from project 2 to complete toasted Taylor Swift. Given more time, I would've loved to make the transition a little more seamless. I was constrained by the fact that the image spanned the entire height, and the weird yellow spots on the bread did not help the blending.
Conclusion
I chose this final project because I thought texture synthesis is a cool concept. Having finished the project, I can now say that it is hard to achieve good results. Not only do good results depend on the sample image, it also depends heavily on input parameters. Additionally, the inherent randomness in the algorithm can cause slightly different settings to create clearly different pictures. I will not lie; I am a little jealous of some of the results that Professor Efros achieved in his paper.
Project 2: Seam Carving
Overview
Seam carving is a content-aware image resizing technique that attempts to keep important features intact. Rather than downscaling axes, which would mess with the aspect ratio, seam carving finds a seam (one pixel from every row/column, where each pixel is at least diagonally connected to the previous one) of lowest energy to remove. Anecdotally, this usually keeps objects intact, but reduces the empty space between them.
Seam carving uses derivatives as its energy function. Similar to project 2, we evaluate derivatives at each pixel using a derivative filter; in this project, I used the Sobel filter. I used the L1 norm to merge the x and y directions into one energy value. We then use dynamic programming to find the minimum energy seam in the exact same manner as the previous project. Rather than using the seam to aid blending, we simply remove those pixels from the image. We repeat this process multiple times, depending on how many seams we want to remove.
Successes
All carved images below (and in the failure section) have had either 100 or 300 seams removed from them. The latter is a reduction of around 50% of the image size.
 |
 |
 |
 |
 |
 |
 |
 |
 |
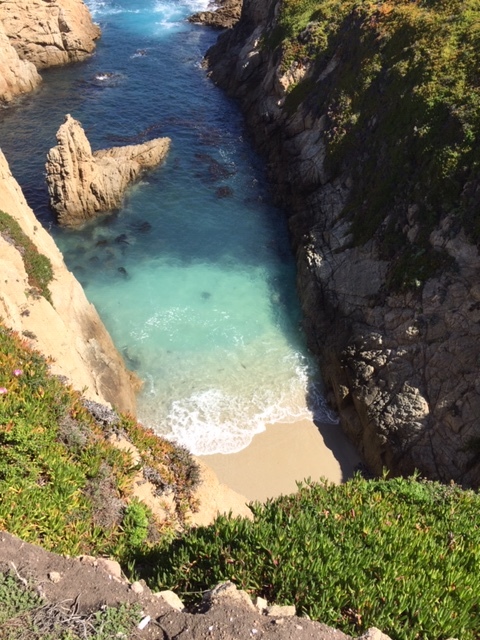
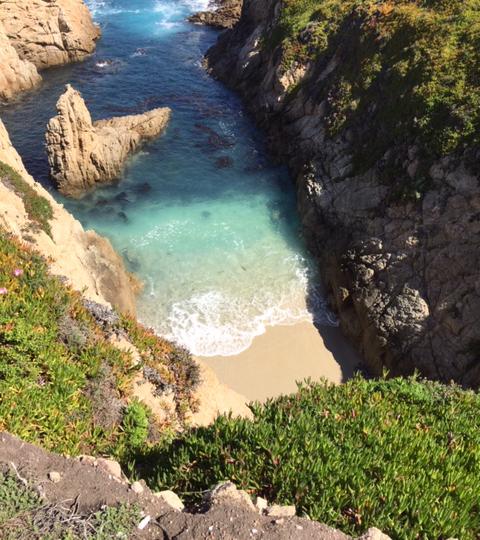

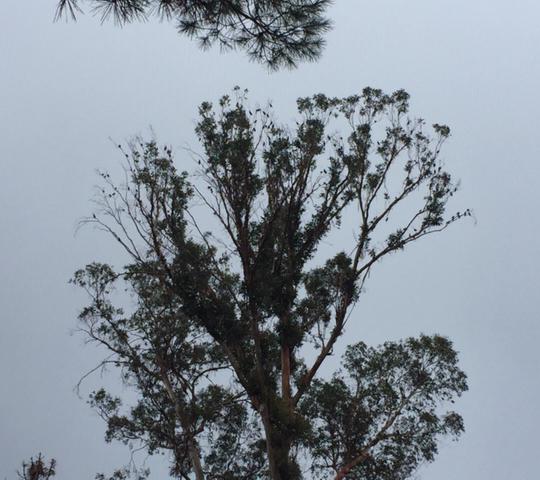
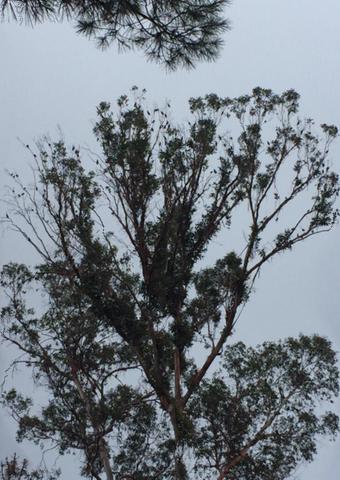
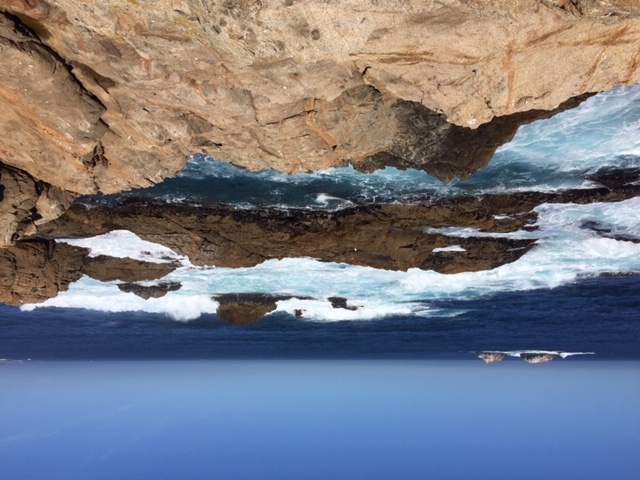
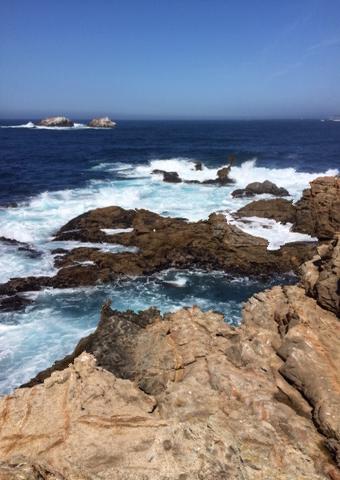
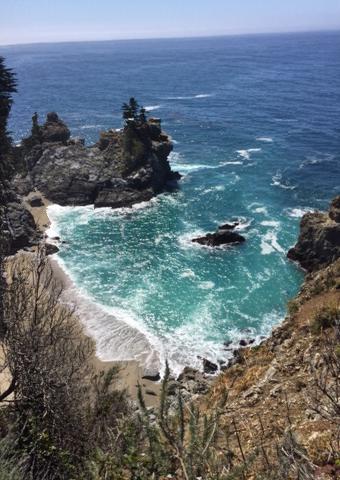
Seam carving works well on natural photos such as landscapes, where there are often open spaces that can be omitted without removing the essence of the image.
Failures
 |
 |
 |
 |
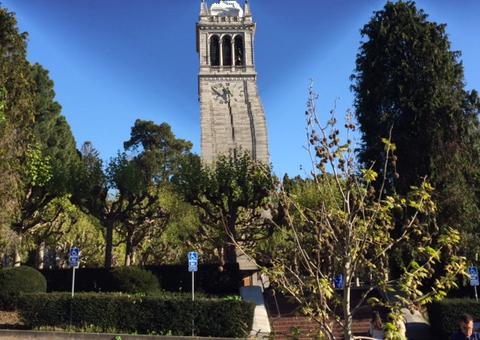 |

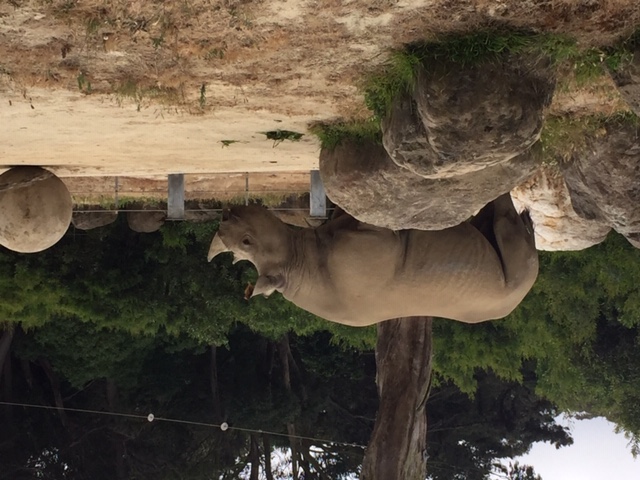
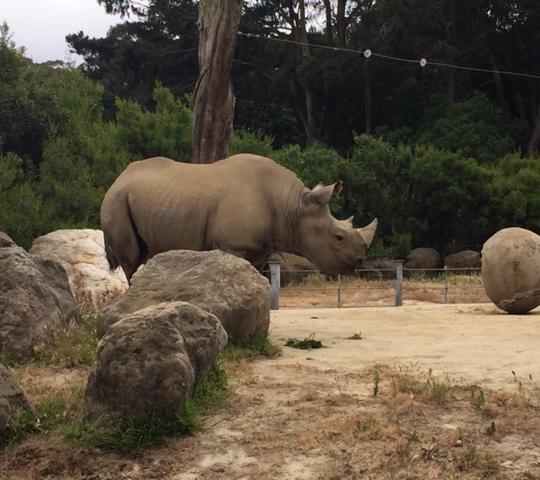
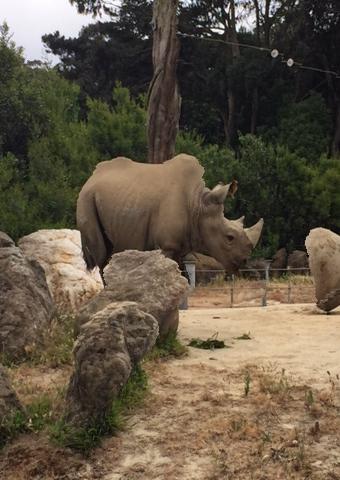
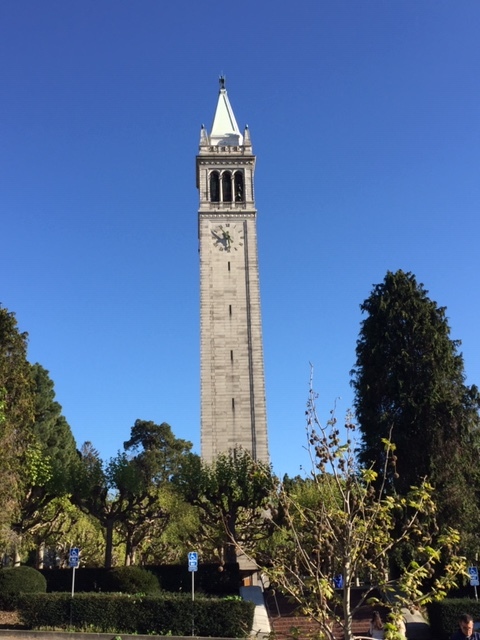
I consider the hippo image a failure because I expected the space between the hippo and the round stone to be removed first; however, the seams appeared to be distributed evenly across the entire image. This goes against the idea of content-aware resizing, and even in the middle image, it is clear that the aspect ratio of the hippo was not preserved. The Campanile tower is even worse. The horizontal carving removed the skies on the edges but the middle of the structure, leaving a very deformed (and short) tower. The vertical carving looks better at a quick glance; however, the Campanile is missing its lower right side corner.
Bells and Whistles
I implemented precomputation. It was simply a matter of going through the seam carvings earlier and storing them in an array. This reduced online computation from tens of seconds to almost instantaneous.
Conclusion
Seam carving is similar to texture synthesis in the sense that it finds a relatively simple solution for a complicated-looking problem. We do not need PhDs to implement neural networks that take forever to run. It only takes a few hours of coding and a few minutes of running to get good-looking results. It goes to show how sometimes, simplicity is way to go.
Seam carving is also similar to texture synthesis in that its success relies on the input image. While some failures can be attributed to drastic resizing measures, other failures are more questionable. Of course, that's why the paper tried to find ways to alleviate the issue by experimenting with different energy functions.
On a final note, I chose to work on this project because it shared the dynamic programming aspect with the texture synthesis project. It was only after I looked at other people's projects when I realized it was a throwback to a CS61B homework three years ago. What a fitting end to this class, and more generally, my life as a Berkeley student.