CS 194-26 Final Projects
Zhimin Cai
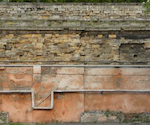
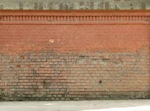
Final Projects 1: Seam Carving
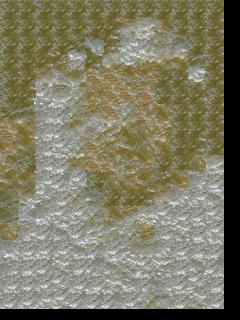
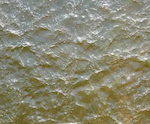
Final Projects 2: Image Quilting
Overview:
The goal of this assignment is to implement the image quilting algorithm for texture synthesis and transfer, described in the SIGGRAPH 2001 paper by Efros and Freeman. Texture synthesis is the creation of a larger texture image from a small sample.
4. Texture transfer
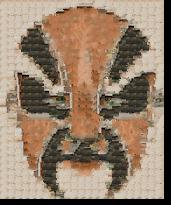
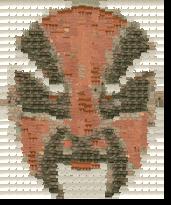
Texture transfer is giving an object the appearance of having the same texture as a sample while preserving its basic shape.
Based on the previous approach, we can add an additional constrain while picking sample patch in order to maintain the relationship with target image. We simply add a cost between target image pixels and selected patch everytime we choose suitable patches. The overall cost is the sum of alpha weighted cost of this transfer cost and overlap cost.
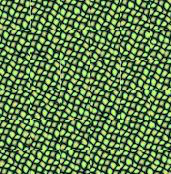
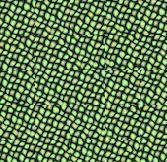
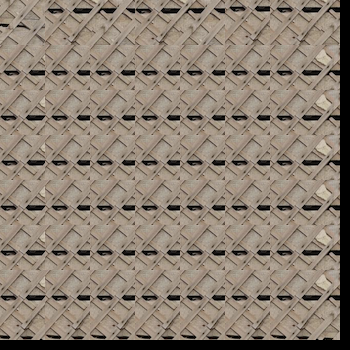
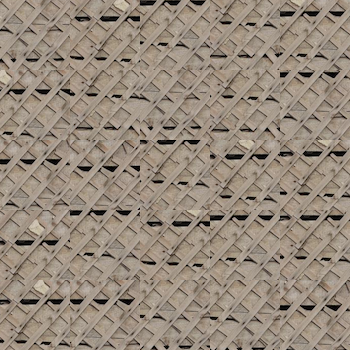
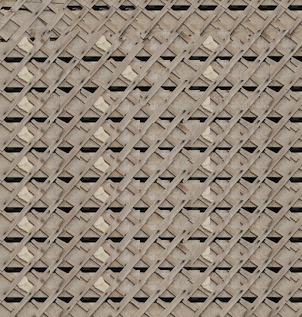
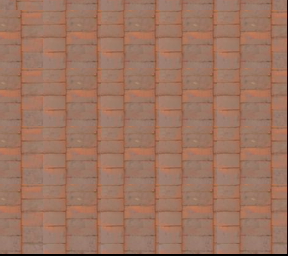
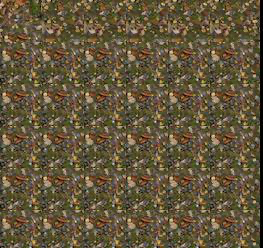
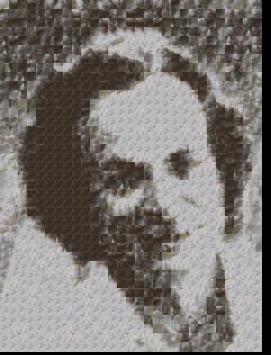
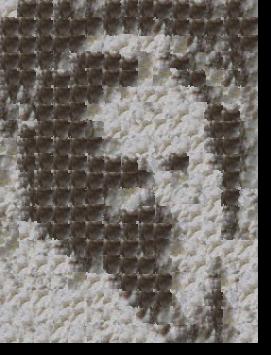
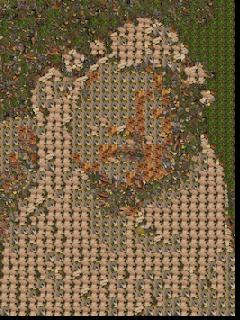
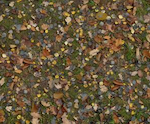
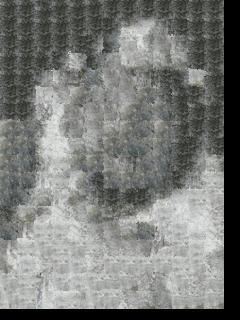
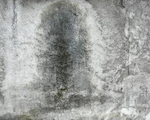
Here are some sample outputs:
Source texture and target Texture tansfer result
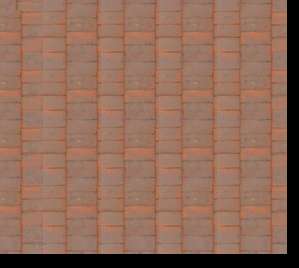
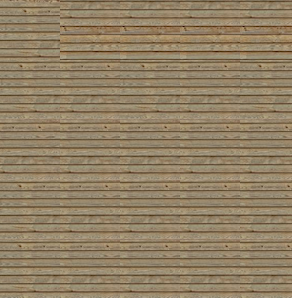
1. Randomly Sampled Texture
We can randomly samples square patches of selected patchsize form sample texture image to fit in output size of our choice.
2. Overlapping Patches
In the previous approach, the main problem is on the edge of sample patches. If there are big difference between adjacent patches, we can observe obvious seams and mismatches. To improve this, we firstly place patch next to previous patch with certain overlap area (eg. 1/6 of patch size). Then, we try to minimize the error between new sample patch with previous adjacent patches over the overlapped area. We may end up with multiple candidate patches within selected tolerance, so we randomly pick one to make our result more natural.
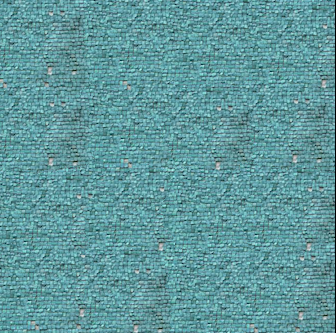
Here are some output sample comprisions:
input Texture random sampled simple_overlapping

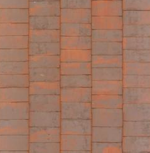
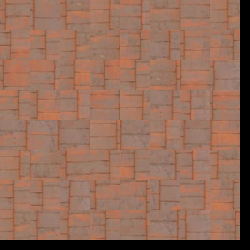

From above result, we can easily tell the simple overlapping has less problem about mismatching and obvious seams, although you still can find seams if we carefully stare on it. To further improve and eliminate the seams on these image, we add another technique to find a better path to assemble these patches in the following section.
3. Seam Finding
In order to minimize the seam artifacts, we want to avoid simply attaching square patches. Instead of sticking two square patches directly, we want to find a pixel-wide path on overlap area from top to bottom / left to right. Then, we can avoid the seam artifacts in this principle way by diciding better edges between adjacent patches. This can be done by choosing the best overlapping patch first, and we can use this patch to calculate pixel errors with previous adjacent patches. With these errors map on hand, we can use dynamic programming to find the best path with least accumulative error.
Left and Right overlapping area cost_map & cut_path on overlapping area
From above cut path, we can tell the path is likely to walk through pixels with less cost (ie. light color on cost_map, and red color pixels on cut_path image) to avoid strong edge artifacts.
Here are some output sample comprisions:
simple_overlapping quilt_cut
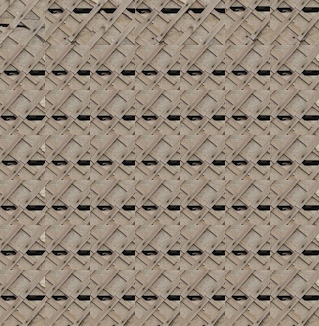
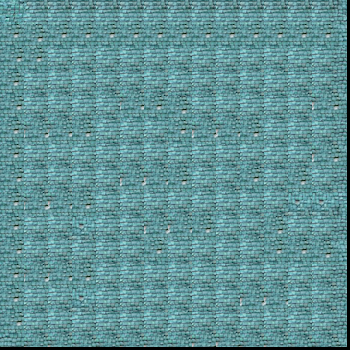


Larger patch( 20*20) vs. Small patch (10*10)


5. Bells & Whistles
I created my own version of cut.m to find best cut path (horizontal/ vertival) on overlapping area to make the edge artifacts less obvious.
Conclusion:
I have good time in this class for implementing many fun features that I would never though about to do so by myself. Although I had some hard time to get some pixel right, the overall experience is great. I really enjoy seeing my artistic results that I spent so many time tuning params to make it looks better.
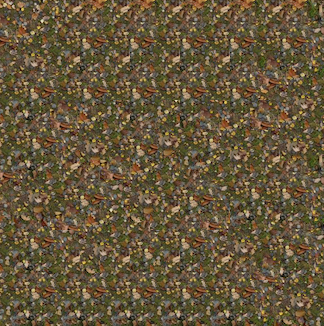
From the above texture transfer result, we can tell the result can be quite impressive even not implement the iteration version. It’s hard to balance on capturing textures and maintianing relationship with target image at the same time. it does not work on all texture samples, such as sample with less complex brightness.
Here are some failure cases:
Overview
One of the papers at SIGGRAPH that made news when it first came out was Seam Carving for Content-Aware Image Resizing by Shai Avidan and Ariel Shamir. In this project, I’ll be implementing the basic algorithm presented therein.
Basically, we need to define Energy Function to represent importance of each pixel. Then we can find least energy verical/ horizontal path through dynamic programming. With the energy map, we can delete one seam path at a time and shift pixels to the left/ up until we get desired width/ height.
We use the most basic energy function but it works pretty good at a lot of case. We define the energy function as the L2 of horizontal and vertical gradients. Therefore, pixels have similar color neighbors gets lower loss, which means it would be relatively lower cost locally if it’s eliminated.
original image energy map
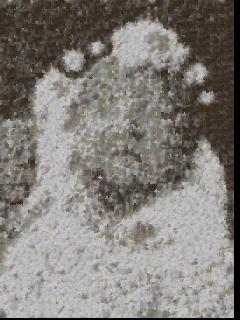
With the importance/ loss value of each pixel, we can use dynamic programming to find the best seam path with lowest loss. At the same time we record its predecessor for backtracking and getting the location of pixel selected along the best seam path.
Here are some sample results:
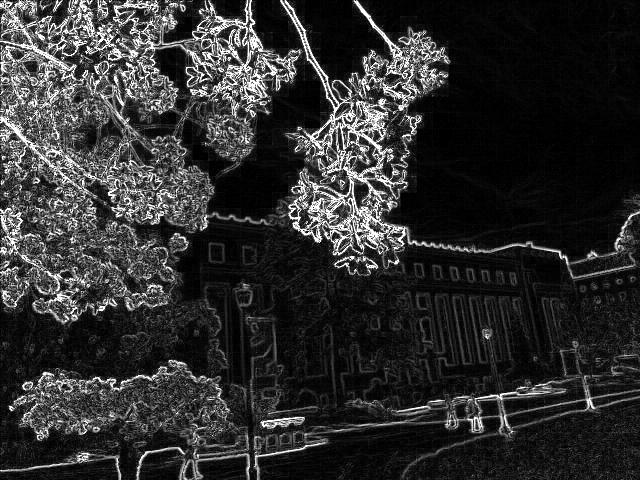
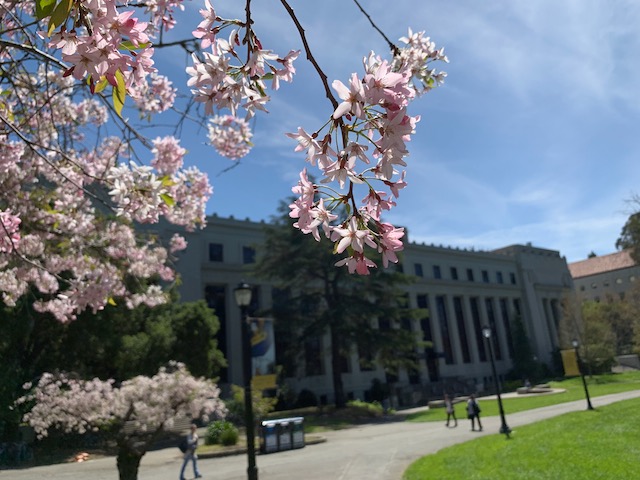
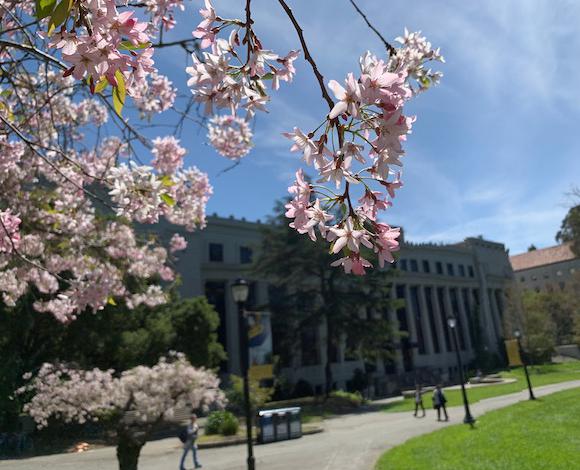
campus sakura @ 2019
Vertical & Horizontal seam carving

Can you recognize where is it located?
horizontal seam carving vertical seam carving
I was planning to make a failure example on this picture, but the result surprised me a lot especially for horizontal seam carving. The best seams also appear along the shadow.
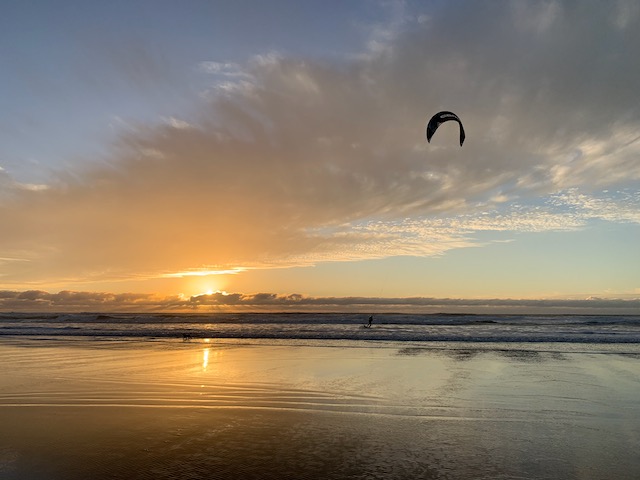
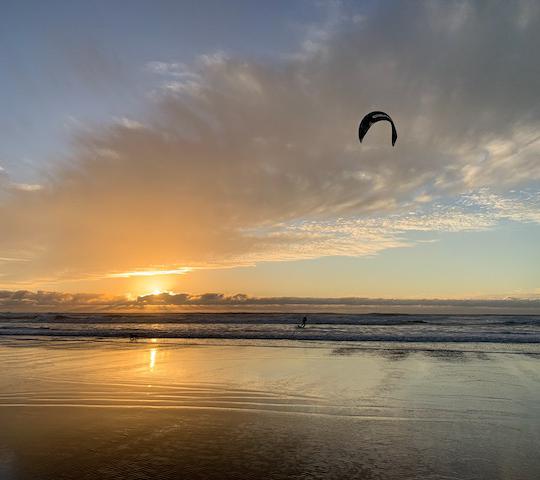
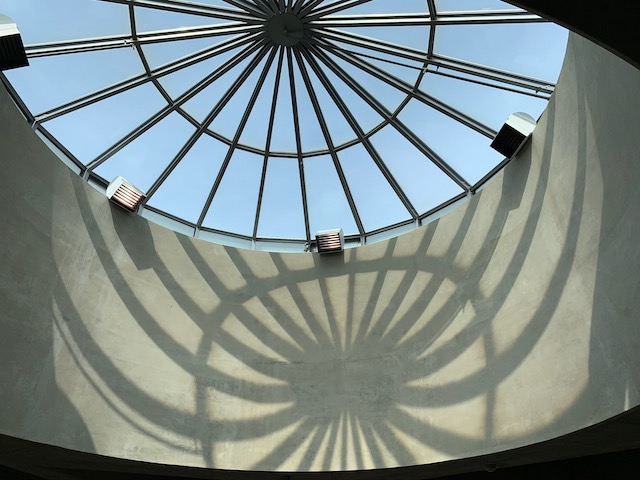
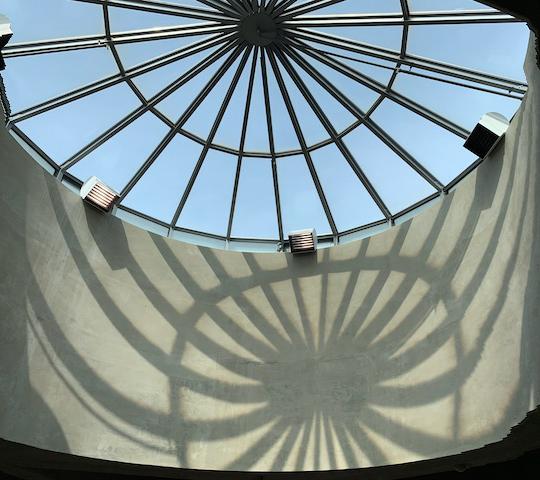
Ocean beach @ GOLDEN HOUR!!!!

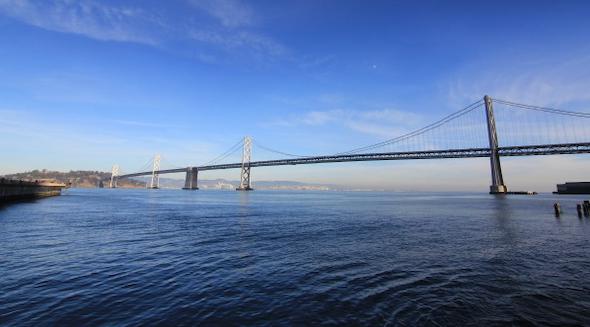
Bay bridge @ GOLDEN HOUR!!!!
Best seams appear on sky and accross the bridge
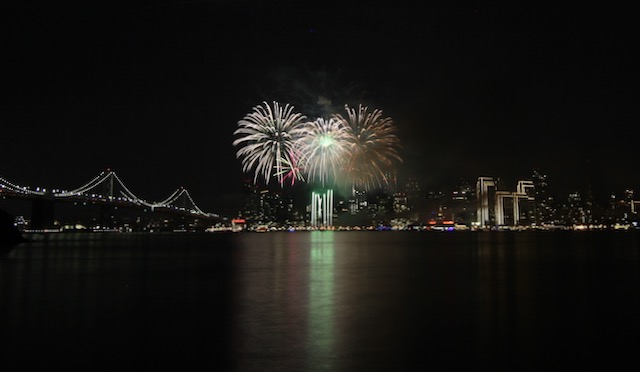
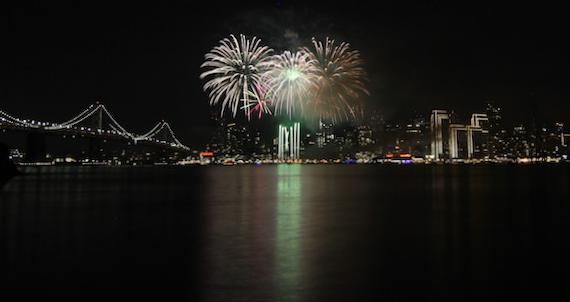
New year’s Eve @ Treasure island
Vertical & Horizontal seams carving
Best seams appear more on the black sky and vertically along the bridge and buildings on the right hand side
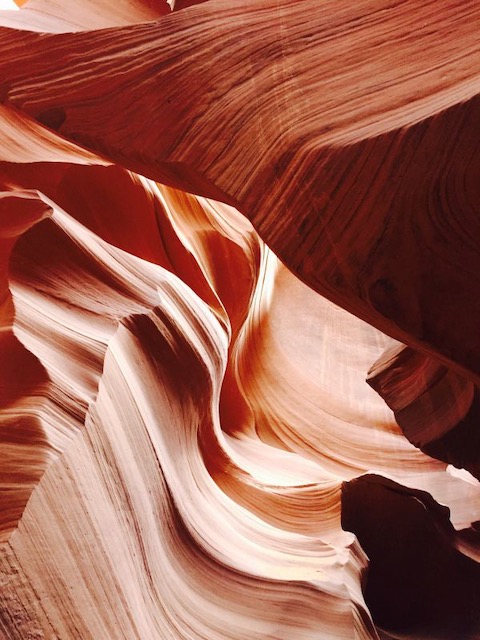
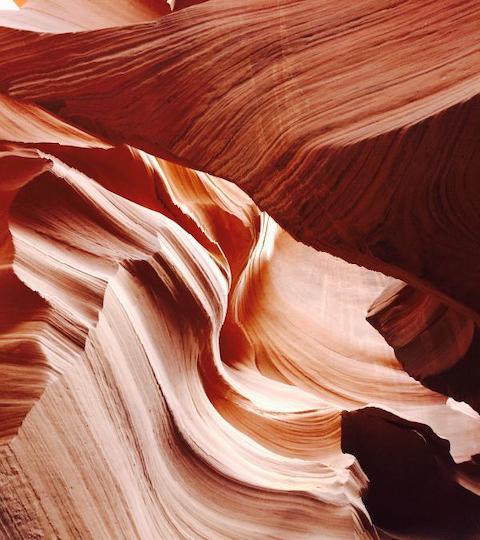
@ Antelope Canyon
Some failure cases:
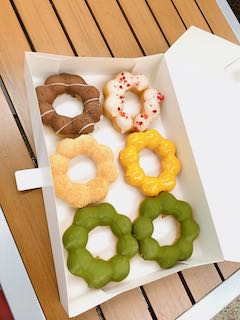
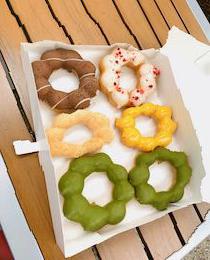
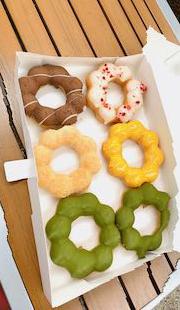
some donut shapes and lines on table were bent
Some pixels on the tower are removed
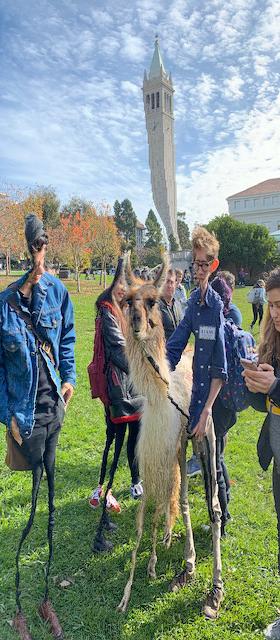
As we push the algorithm to its limit, artifacts appear.
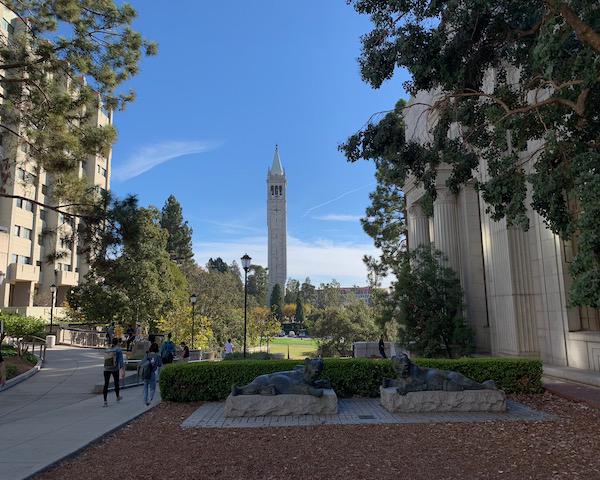
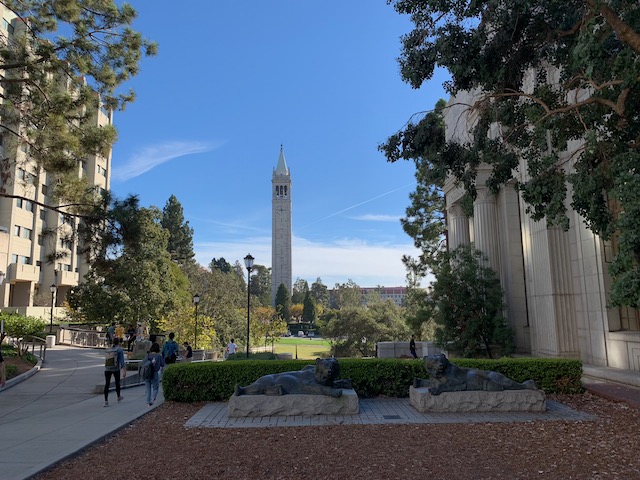
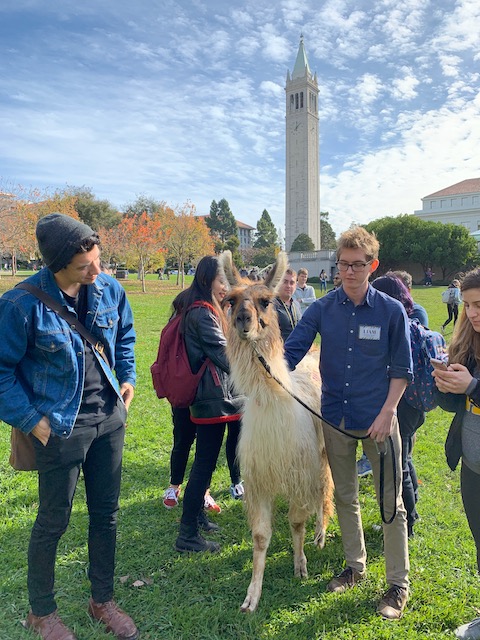
Skinny folks and Final week Alpaca
Reflection:
It’s quite interesting to learn about this technique and really implement it by myself. Although it has some limited performance, it gives me some ideas on resizing an image according the importance of the pixel. A lot of cases. the algorithm works very well especially when the image has some clear or less complex background, such as sky, water, etc.