Light Field Camera
Kenny ChenOverview
Using lightfield data, we can achieve complex effects with simple shifting and averaging operations. We use data from the Stanford Light Field Archive. Each dataset contains 289 images taken with a 17x17 grid of cameras. We implement ideas described in this paper by Ren Ng (my current graphics professor!) et al. In particular, we implement depth refocusing and aperture adjustment.
Depth Refocusing
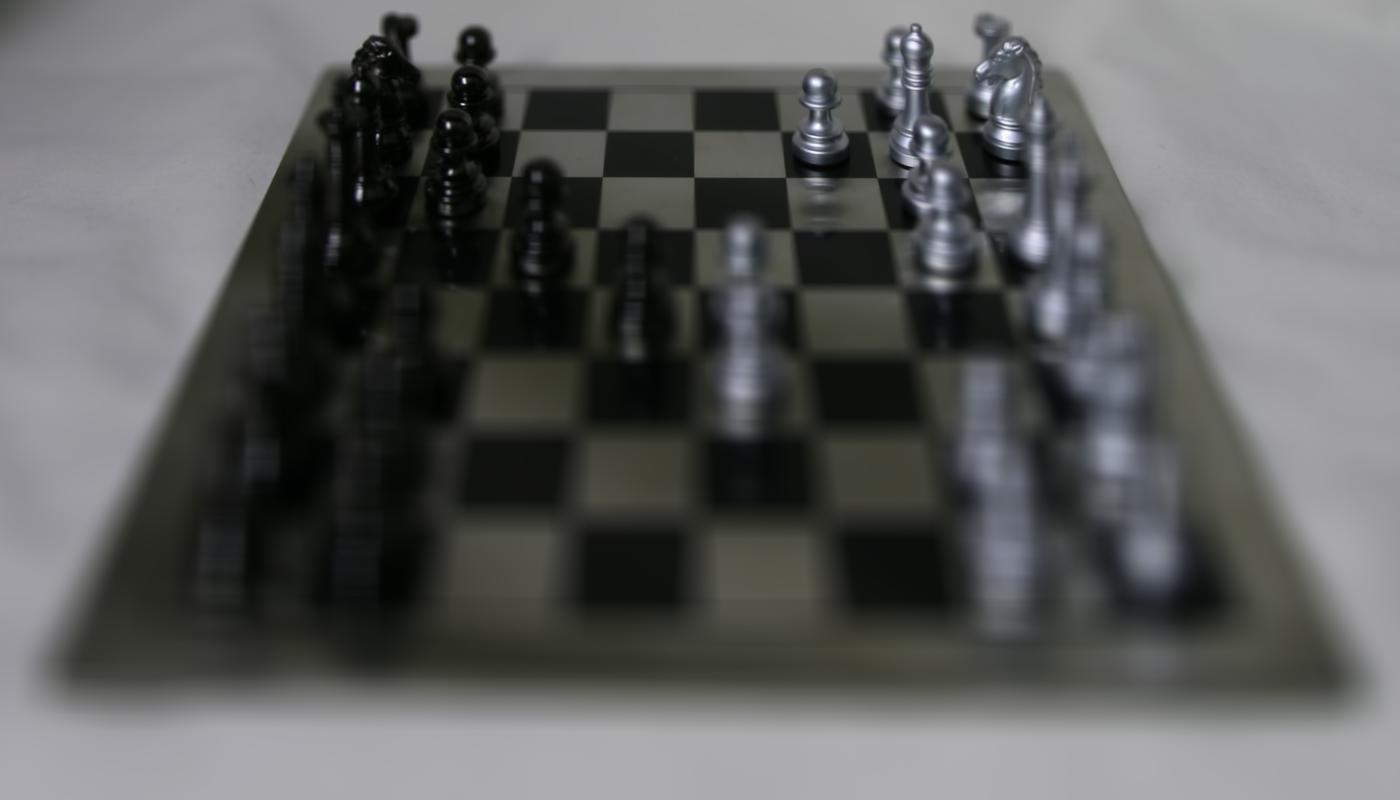
We want to be able to change the point of focus on some image after the fact. We can take advantage of the idea that objects which are far from the camera do not vary in position significantly when the camera moves around while keeping the optical axis direction the same. Conversely, close-by objects vary their positions significantly across images. Therefore, when we average all the images in the dataset, the resulting image will look blurry in the objects close to the camera and clear in far-away objects.

To focus on objects at different depths, we shift the images and average them. We shift all the images relative to the center sub-aperture. Because we are using a dataset with a 17x17 grid, we choose the center to be $(c_x,\,c_y)=(8,\,8)$. We find the shift in the $x$ and $y$ direction between each sub-aperture and the center by computing $$ \begin{align} (s,\,t) &= C * (c_x - x,\,c_y - y) \\[5pt] & = C * (u,\,v) \end{align} $$ where $C$ is some constant that is related to the focal point and $(x,\,y)$ is the position of a particular sub-aperture. We apply this shift to each image and find the average of all these shifted images to apply a refocus.
As we increase $C$ in the positive direction, each sub-aperture gets further from the center. Conversely, as we decrease $C$ in the negative direction, each sub-aperture gets closer to the center. Therefore, for smaller values of $C$, we focus on objects closer to the camera and vice versa for larger values of $C$. By making the sub-apertures closer together, we minimize the amount of difference in position between closer objects.
We can see the results of this below.


Aperture Adjustment
We can simulate changes in aperture size by changing the number of images we average together.
To simulate a smaller aperture, we average over a subset of the sub-aperture images. We include the sub-aperture at $(u,\,v)$ if $$\sqrt{u^2 + v^2} < r$$ where $r$ is the aperture radius and $(u,\,v)$ is the same as defined previously, the sub-aperture's offset from the center sub-aperture.
When we use a small subset of sub-apertures, we simulate a small aperture which therefore accepts a small amount of light. All the rays of light will be roughly parallel, so everything in the image will be in focus. The results are as follows:


Summary
I learned a lot about how light field cameras encode information that can be used to create interesting effects not otherwise possible with traditional cameras. Furthermore, I learned about how easy it is to implement these effects. Depth refocus involved shifting each image and averaging these shifted images and aperture adjustment involved using a subset of images in a radius around the center sub-aperture.
Extras
Because the light field is comprised of a grid of cameras, we can create a perspective effect by simply displaying the images taken by each camera in sequence.

Conclusion
This project was enjoyable and intuitive to implement. I did not hit many roadblocks, and found that the most difficult point in my implementation was interpreting what info the image names contained (it ended up being the coordinates of the camera). I learned a bit about various parts of cameras and how they change the resulting image.