Project Overview
This project has two parts. First, I implemented seam carving and insertion for content-aware image resizing. Next, I created some photos of different depth focus and aperture with lightfield data.
Project 1: Seam Carving
Seam carving is a way to resize images in a content-aware way. It is different from simple cropping and scaling because it is able to remove content that has the least information while retaining the important portions. A seam is a path of pixels with low energy, whose removal will cause the least amount of damage to the image overall. In this project, we follow the algorithm in this paper.
Part 1: Seam Finding & Carving
In my implementation of seam carving, I used the convolution of a Gaussian and a finite difference operator to calculate the energy of each pixel. I find that including a Gaussian kernel helps make the edges more pronounced and connected.
$$ E(img) = \| gaussian * ([\begin{matrix}1 -1\end{matrix}]), gaussian * ([\begin{matrix}1 \\-1\end{matrix}])\| $$
Using this energy map of the image, we can find a vertical (or horizontal) seam that has the minimum sum of pixel energies across the image. We use a dynamic programming approach as follows:
$$ M(i, j) = E(i, j) + min(M(i-1, j-1), M(i-1, j), M(i-1, j+1)) $$
We then trace back the path that gives us the minimum sum of pixel energies to get the seam.
To carve the seam, we simply remove the seam pixels and then reshape the image. The carved image will still be a regular shape because we remove one pixel from each row (for a vertical seam).
We can vary the percent of the image carved and get a more compact image and stretch this algorithm to its fullest.
To carve seams horizontally, we just transpose the image, perform vertical seam carving, and then transpose the result back.
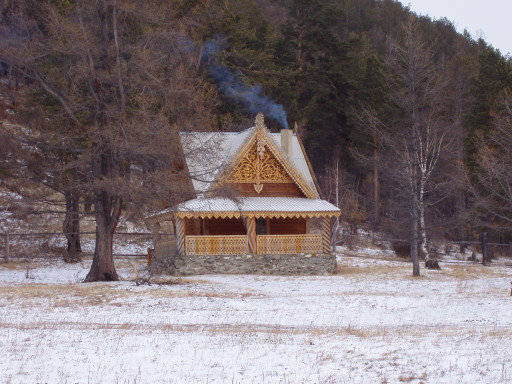
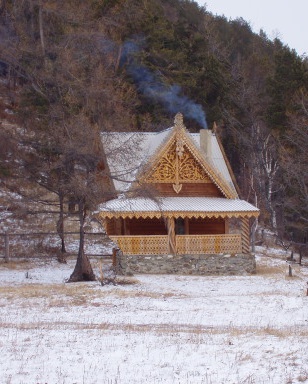
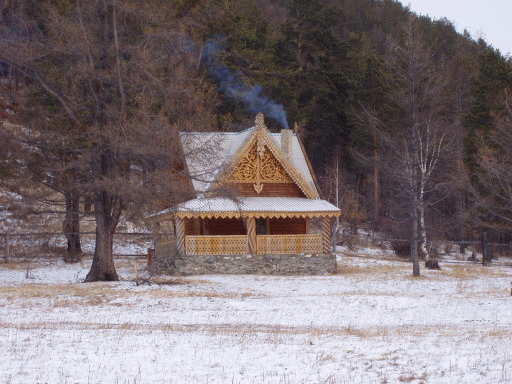
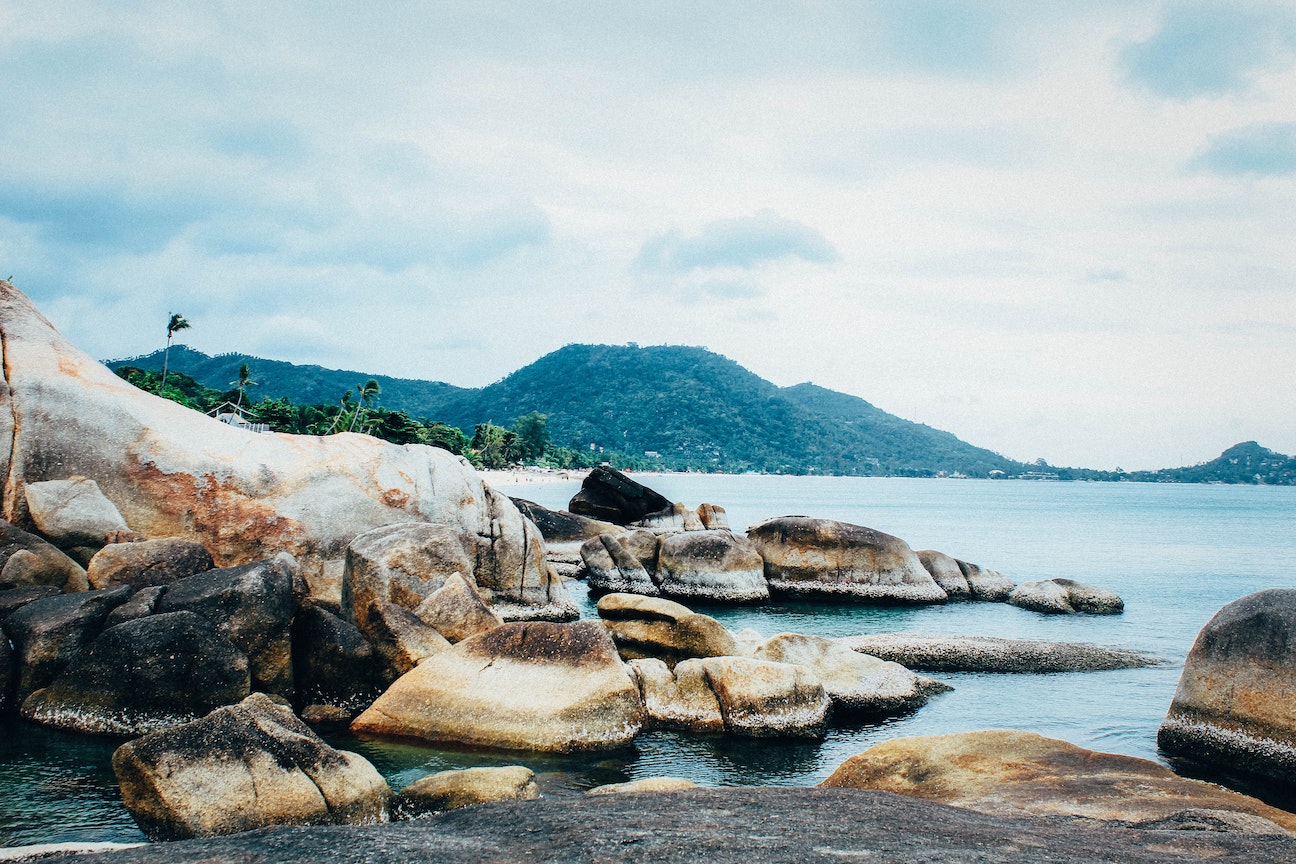
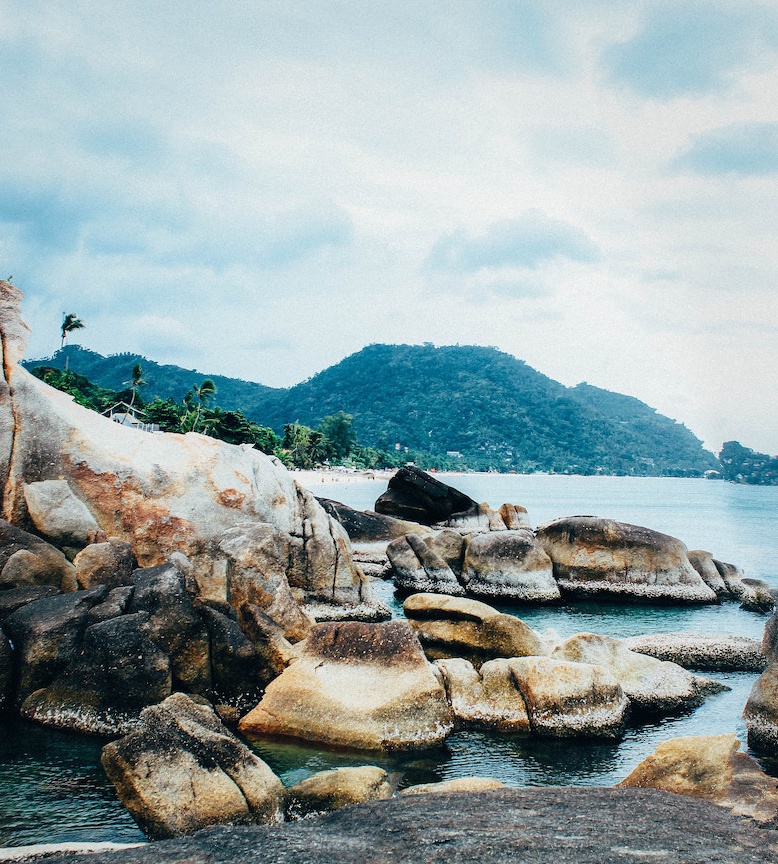
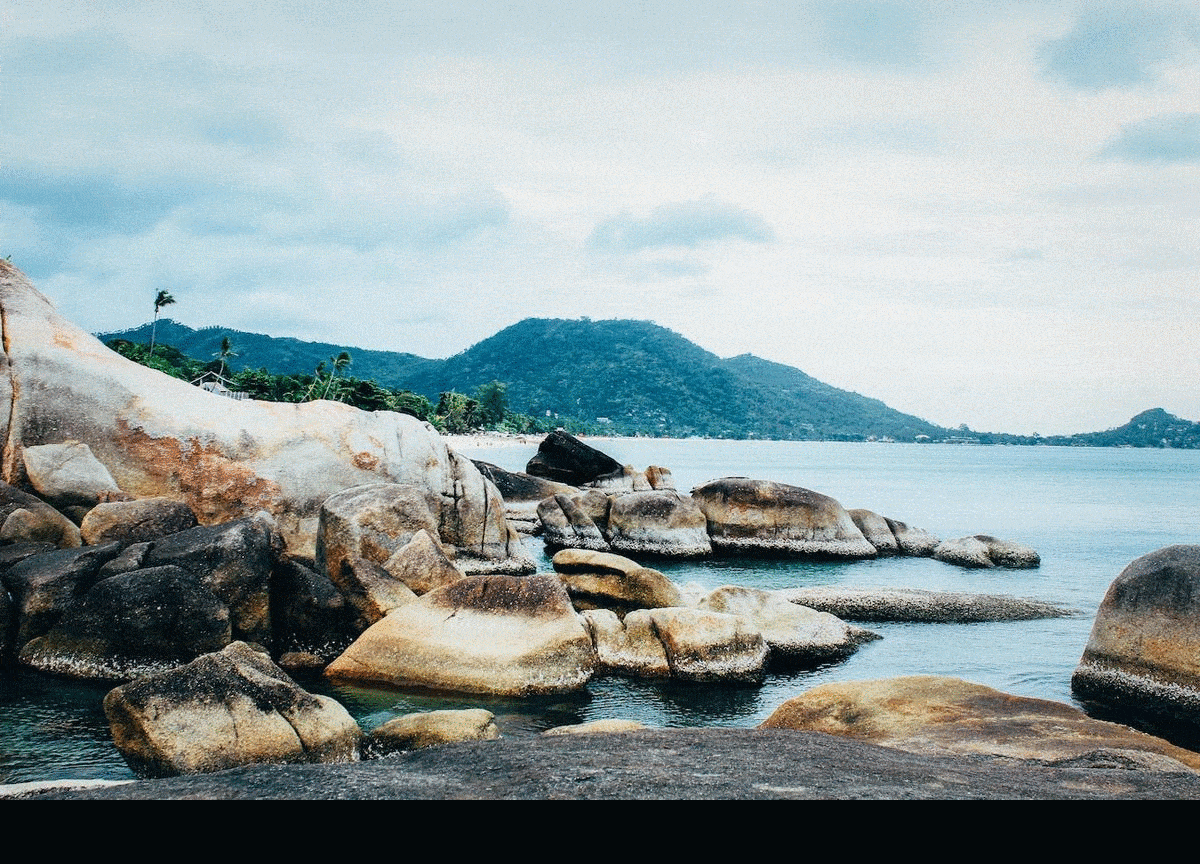
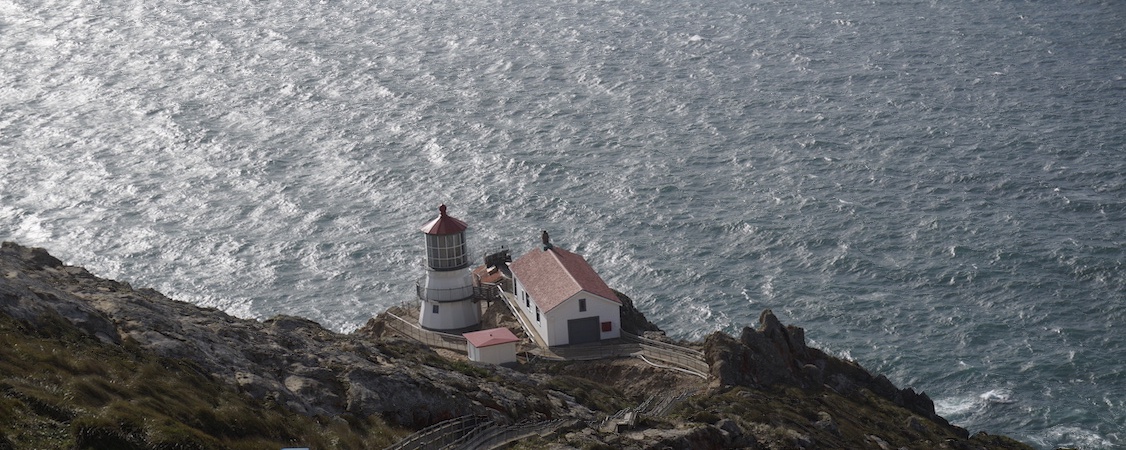
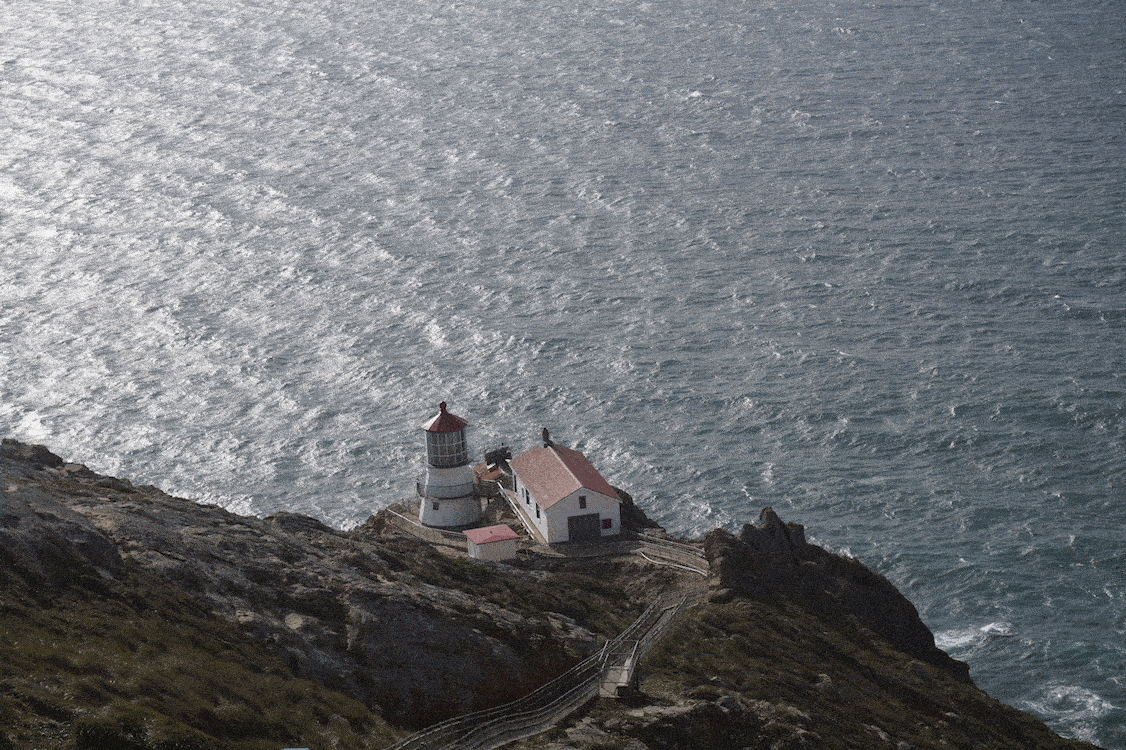
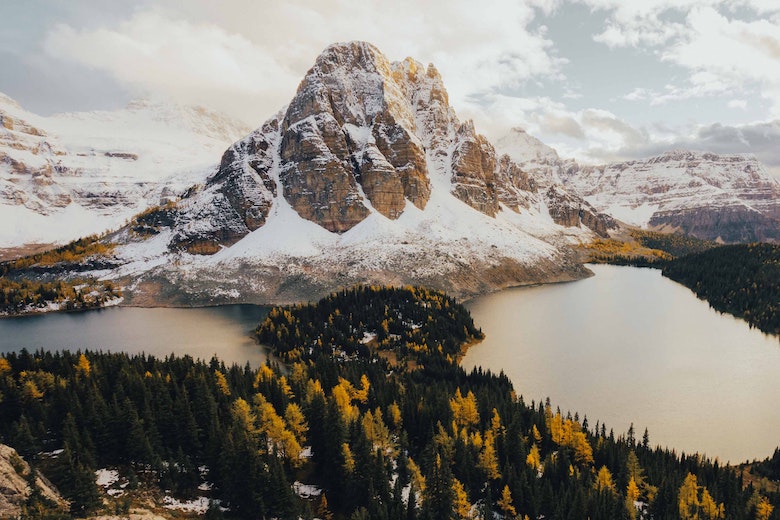
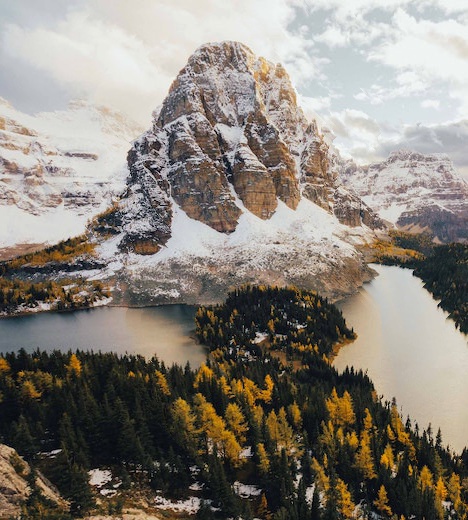
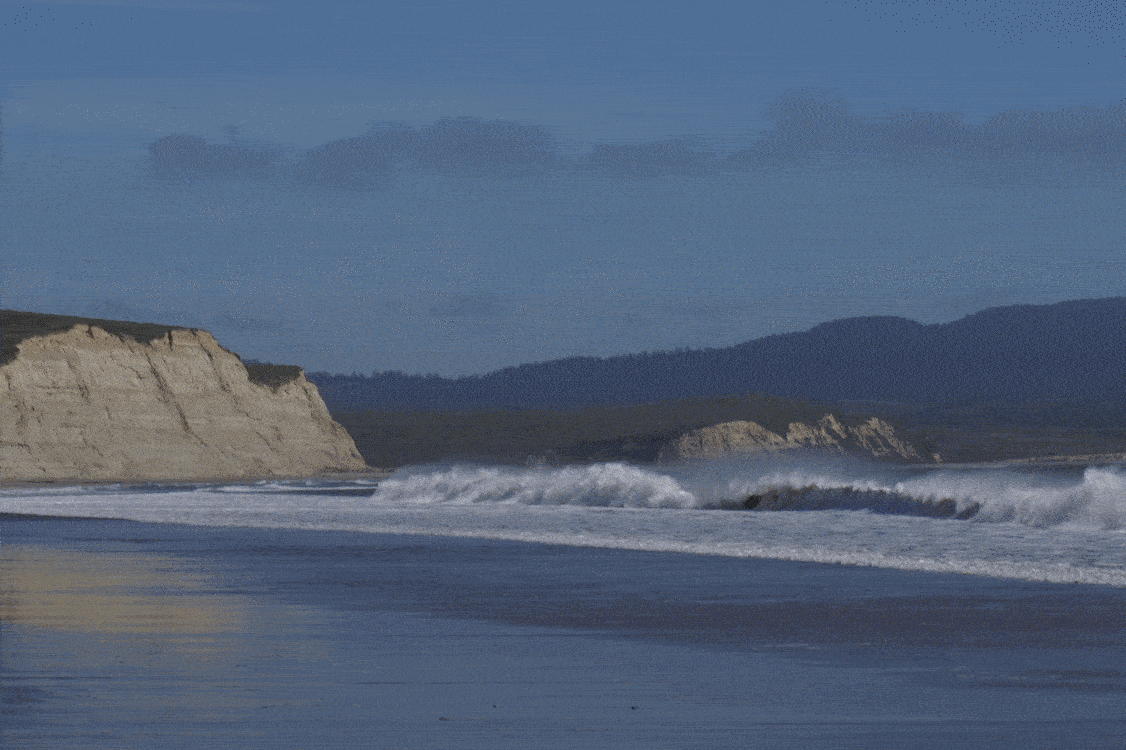
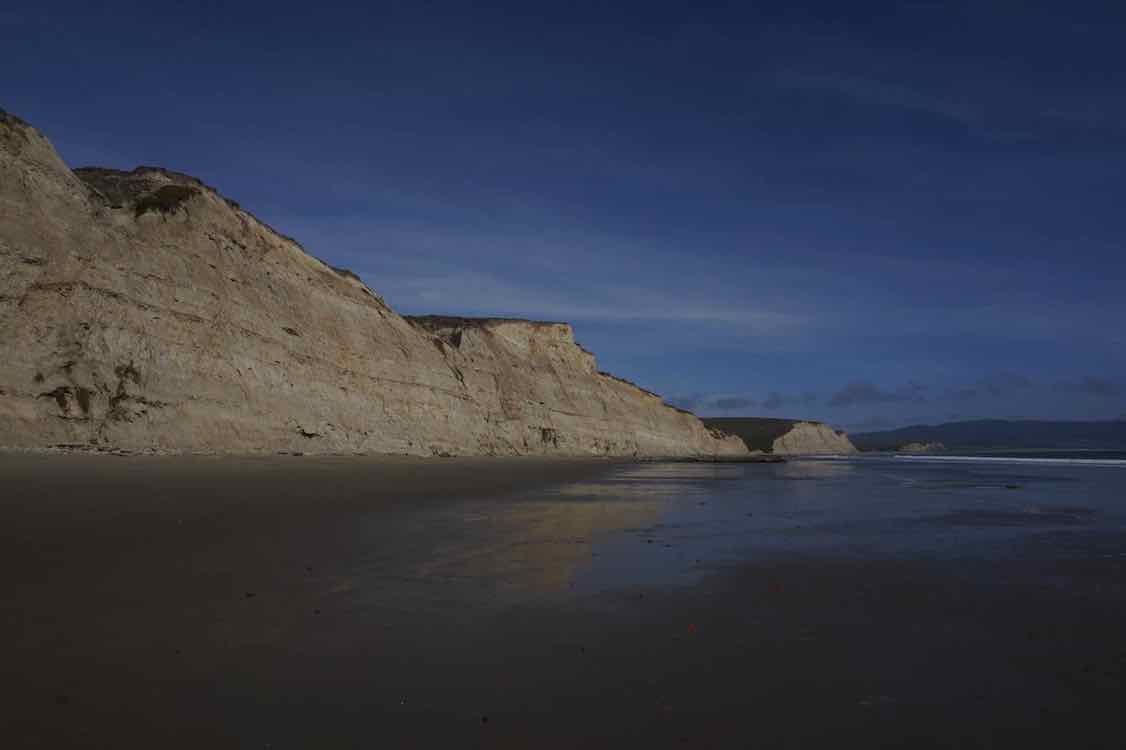
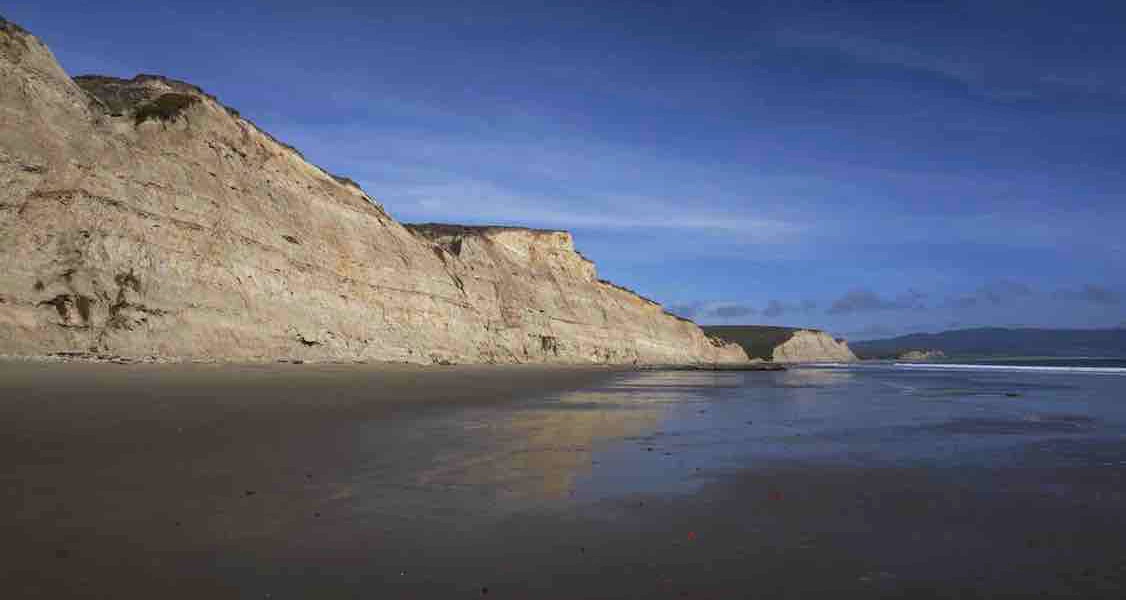
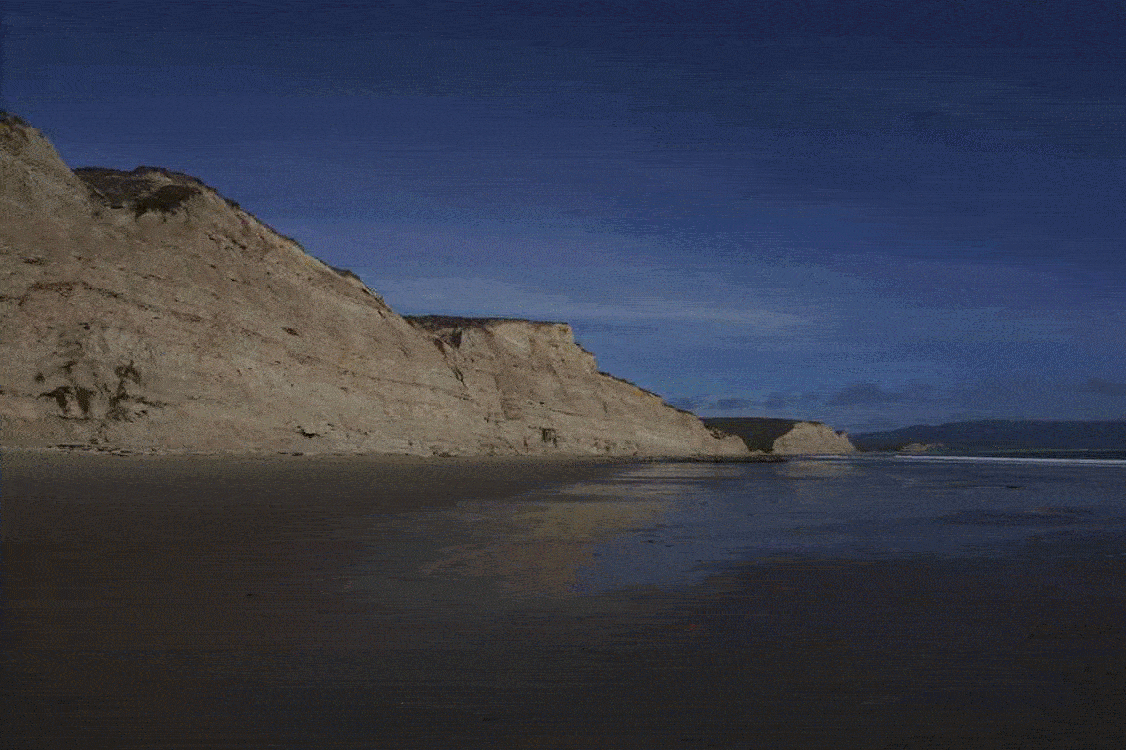
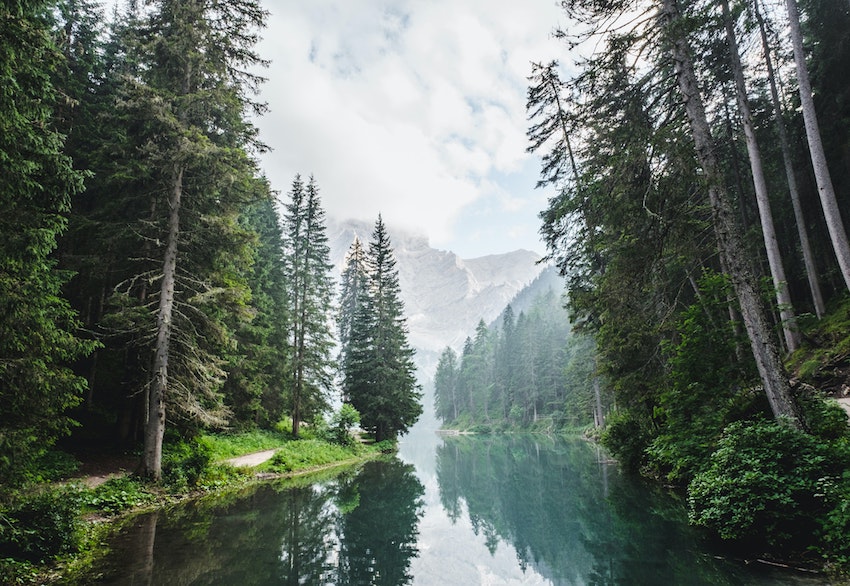
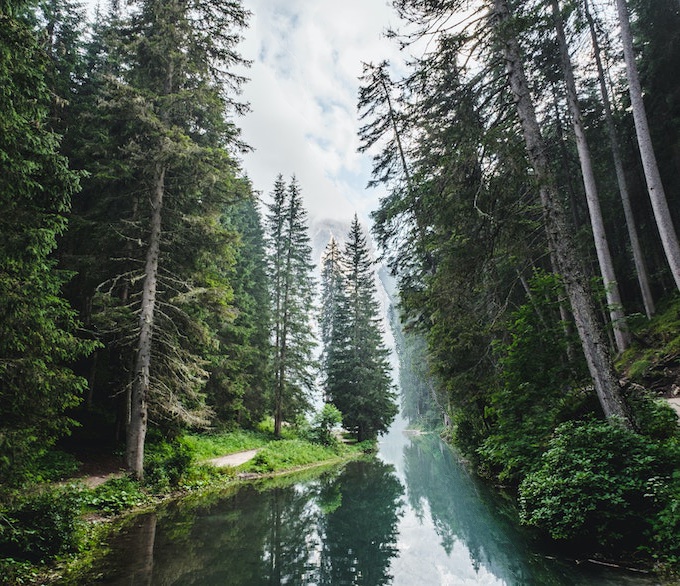
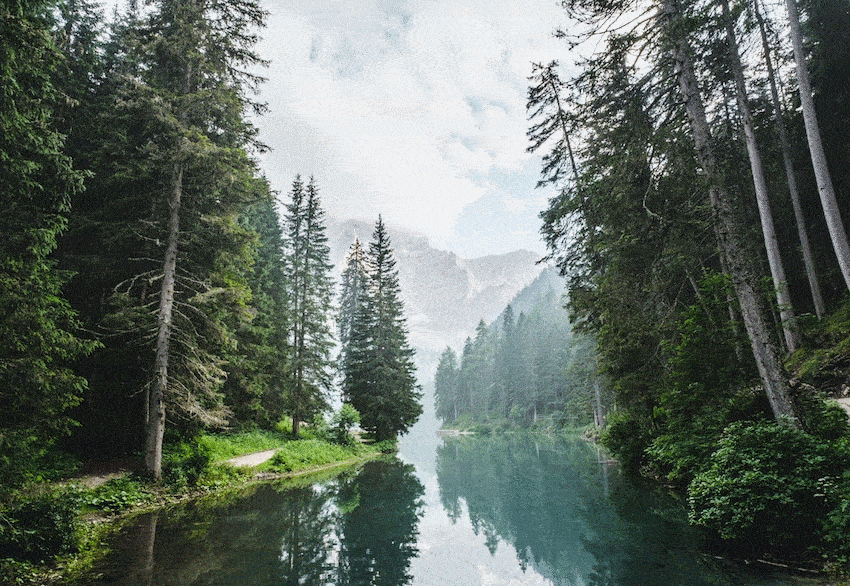
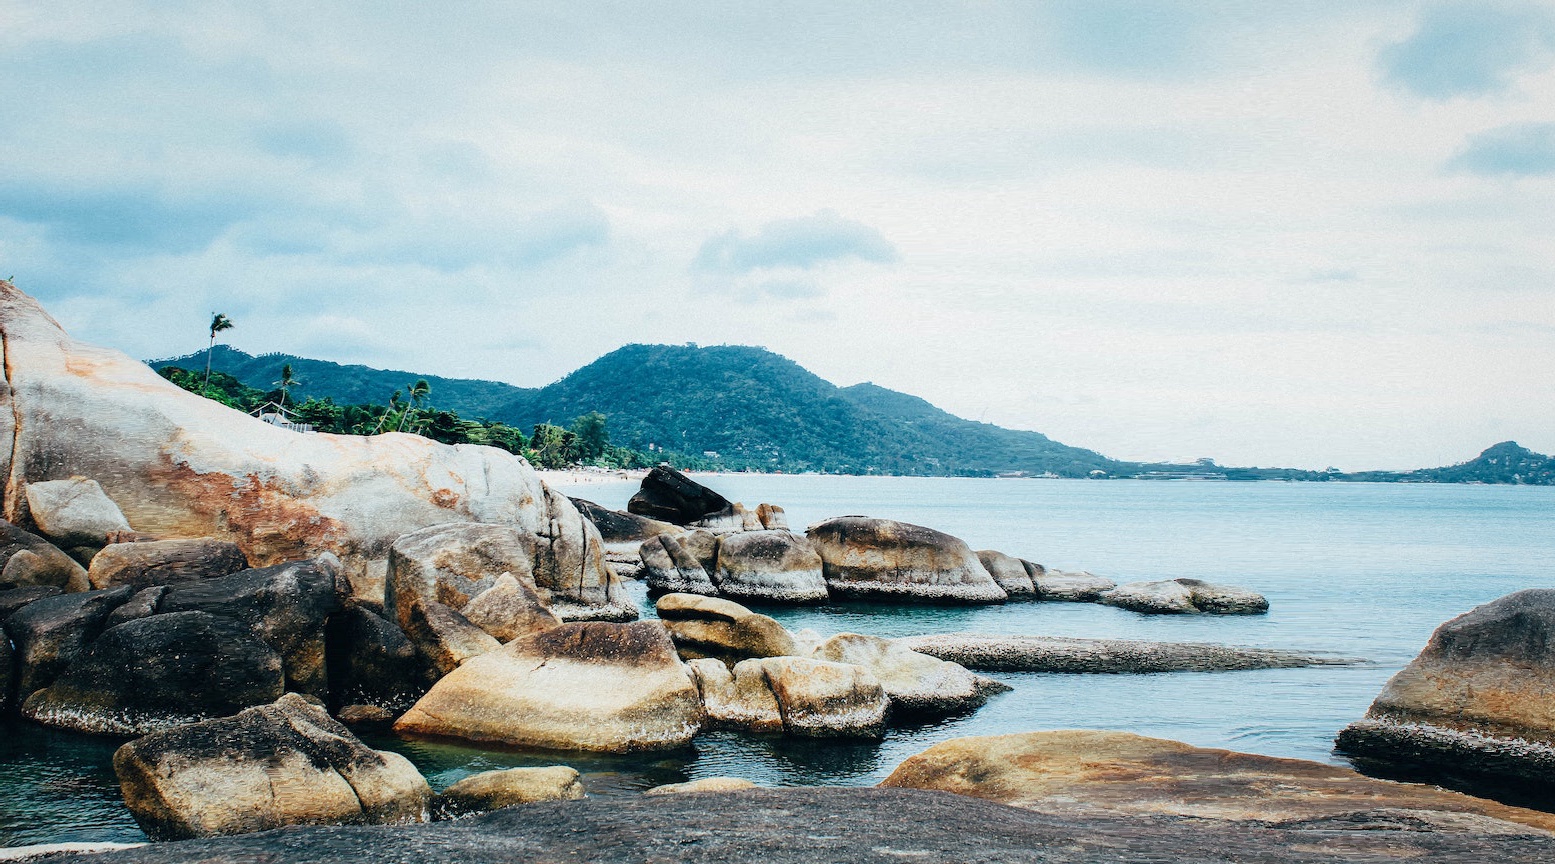
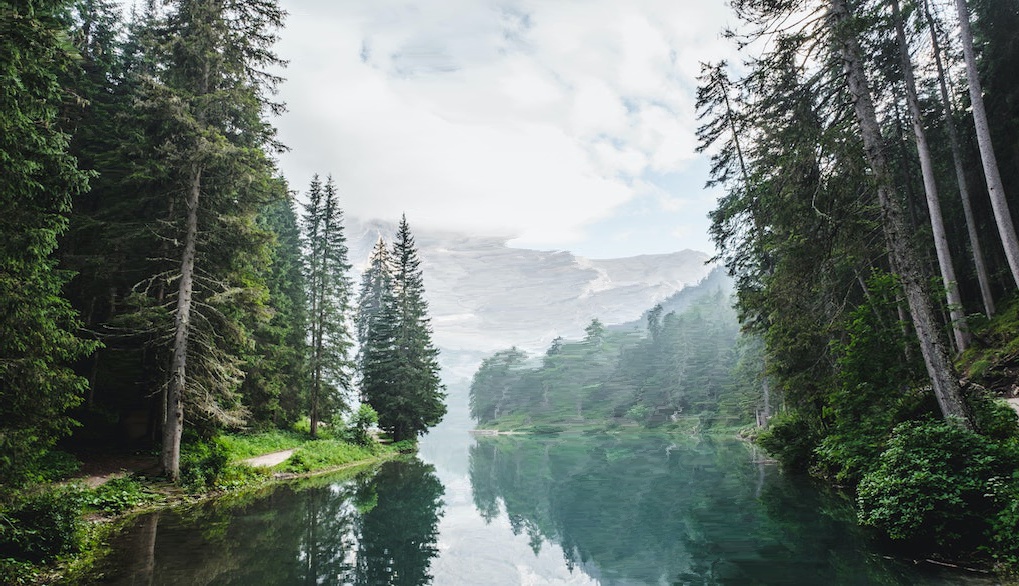
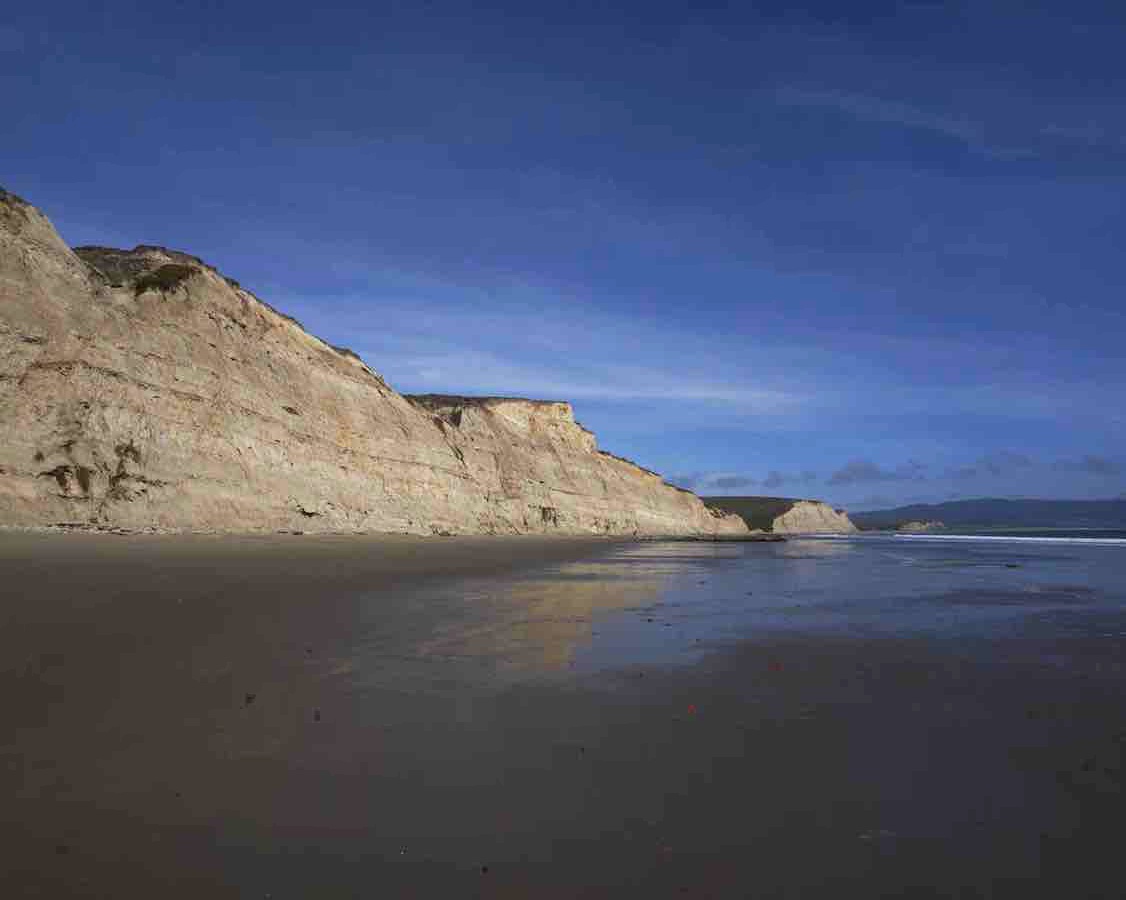
Here are some successful results.
|
|
|
|
|
|

|
|
|
|
|

|
|
|
|
|
|
|
|
|
|
Part 2: Some Failure Cases
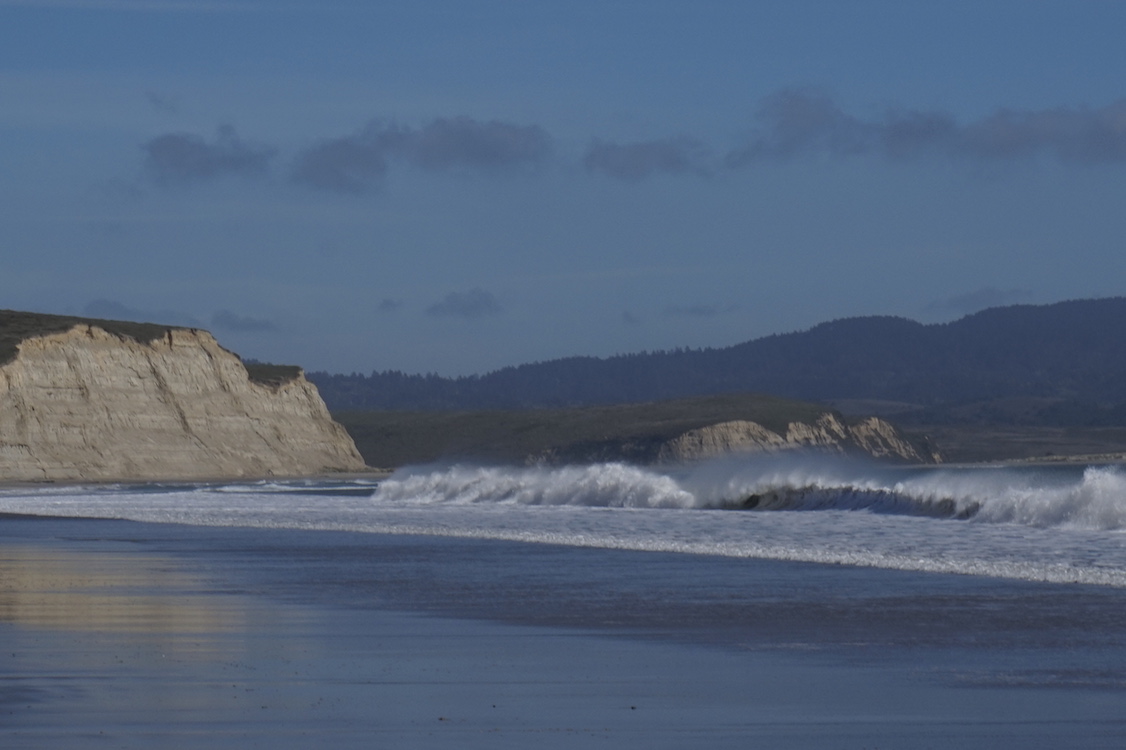
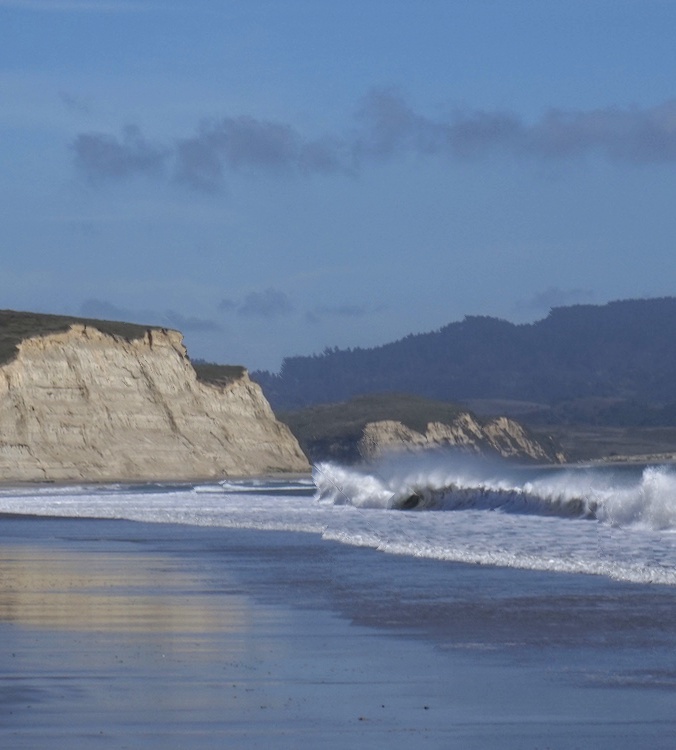
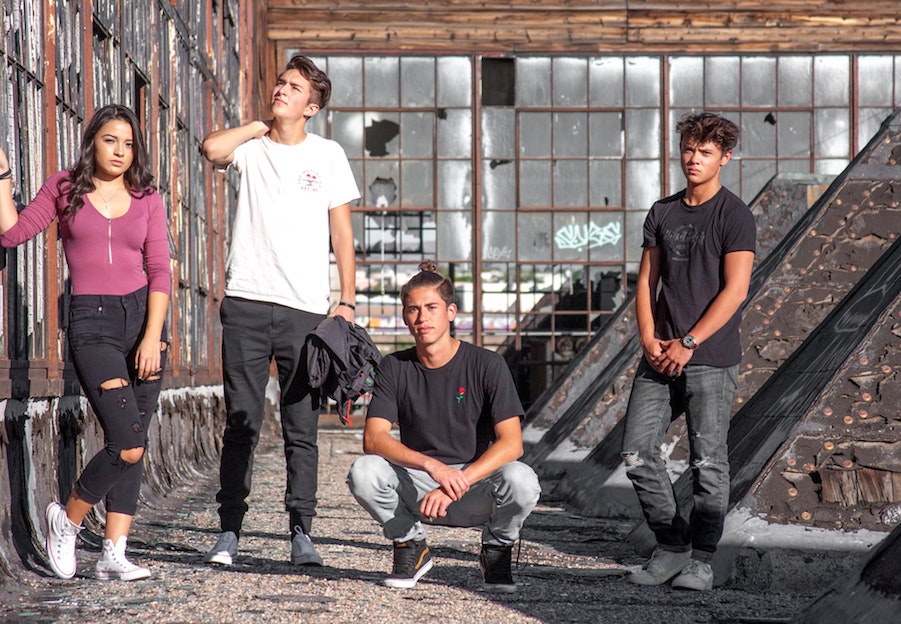
Here are some failure cases. Usually the results are better with nature scenes because these are more tolerate to a bit more shape distortion. For example, a mountain range that lost a piece of flat regions still appears as a valid mountain range, whereas an scene of regular-shaped window panels losing part of one window is a very obvious artifact.
|
|
In this failure case, the most obvious artifact is that some human figures are distorted, and the window pattern in the back is no longer regular shaped. There is some degree of successful seam carving, such as how the people appear thinner, and the distance between people are slightly shorter. However, probably because of the noise background, it's hard for the energy map to emphasize the human figures. In this case, probably an energy map that can allow the user to choose target regions and add energy to these regions will be better at producing the suitable seams.
|
|
In this case, we see that some of the smooth lines in the original photo is distorted because the seams removed are not straight down the photo and thus cause different amounts of shift of each row, so the smooth connected lines become jagged. Also, the left and right ends of the architecture are cropped off to some degree because the original photo does not leave much empty vertical space.
Part 3: Bells & Whistles: Seam Insertion
Next, I also implemented seam insertion, which enables us to enlarge images in a content-aware way by duplicating seams with least energies. In order to do so, we cannot simply repeat the process of finding and inserting minimum energy seam because that will result in duplicating the same seam over and over again. We must dry run the seam carving process and find out what seams will be removed first to get an ordered list of seams with lowest energies. Then, we adjust the indices of the seams and then insert them into the original image. Here are some results.
|
|
|
|
|
|
|
|
|
|
|
|
Part 3: Final Reflection
This project is really cool because the algorithm we implemented is very elegant and powerful. The trickiest part is to adjusting the indices for seam insertion. I also practiced reading research papers through this project.
Project 2: LightField Camera
In this project, we explore the powerful idea of reconstructing photos from a grid of images capturing the same scene but at different positions orthogonal to the optical axis. We follow the ideas demonstrated in Prof. Ren Ng’s paper to reproduce the effects of depth refocusing and aperture adjustment using lightfield data from Stanford Light Field Archive.
Part 1: Depth Refocusing
The intuition behind depth refocusing is using the disparities caused by parallax effect to “blur” images at different depths of the scene. Given our light field images, if we average all of them without any shifts, we will have a resulting photo that is focused at a far depth and blurry in the front because the closer the scene is from the camera, the more disparities there will be to blur the image during averaging. To further use this idea, we can also pick one image (I picked the image at the center of the grid) and shift other images by some factor towards the center image.
$$ shift(u, v) = C * (u - u_{center}, v - v_{center})$$
Then depending on the factor, averaging these shifted images will create results focused at different depths. Here are some results!
|
|
|
|

|
|
|
|
|
|
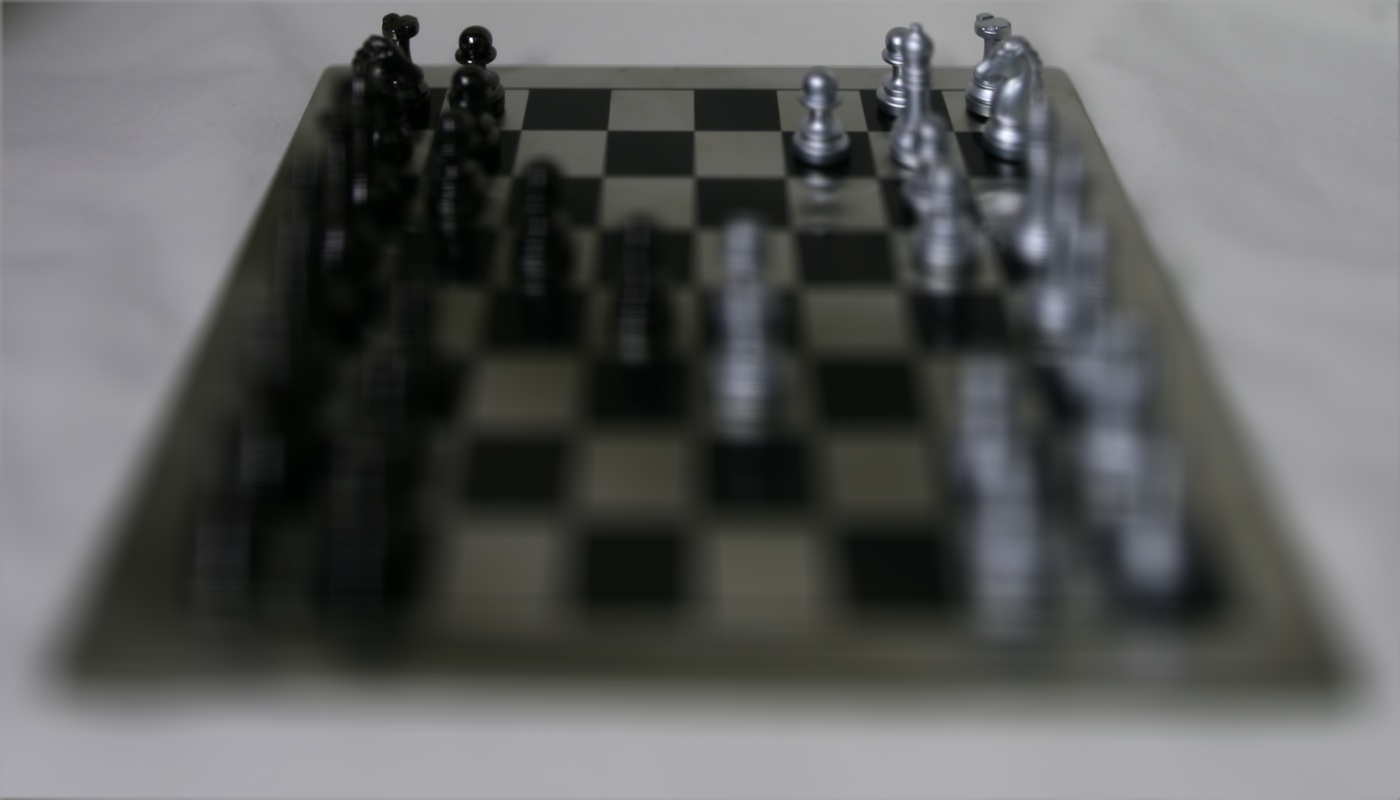
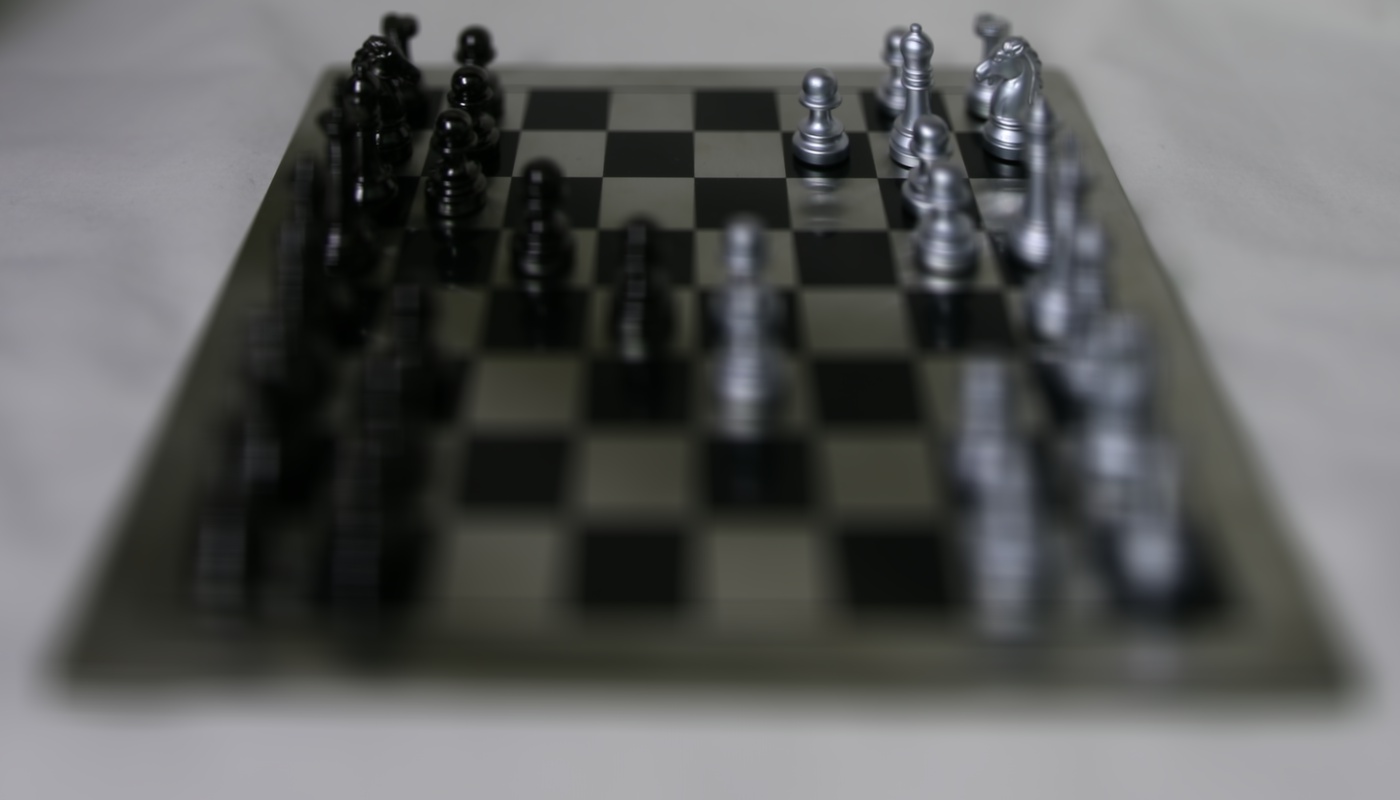
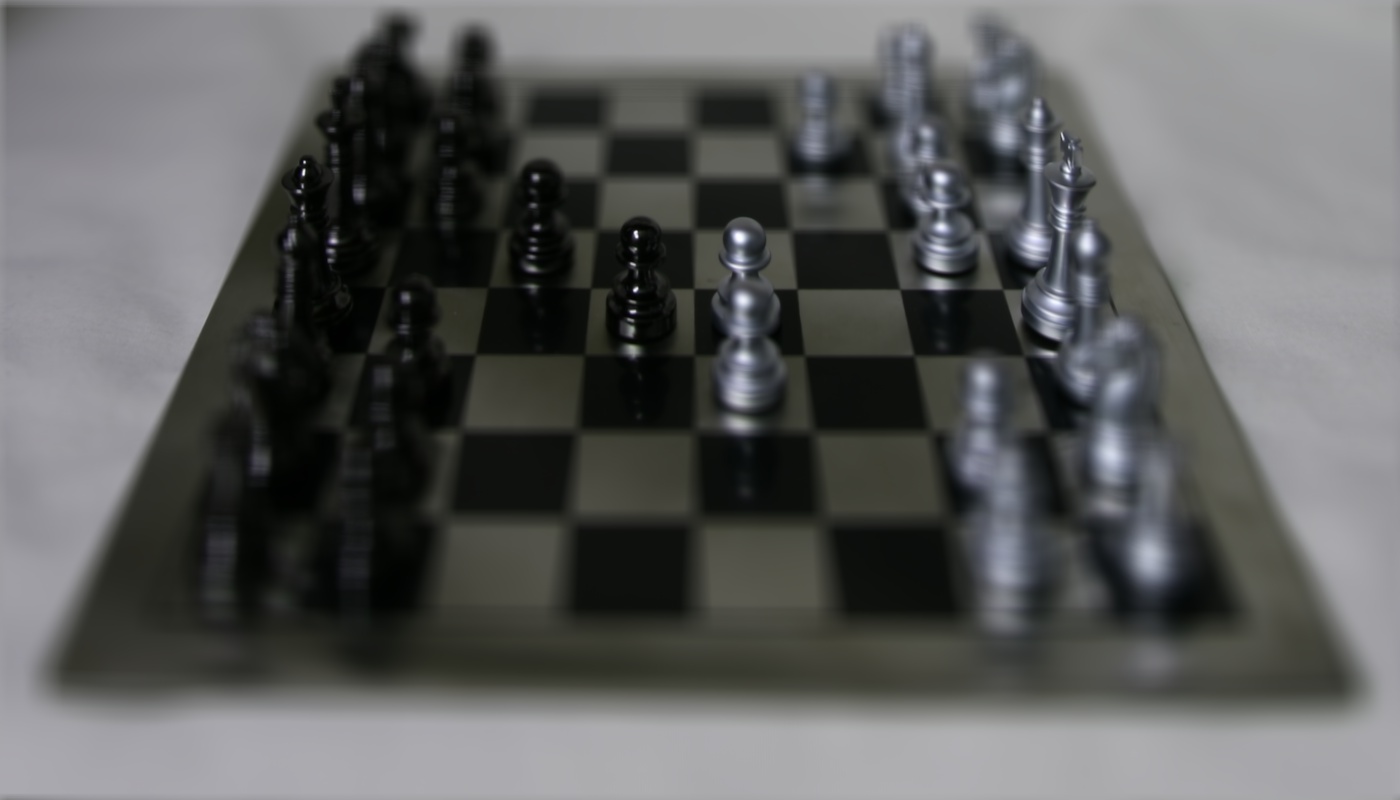
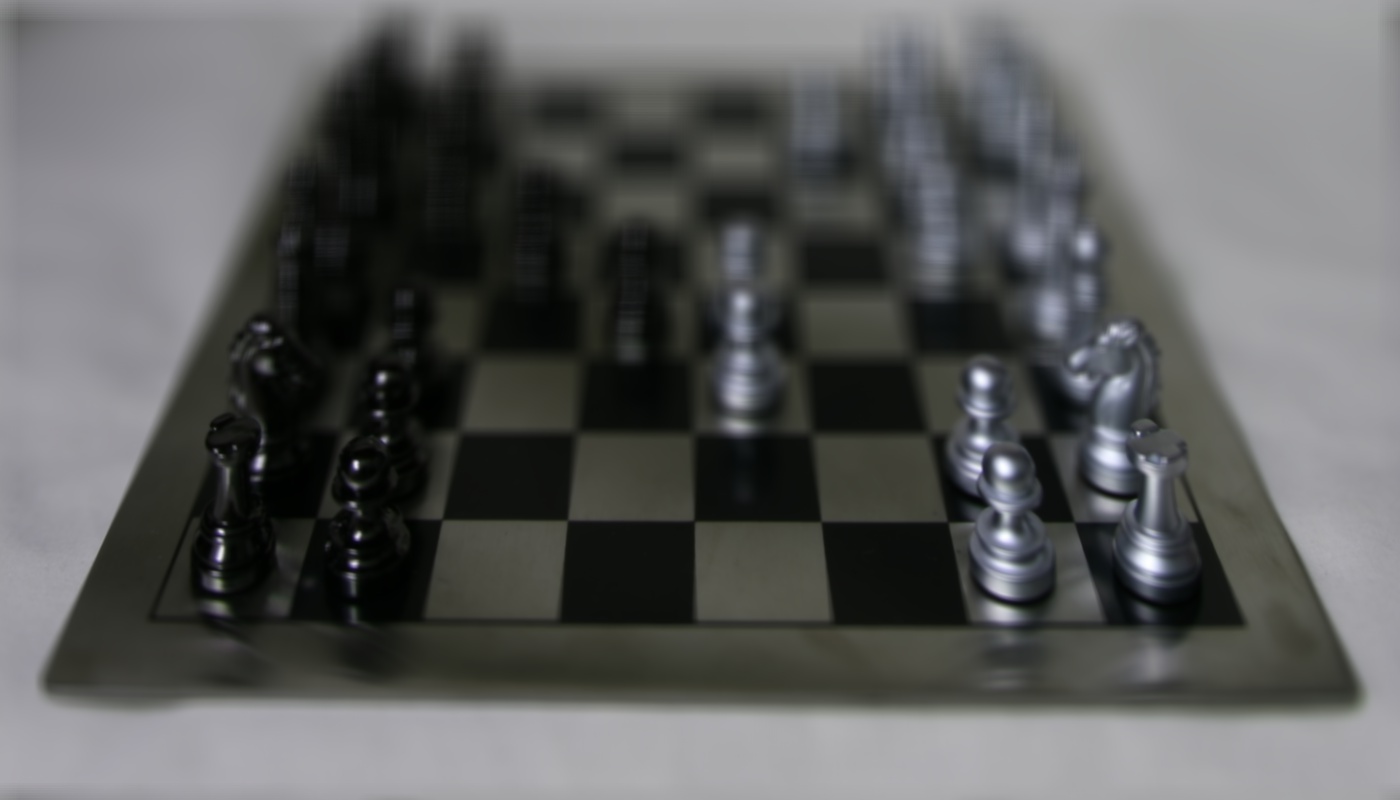
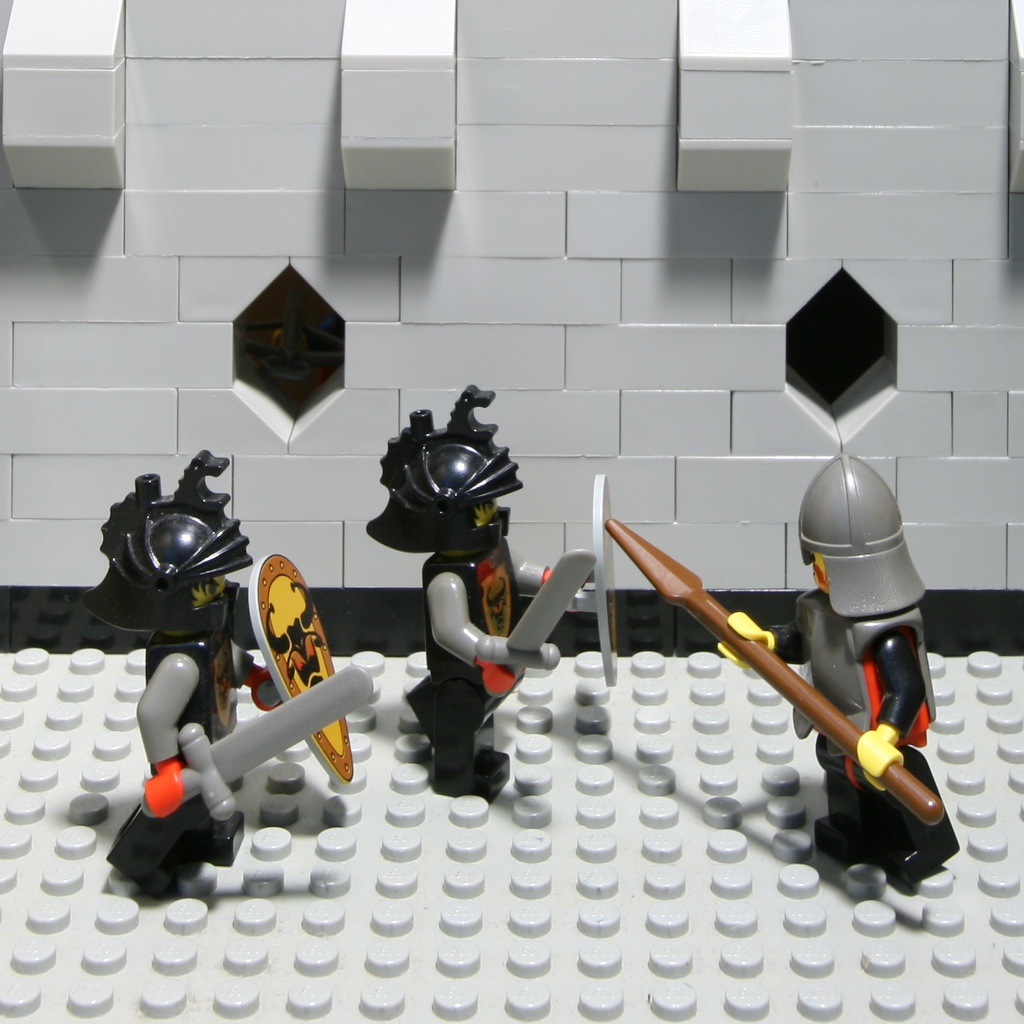
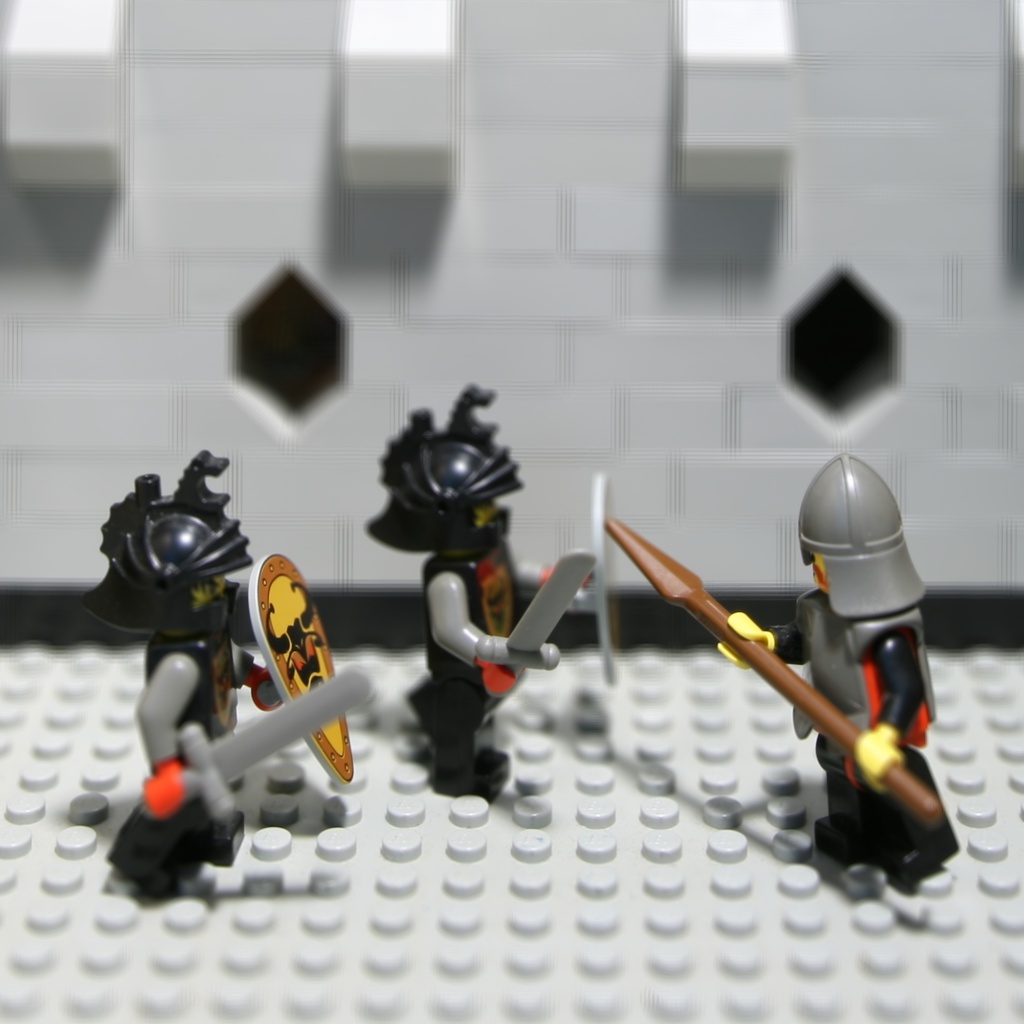
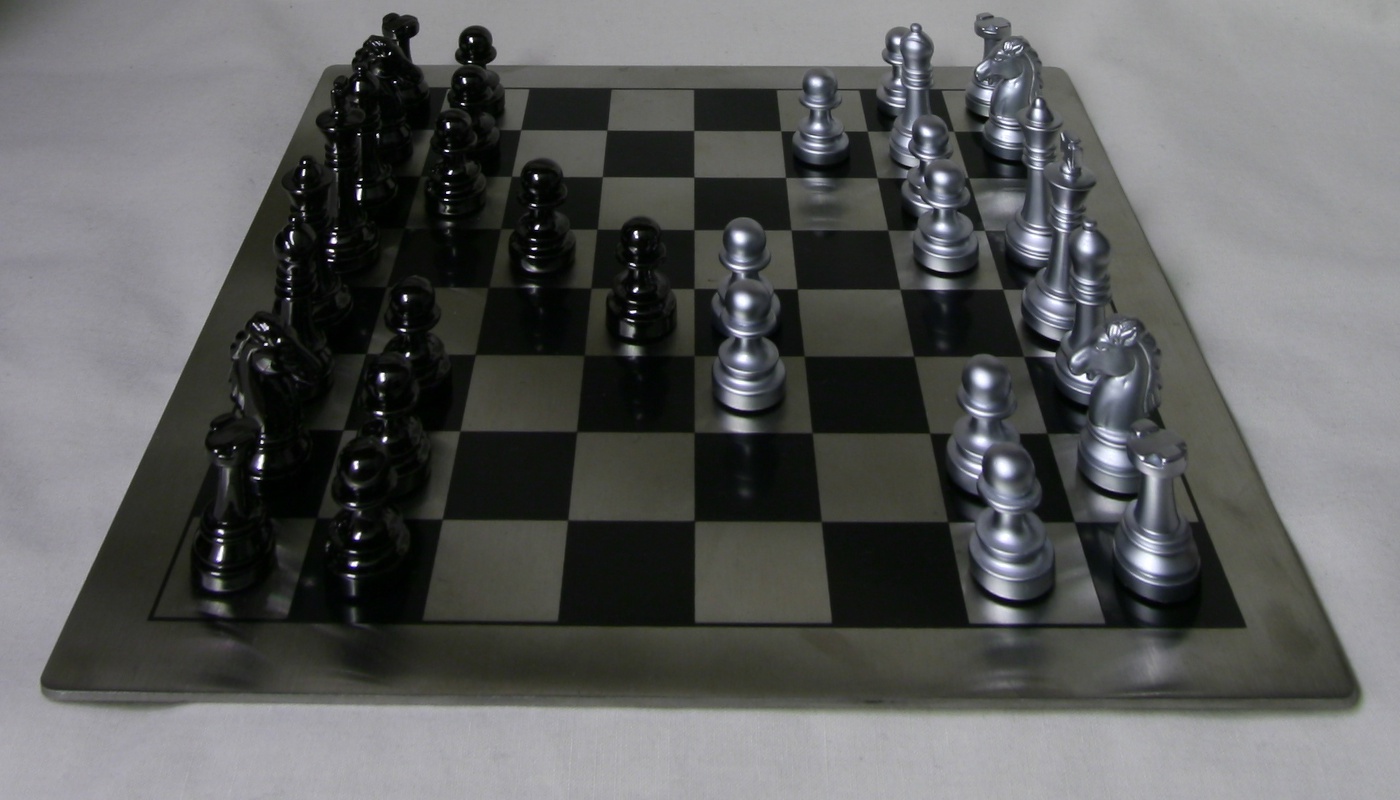
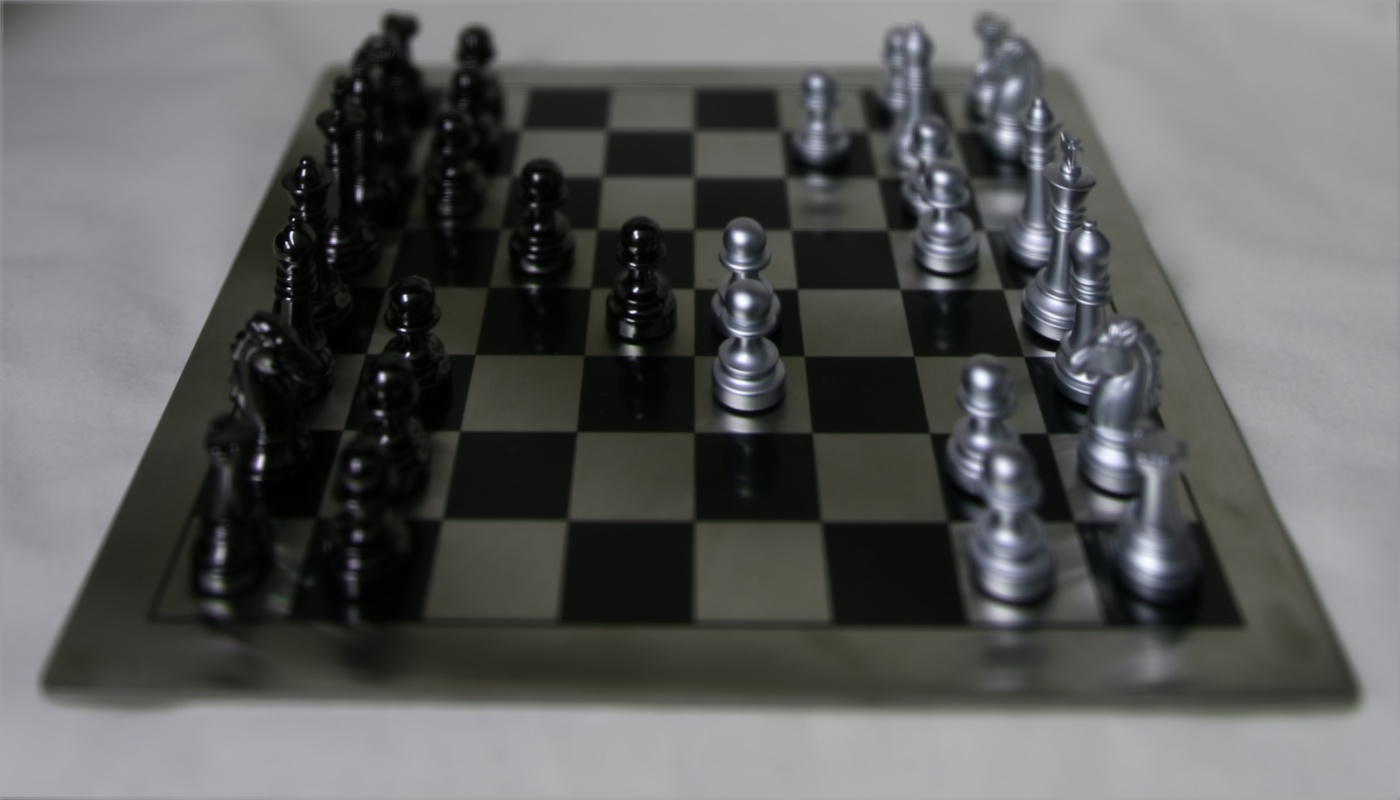
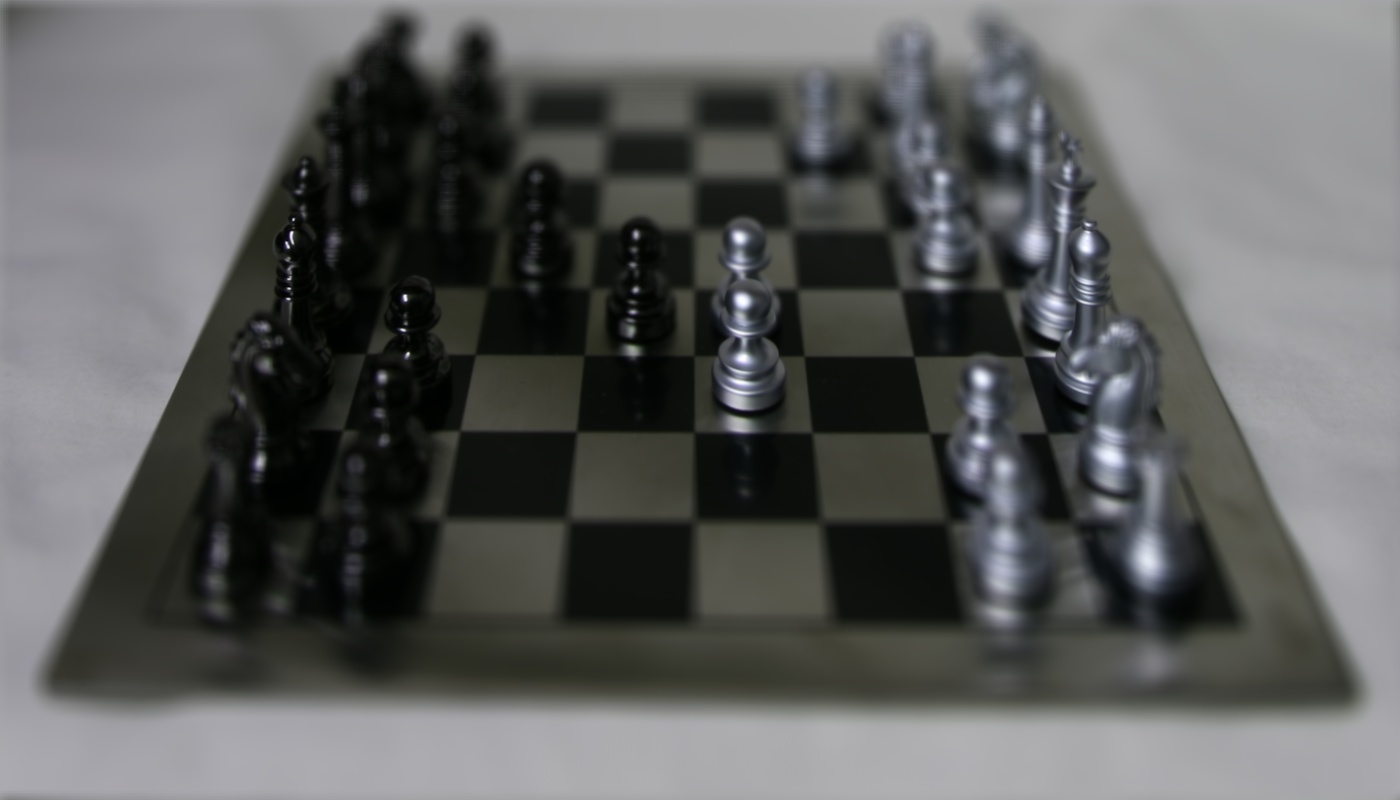
Part 2: Aperture Adjustment
Besides changing depth focus, we can also use the light field images to create photos of different aperture. A greater aperture means a shallower depth of field, where as a smaller aperture means a deeper depth of field, aka the scene further away from the camera can still appear sharp. We do so by again using the power of averaging. To simulate a small aperture, we can basically just take the center grid image. To get a larger aperture, we will include more images to be averaged. I set up a radius parameter that thresholds the distance between a photo’s camera position and the center camera position so that we can average more photos when the radius is larger. The largest aperture would be achieved by averaging all the photos.
Here are some results! We can see the the focus does not change during these aperture adjustments.
|
|
|
|

|
For the following, for clearer effects, I fixed the focus to the center of the chessboard, and then adjusted aperture.
|
|
|

|
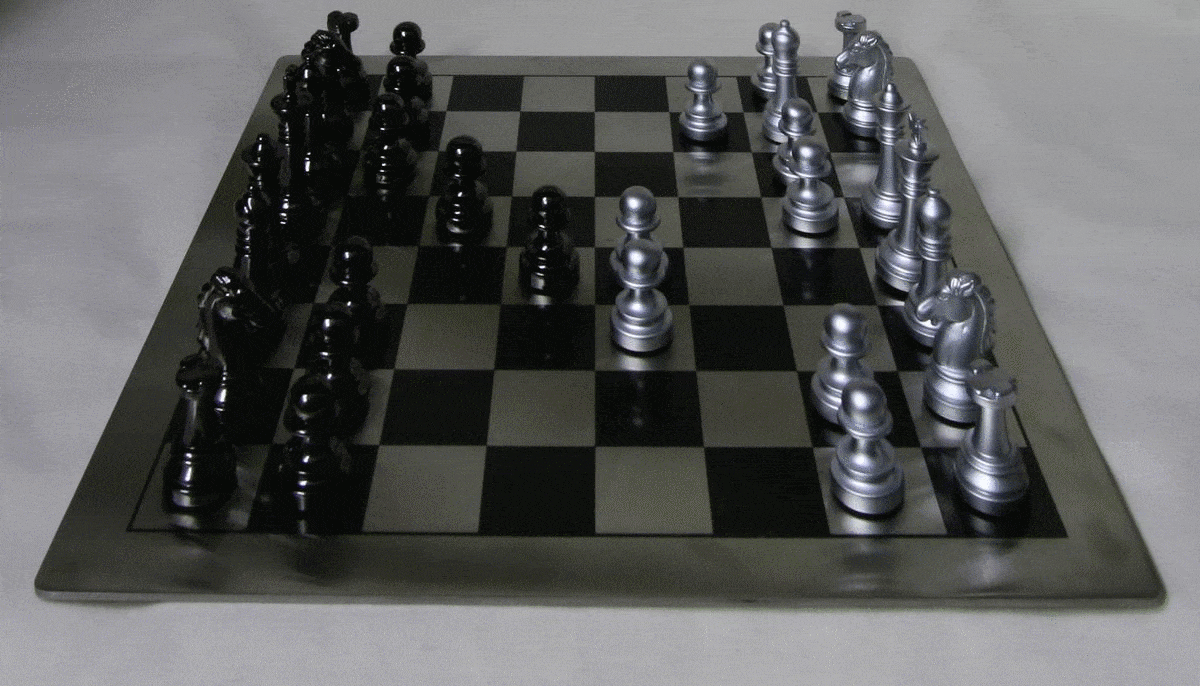
|
Part 3: Final Reflections
This project achieves some great effects even though the operations are actually really simple. I really appreciated this opportunity to use light field data concretely and to witness its power. Through this project, I have gained a better understanding of the amount of information light field data stores and how we can use this information to create cool images.