|

|
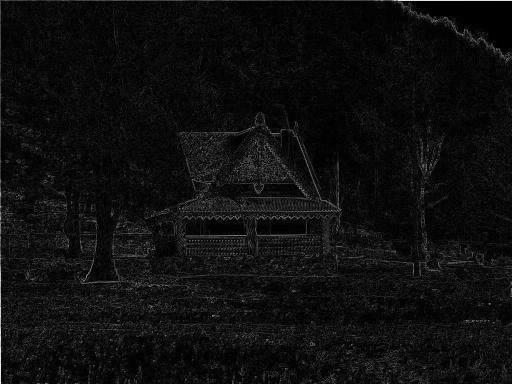
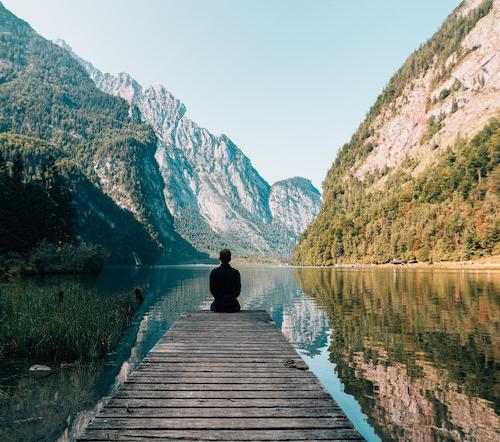
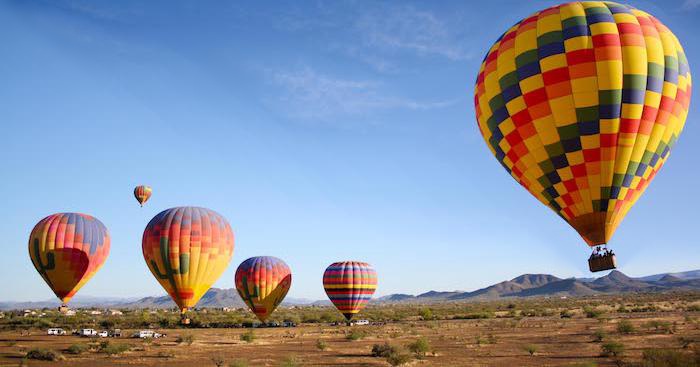
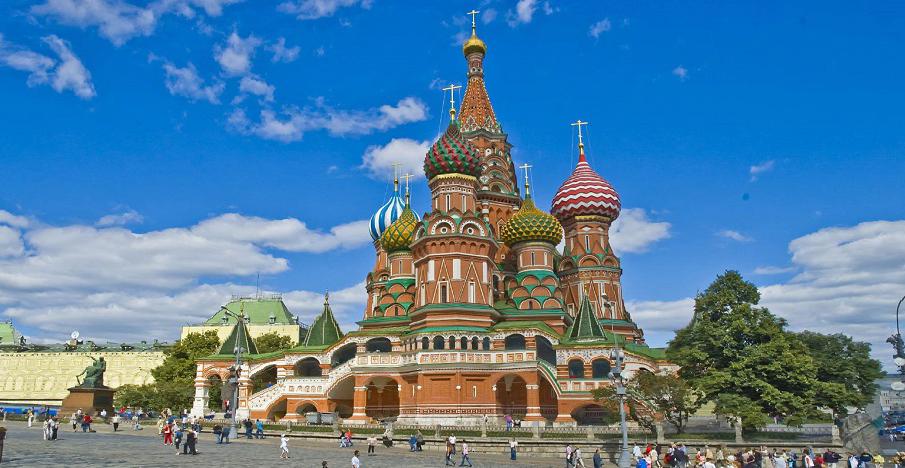
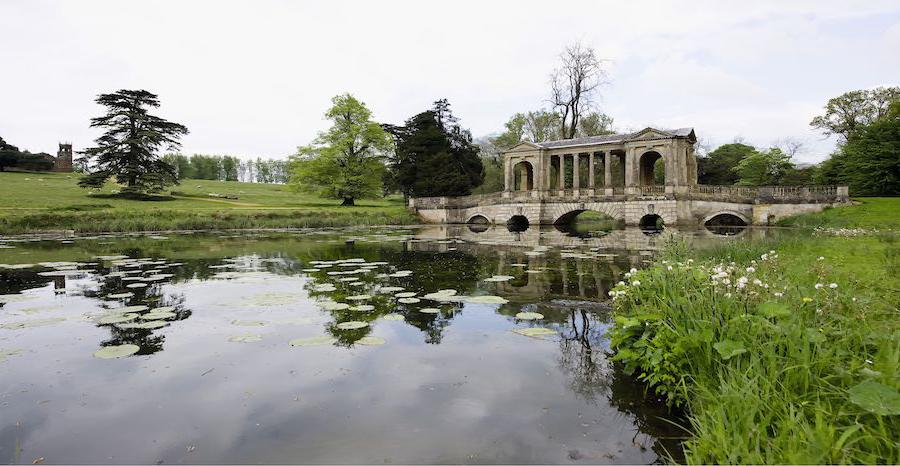
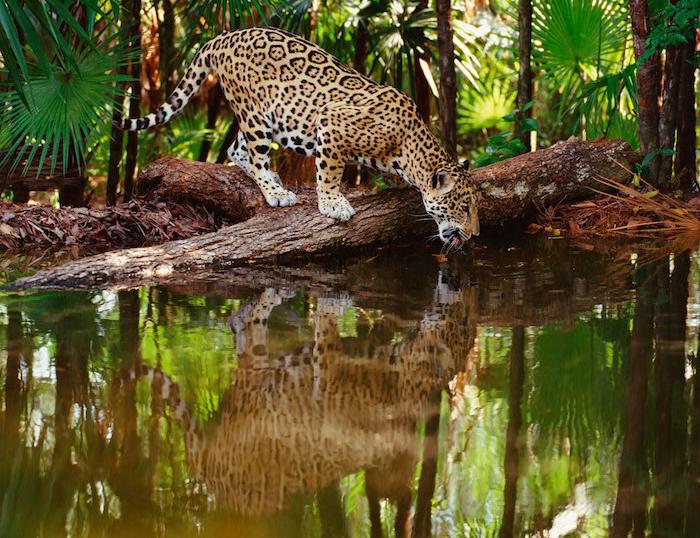
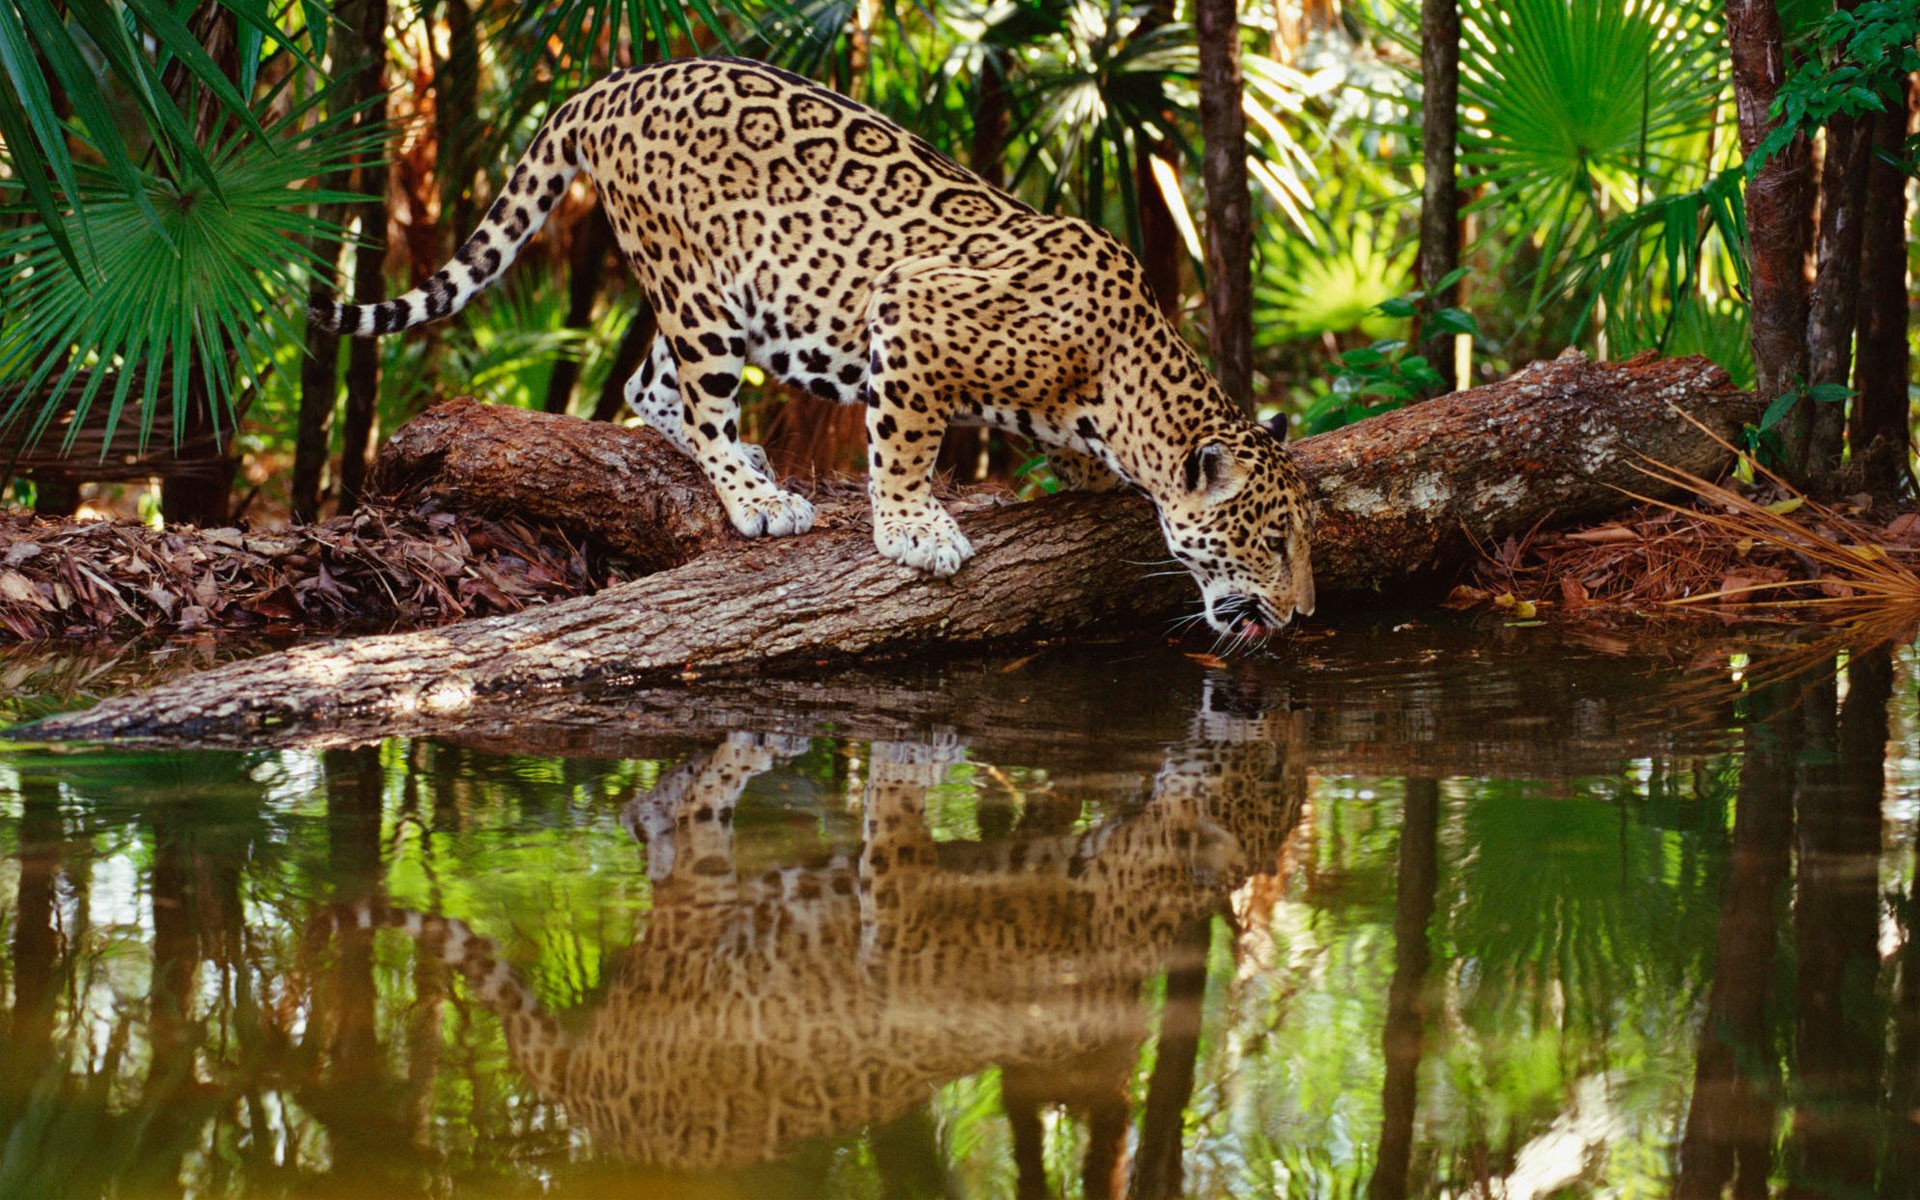
For the first pre-canned project, I implemented the algorithm described in the paper, "Seam Carving for Content-Aware Image Resizing." First, I evaluated the cost of each pixel by running a simple finite gradient filter along the x and y direction then summing the squares to get the magnitude of the gradient. I did not take the square root to make the pixels with more energy vastly greater than pixels with less energy, which is useful for avoiding high energy pixels when finding a minimum cost.
|
|
|
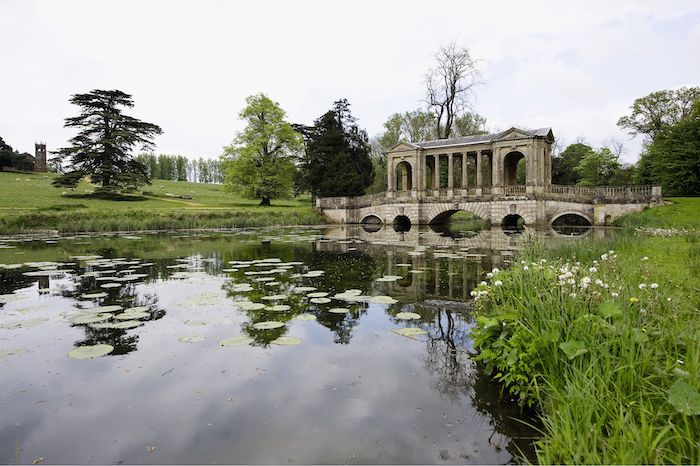
Next, I found the path incurring the minimum cost from the first row to the last row of the picture by using dynamic programming. I went through each row and found the neighboring column index of the row before it that had the minimum cost so far (so either the column to the left, the same column, or the column to the right). This gives me the column in the row above one would traverse to when traveling along the minimum cost path starting from the current grid cell. The idea behind this algorithm is that for each row, if I can find the minimum costs so far for each path beginning at each column for that particular row, the minimum path for each column of the next row will simply traverse to the best neighboring cell in the row above and follow the minimum path beginning at that cell.
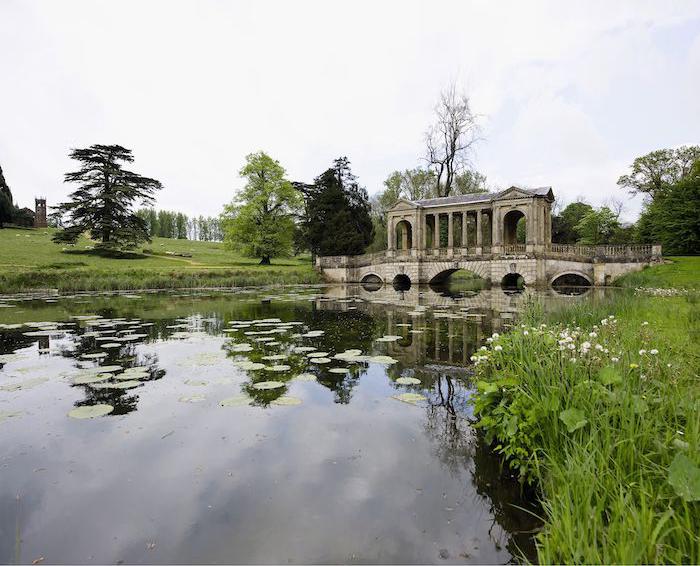
At the end, I can just find the minimum cost between the columns of the last row along with its path. With the minimum path, I can simply delete the cells along the path and repeat however many times to get the desired size for horizontal carving. In the beginning, I had a double for loop, until I realized I could use np.roll to simulate choosing between the column before, the same column, or the column after. This reduced the time for a picture of width approximately 500 pixels to be carved by 100 pixels from about 1 minute and 30 seconds to around 10 seconds.
|
|
|
|
|
|
|
|
|
|
|
|
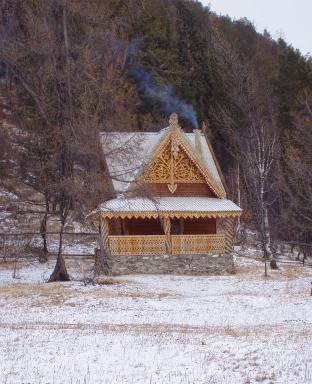
For vertical carving, I simply transposed the input, ran horizontal carving, then transposed back.
|
|
|
|
|

|
|

|
|

|
|
|
|
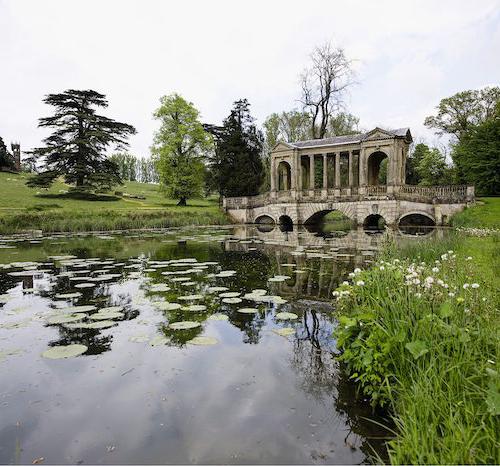
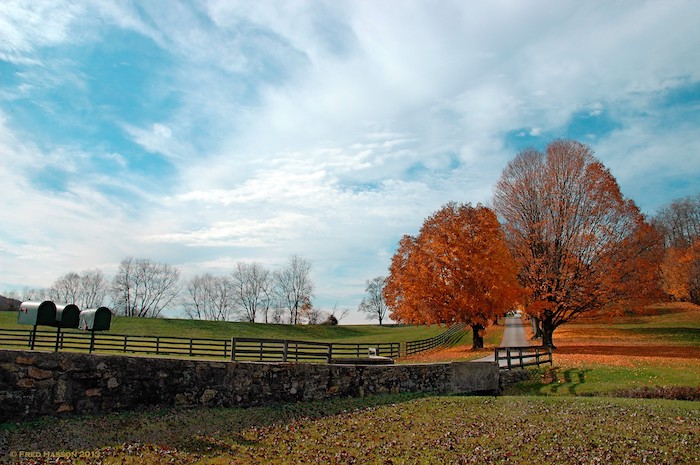
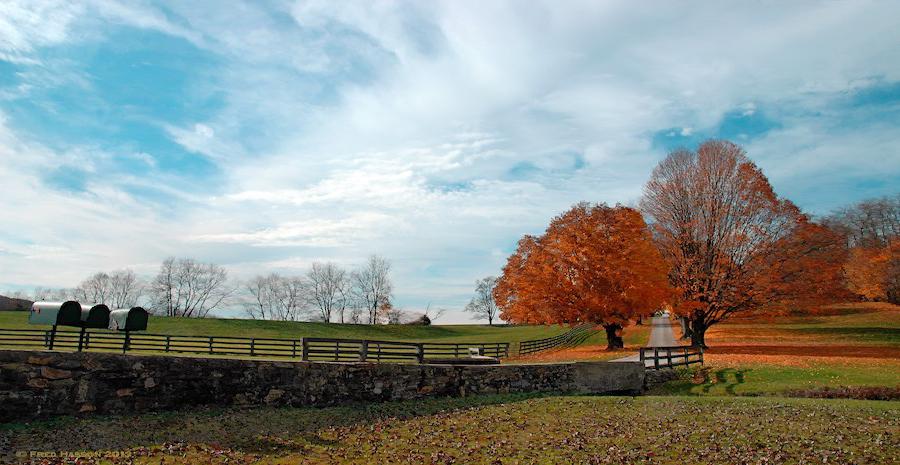
To increase the size of an image using seam insertion, I wanted to insert theoretical seams at the least noticeable areas. I did not want to just duplicate the same minimum path again and again because that would produce weird lines in the picture. Instead, I wanted to almost duplicate the seams with the k minimum costs. My original implementation depended on the path with the minimum cost being removed, which would not happen for insertion. To get around this, I marked the cost as negative whenever it fell on the minimum path. I would ignore negative cells while keeping an array for the indices of cells with positive costs. Finally, at the cells with negative cost, I insert an additional element equal to the original cell's color value averaged with that of the cell one index rolled over. This allowed me to increase the size of an image almost seamlessly :)
|
|
|
|
|
|
|
|
|
|
|
|
|
|
|
|
For vertical insertions, I again just transposed the input, ran horizontal insertions, then transposed back.
|
|
|
|
|
|
|
|
|
|
|
|
|
|
|
|
|
|
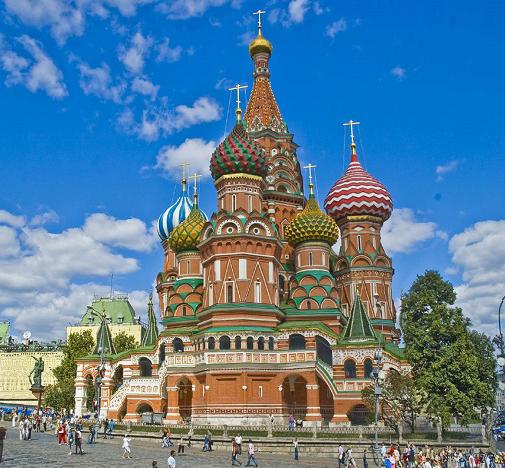
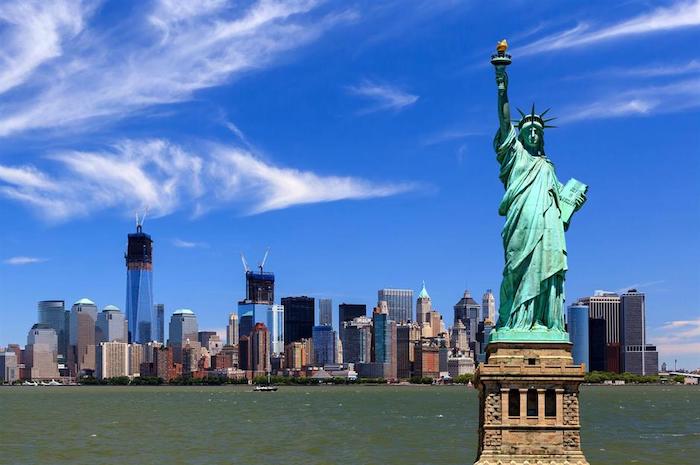
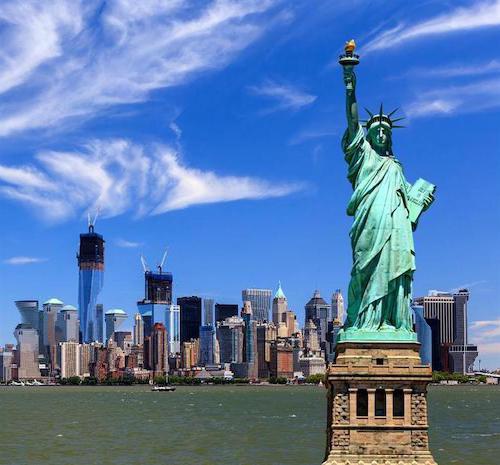
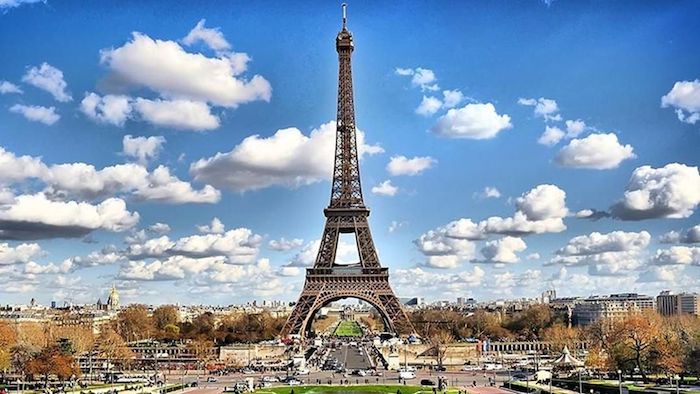
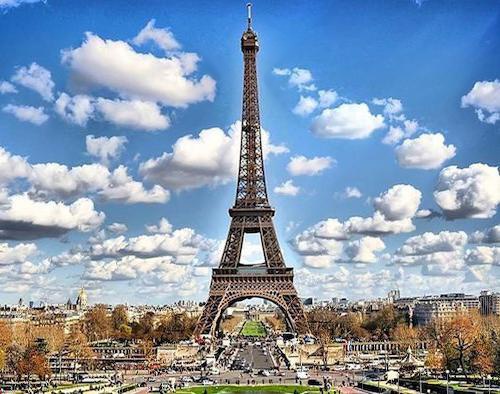
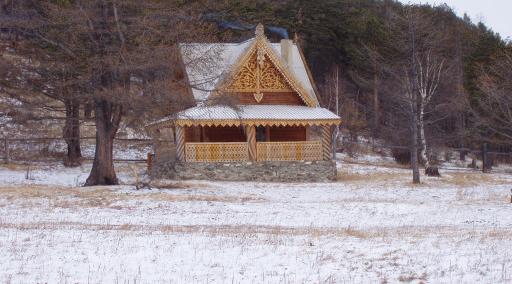
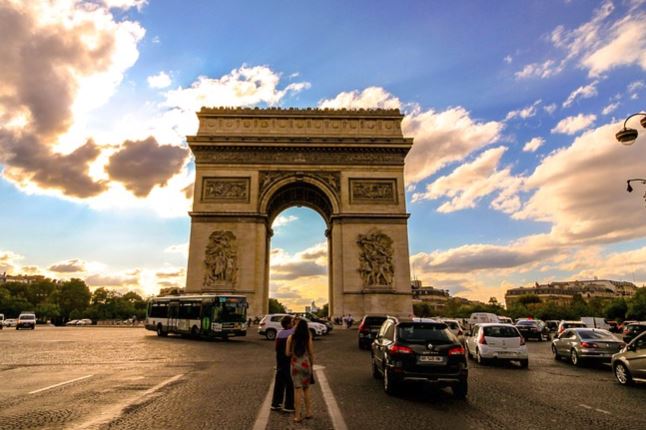
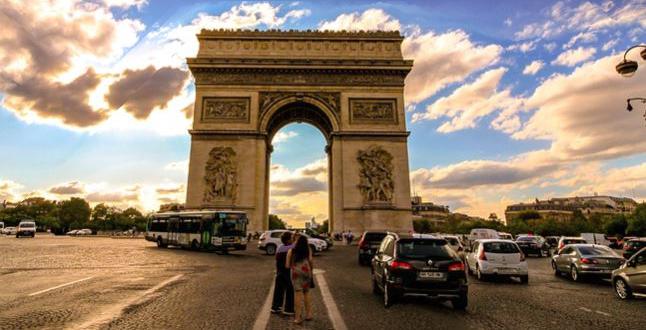
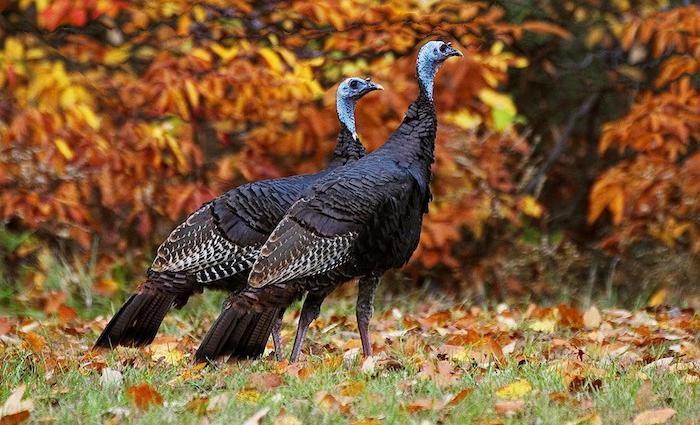
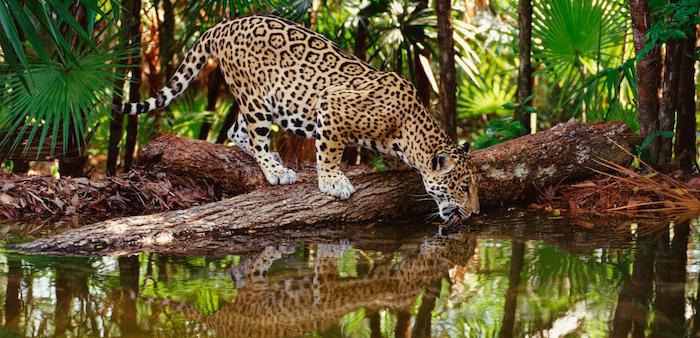
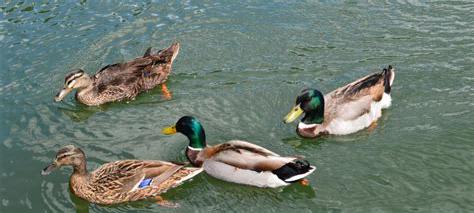
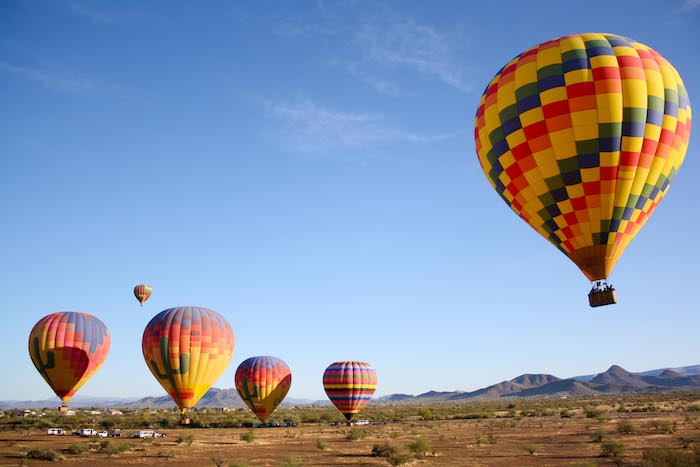
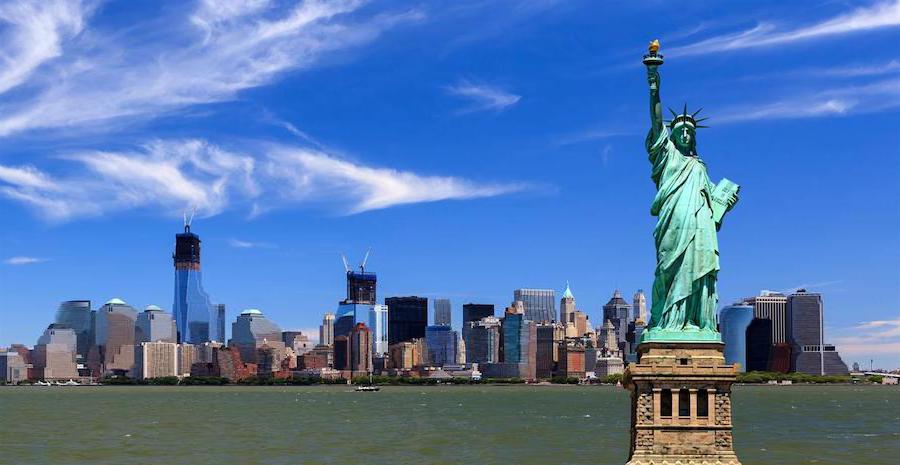
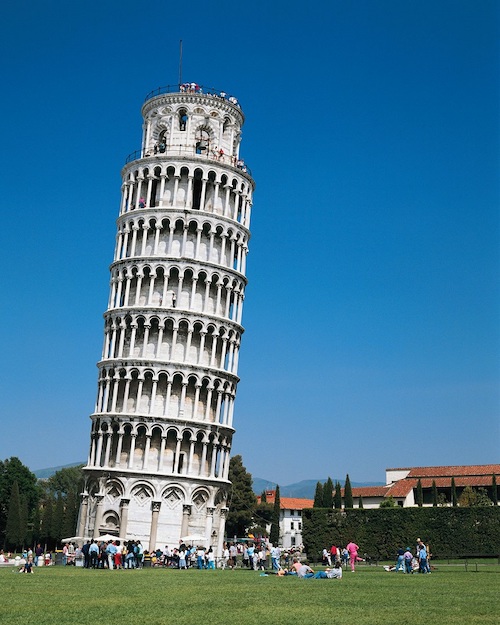
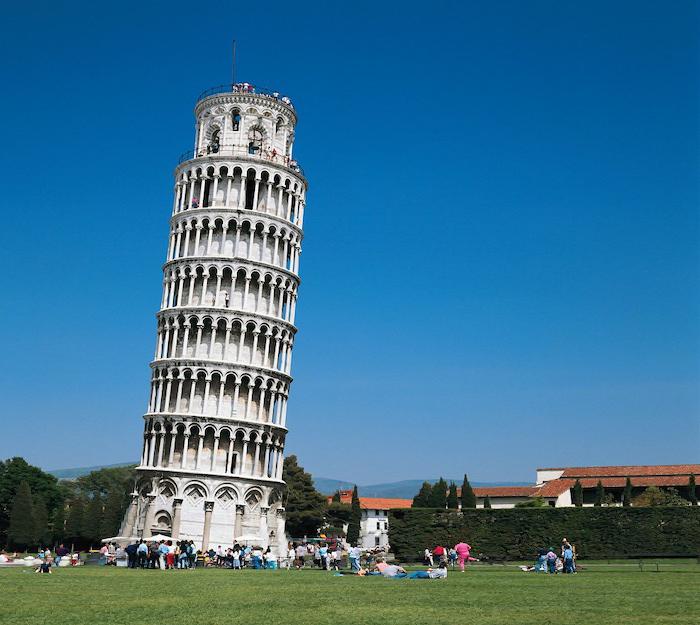
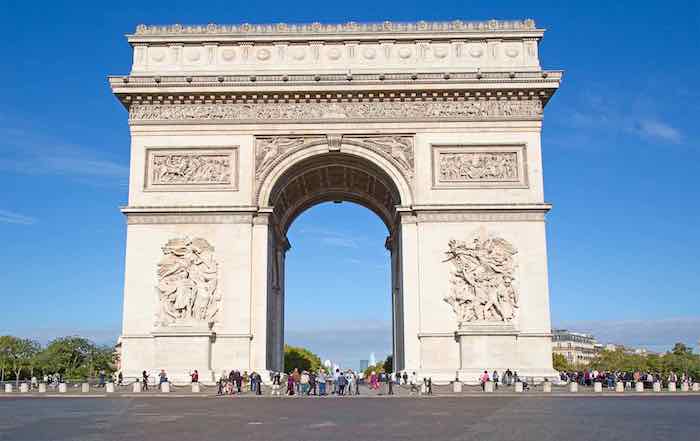
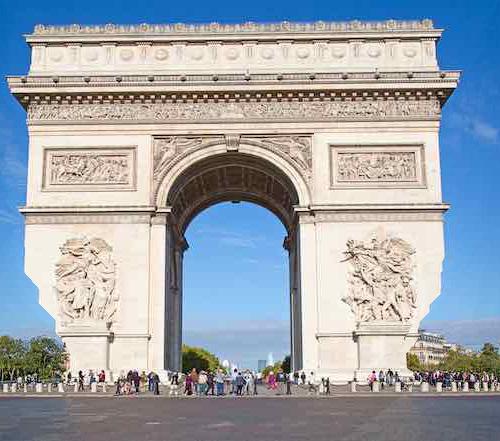
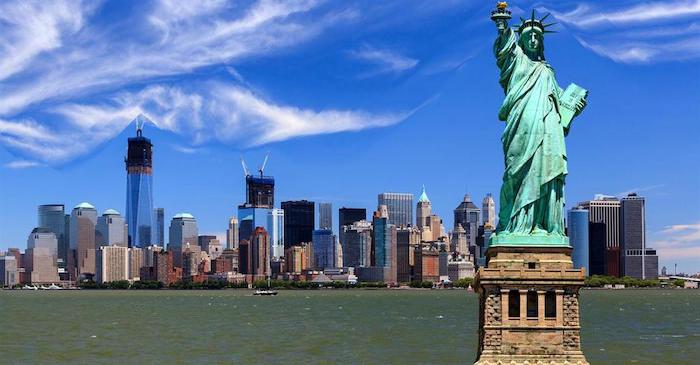
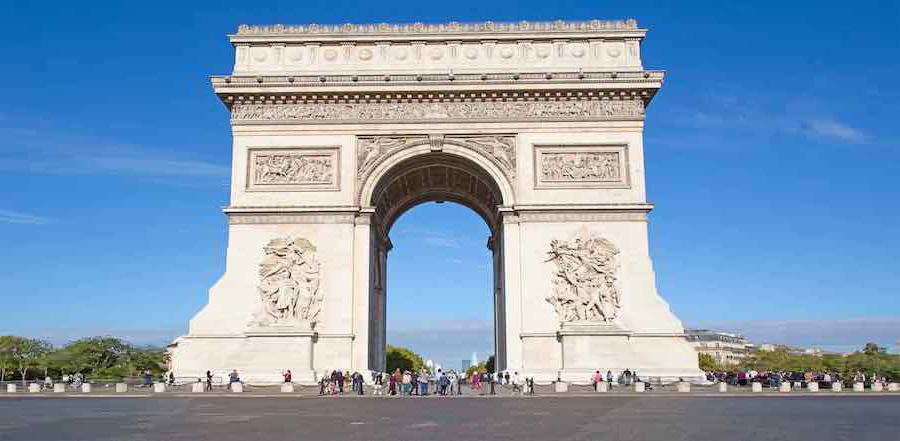
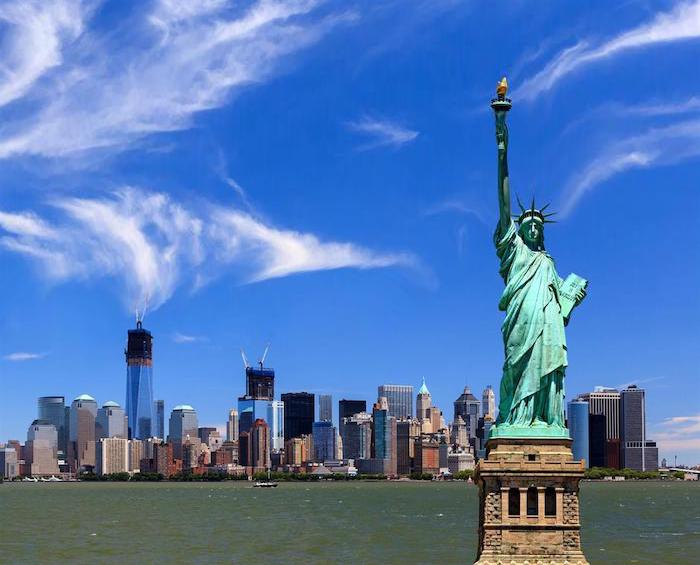
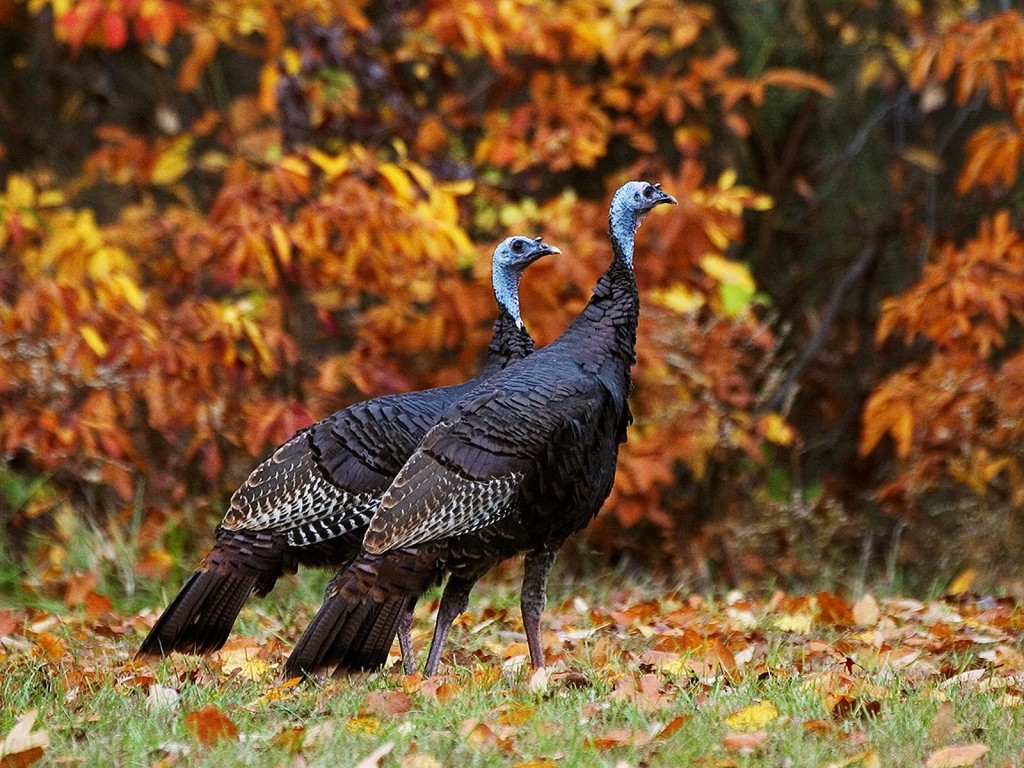
While the algorithm worked for most cases, below are some pictures that it did not work too well for. This occurs when tiny tourists, leaves, or other noise lead to high energy values instead of the primary content. Sometimes, the primary content is less detailed then the surrounding noise. For example, notice how the algorithm tries to preserve the people underneath while carving away the bottoms of the Arc de Triomphe or how the Statue of Liberty's arm is less detailed then the pedestal so the pedestal is left untouched whereas the arm is pushed down.
|
|
|
|
|
|
|
|
|
|
|
|
|
|
|
|
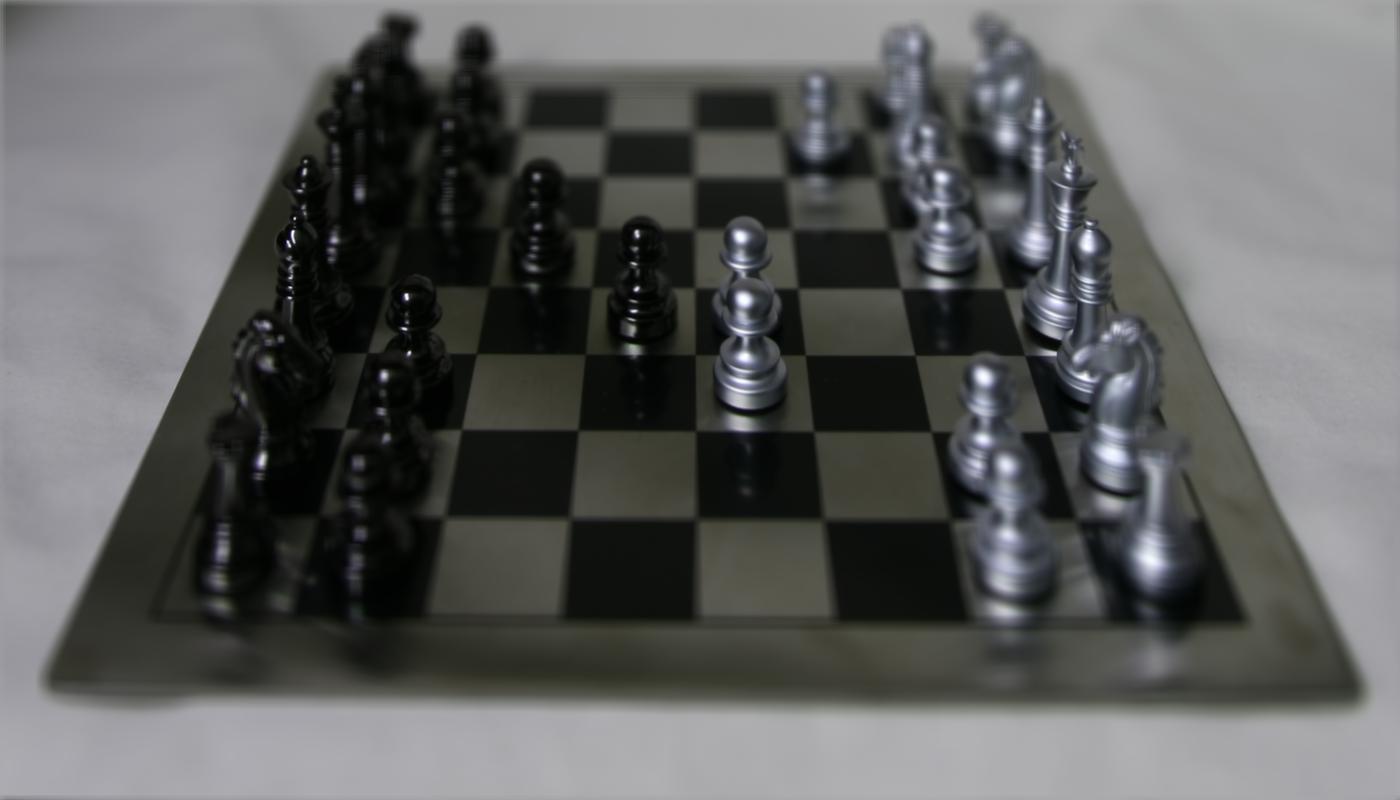
To simulate effects like depth refocusing and aperture changing, I downloaded the chess Lightfield dataset from the Stanford Lightfield Archive. I first obtained the center x,y coordinates from the image in the middle cell (denoted based on its name). For each image, I shifted it by some constant multiplied to the difference between the x,y coordinates of the image and the the center image. I then averaged the shifted images to get the final result.
Depth RefocusingTo change depths, I changed the constant. A smaller magnitude constant means that the images are not very shifted, which is good for far away points as their positions should not change too much from the small changes in camera position but not accurate for closer objects, whose positions in the images vary even with small changes in camera position. Thus, smaller magnitude constants mean focus on farther objects. Larger magnitude constants adjusted for the camera position and grid cell widths/heights allow focus on other objects. |
|
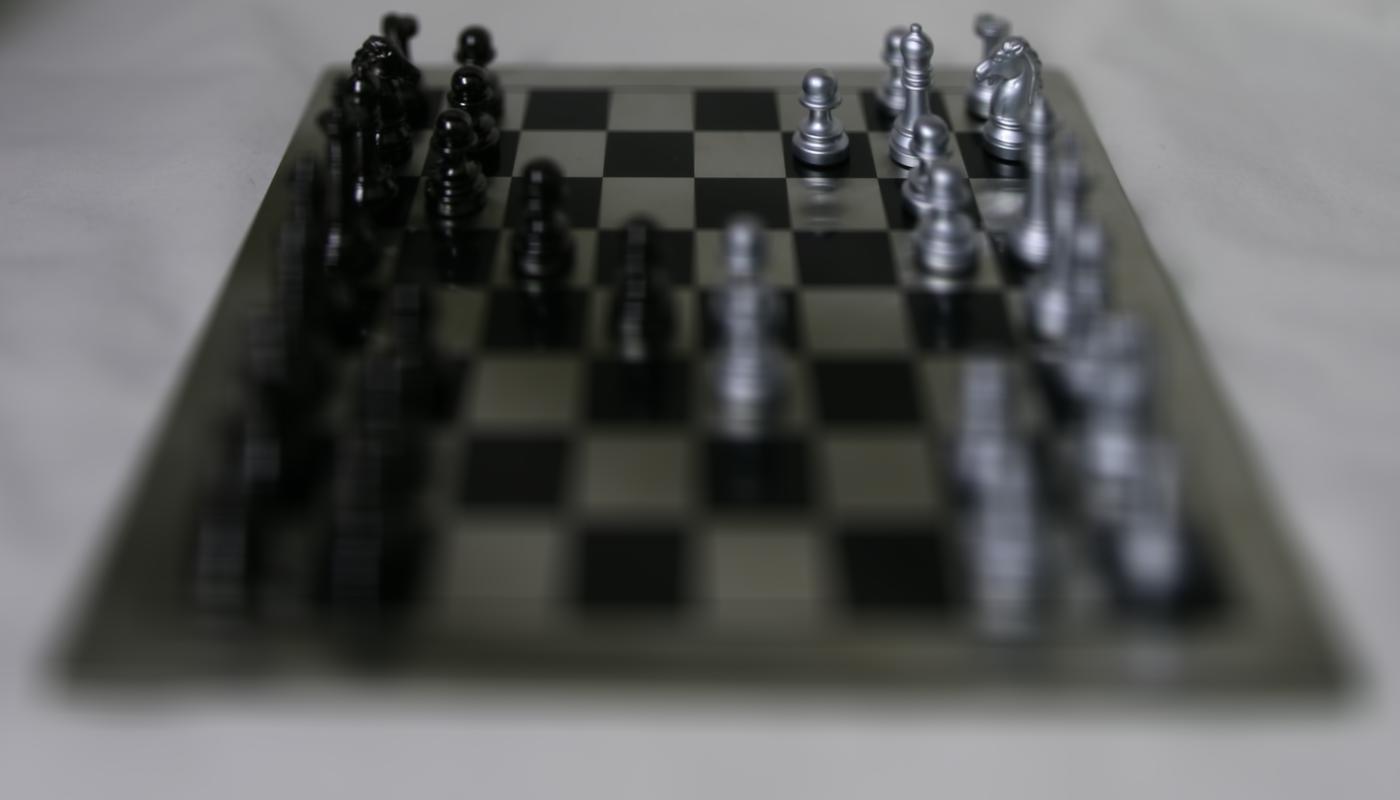
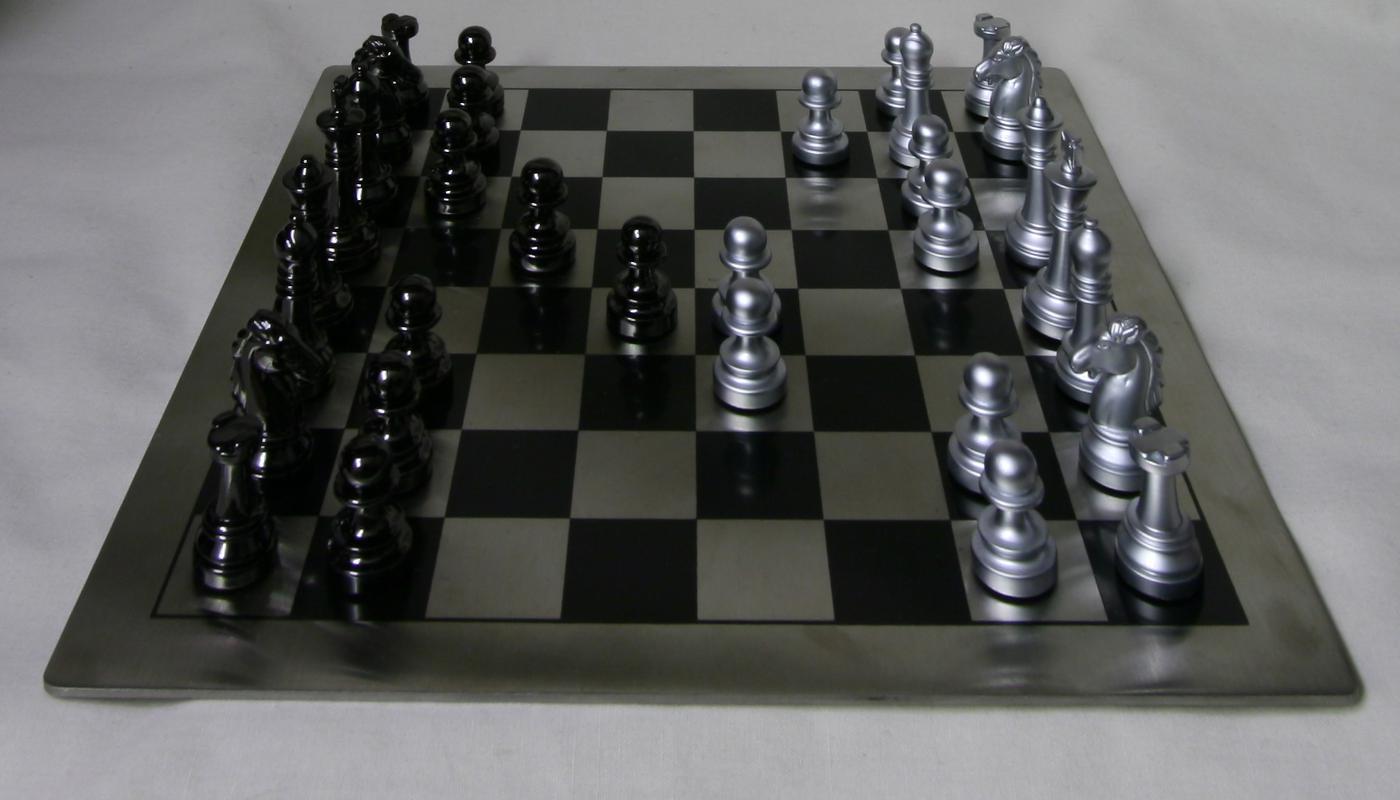
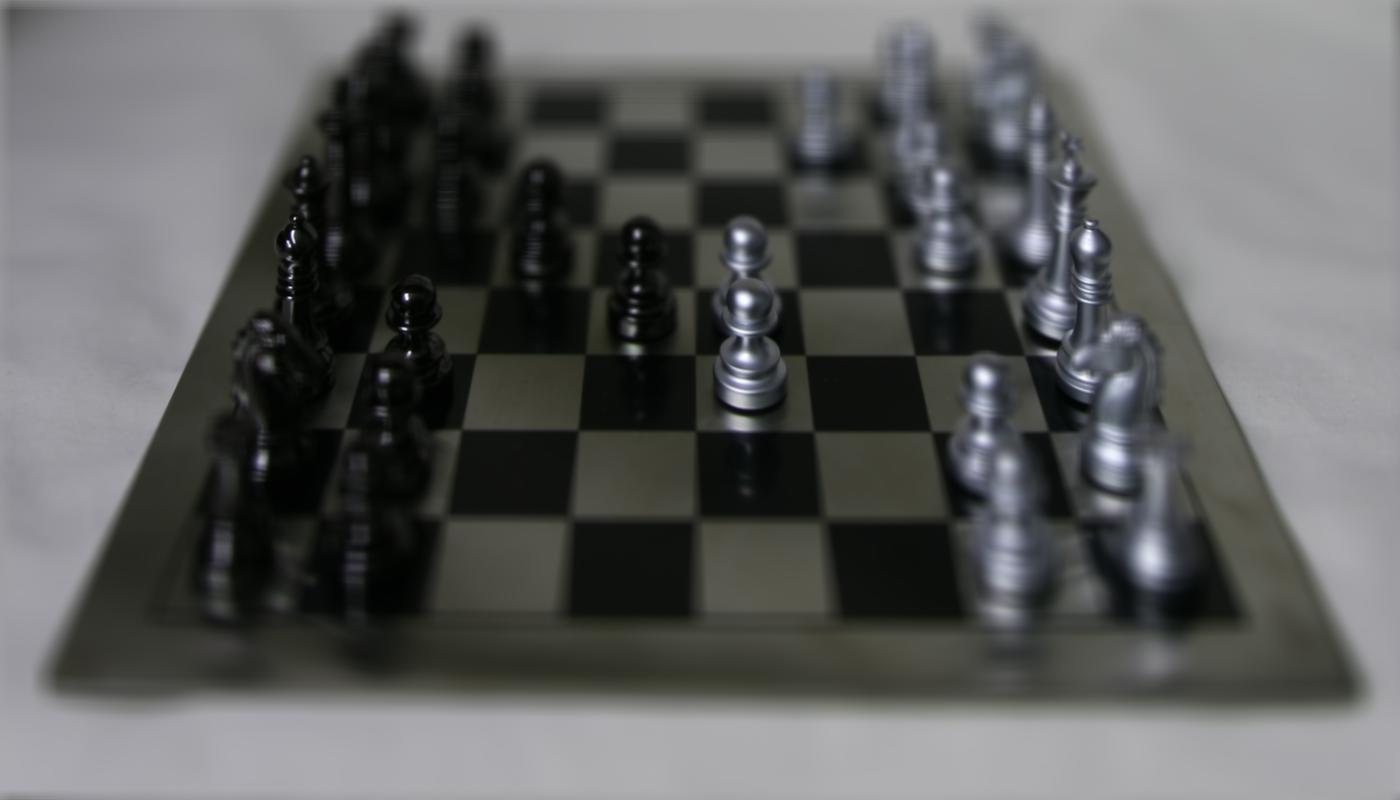
Below shows each frame of the gif with varying constants. Notice how small constant of 0 leads to further chess pieces being in focus while larger constant of 0.45 leads to closer chess pieces being in focus. The constant is the value multiplied against the change in x,y position of the current image to be shifted and the center image's x,y position.
|

|

|

|

|

|

|

|

|

|
Aperture AdjustmentTo change aperture size, I changed the number of images around the center cell to be averaged. Using few images for averaging results in a smaller aperture effect whereas using more images results in a larger aperture effect. This is most likely because less images mean less shifts in positions. If we visualize the data as each image is some set of rays to a single point in the camera, then a smaller aperture means less different ending points and thus less images should be used for averaging. A larger aperture means more ending points in the camera and hence more images should be averaged. |

|
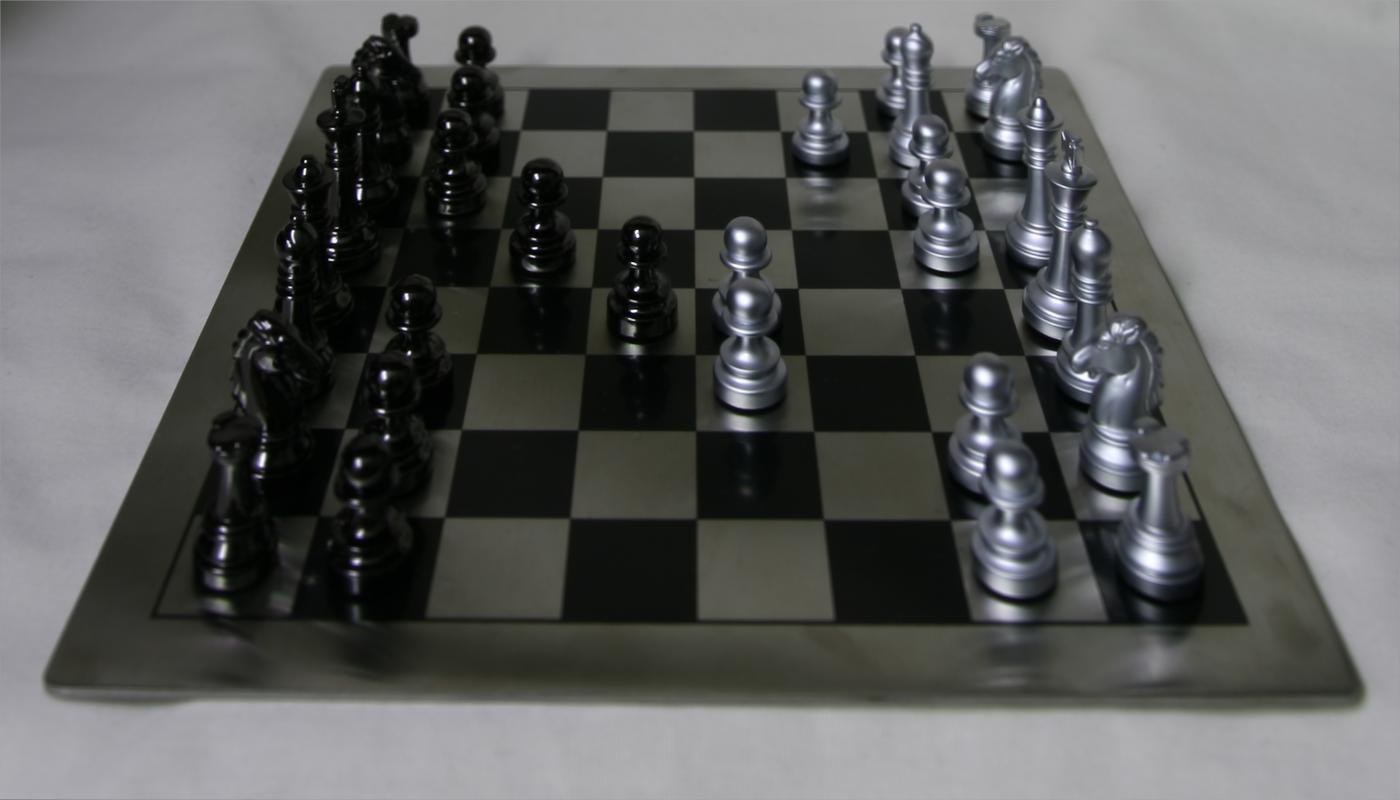
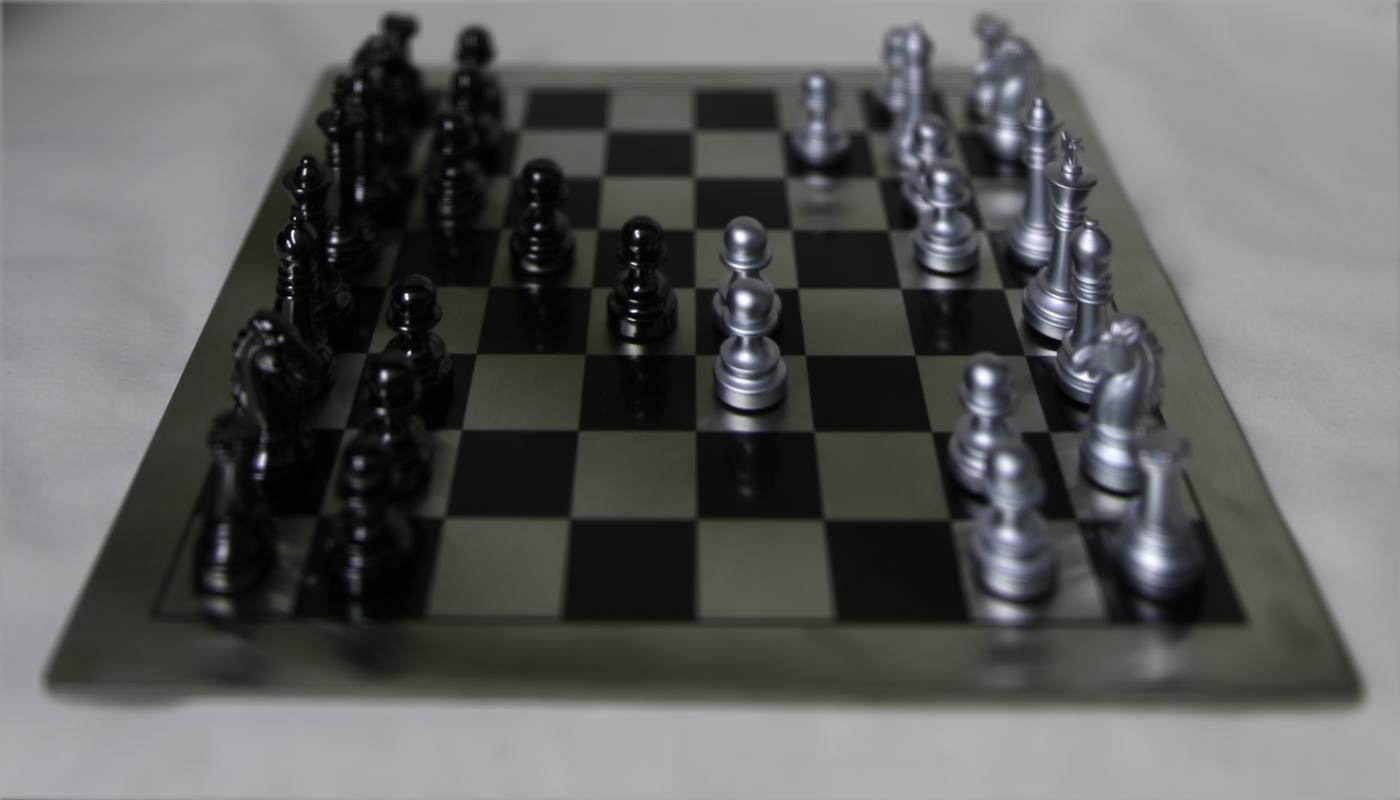
Below shows each frame of the gif. Notice how smaller number of pictures averaged together leads to the effect of a smaller aperture (the surrounding area outside the focus area is clearer), while larger number of pictures averaged together leads to the effect of a larger aperture (the surrounding area outside the focus area is more blurry).
|
|

|
|
|

|

|
|

|
|
|
|
|
|