Final Project: Seam Carving and Light Field Camera
George Wang
Seam Carving
In this project I implemented the well-known seam carving technique for content-aware image resizing. The idea behind seam carving is to remove the boring parts of an image, while leaving the important bits intact.
Energy Function
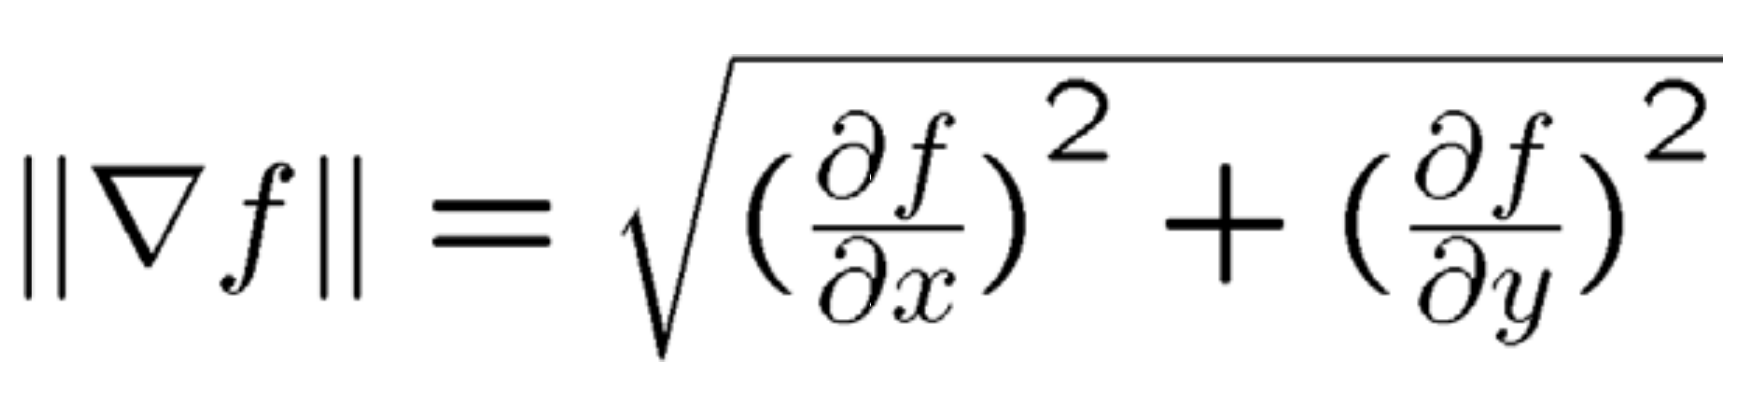
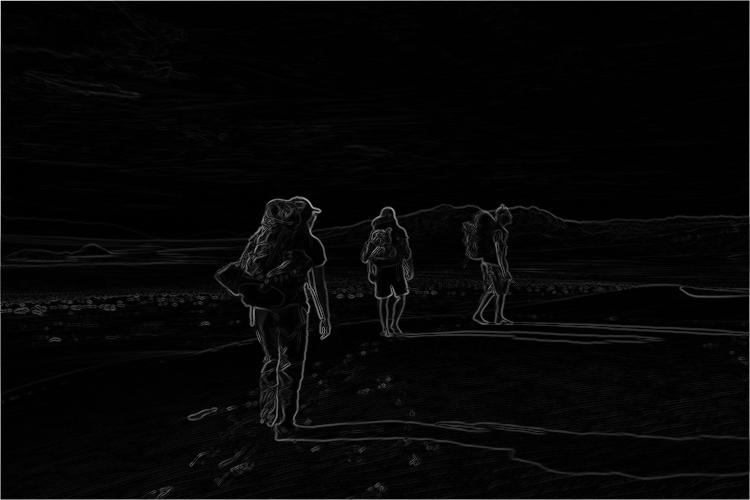
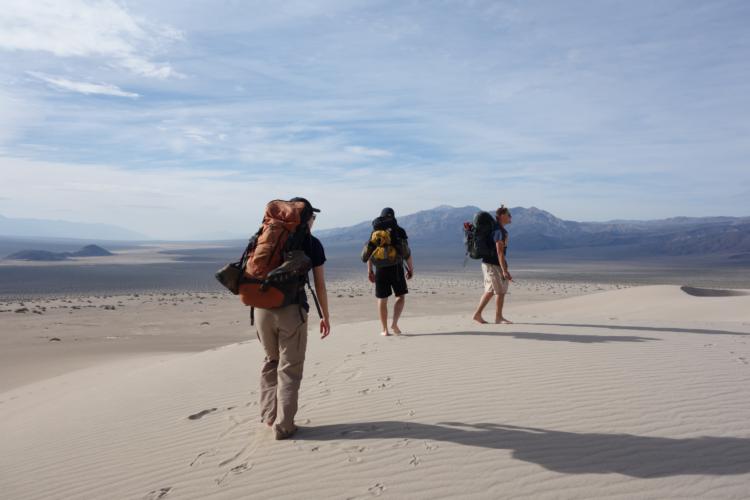
How do we determine which parts of an image are important? The paper above uses an energy function to assign an importance value to every pixel. The most basic function is gradient magnitude, which can be quickly calculated by convolution. The exact formulation is shown below. Other energy functions may be used, but for simplicity I used gradient magnitude for all my images. Below is an example of pixel energies for the above image. Strong edges have a higher energy value.
Minimum-cost seam
A seam is defined by a continuous single layer of pixels with no breaks (diagonals allowed). The goal is seam carving is to remove the seam with the least total energy from the image. I used dynamic programming to find the minimum cumulative seam by row. M(i,j) represents the minimum cost up to the pixel at row i and column j, and e is our energy function.


Examples of Vertical Seam Carving
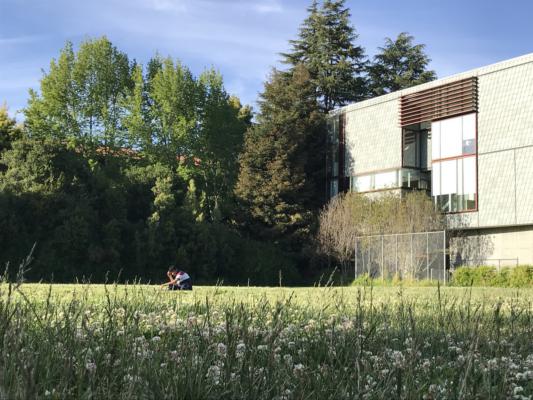
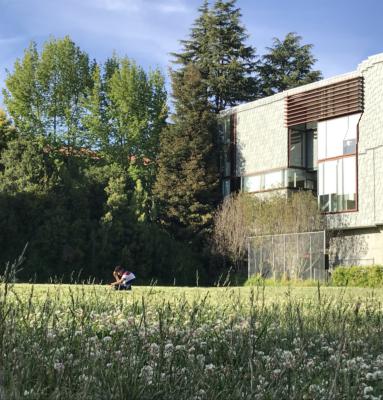
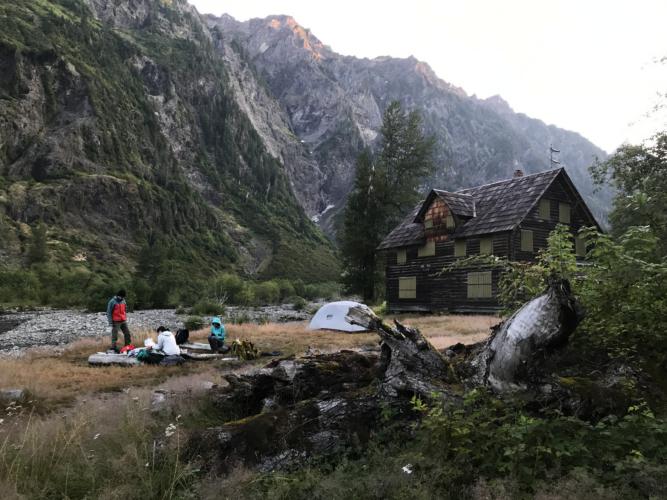
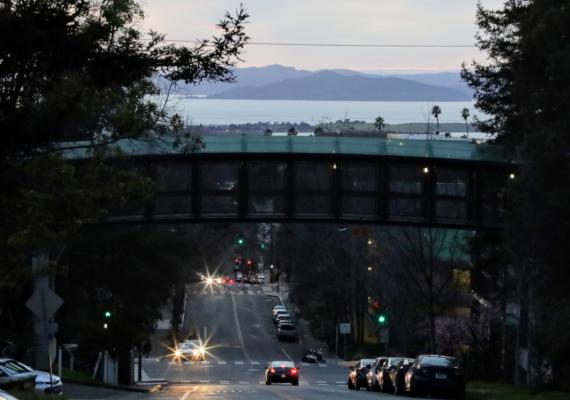
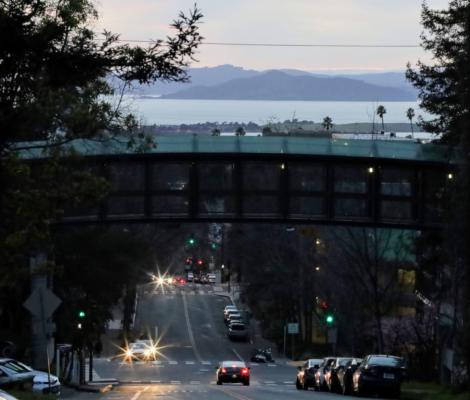
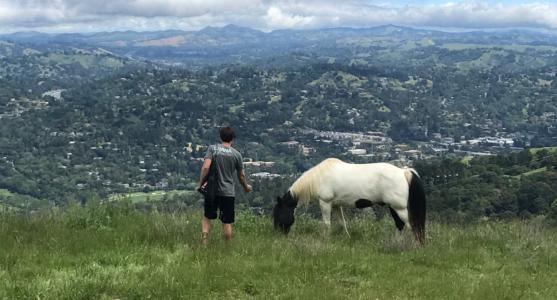
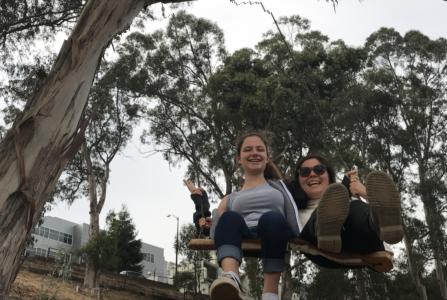
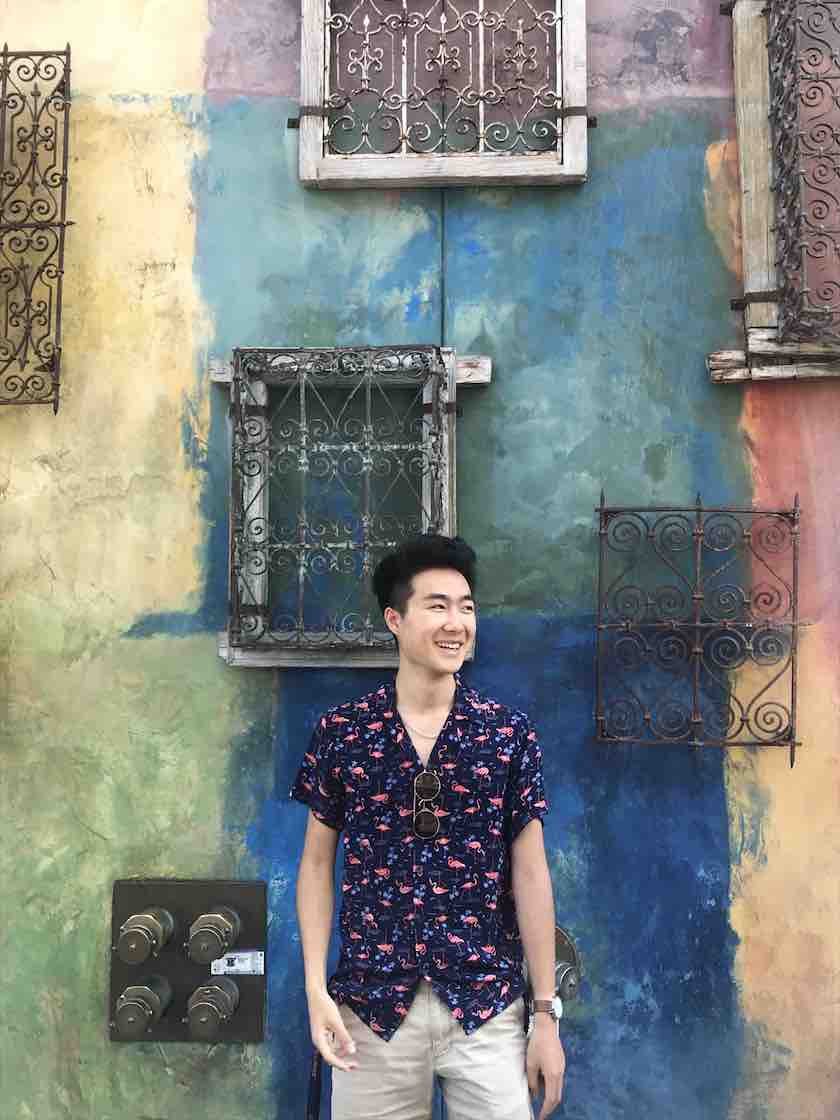
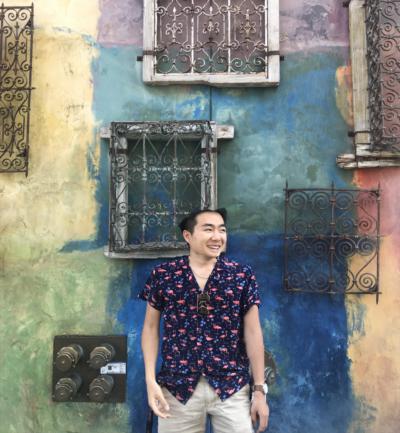
Here are the results after running the vertical seam carving algorithm for 100-200 iterations on some photos I've taken.
|
|
|
|
|

|
|
|
|

|
Examples of Horizontal Seam Carving
For horizontal seam carving, we can simply rotate the image 90 degrees, seam carve vertically, and rotate the result back 90 degrees.
|
|

|
|
Failure Examples
Seam carving does not always preserve our desired subjects. Here are some cases where the algorithm fails.
|
|

|
|
|
|
Takeaways
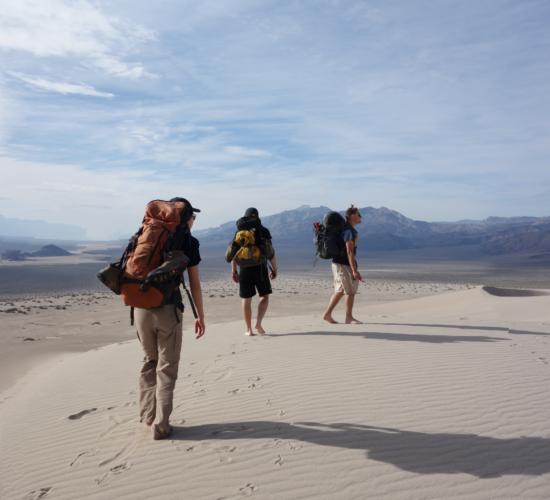
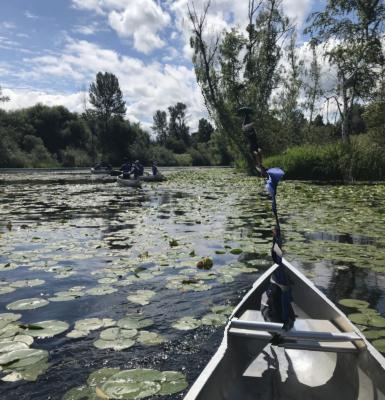
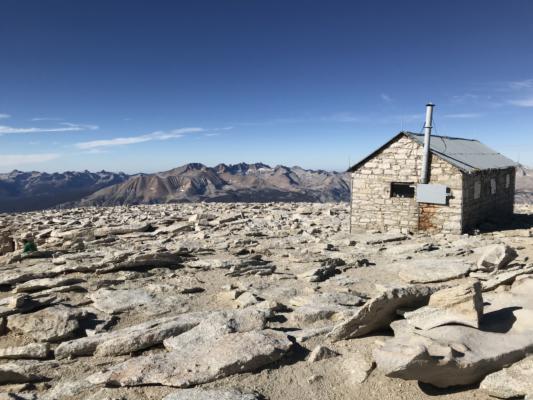
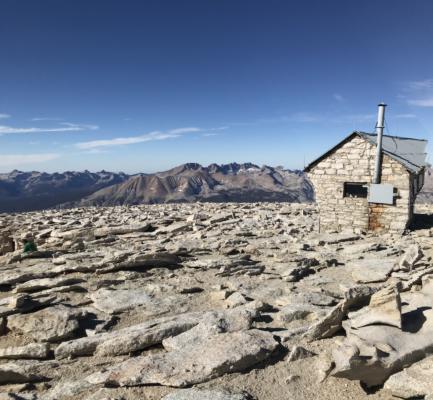
Seam carving is cool, but has its limitations. The images that tend to do well have smooth backgrounds and/or well-defined subjects. A noisy background (see Whitney), or a flat subject (see Lake Union) confuses our simple gradient magnitude energy function. An ideal energy function would be one that can detect people, or one that distinguishes background from foreground.
Light Field Camera
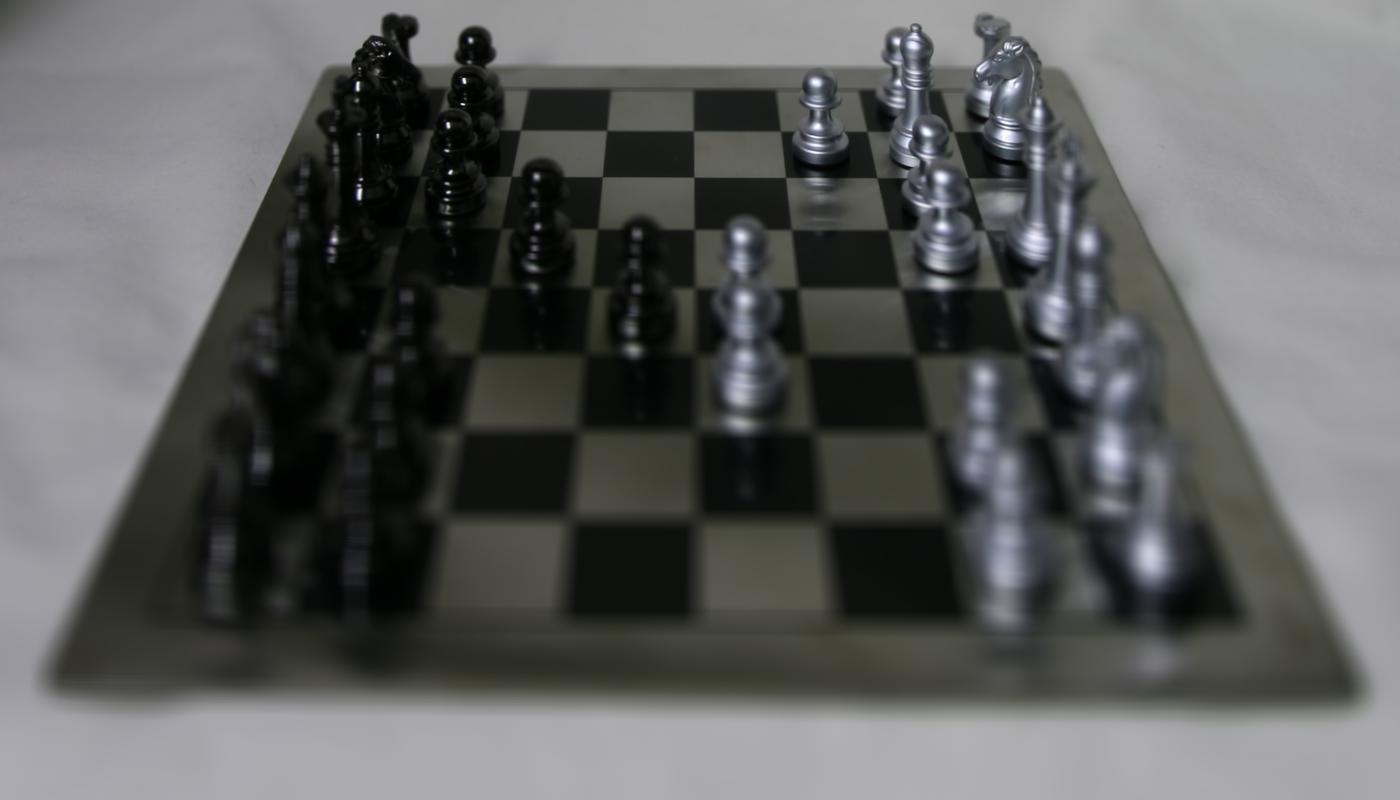
Light field cameras have the unique ability to refocus an image after it has been captured, i.e. changing things like depth of field or aperture. To simulate light fields, I took data from the Stanford Light Field Archive. Each set contains 289 images taken in a 17 by 17 grid, giving us different angles of a scene. The images are labeled with coordinates on both the camera plane and the object plane, so we know the exact offsets of each of these images.
Depth Refocusing
To do this, I needed to shift all of the images toward or away from the center image. If we let (u_c, v_c) be the coordinates of the camera in the center image, all the other images with coordinates (u, v) must be shifted by c * (u_c - u, v_c - v), where c is a constant that determines focusing depth. Once the images are shifted accordingly, we can average them together to achieve the final result.
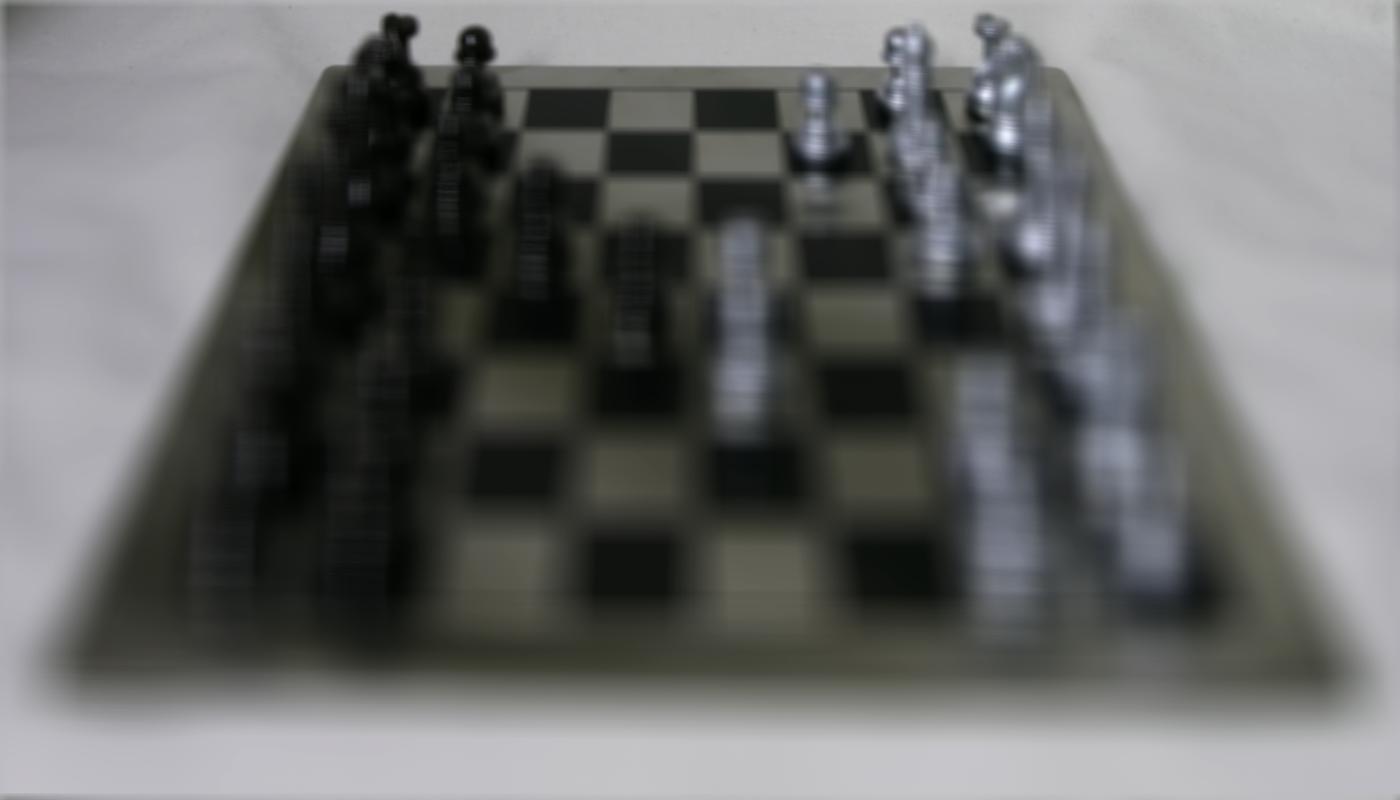
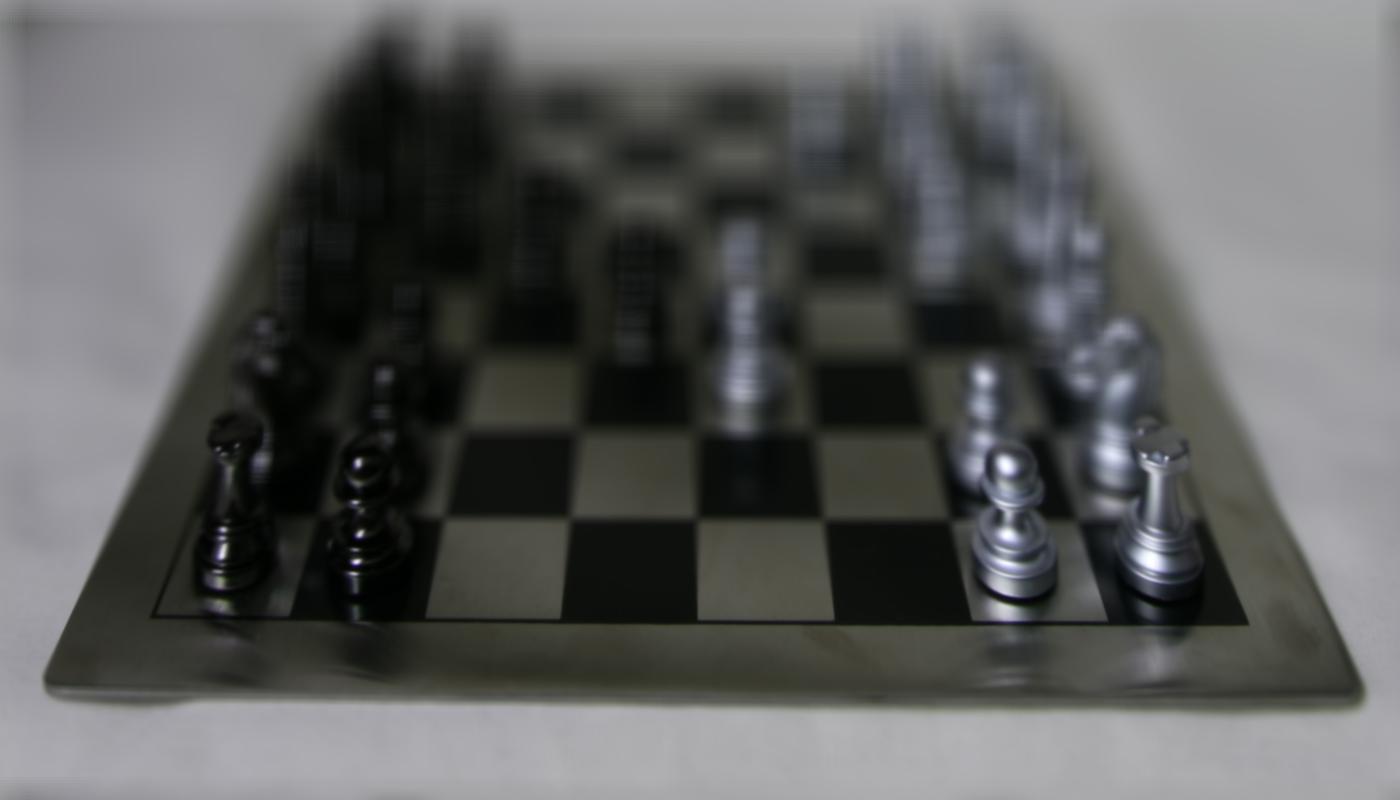
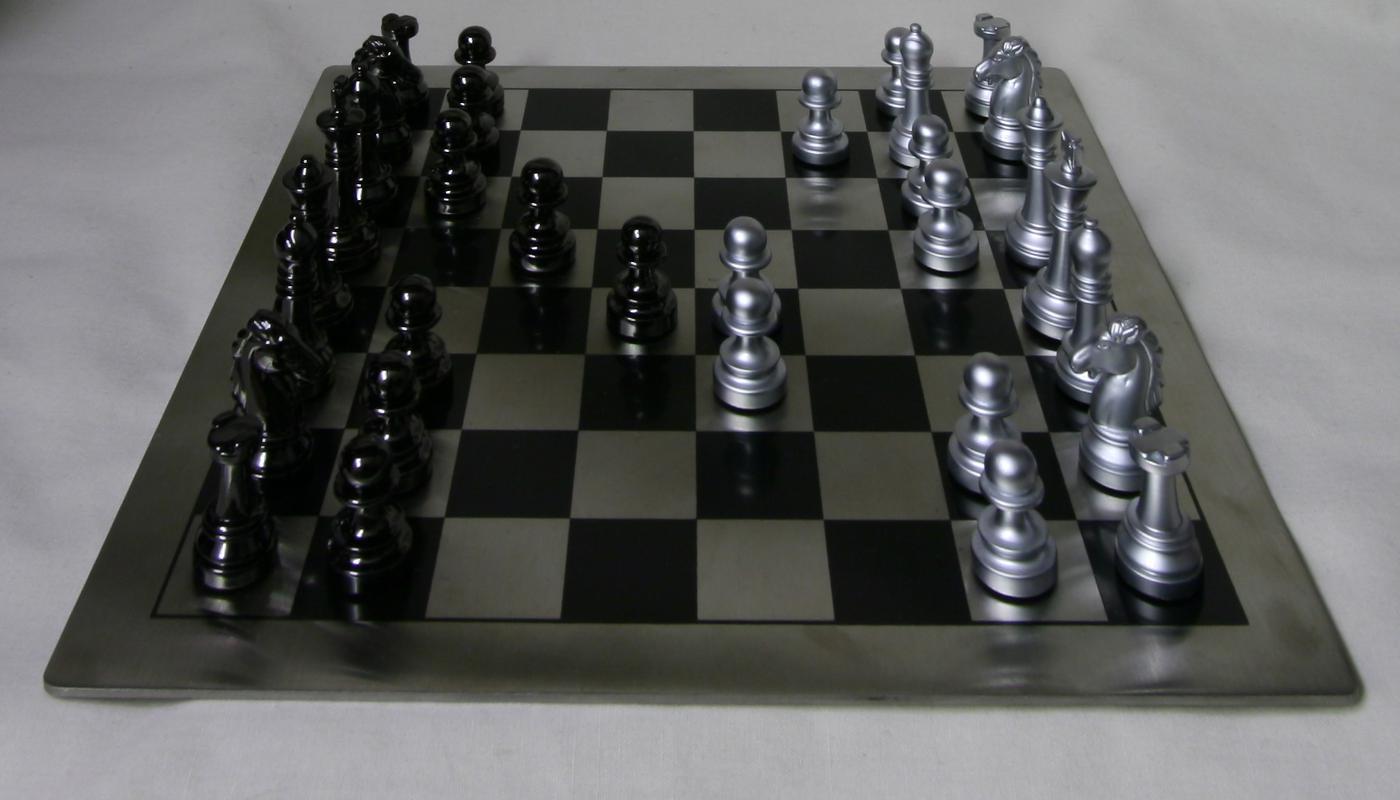
Here are the results using various c values. c=0.2 brings the furthest chess pieces into focus, and c=-0.6 the closest pieces.
|

|
|
And in gif form:
Then I tried it on the jelly bean image set.
Aperture Adjustment
To change aperture, we average a subset of the images, instead of all 289. Fewer images can simulate a smaller aperture, since there aren't as many light rays being "captured". Wider apertures means more light, causing blur in the areas that are not in focus. To do this, we pick a central image and only average those images within a certain radius r of the central image. Keeping the constant c = 0, we observe these results:
|
|

|
Bells and Whistles: Using Real Data
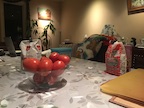
I attempted to recreate this with my own images. This is what happened:
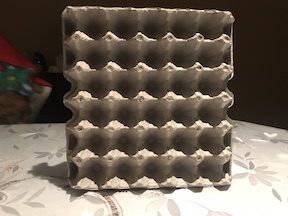
I used an iPhone camera, with the help of an empty egg carton like the one above. Standing the carton up vertically, I marked 9 nodes in a 3x3 grid with a pencil. Carefully, without moving the carton, I positioned the lens directly on top of the nodes to take each shot.

|

|

|

|

|
|

|
|

|
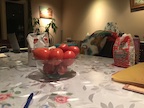
Since we don't have the camera position data, I had to do a bit of guessing for the offsets. Using a c value ranging from 0 to 60, I was able to simulate depth refocuing. The result is kinda shitty, but works best if you squint a little. Watch the painting on the back wall and the objects on the table.
|
|
|
2nd attempt:
|
|
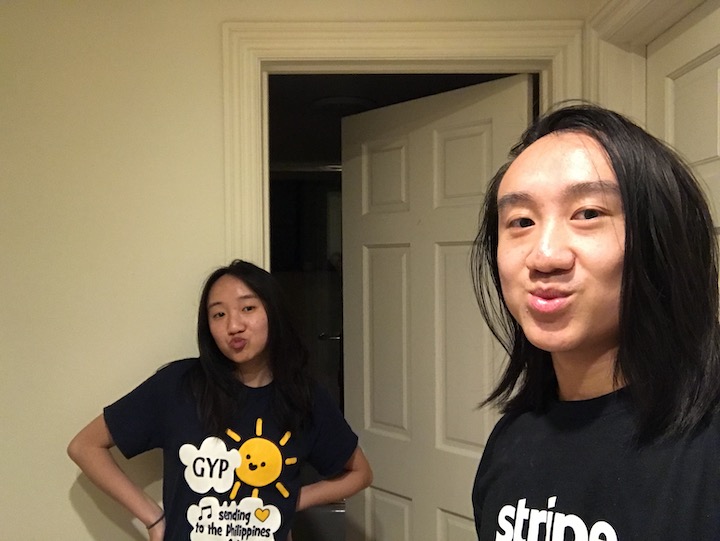
For the bathroom selfie, the mirror served as a flat surface for my phone. You can see that I accidentally moved while taking the 9 shots, so my face didn't focus well. But hers is actually pretty sharp!
Takeaways
I had no faith that this would work, but the results surprised me. With only 9 freehand images and no special equipment, we can get the same effect as long as we squint. Since the radius couldn't have been more than 1, I didn't bother making an aperture gif. However I did try taking a 5x5 grid of images. The result was considerably worse than 3x3, probably due to lack of precision. Using a gantry like the one Stanford researchers made would make larger attempts possible. Another thing to try would be homography matrices to align and rectify the source images.
Final thoughts
Lightfield data is fun to play with, and you don't even need a lot of math. Numpy is clutch. I really liked this project!