Project 1: Lightfield Camera
Lightfield camera are able to capture multiple images over a plane orthogonally to the optical axis. As the paper by Ng. et al. pointed out, These images, when manipulated, are able to simulate complex effects such as depth refocusing and aperture adjusting.
In this project, I will demonstrate how to achieve these effects with lightfield camera pictures
All the images I used below come from this archive .
Section 1: Depth Refocusing
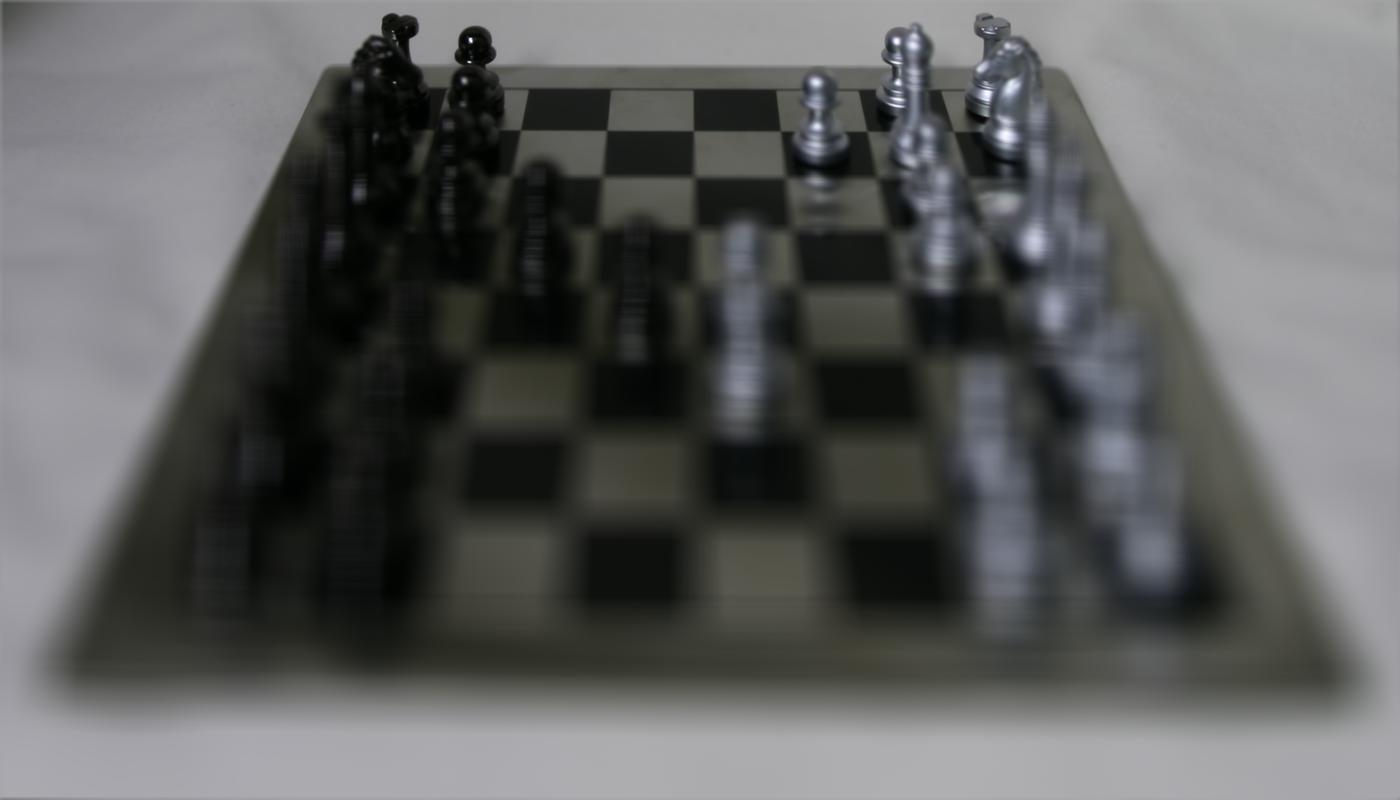
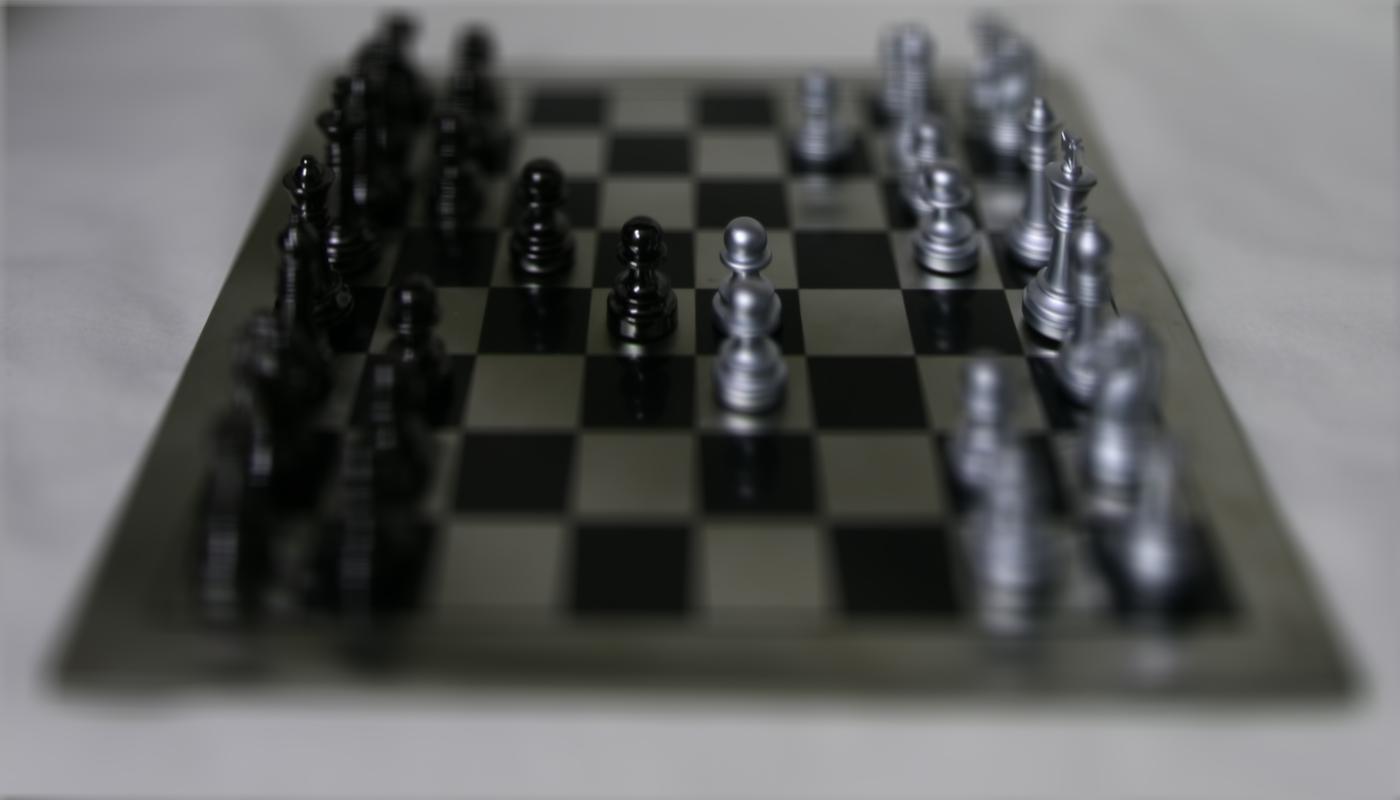
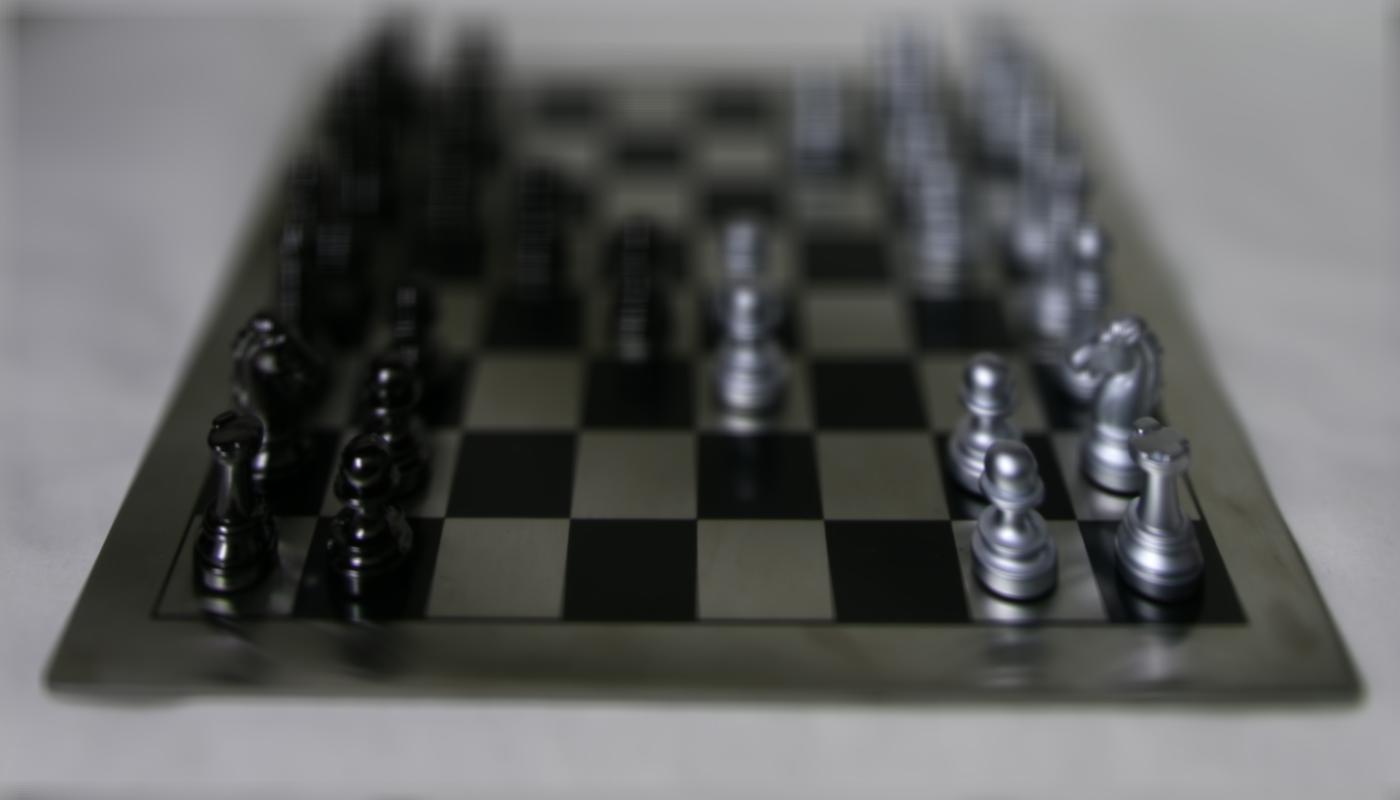
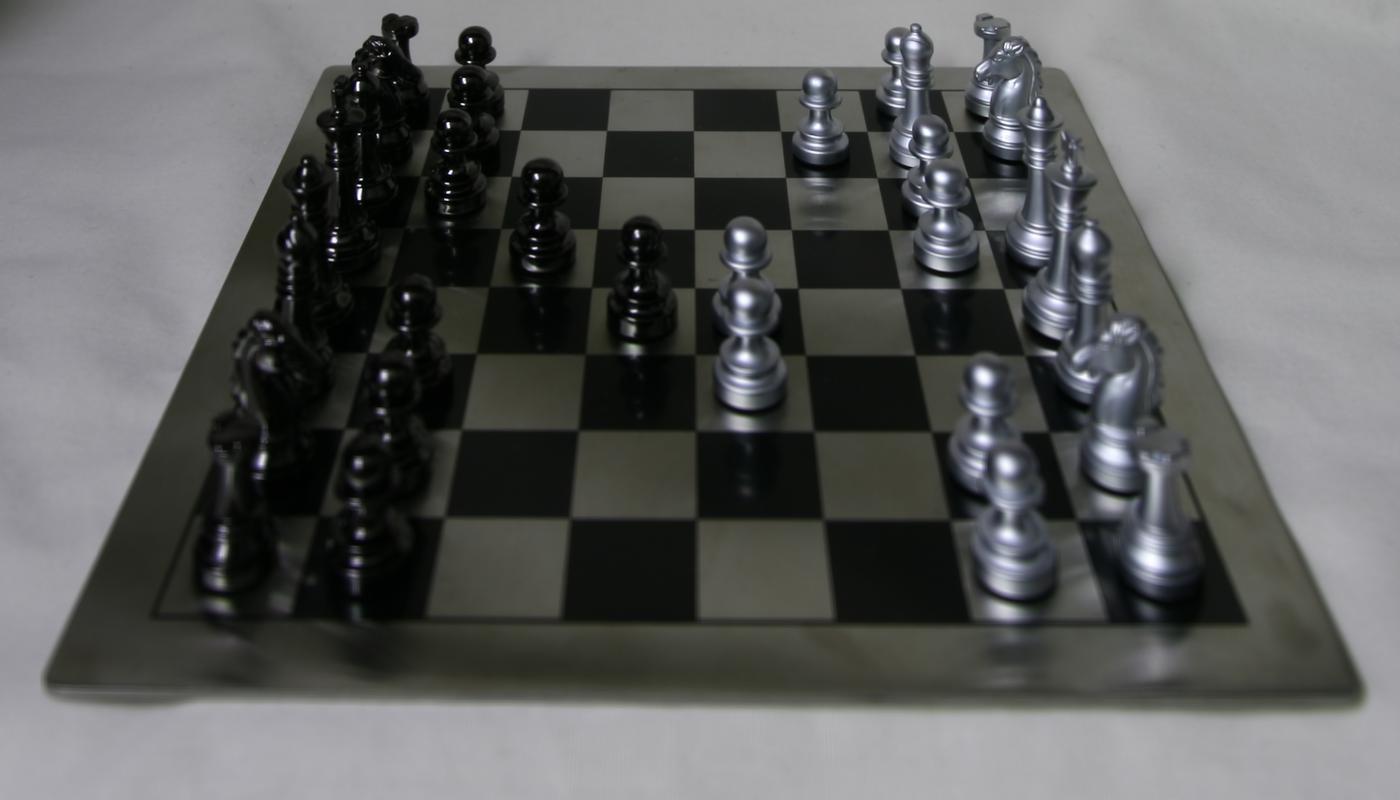
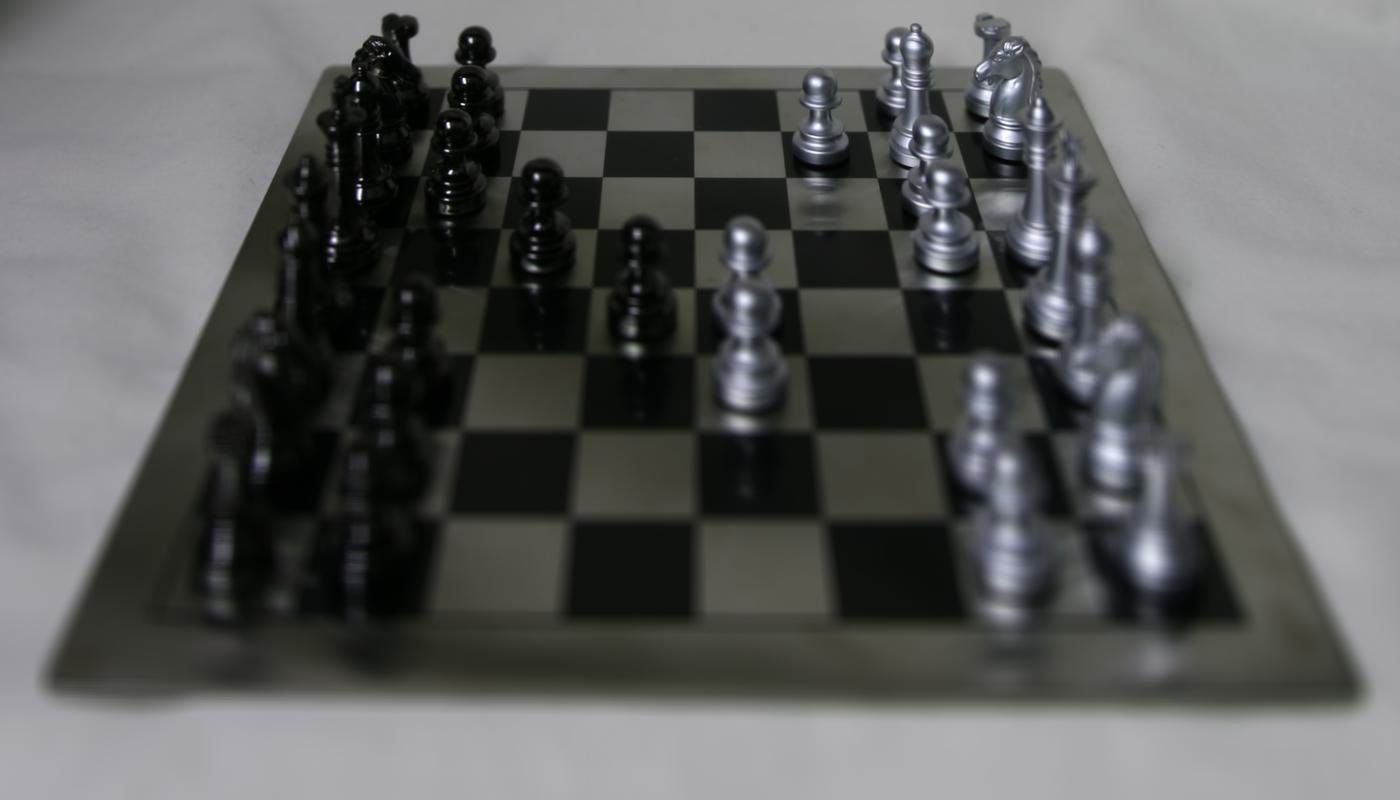
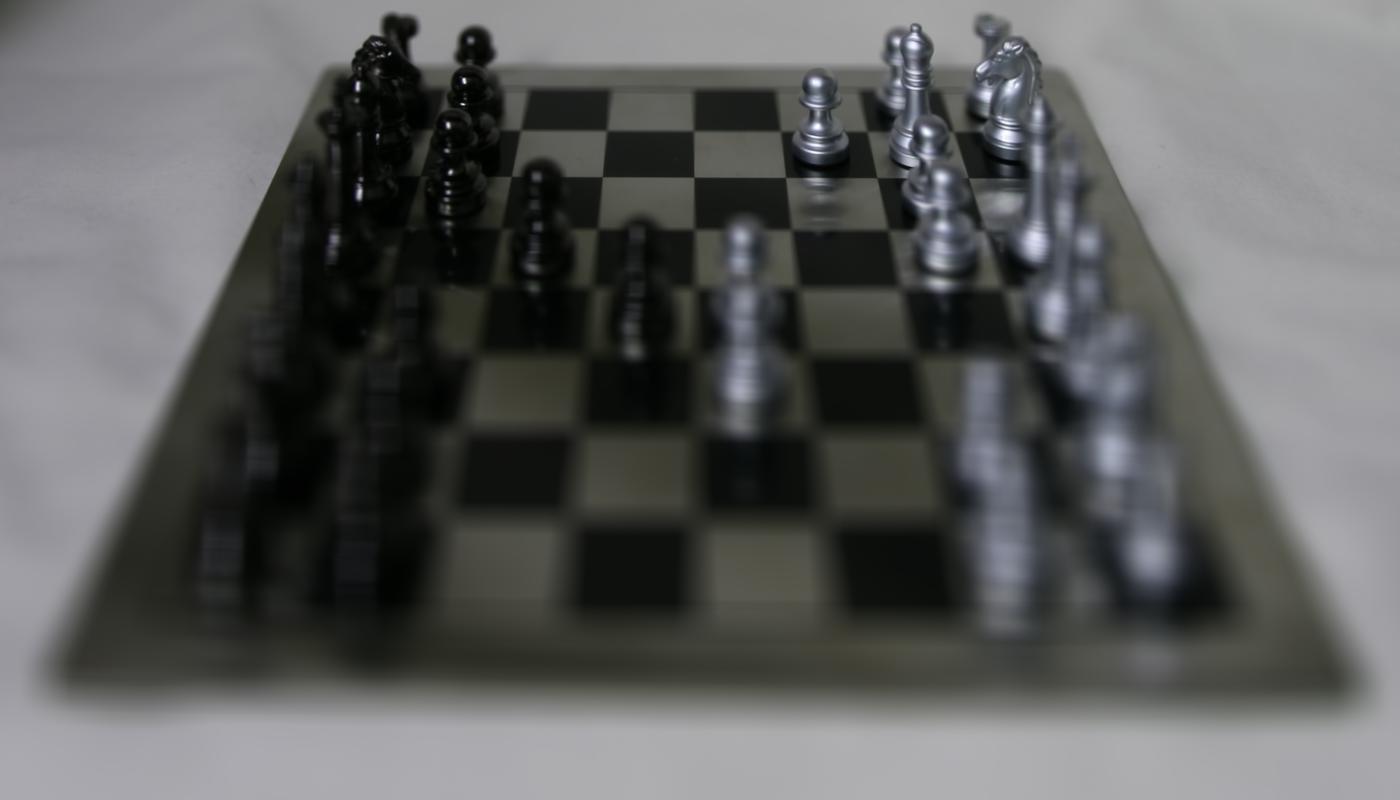
With images taken by lightfield camera, we could simulate a refocusing of the image by shifting all images towards the center image(in our case with 17 by 17 grid, the center image is the image(8,8)) by a certain amount, and then taking the average of these images.
I observed that naively averaging all lightfield images without any shift produces a image focusing on the far-away objects. I then start off exploring different amounts of shifts towards the center. Here is my approach:
- I first calculate how much vertically and horizontally each image needs to be shifted. This information is given in the file name
- Then I multiply the shift by some scale constant c.
- I shift each image with c*shift
- And at last I take average of the shifted images.
Therefore, the formula of the shift comes to:
$\left ( u,v \right )_{shift} =\left [ \left ( u,v \right )_{image} - \left ( u,v \right )_{center} \right ]* c$
After much experimentation, I realized that C is within the range of [-0.1, 0.6)
Here are some results with different c.
|
|
|
Here is a gif showing the change in focus from c = -0.1 to c = 5.75 with an interval of 0.25
Section 2: Aperture Adjustment
With lightfield images we can also simulate the effect in smaller or larger aperture! In fact, if we sum over a subset of images, we are simulating an image taking with smaller aperture. Naively, if we just sum over all picture we have, it looks like a picture taken at maximum aperture.
When the aperture is large, there are more light coming in, thus the image looks blurry in areas that are not the focus. On the other hand, with small aperture allowing less light coming in, the area not at focus are clearer.
To simulate aperture adjustment, I first select the center image (our old friend image(8,8)), and then select images within a certain radius r of the center. Then I take the average of these images.
Here are some results with different radius r:
|
|
|
Here is a GIF:
What Have I Learned
After doing this project, I understood better on how aperture adjustment and refocus works in a lightfield camera setting. I also knew better about lightfield parametrizing via implementing this.
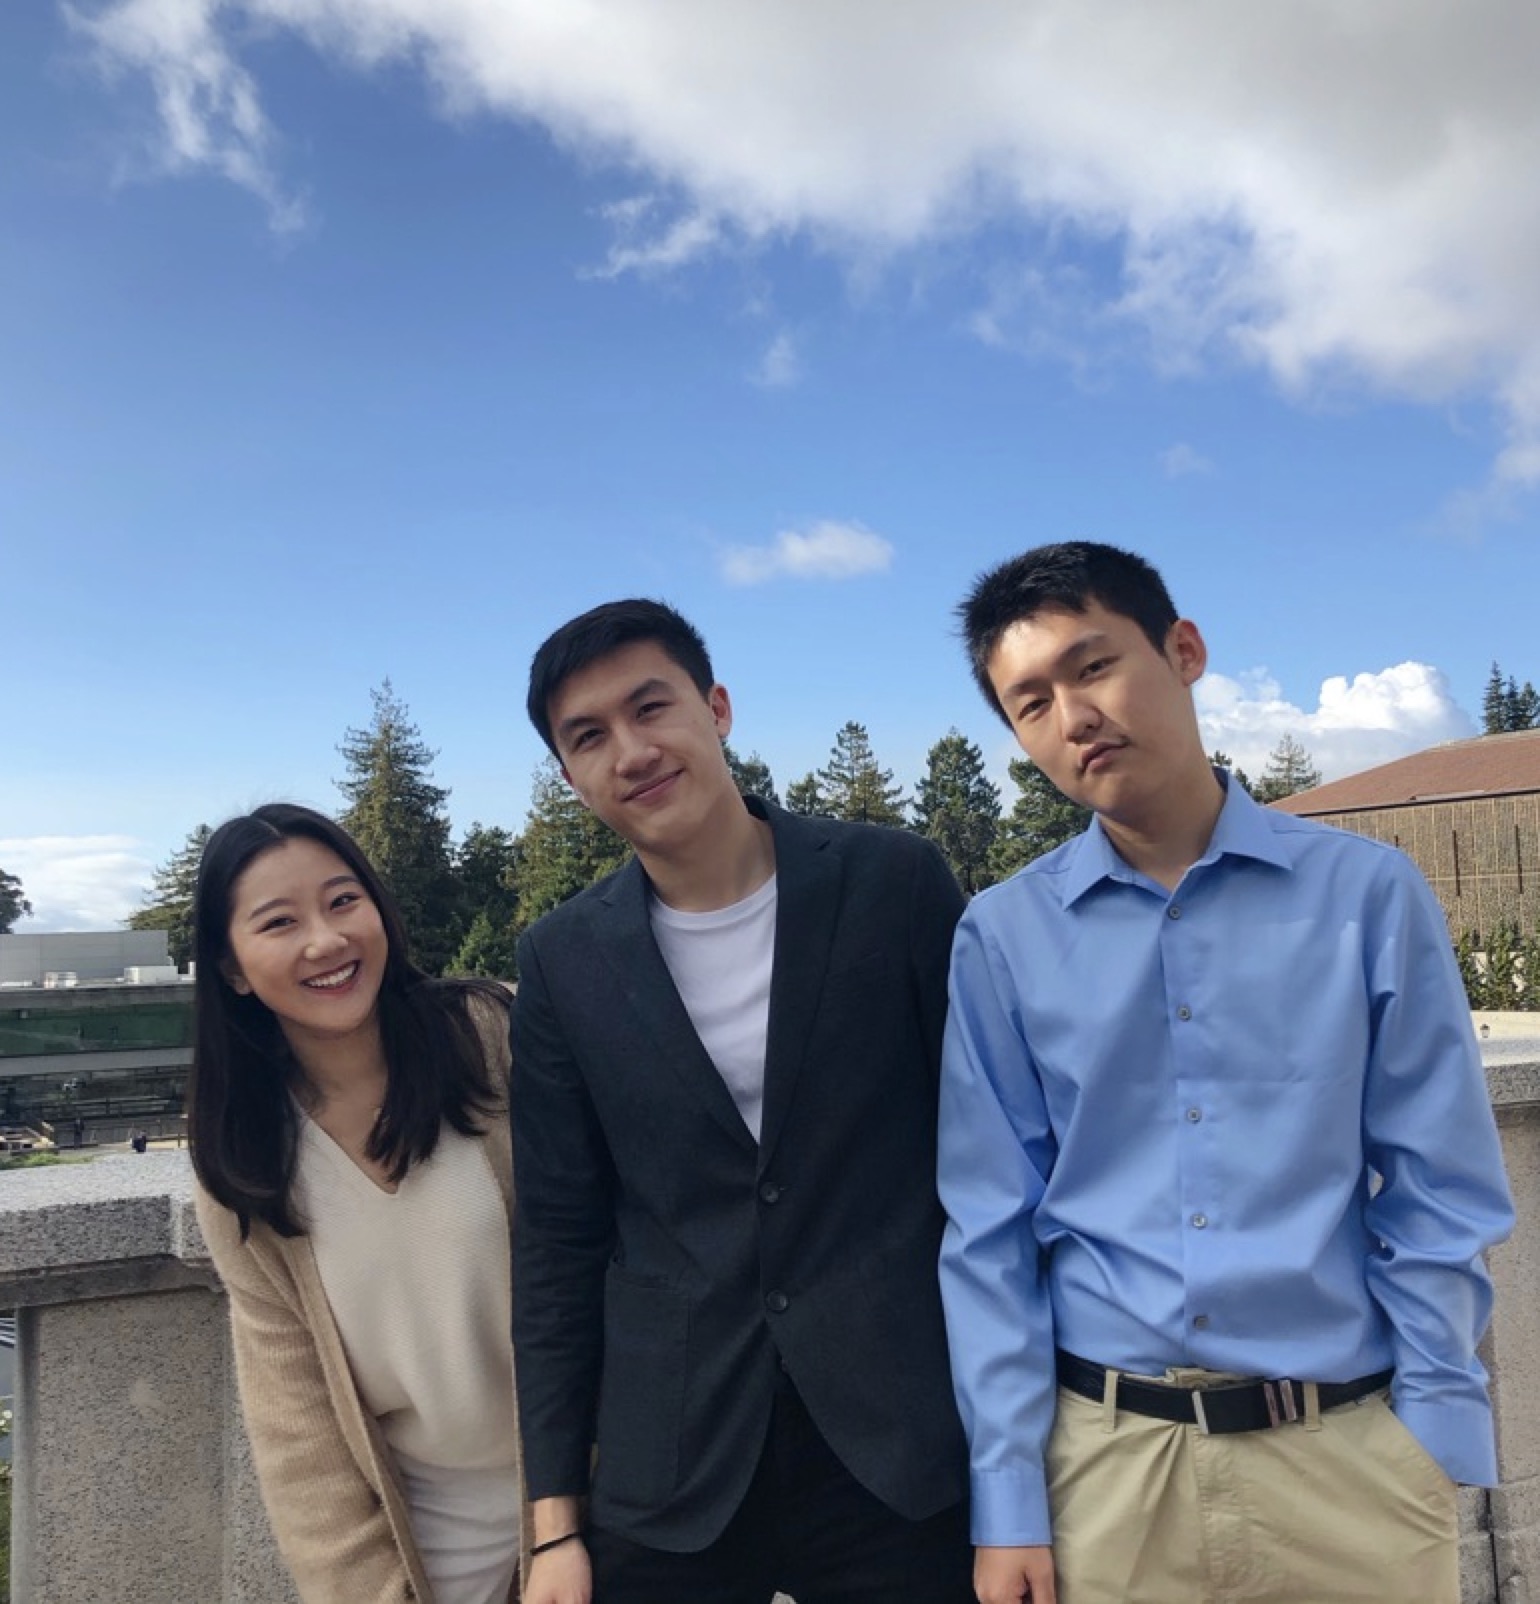
Project 2: Style Transfer
Section 1: My CNN Architecture
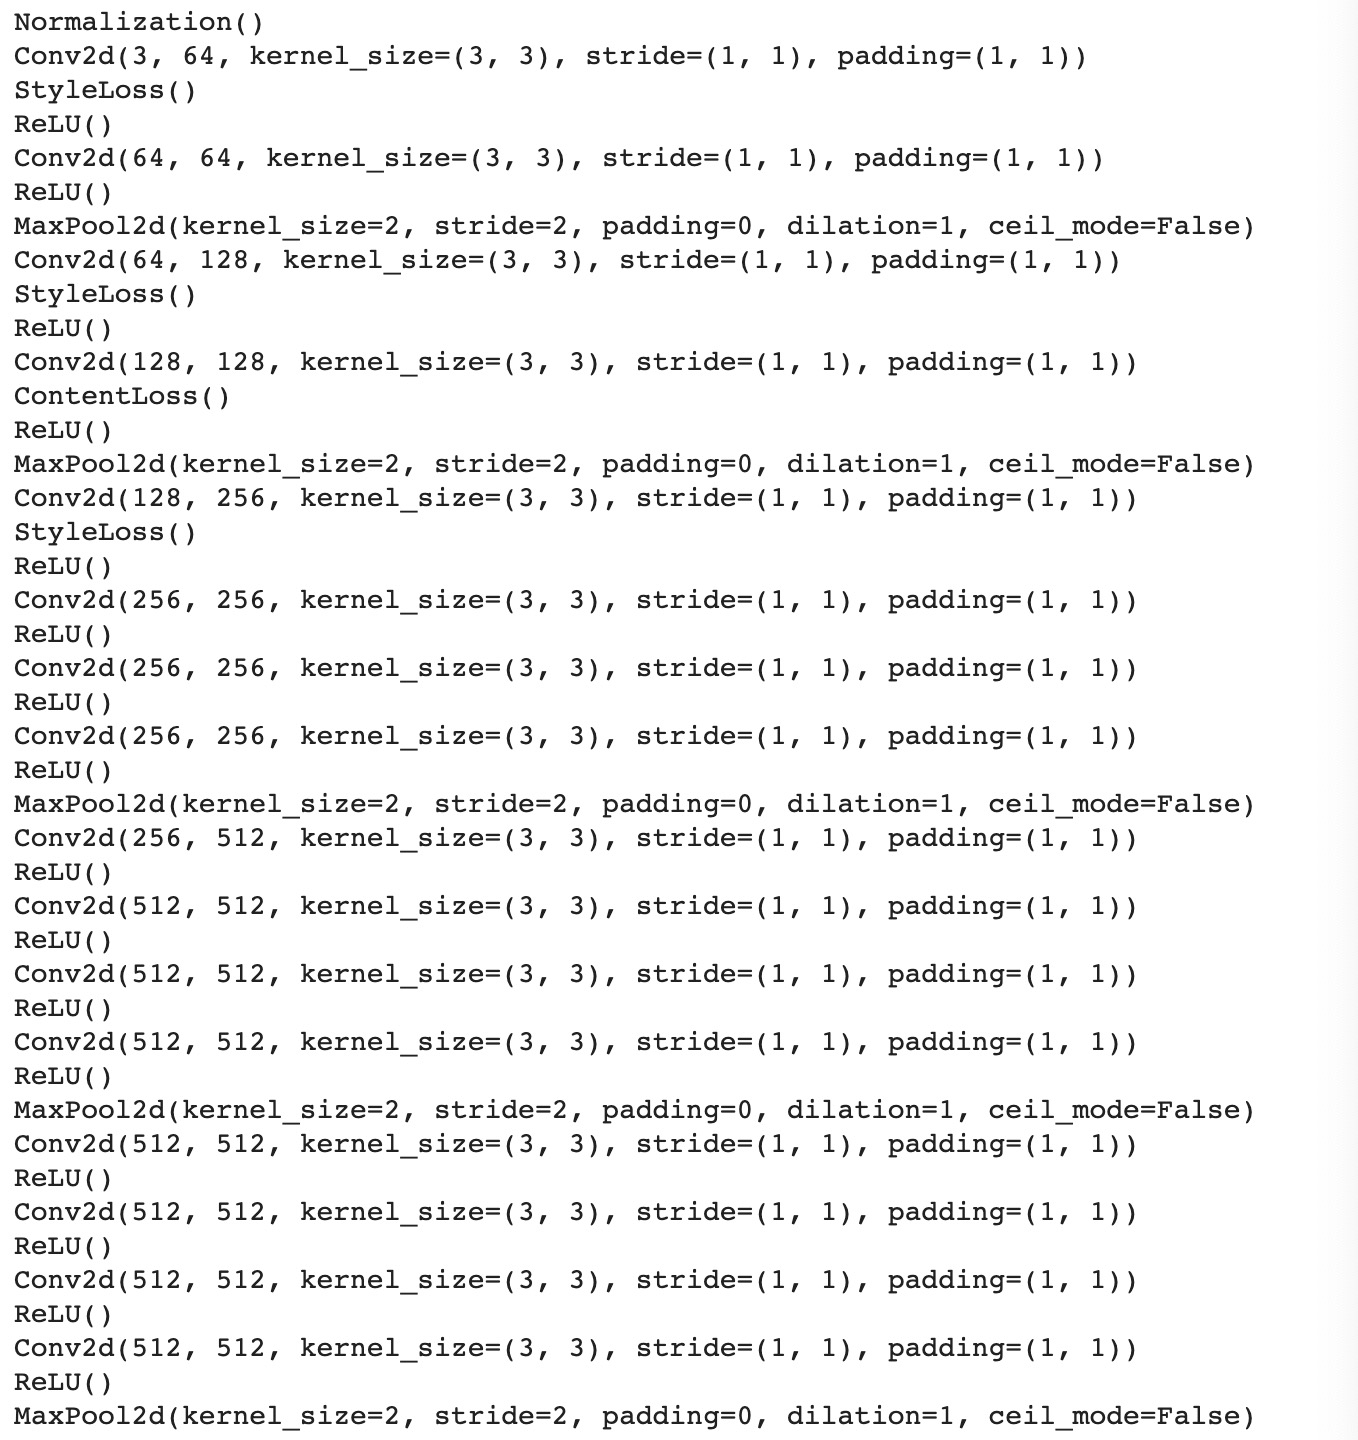
Like mentioned in the paper, I used a pretrained VGG-19 model for the style transfer task. I picked conv4_1 for content representation and conv1_1, conv2_1, conv3_1, conv4_1 and conv5_1 for style representation.
I began using an ADAM optimizer. I pass in a input image of random white noise and optimize the image such that it looks increasingly similar to the content and style image. However after tunning the hyperparameters for about two days this approach failed. It has 2 drawbacks:
- The adam optizmier is too slow. Our loss does not converge for a very long time, about 10000 epoches.
- It is difficult to denoise the images. Because we initialize our input image with random noises, the resulting image is also very noisy.
I also tuned the hyperparamter a bit to achieve better results:
- epochs: 600 to 1000 (depends on the style)
- optimizer: LBFGS optimizer
- content/style weight ratio: 10e-6 to 10e-8 (depends on the style)
Here is the actual model:
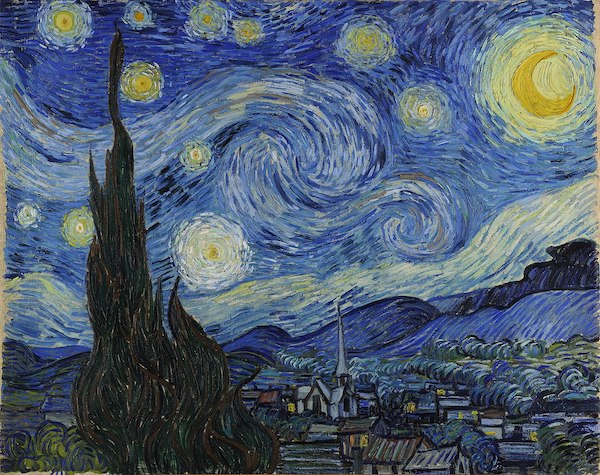
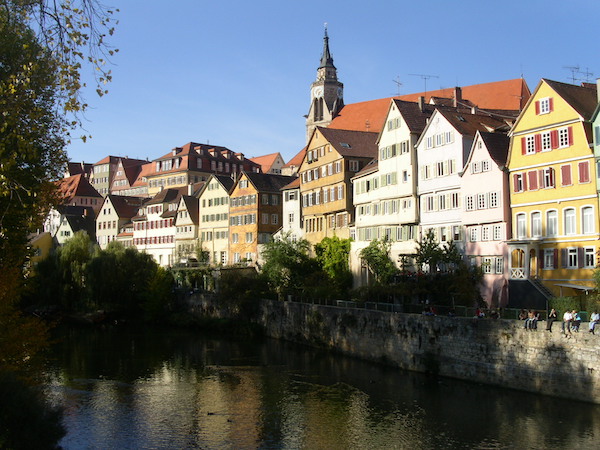
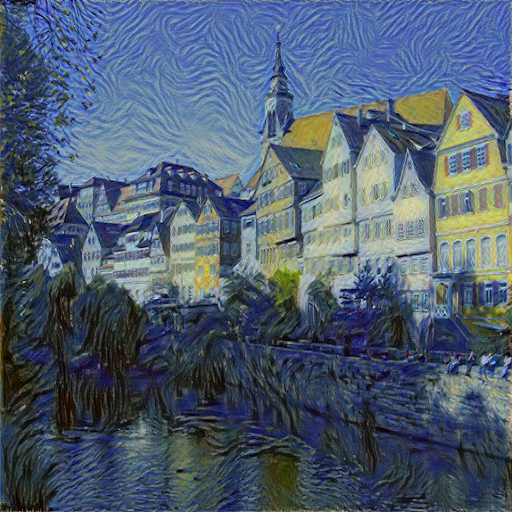
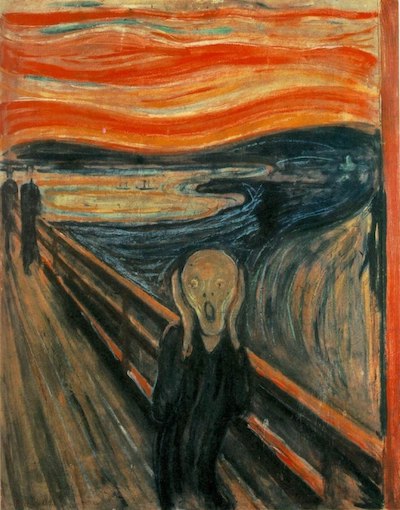
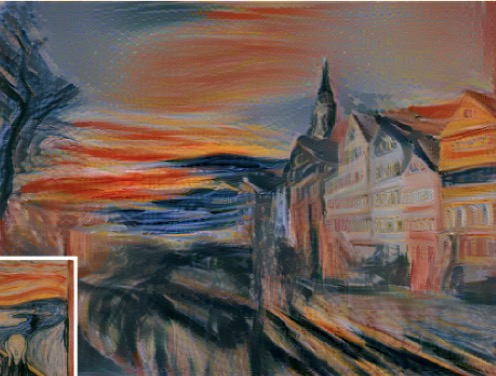
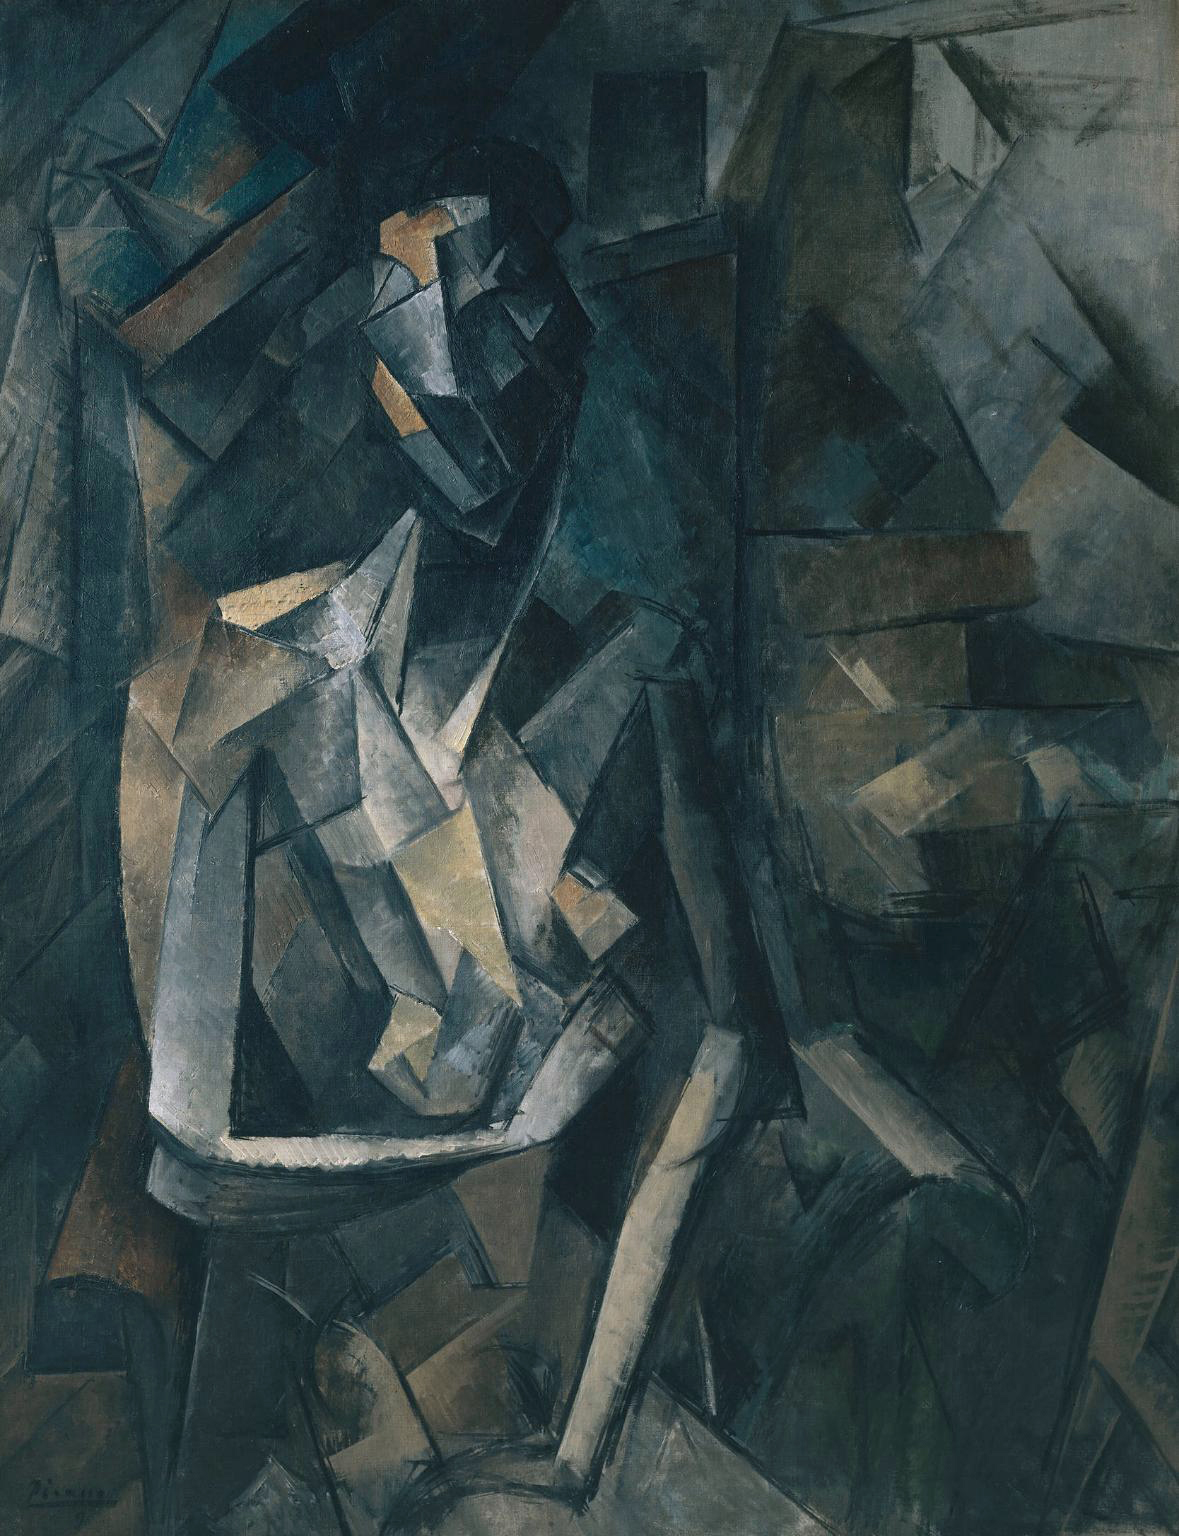
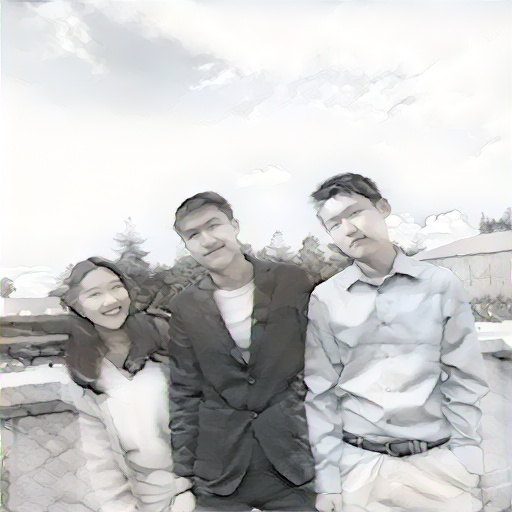
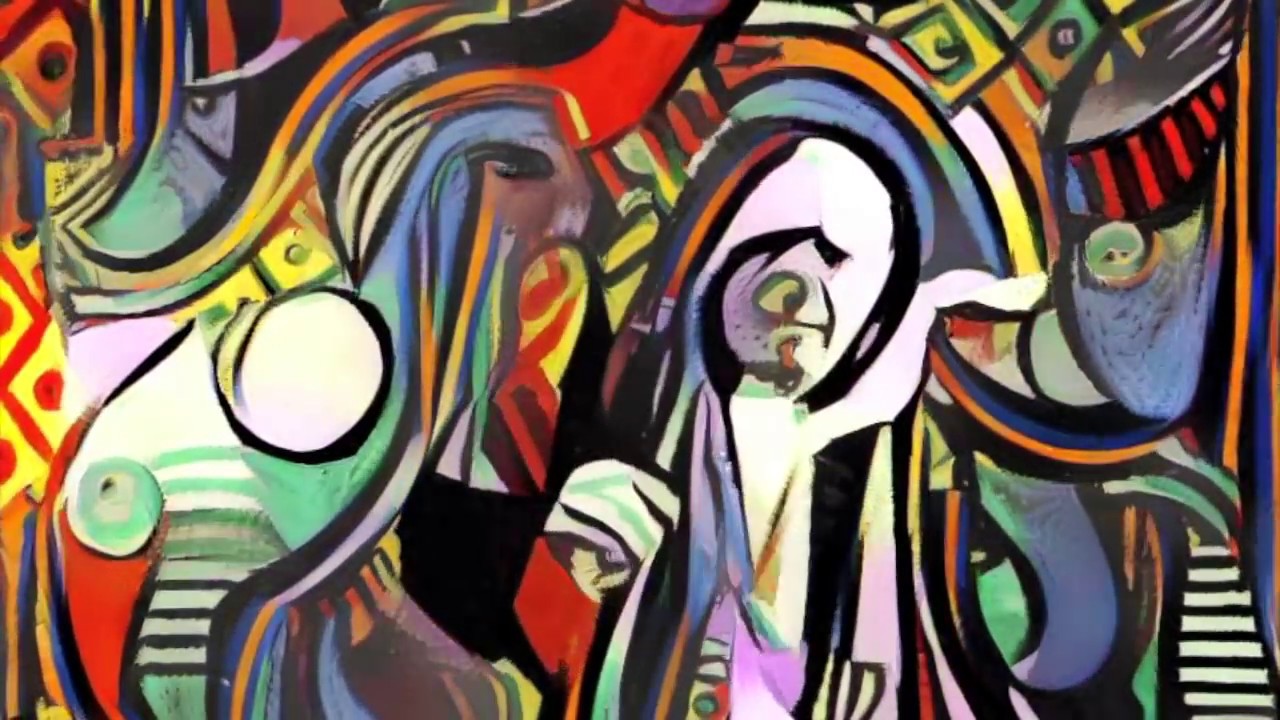
Section 2: Transfering Neckarfront and Comparison with the paper
|
|
|
|
|
|

|
|
|
|
|
|
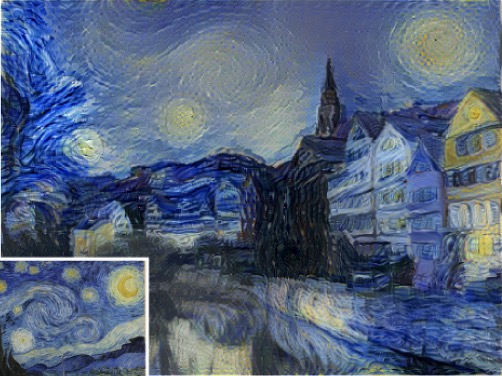
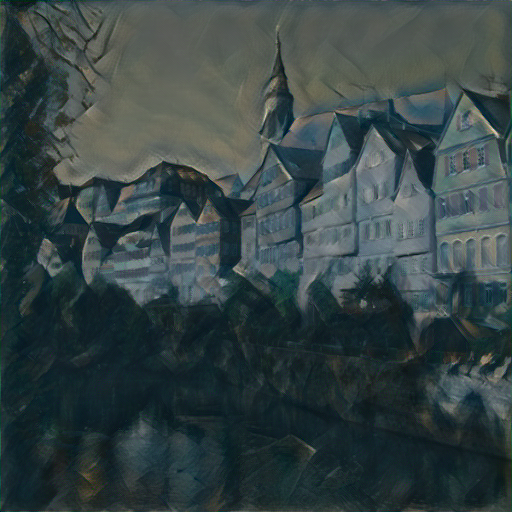
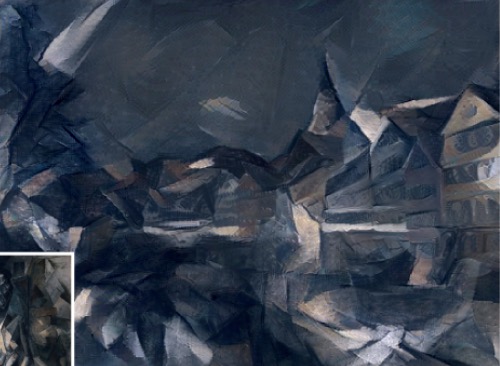
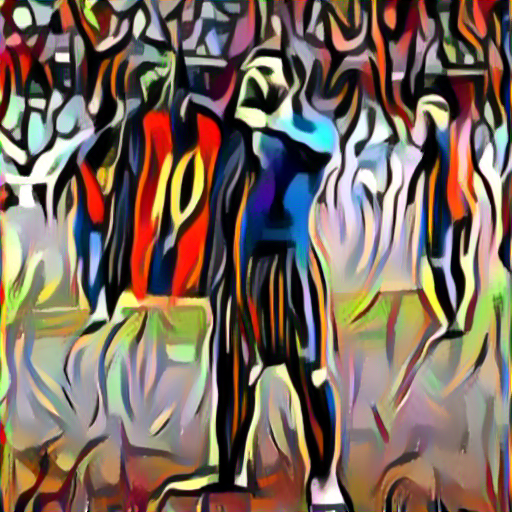
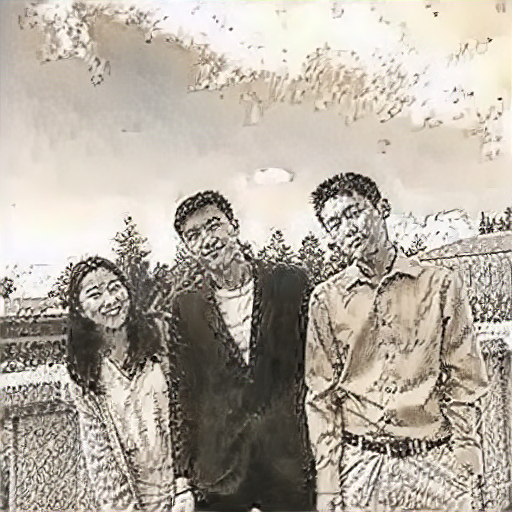
As we can see, although judging alone my results seems not bad, but it is still very different from the paper's result. The main different being my result only captured small, local style patterns whereas the paper's result were able to capture larger, more global style patterns. Although the three images of mine are different in style, we can still sort of see the object's outline in the original image (my three images still has somehow similar structure), where as the paper's results really blurred those outlines and make them more of an "art" than an image.
|
|
|
|

|
|
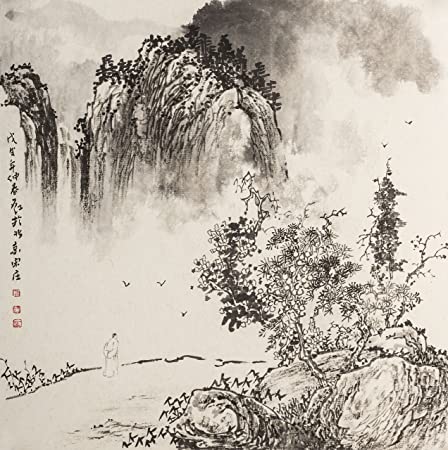
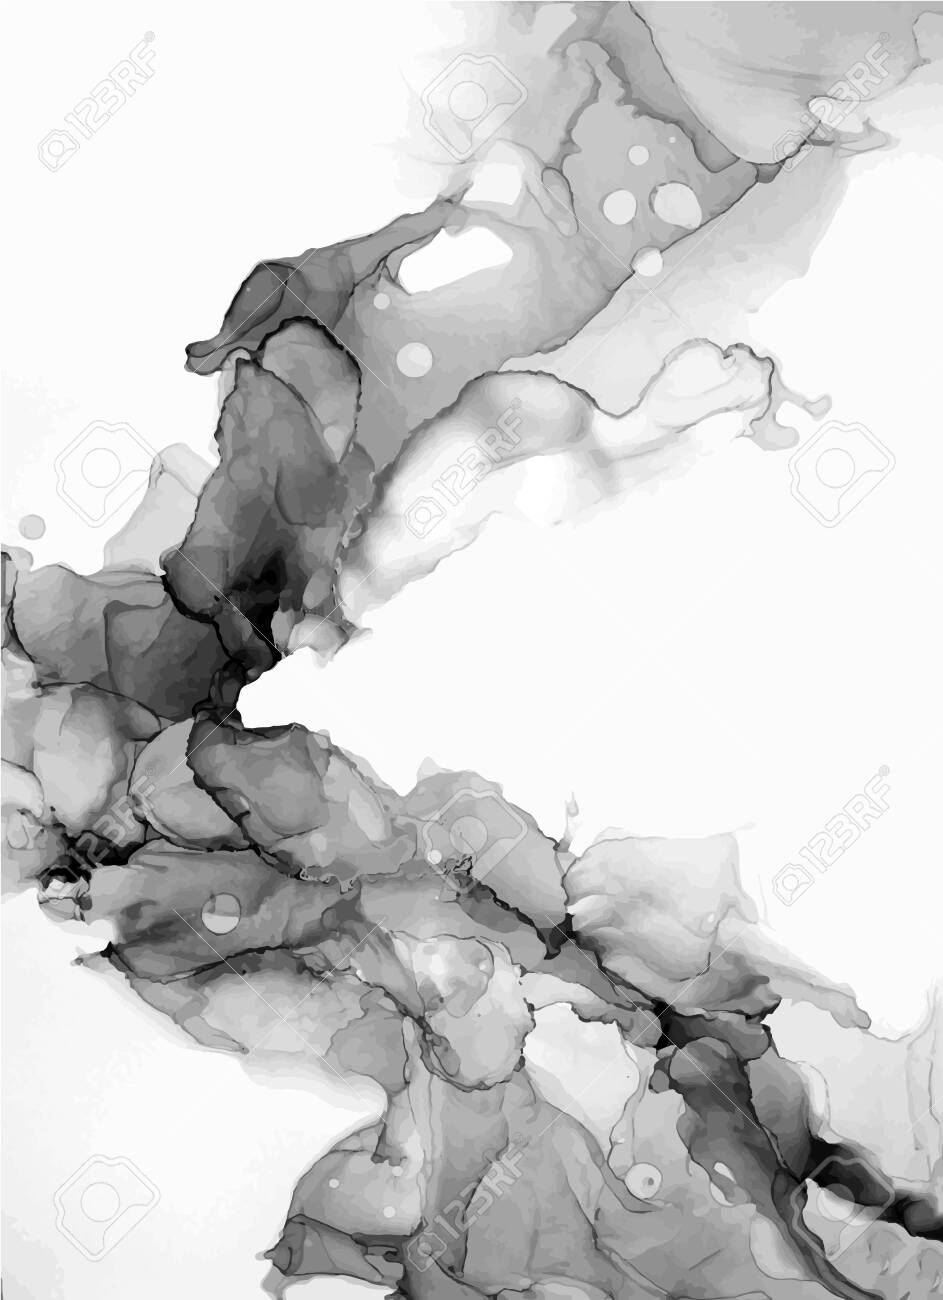
I suspect the reason that it failed is because the image I chose does not have a very strong local style pattern across the image. Although traditional chinese arts are no doubt beautiful, this particular image probabily has too dense of pattern in the upper left and bottom right portion, resulting in my transfer image looking kinda of "noisy". My model general works better with style images with strong color contrast and uniform style pattern.