Final Projects
By: Alex Yang
Neural Style Transfer
This is the first pre-canned project I did: Neural Style Transfer. It is based off of the paper "A Neural Algorithm of Artistic Style" by Gatys et al.
Overview
Neural style transfer is the process of applying an artistic style to another image by using a convolutional neural network.
|
|
|
This is done by minimizing the sum of the content loss and style loss. The content loss is the MSE of the output image with the input content image, and the style loss is the sum of the MSEs of the output image and style image at multiple convolutional layers of the network. Essentially, the CNN compares the content of the output image to the content of the content image, compares the style of the output image to the style of the style image, and iteratively modifies the output image until both losses are minimized. More details are described in the paper.
Model and Parameters
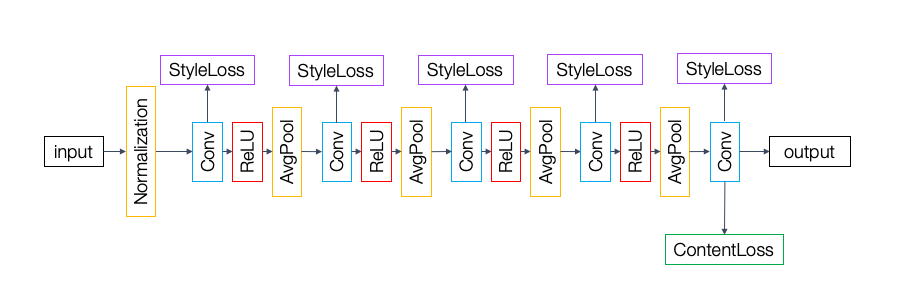
The model is a modified version of VGG-19. The first layer is a normalization layer that normalizes (mean and std) the input images to ImageNet, the dataset VGG-19 is trained on. There are five convolutional layers, each except the last followed by ReLU and an average pooling layer. The first two layers have 64 channels each, the third and fourth have 128 channels each, and the last has 256 channels. All layers have a 3x3 kernel, a stride of 1, and padding of 1. Additionally, the network has StyleLoss layers after each convolutional layer, and a ContentLoss layer after the fourth convolutional layer. These additional layers are only to compute the style loss and content loss in order to get the total loss to improve the style transfer, as explained under the Methods section in the paper.
Optimizer: LBFGS (lr=1)
Hyperparameters:
- Content loss weight = 1
- Style loss weight = 1e6
- Style layer weights = 1/5
- Content Layers = ['conv_4']
- Style Layers = ['conv_1', 'conv_2', 'conv_3', 'conv_4', 'conv_5']
- Num steps = 500
The network architecture I used is prety similar to the one described in the paper. The biggest difference is the ratio of the content weight to the style weight (α/β in the paper) is 1e-6 compared to 1e-4 or 1e-3 in the paper. I also experimented with different content layers ('conv_5' and 'conv_5'), but 'conv_4' produced the best results. Additionally, I tried using max pooling instead of average pooling, but average pooling had better results for the most part.
Results
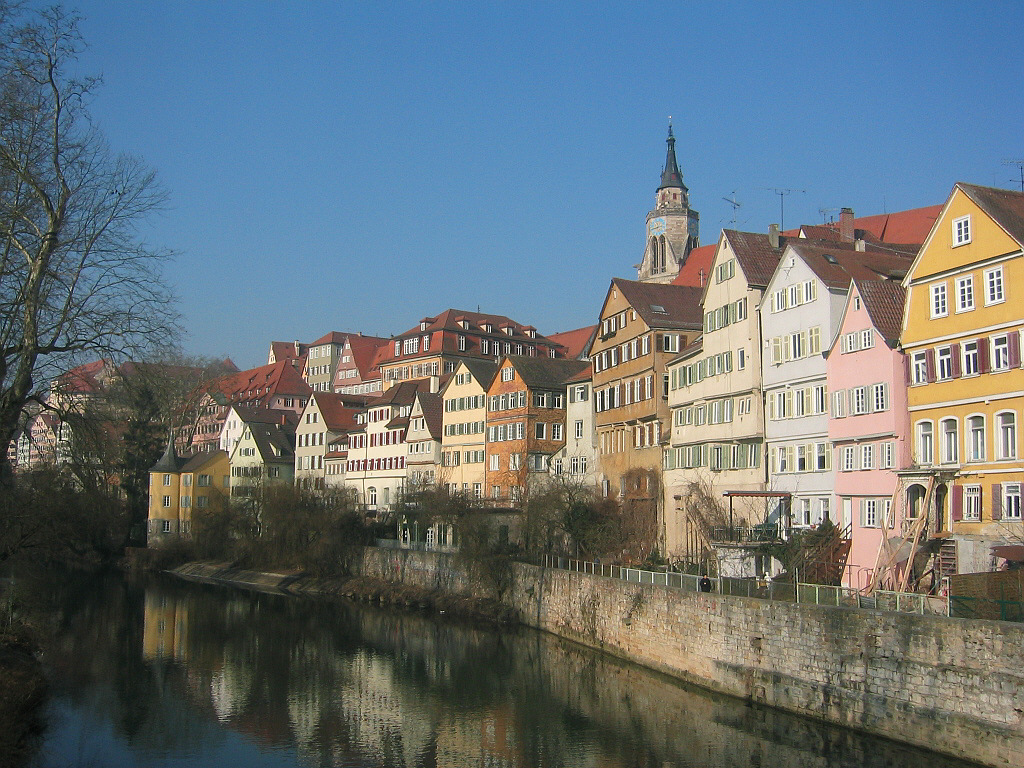
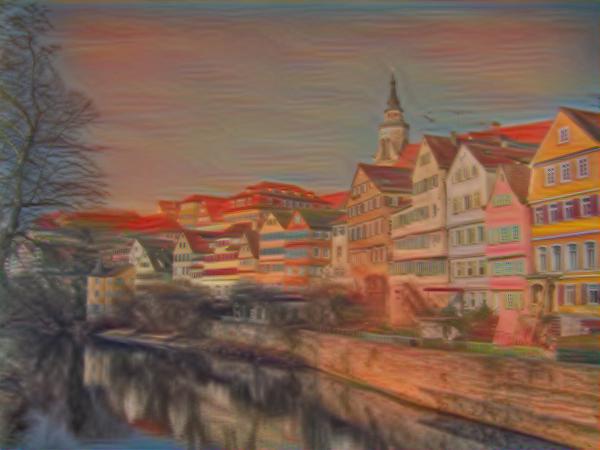
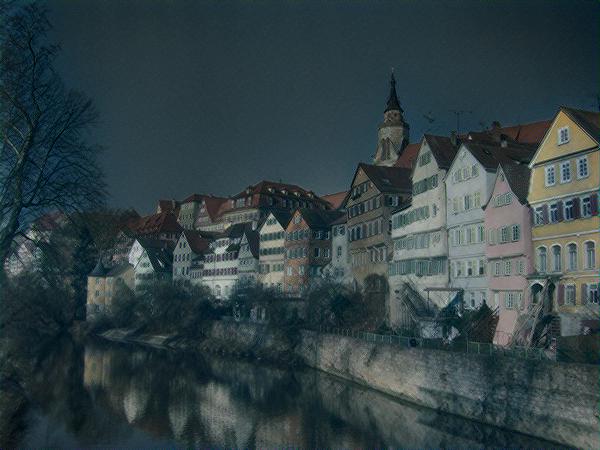
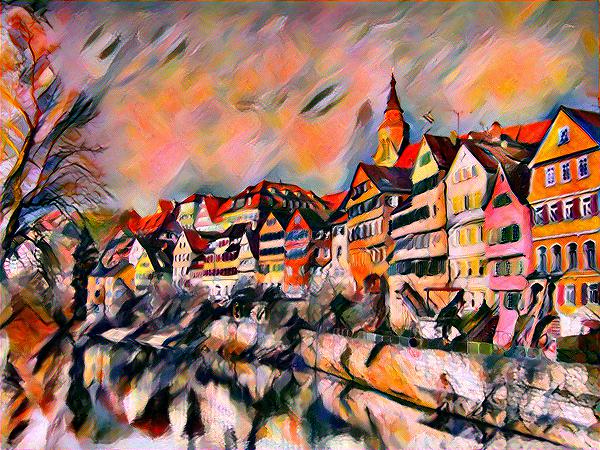
Here are the results of running the style transfer on the examples in the paper. The content image is Neckarfront in Tübingen, Germany.
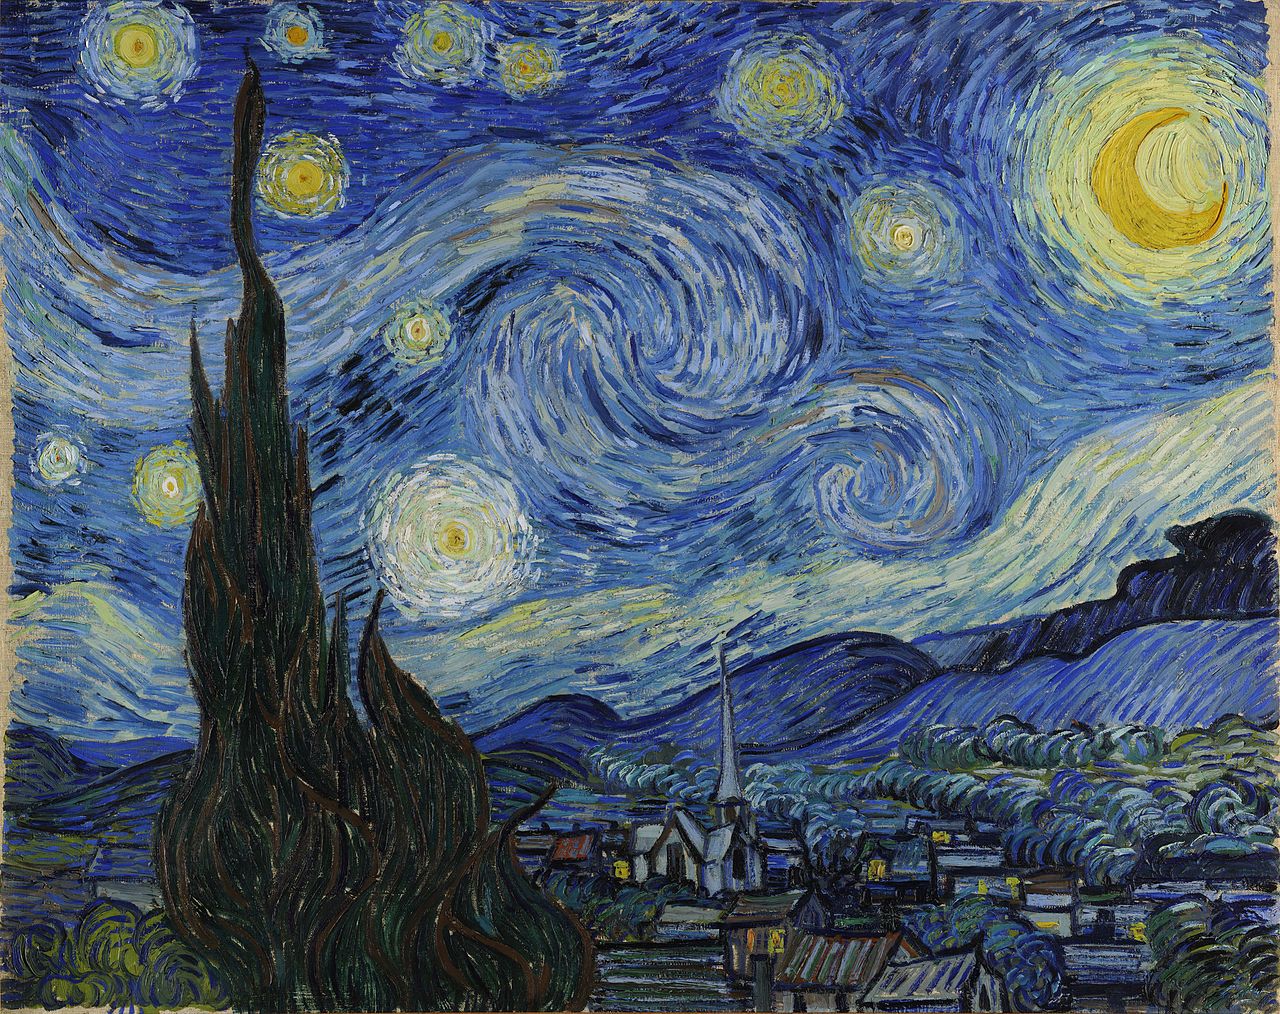
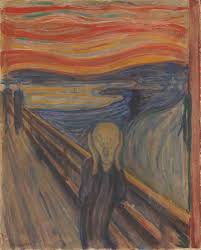
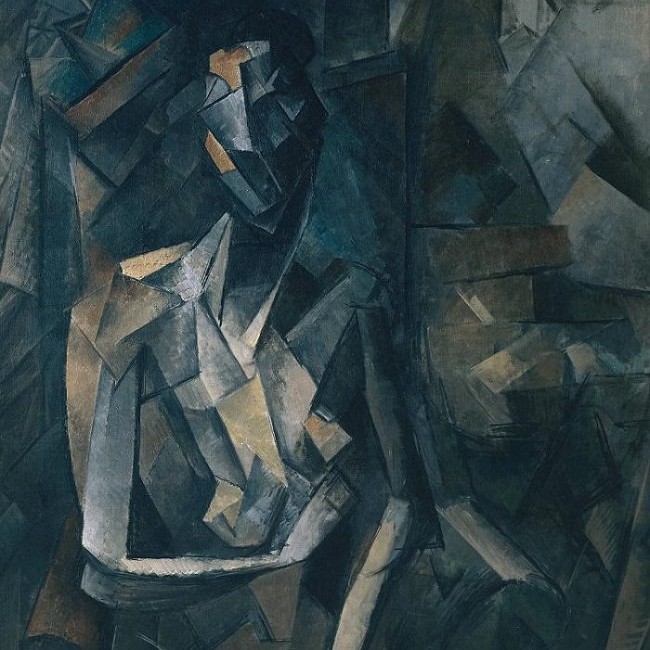
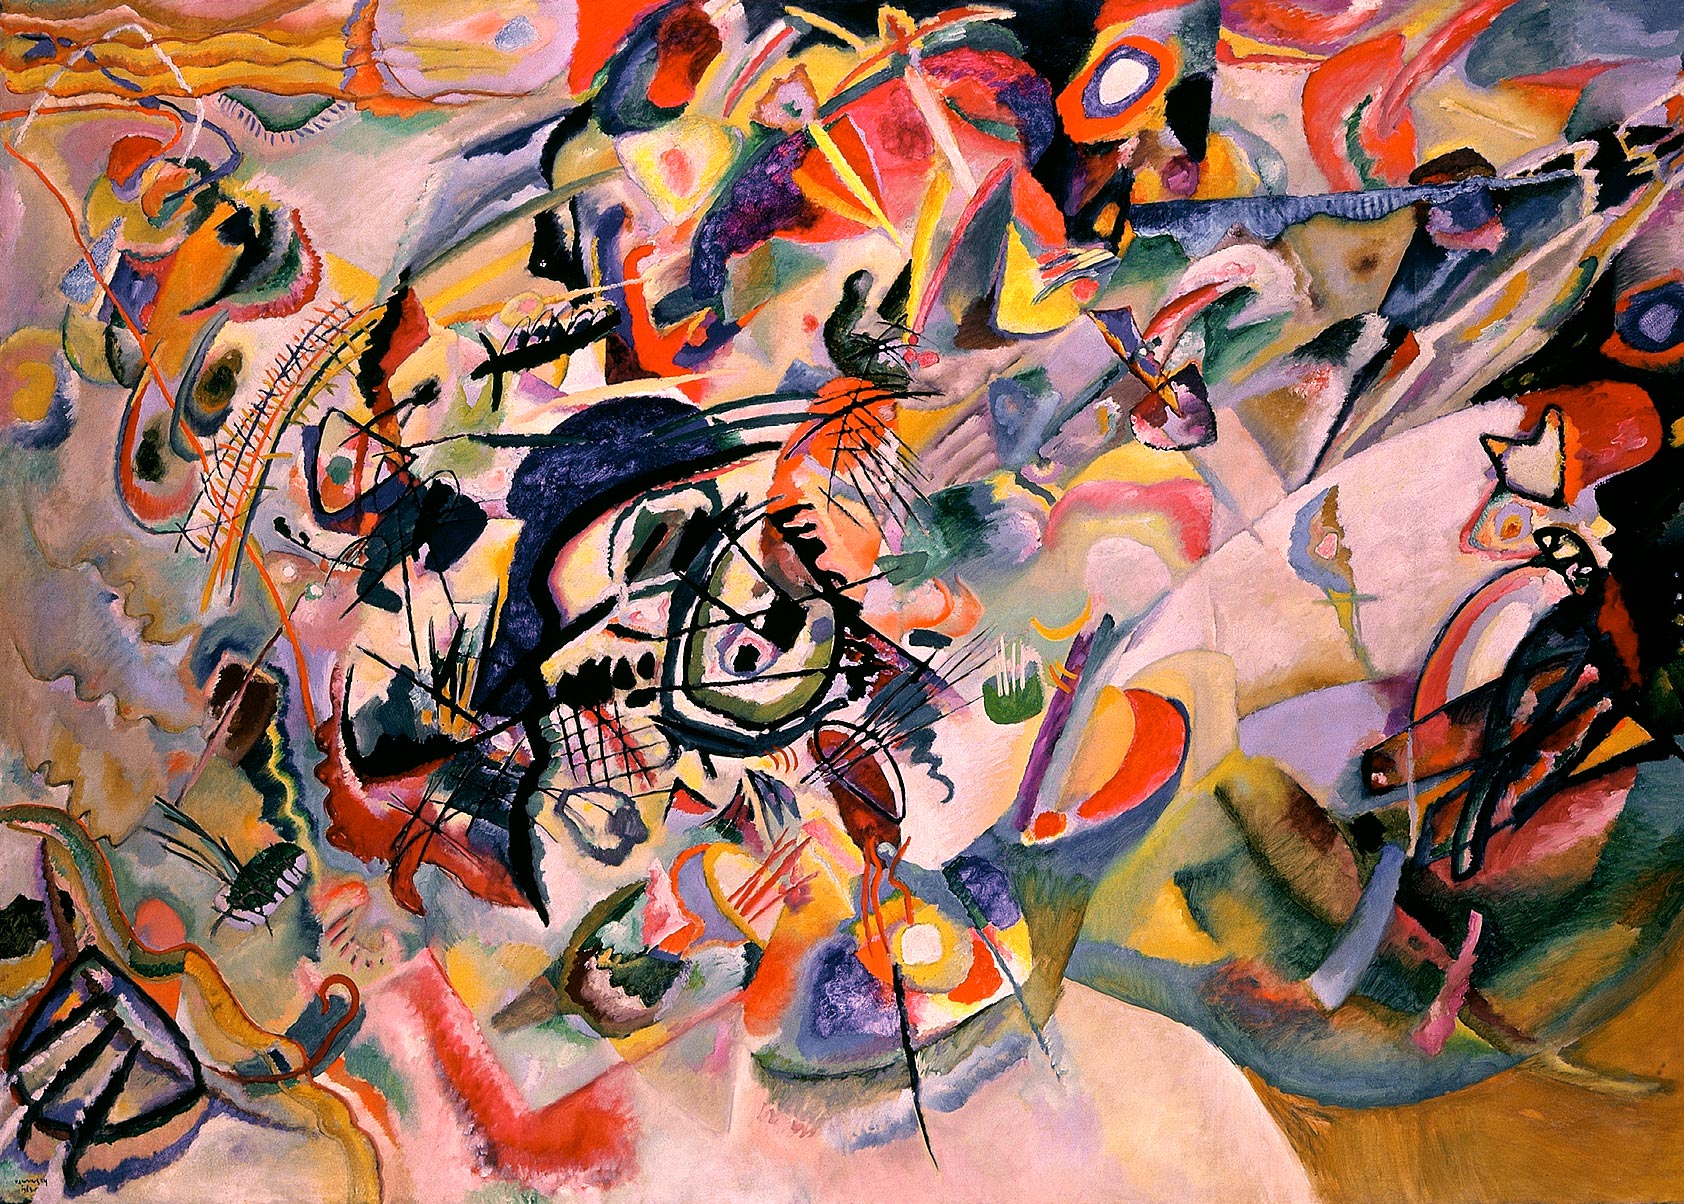
The style images are The Starry Night by Vincent van Gogh (1889), Der Schrei by Edvard Munch (1893), Femme nue assise by Pablo Picasso (1910), and Composition VII by Wassily Kandinsky (1913).
| Painting | Content Image | Style Image | Stylized Image |
|---|---|---|---|
| The Starry Night, Vincent van Gogh, 1889. |
|
|
|
| Der Schrei, Edvard Munch, 1893. |
|
|
|
| Femme nue assise, Pablo Picasso, 1910. |
|
|
|
| Composition VII, Wassily Kandinsky, 1913. |
|
|
|
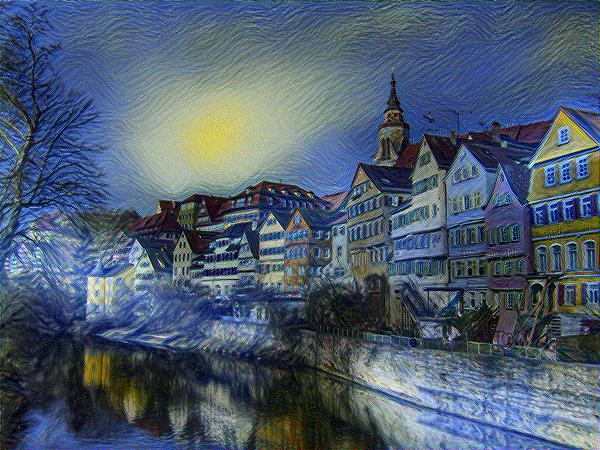
Compared to the results in the paper, my images definitely show stronger edges and retain more of the content image's detail. For example, in the Picasso and Kandinsky versions in the paper, you can barely make out the building shapes, let alone the windows and tree branches. I think the results in the paper look better because the stylistic elements are more dominant. I like how the results in the paper show each artist's distinctive style, yet you can still barely make out the content of the image. My images on the other hand clearly show the image content, but don't showcase the artist's distinctive style as much.
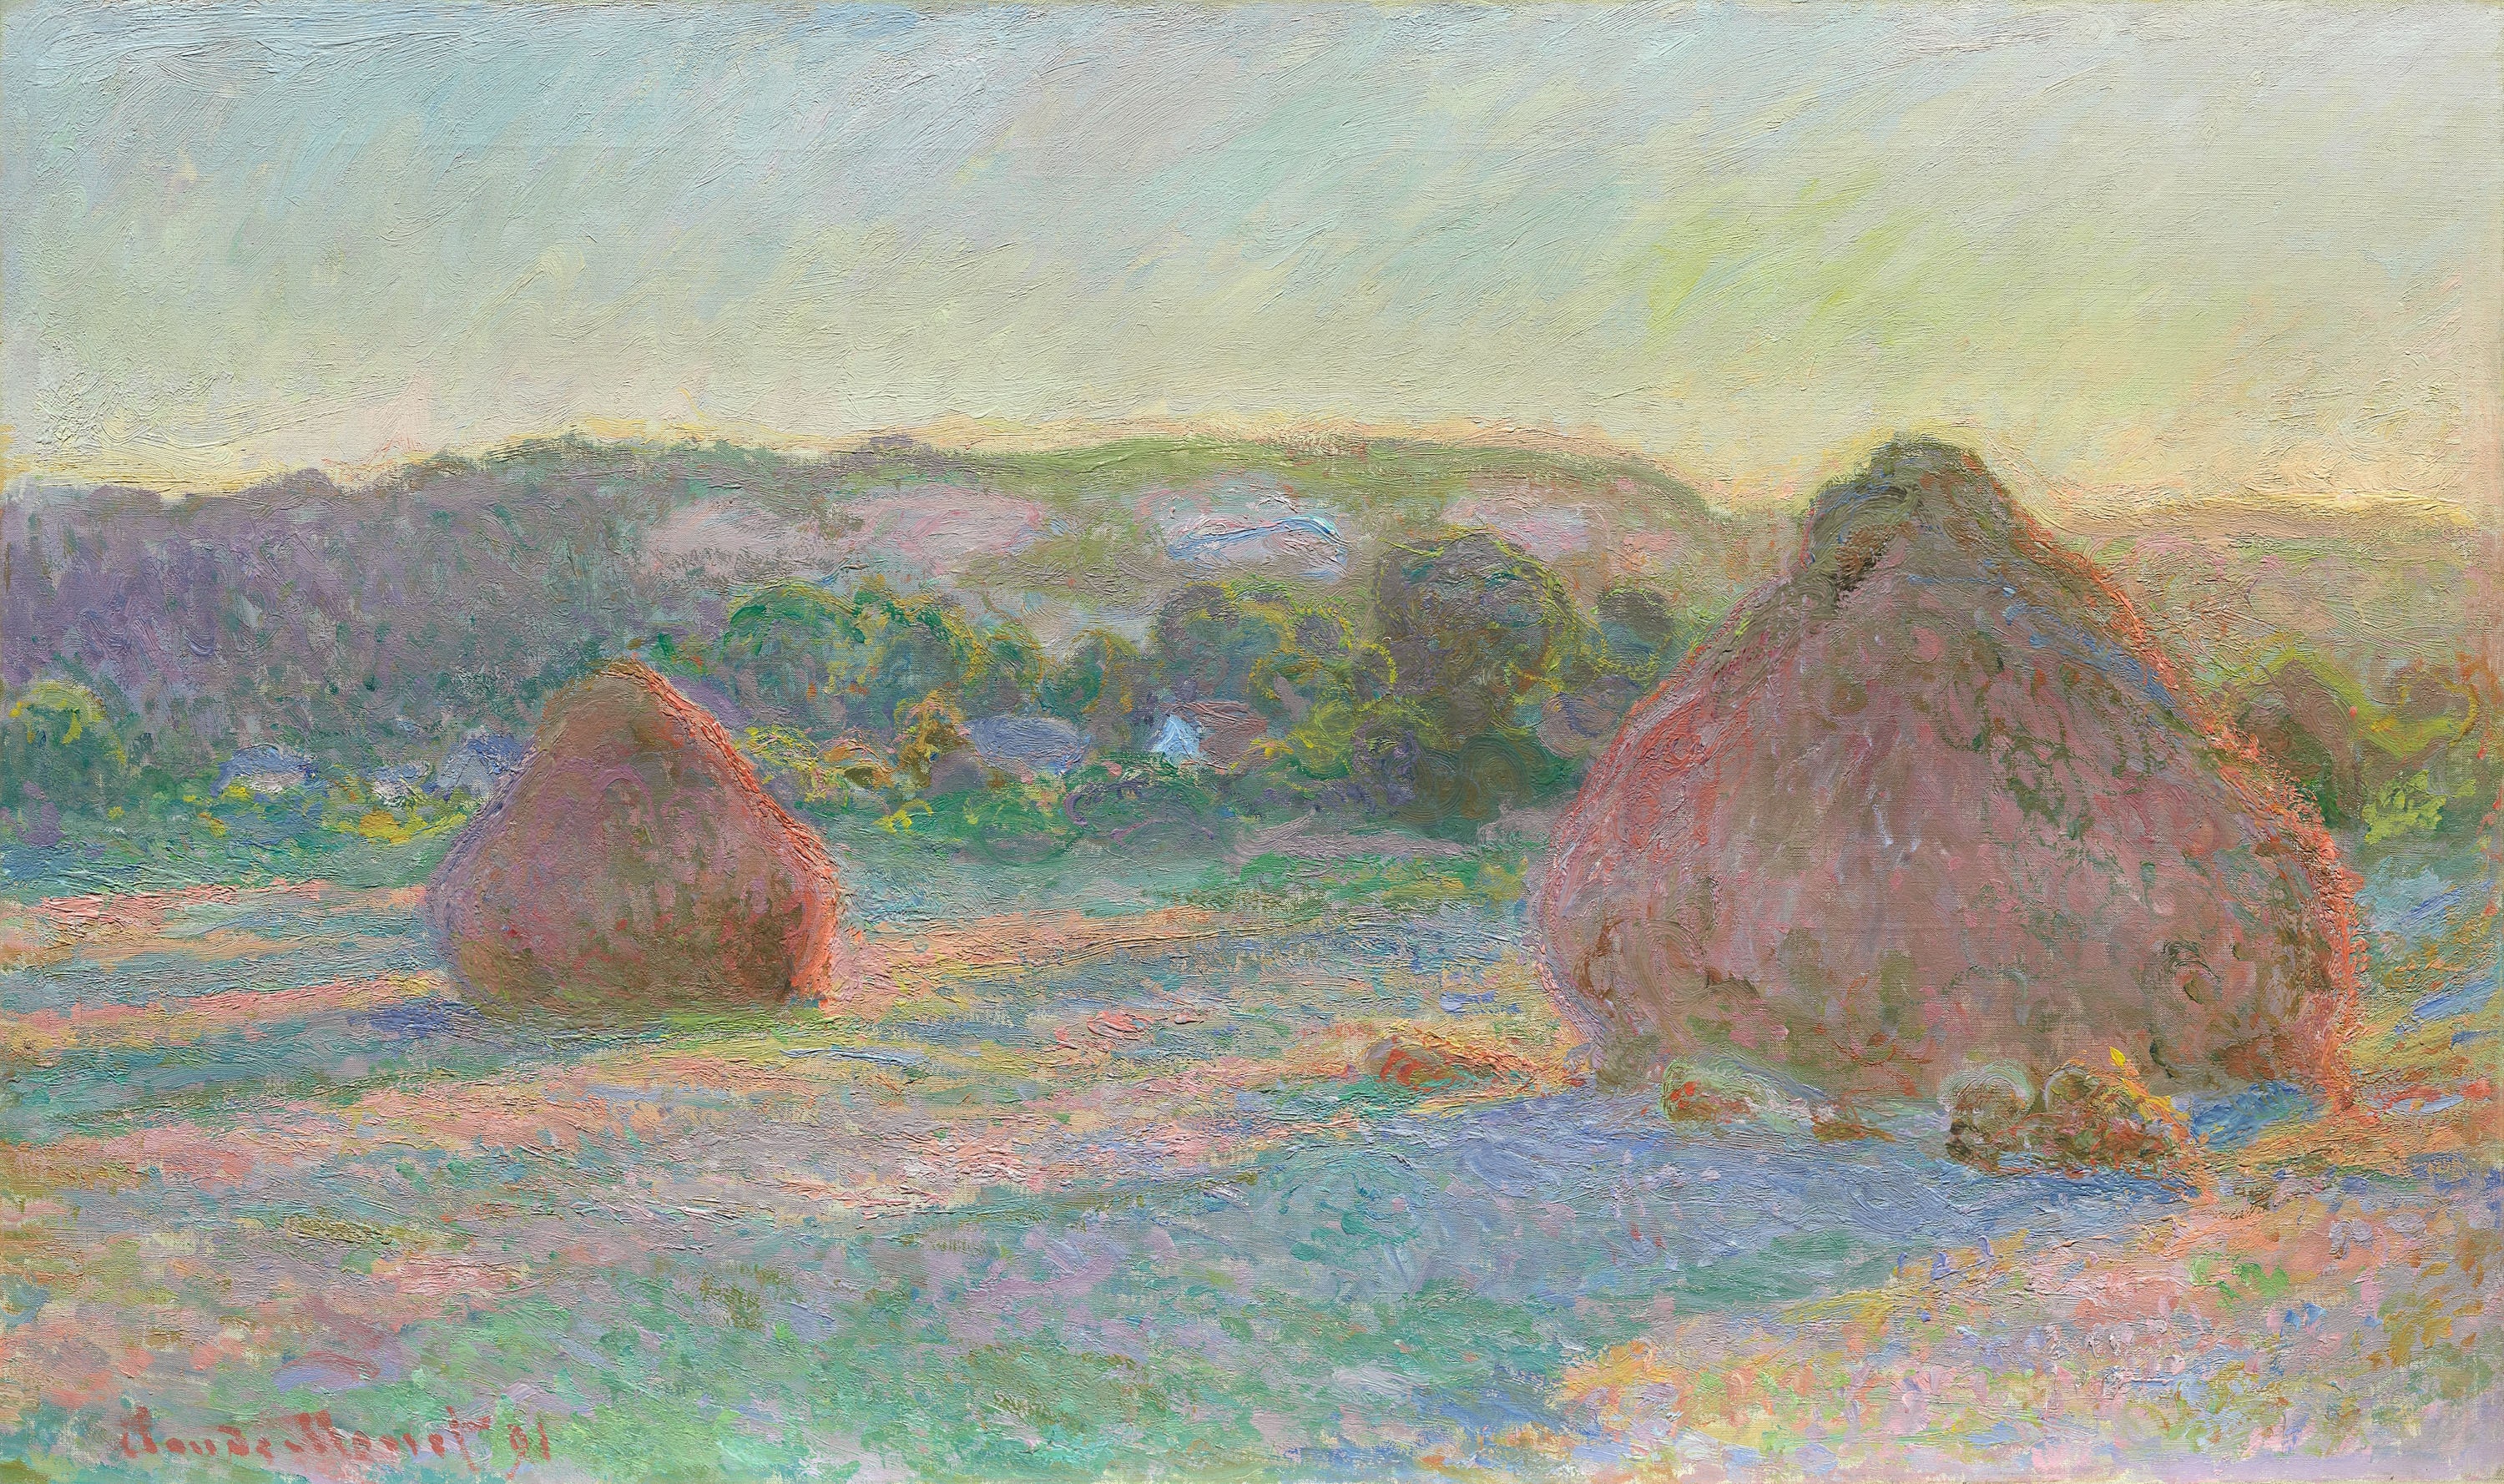
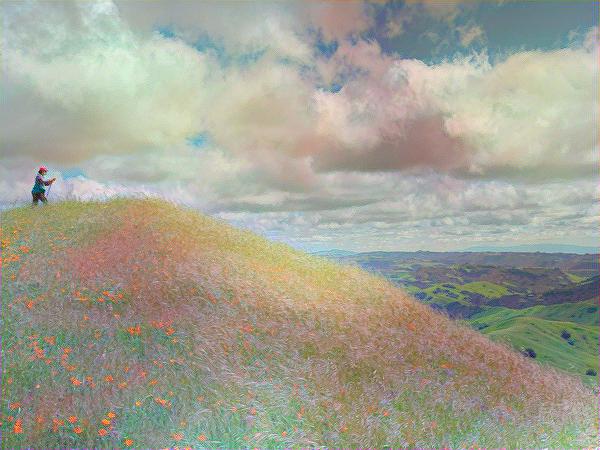
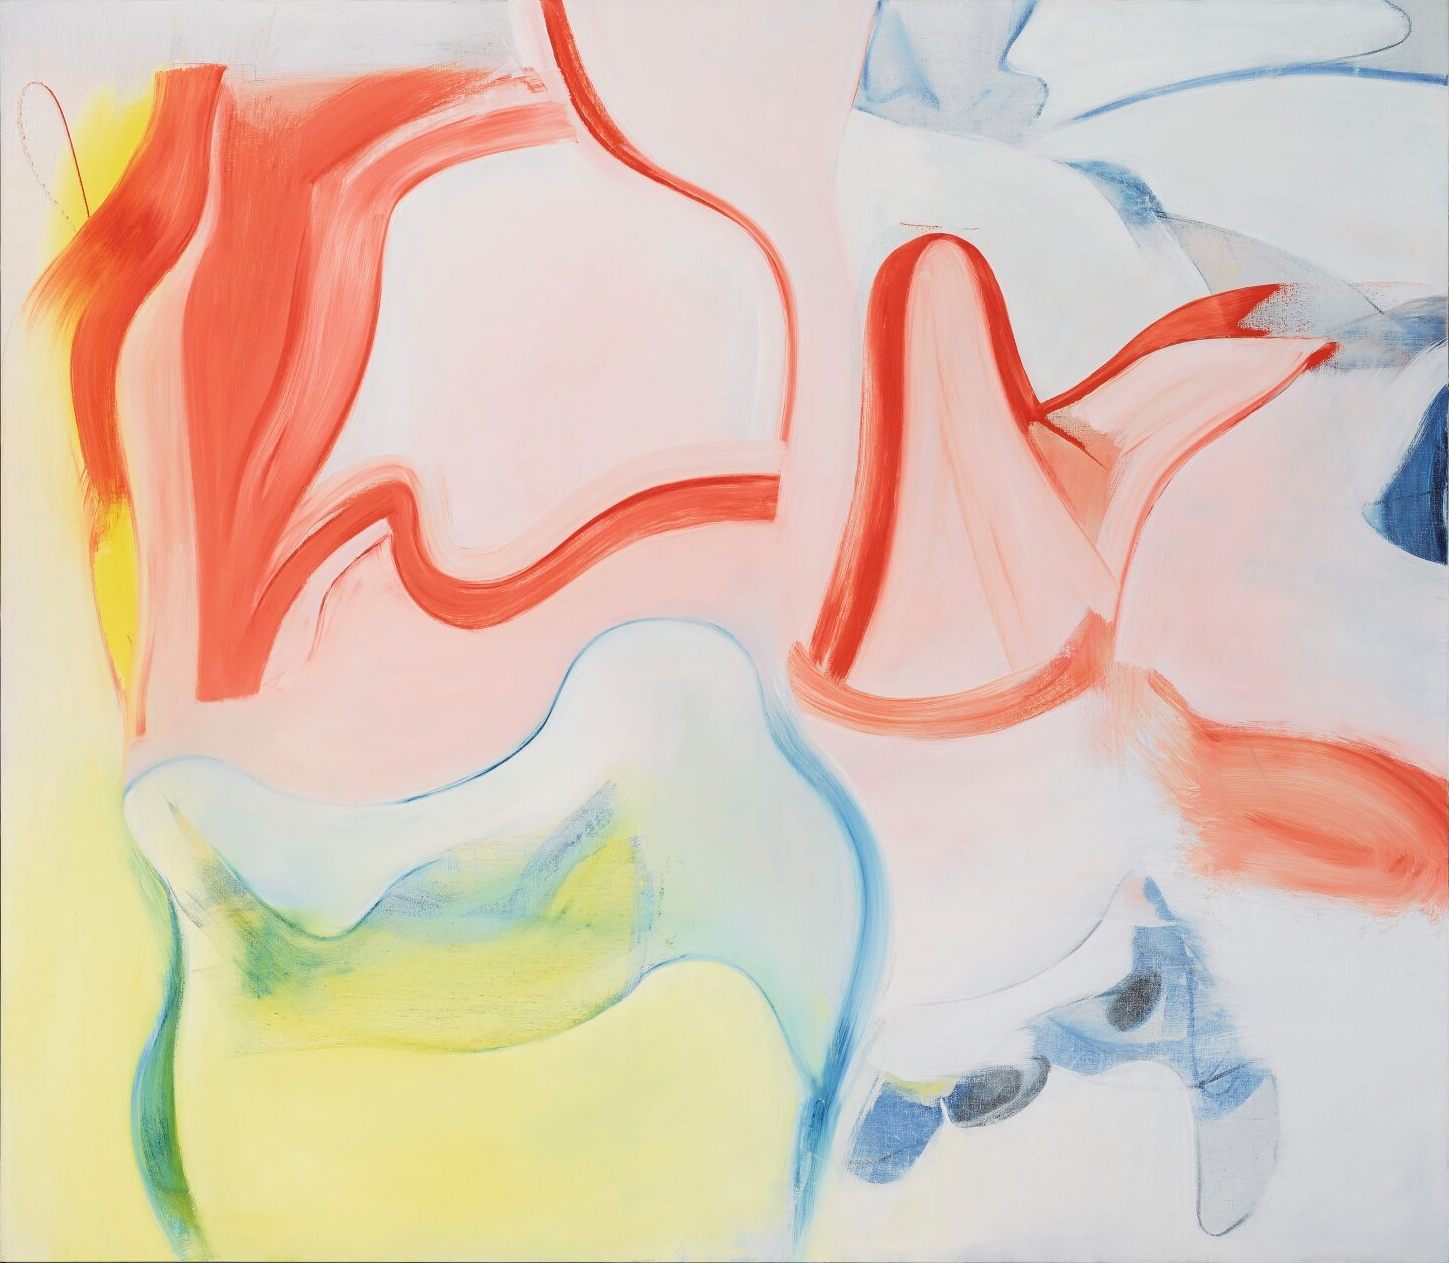
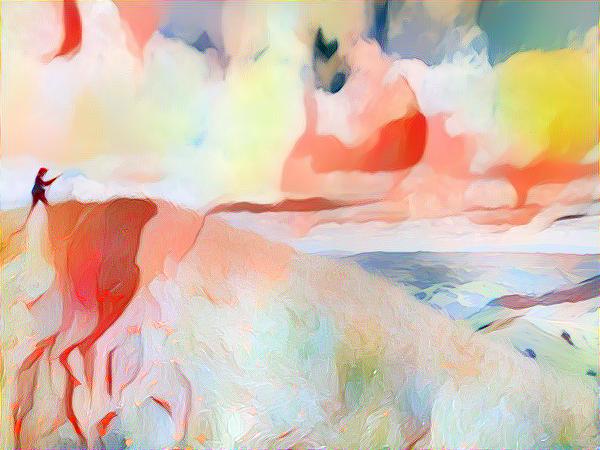
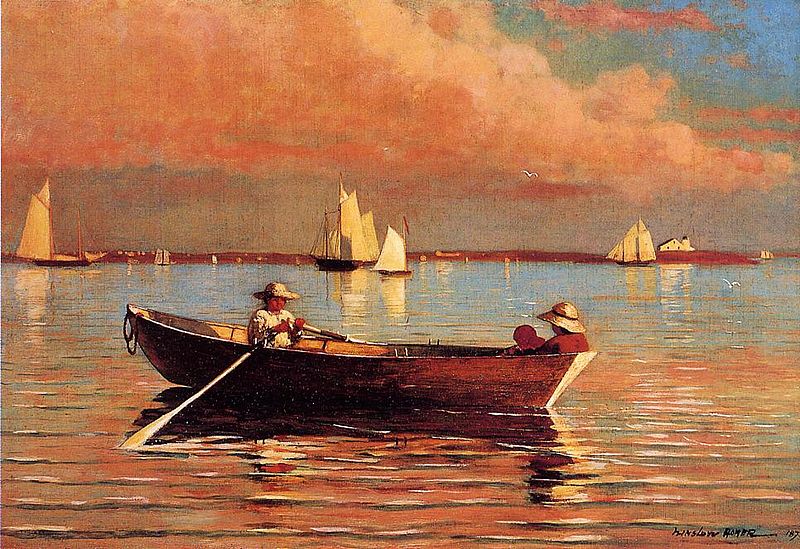
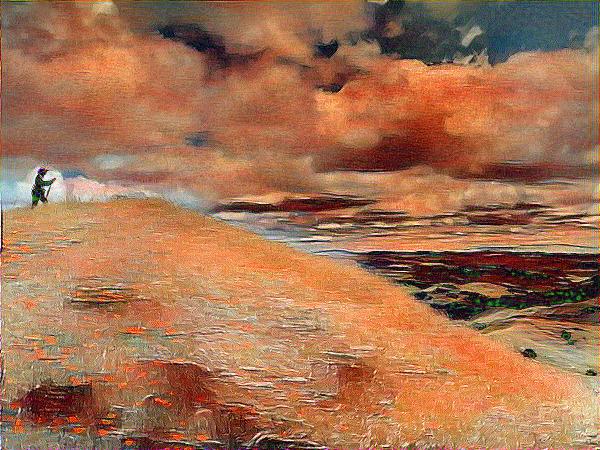
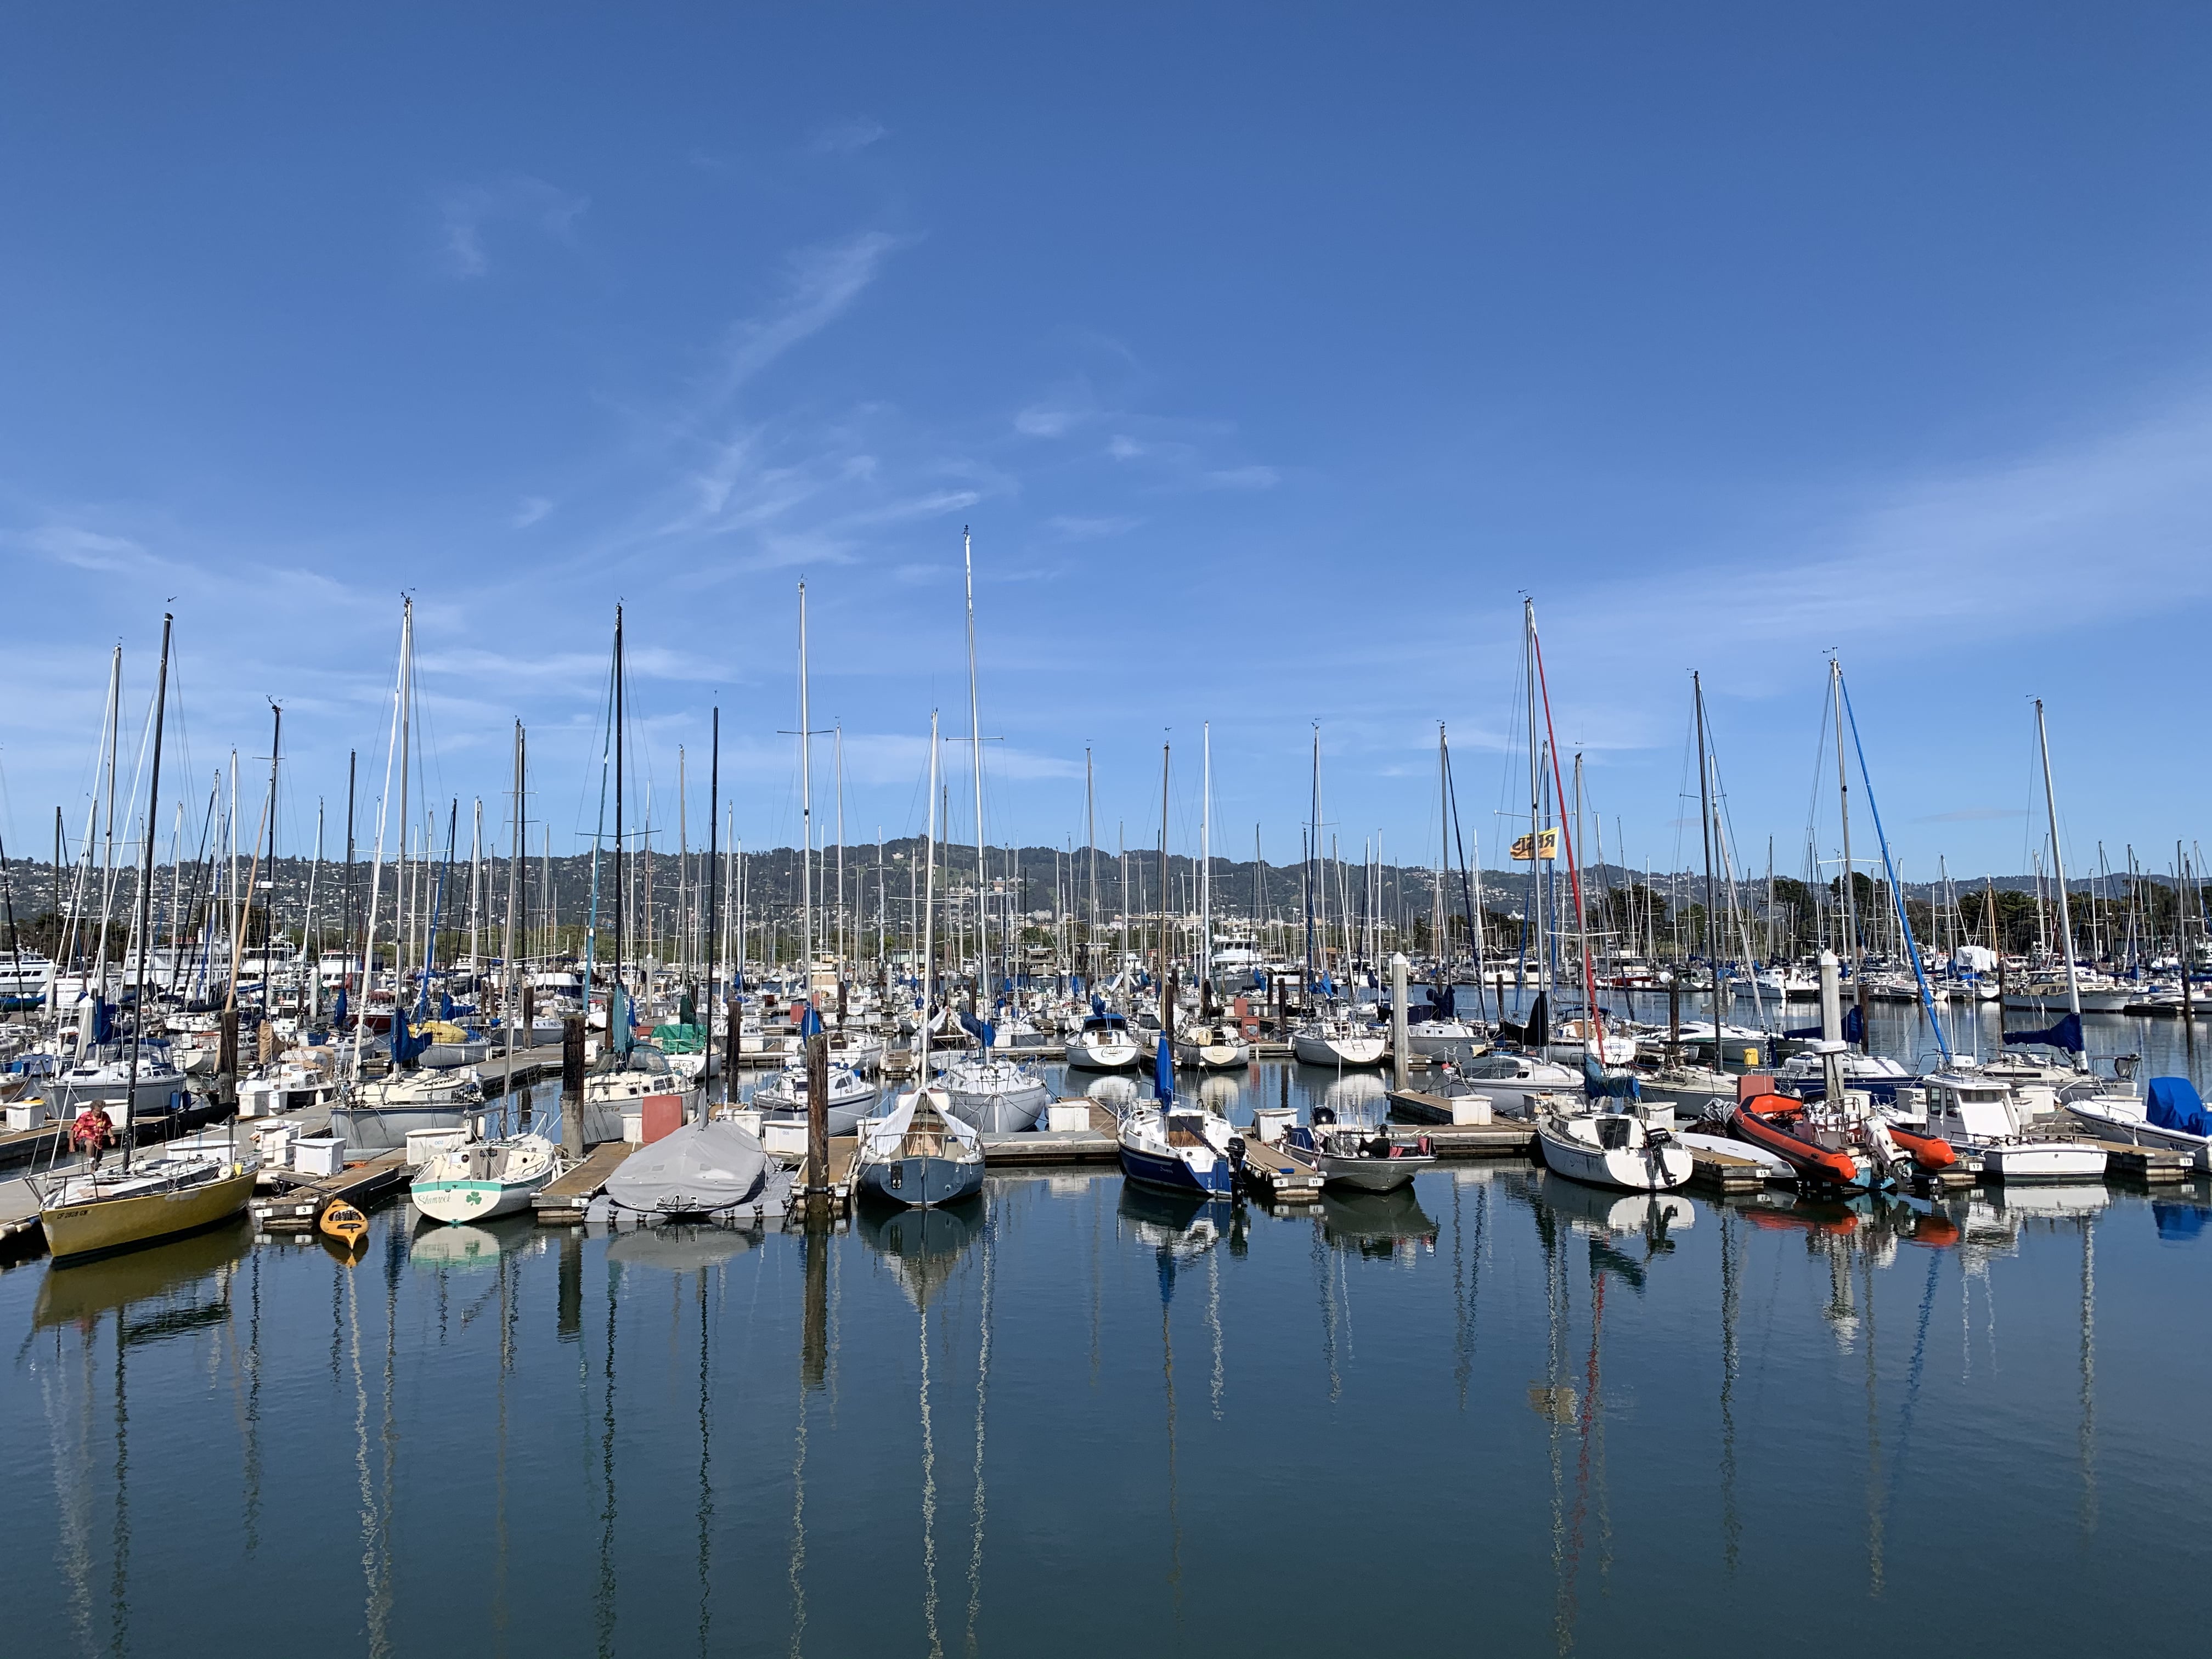
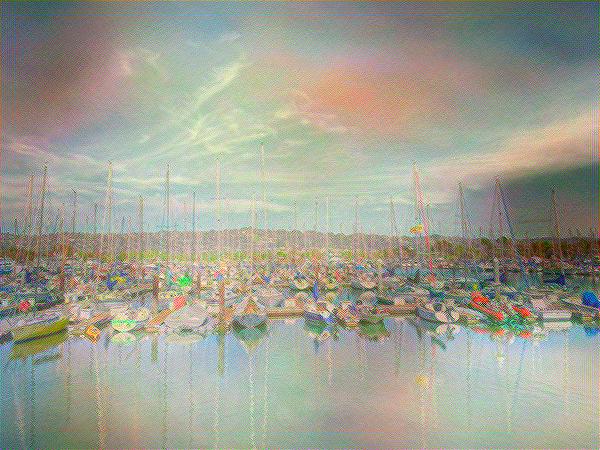
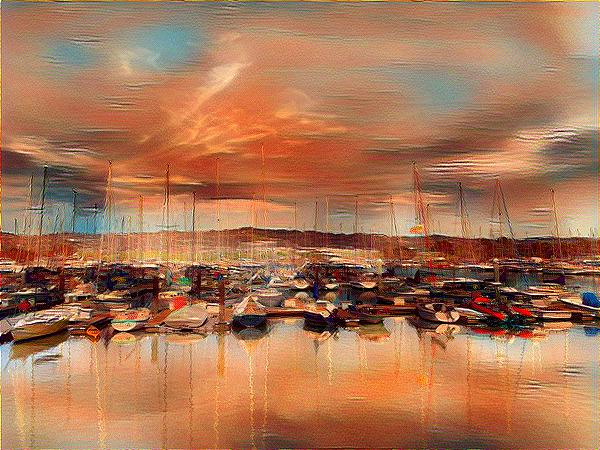
And here are some of my own style transfers. The style images are Stacks of Wheat (End of Summer) by Claude Monet (1890/91), Untitled XXXIX by Willem de Kooning (1983), and Gloucester Harbor by Winslow Homer (1873).
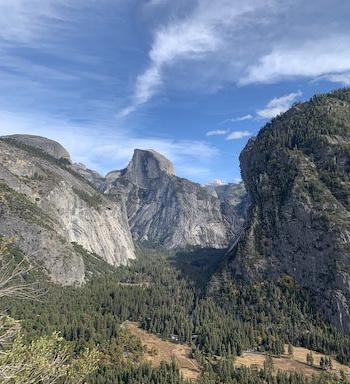
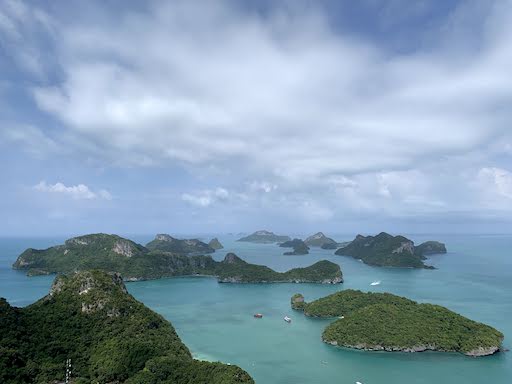
Las Trampas Regional Wilderness Park.| Content Image | Style Image | Stylized Image |
|---|---|---|
|
|
|
|
|
|
|
|
|
|
|
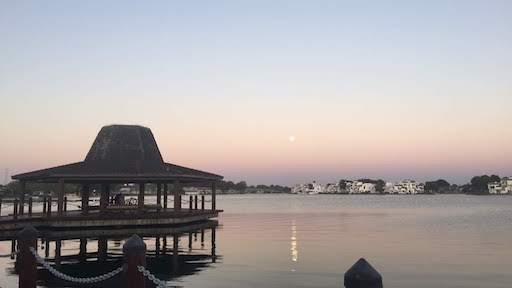
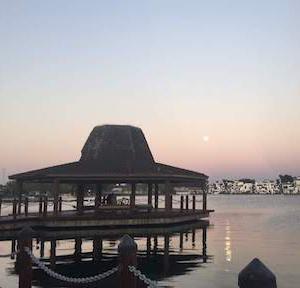
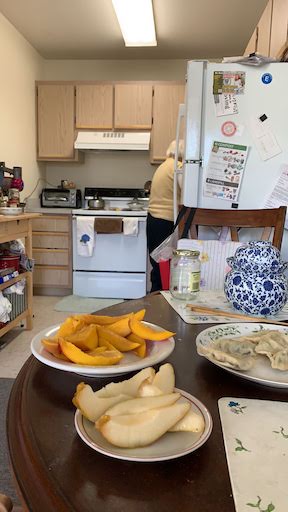
Berkeley Marina.
| Content Image | Style Image | Stylized Image |
|---|---|---|
|
|
|
|
|
|

|
|
|
|
|
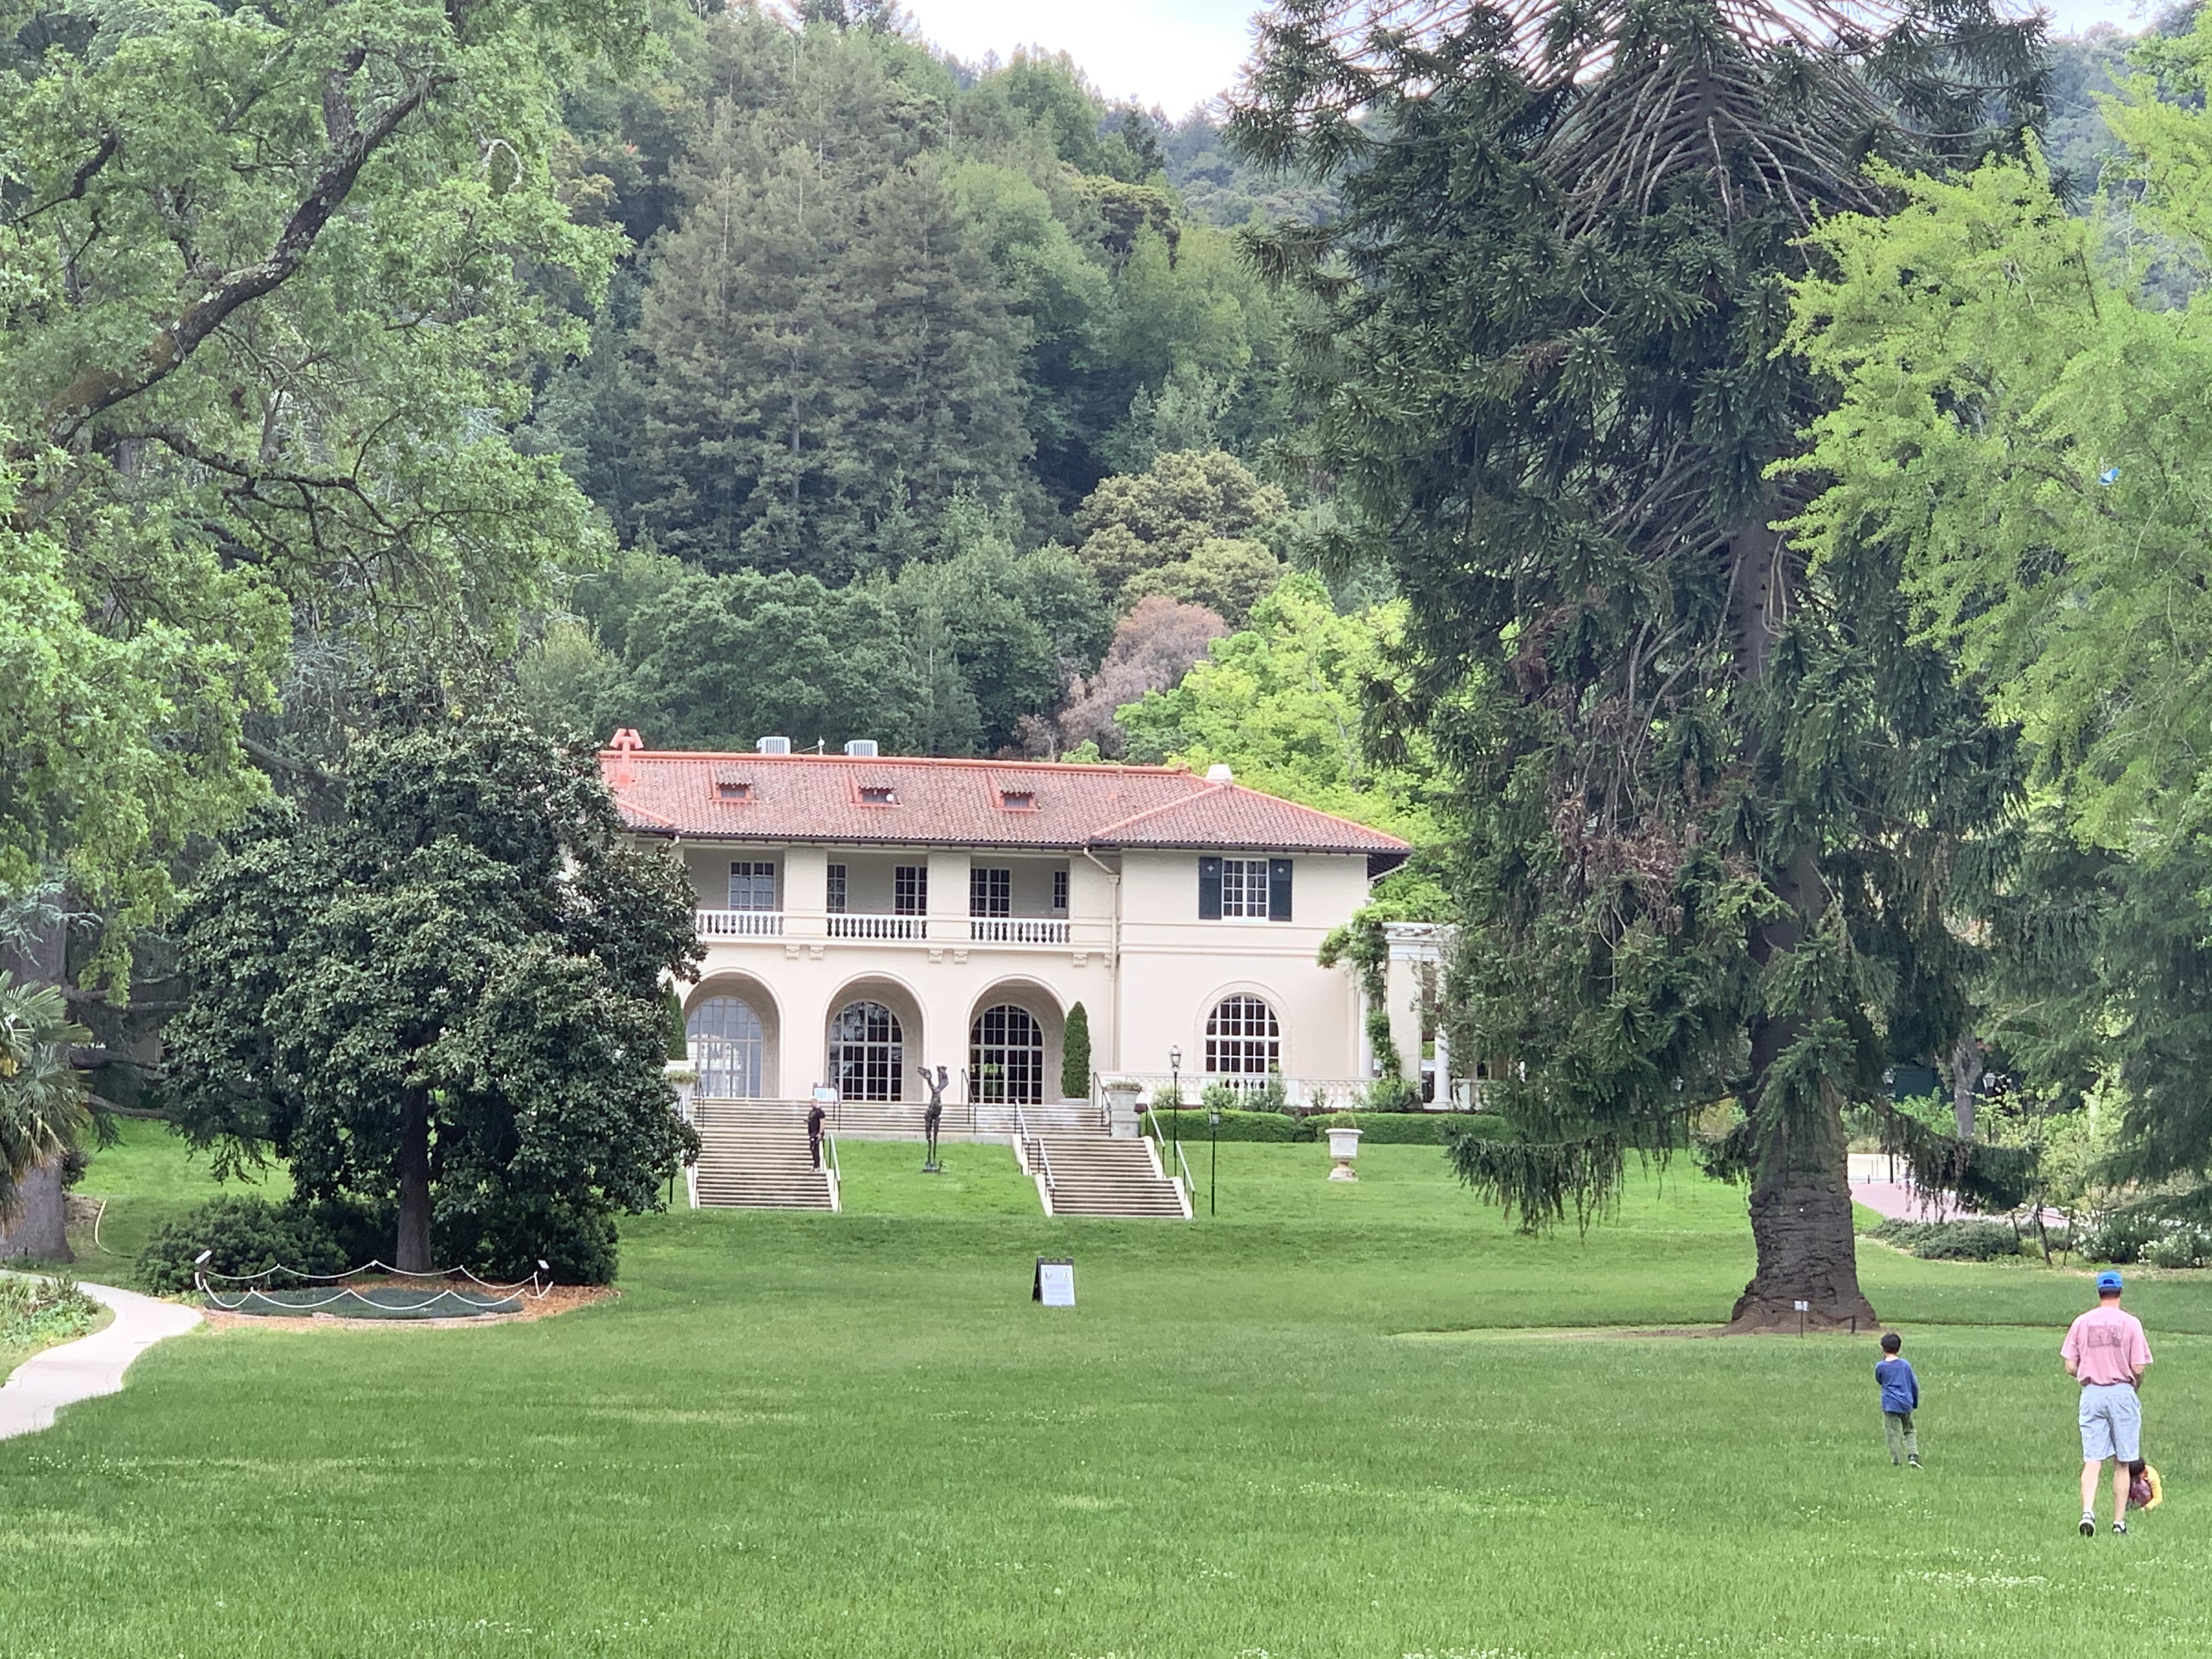
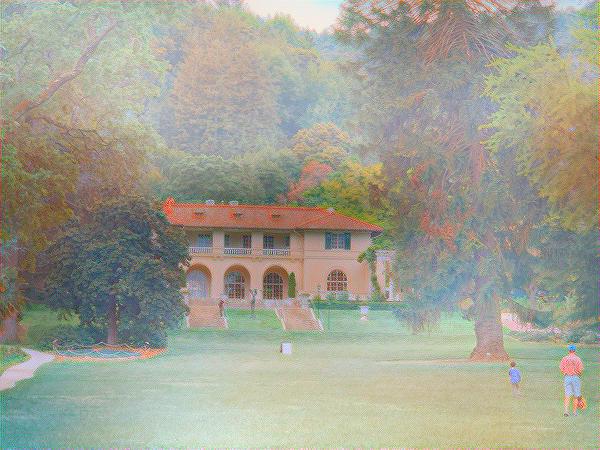
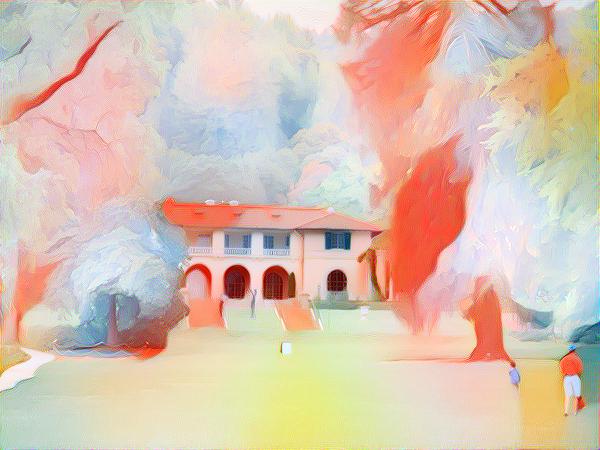
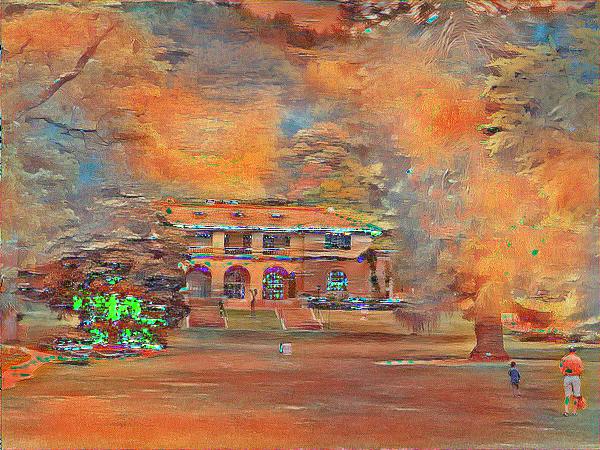
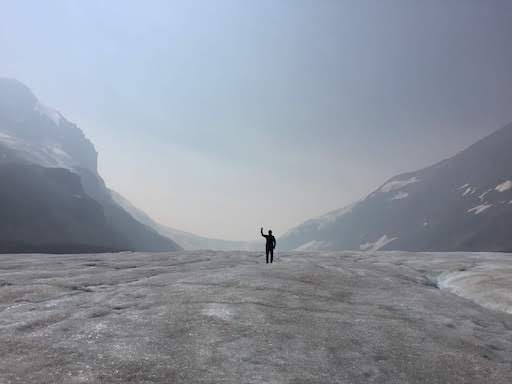
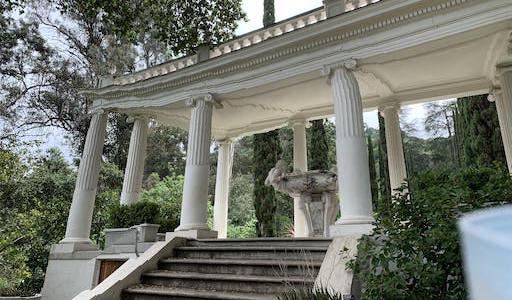
Montalvo Arts Center, Saratoga.
| Content Image | Style Image | Stylized Image |
|---|---|---|
|
|
|
|
|
|
|
|
|
|
|
The Monet and de Kooning style transfers worked well for the most part. I wished there were more of Monet's brushwork apparent in the images but the overall style looks like Monet. As for some failures, the style transfer that didn't work as well was Homer. I think the dark underside of the boat made the stylized images really dark in some areas (like in the boats image). Also the Homer version of Montalvo Arts Center had a lot of noise possibly due to the optimizer not converging properly (maybe the lr is too high).
Seam Carving
This is the second pre-canned project I did: Seam Carving. It is based off of the paper "Seam Carving for Content-Aware Image Resizing" by Shai Avidan and Ariel Shamir.
Overview
Seam carving is the process of resizing an image by removing seams, either vertically or horizontally. A vertical seam is set of connected pixels going from the top of the image to the bottom and has only one pixel per row. Connected means at least one corner is touching between pixels. A horizontal seam is the same, but along the columns of the image. Seams are removed until the desired image size is acheived. In this project, the height or width can be changed, but not both at the same time.
In order to determine which seam should be removed, every seam is given a cost equal to the sum of the energy values of each pixel in the seam. That is, a seam's cost is determined by the total energy of its pixels. In this project, a pixel's energy is calculated by taking the magnitude of gradients at that location. Finally, the seam with the lowest energy is removed.
The process of computing each seam's cost can be formulated as a dynamic programming problem. For vertical seam carving, we start at the top of the image and iteratively make our way down. The minimum cost of a vertical seam at pixel (i, j) is equal to the minimum seam cost of the three connected pixels above it plus the energy cost of itself. Specifically,

The bottom row (i.e. when i is the height of our image) has the cumulative energy costs of all seams ending at location j within the row. We take the pixel with the minimum cost and backtrace our way up to get all pixels in the seam. Finally, we remove the seam and start the entire process again until our desired image size is reached.
For horizontal seam carving, transpose the image, run vertical seam carving, and transpose back to get the final image.
Results
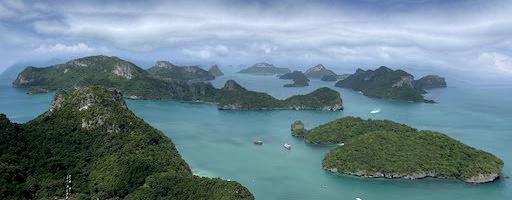
Horizontal carving results (removing vertical seams):
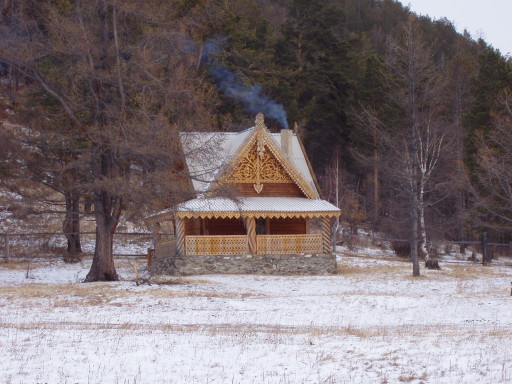
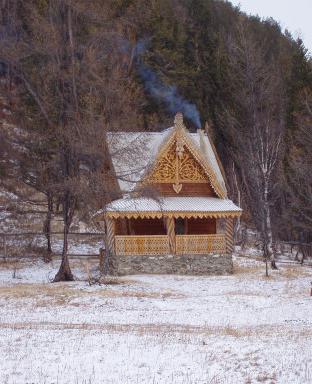
Vertical carving results: (removing horizontal seams)

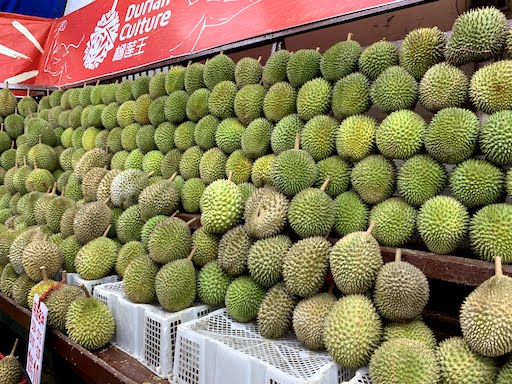
Failures:
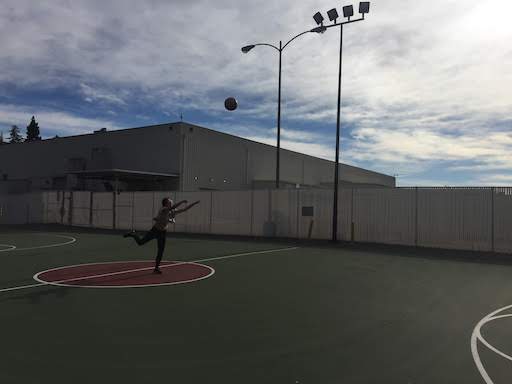

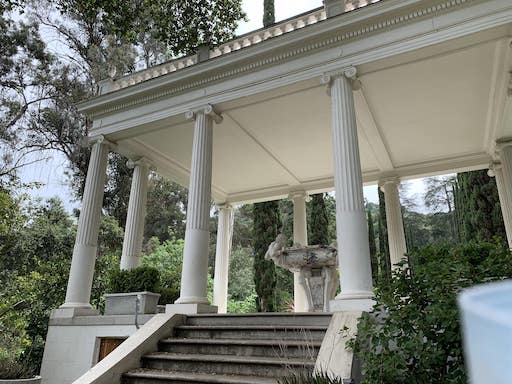
Overall, seam carving does pretty well in removing the boring areas of the image (eg. sky, water, trees) while keeping the main content intact. The first failure doesn't look too bad until you notice that the ball is thrown backwwards. This is probably because the algorithm is removing seams that are between the person and the ball. For the second failure, there's a lot of structure and parallel lines in the photo, so it's especially noticeable when the composition is a little off. I think this one just had too much detail and no "free" space for the seam carver to remove.
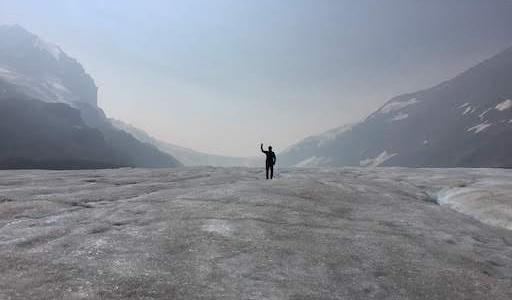
Bells and Whistles: Seam Insertion
Seam insertion is the process of adding seams in order to enlarge the image. For example, if the width is increased, vertical seams are inserted into the image. Like seam removal, we add seams that have the lowest energy cost. However, this causes the same seam to have minimum cost in every iteration since we aren't removing it anymore. The result is image stretching along the seam that has minimum cost. To account for this, we first remove the number of seams we need to add, and store their position for later. Next, we go through each removed seam and duplicate it by taking the average of the two neighboring seams. Since we stored the position of the seam during the removal process, we can simply insert the new average seam next to the removed seam in the original image. This effectively adds a seam into our image. To reduce artifacts, we also have to keep track of the number of seams removed and the number of seams added so that we can accurately insert the seam into the right position.
Some results:
What I learned
It was very cool implementing the dynamic programming portion and optimizing it to run efficiently. It was also very nice seeing the results of seam insertion since I could barely tell the images were processed when they weren't side by side.