Final Project
Hanlin Chen
Lightfield Camera
Depth Refocusing
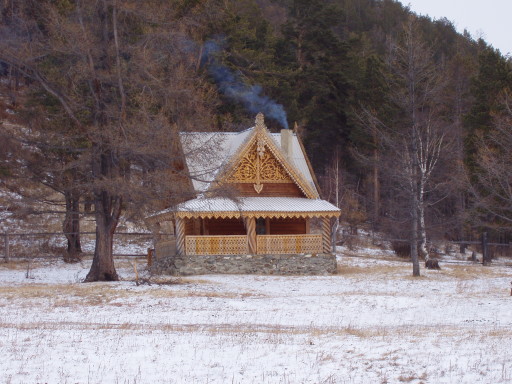
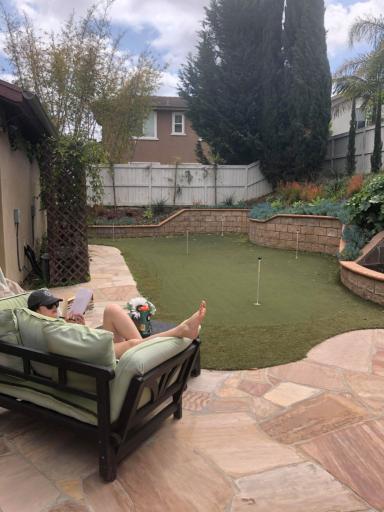
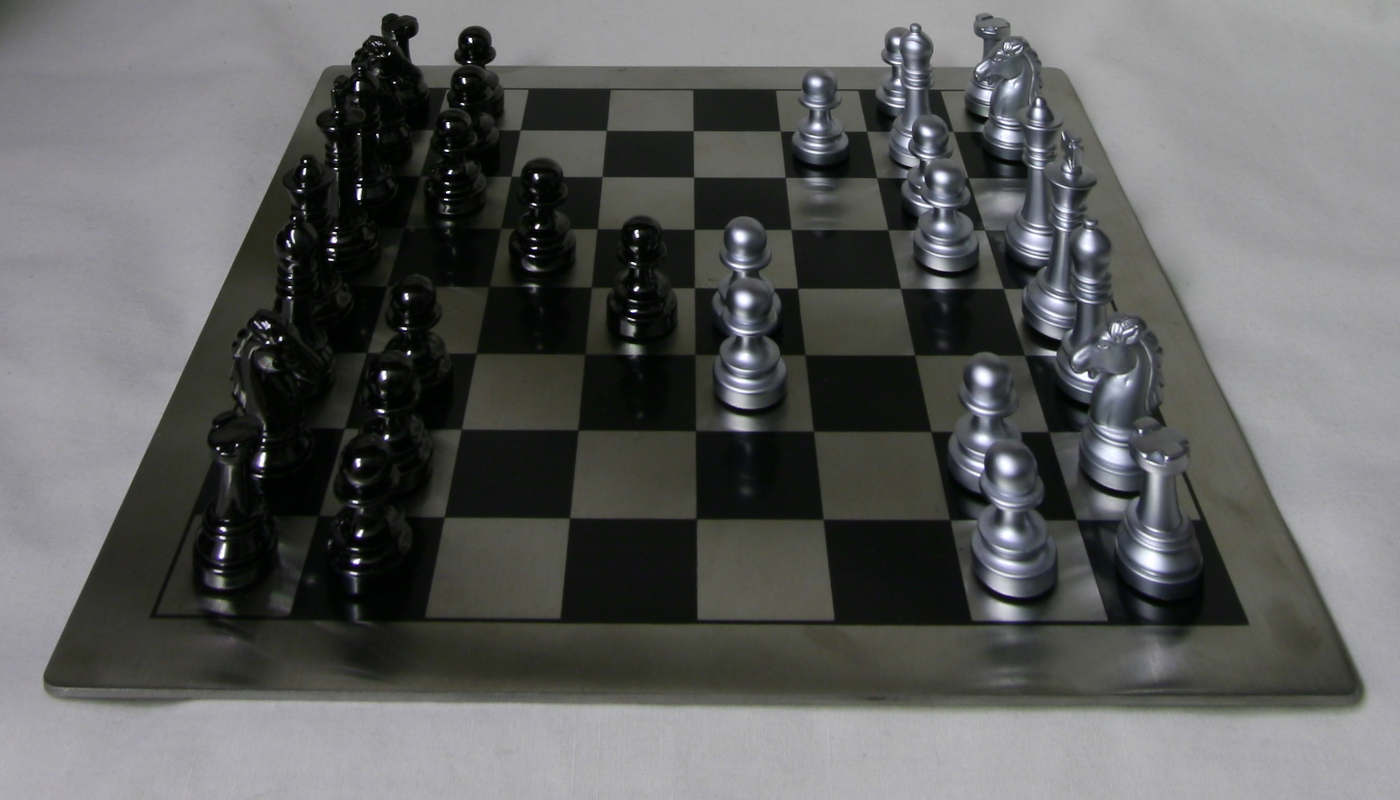
A lightfield camera takes images of the same scene from positions lying on a grid. Here, our data is taken in a 17x17 grid with the camera positions given in the file names. If we average all the images, we get an image with a depth of field effect. We can refocus the depth of field to different depths by applying a shift as such:
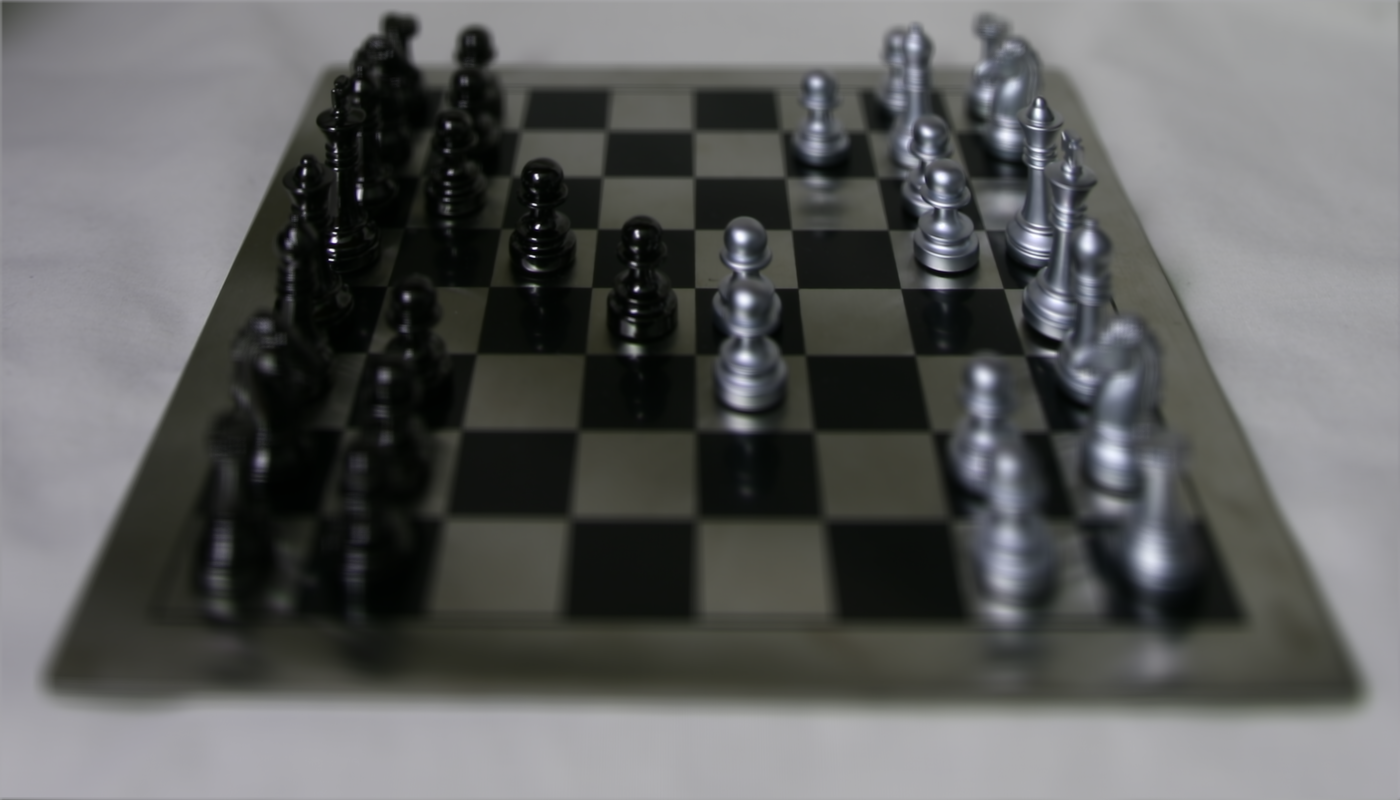
First, we take the center image's coordinates and subtract it from all the other image coordinates. We use those centered coordinates as shifts, and we can scale the shift however we want to adjust the depth of field.
Here are the results:
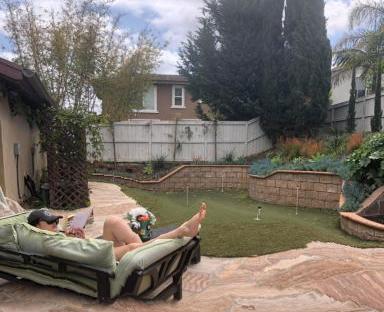
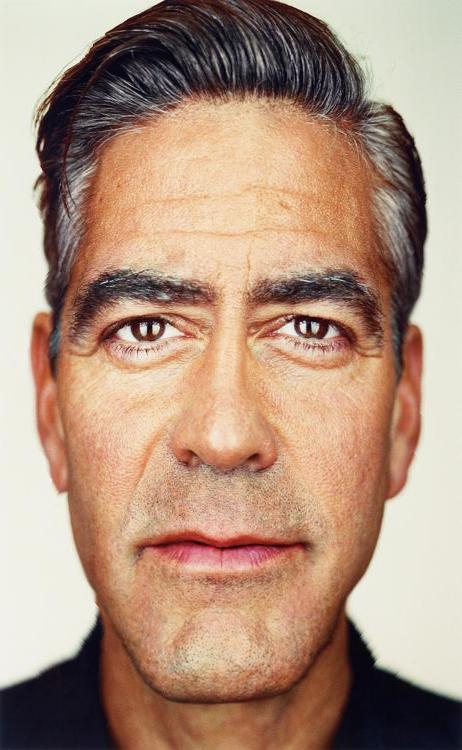
 no shifts, focused in back
|
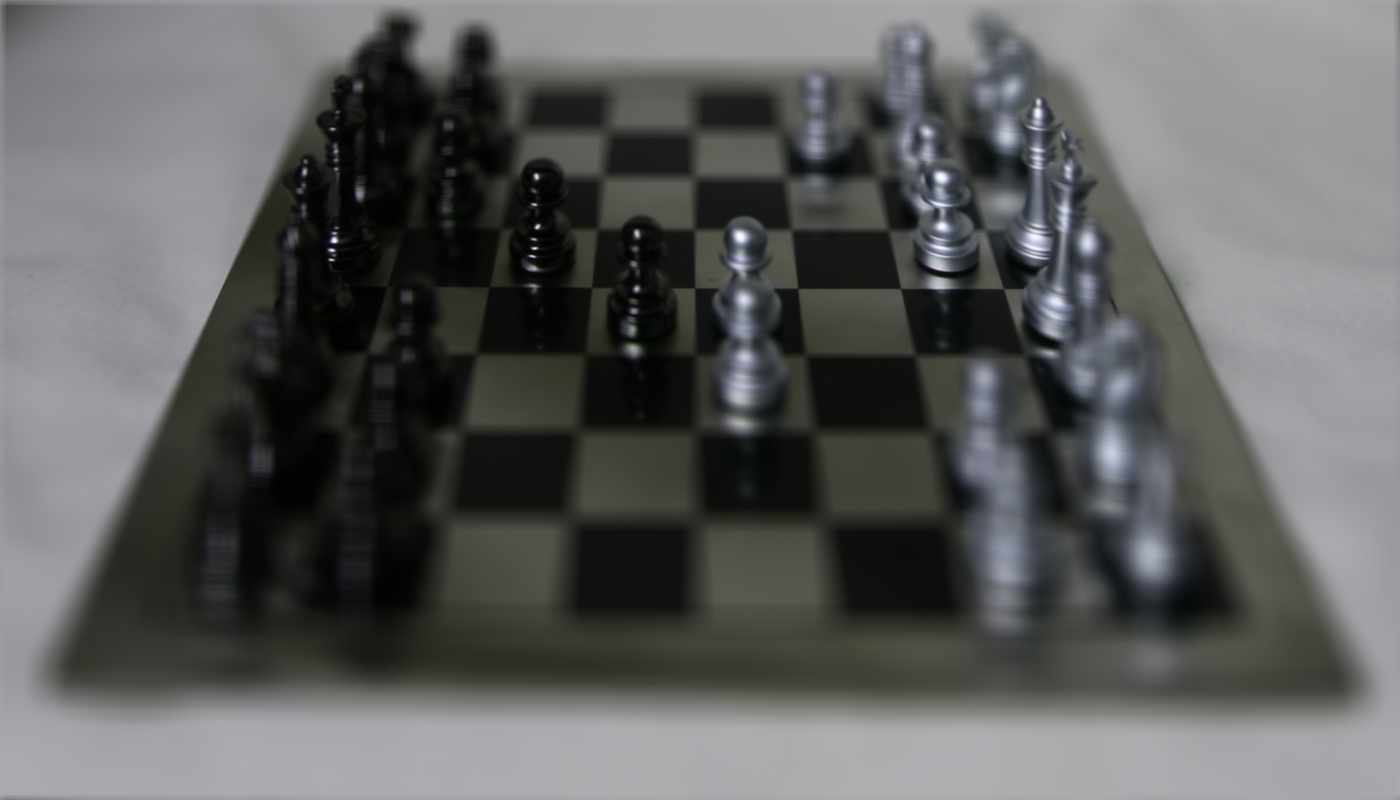 shifts scaled by 0.15, focused in center of board
|
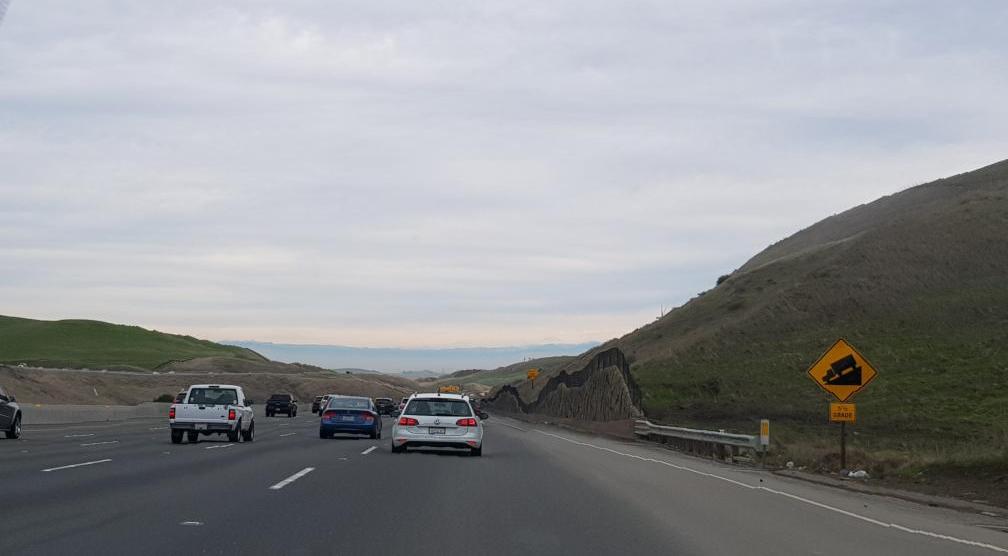
 shifts scaled by 0.5, focused in front
|
 gif of varying shift scales, from -0.5 to 1.0
|
Aperture Adjustment
Another cool effect we can perform with the dataset is aperture adjustment. By changing the number of grid photos we include, we can mimic the effect of a changing aperture. We start with just the middle grid photo, then add photos in squares of increasing size, as to not affect the position of the board. To have the final image focus on the center of the board, we applied a 0.15 scale to the shift.
Here are the results:
 1 image included
|
 81 images included
|
 289 images included
|
 gif of varying number of images included, from 1 to 289
|
Seam Carving
Energy Function
To find the minimum value seams to take out, we first need to decide on an energy function. Here, we simply used the gradient magnitude:
Algorithm
Here, we want to find the minimum energy seam and remove it. We use a dynamic programming algorithm to find the minimum seam (this equation yield horizontal seams): S[i, j] = min(S[i-1, j-1], S[i, j-1], S[i+1, j-1]) + E[i, j]
We solve the matrix of subproblems, then we take the minimum value in the last column and trace back the seam. Finally, with the minimum energy seam identified, we simply remove it and repeat the entire process as many times as we want.
To compute vertical seams, we just transpose the image before and after seam calculation and removal.
Here is a gif showing the process:
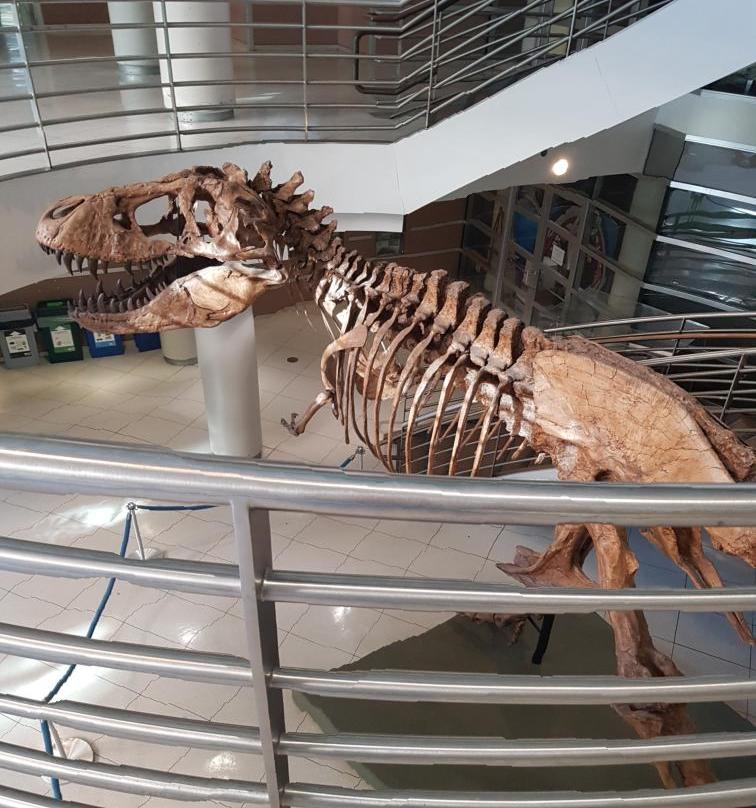
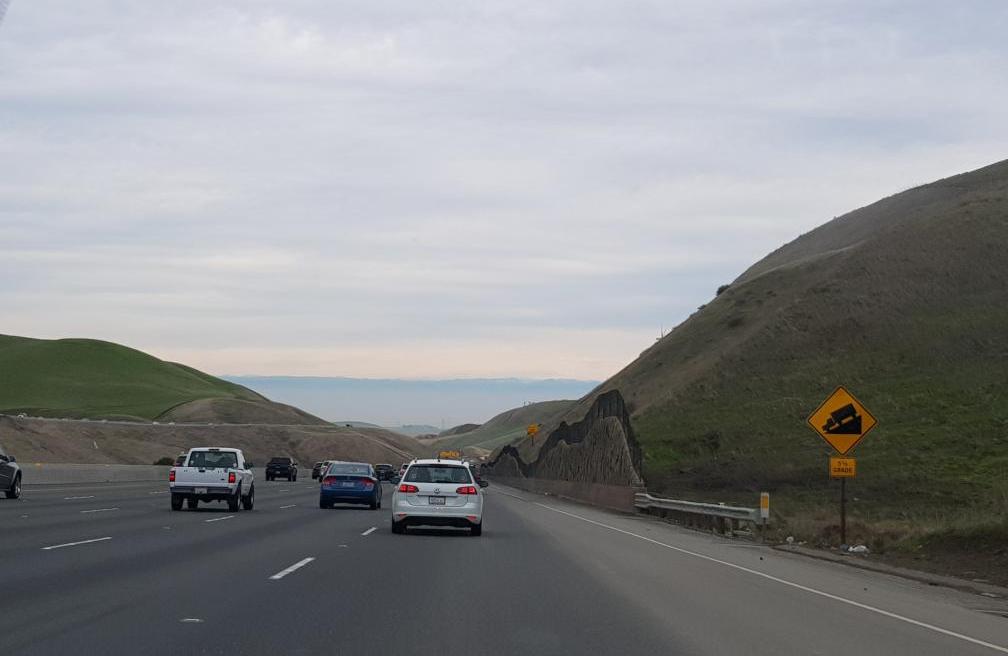
Results
Failures
The following results I would consider to be failures; while they don't look entirely horrible, the amount of artifacts are significant eough that a simple crop or scaling would probably be preferable.
Bells and Whistles: Precompute
To allow for speedy real-time seam removals, we split the process into a seam precompute and a seam removal. During the precompute, we carry out the same process as before, but instead of removing a seam right after finding it, we set all energy values along the path to infinity. Then, we continue computing seams.
Next, when removing seams, we just remove all the appropriate pixels all at the same time. Because we're simply using precomputed seams, the actual removal process is incredibly quick and could be used in a real-time resizing operation, as in the demonstration video from the paper.
Here are the results: