width: +0width: -40px
height: +0height: -40px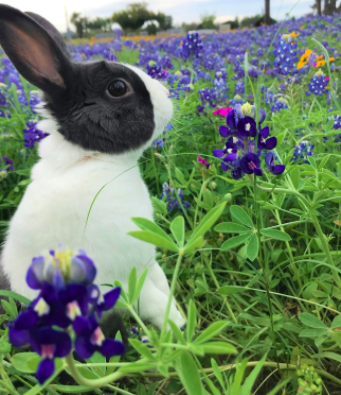

width: +0width: -20px

width: +0width: -40px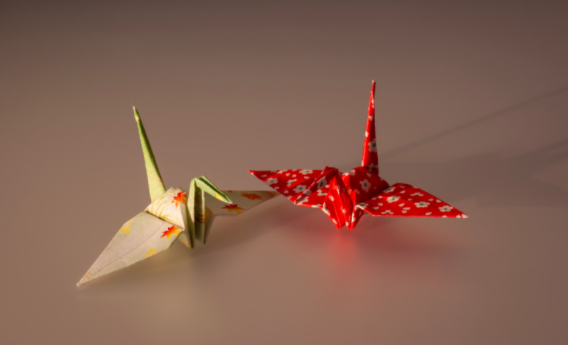
width: +0, height: +0width: -50px, height: -20px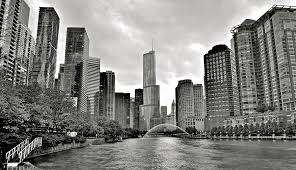
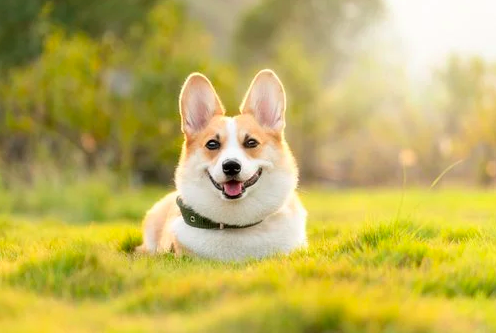
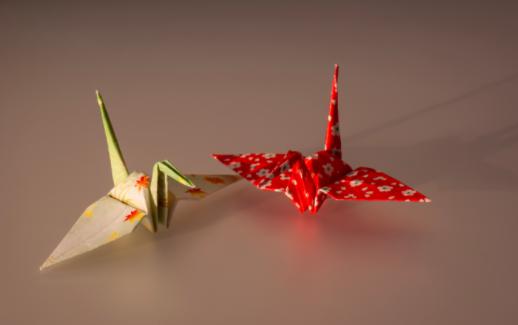
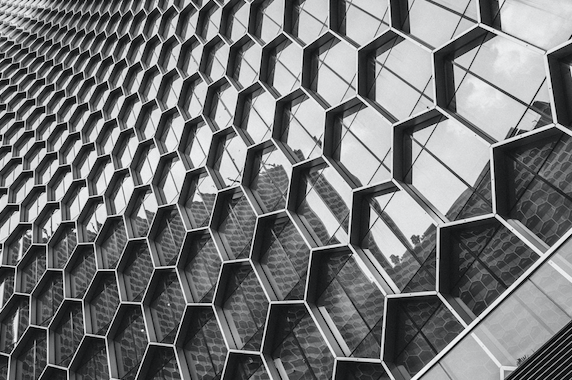
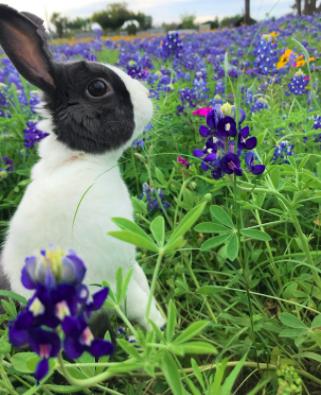
width: +0width: -50pxThe purpose of the project was to resize images with regard to their content. Simply shrinking the entire image or expanding it in a single direction would lead to images with strange proportions. Instead, we would like to preserve the ratios of the more visually important features (i.e. faces, animals, buildings, objects in the foreground) and rescale the less important features (i.e. background foliage, wallpaper) to reach the intended size.
To do this, we calculate the energy of an image to locate regions that could be removed without disrupting the visual experience of the image. We start by using the L2 gradient norm to calculate how different one pixel’s intensity was from the intensities of its neighbors.
For vertical seam carving, we compute the lowest-energy path from the top of the image to the bottom, where a path is defined by a series of contiguous pixels that can be connected vertically or diagonally. The cost to reach a certain pixel is the energy value at that pixel added to the minimum of the three pixels directly above it. That is,
C(i,j) = energy(i,j) + min(C(i-1, j-1), C(i-1, j), C(i-1, j+1))
where i,j refer to the row and column number of a pixel, respectively, and C(i,j) refers to the cost of reaching pixel (i,j).
We remove this seam and repeat for the number of seams we wish removed. For horizontal seam removal, we simply transpose the image prior to removing seams, then transpose again afterward.
Here are some examples produced by seam carving.
| Original | Seam Carving |
|---|---|
|
|
width: +0 |
width: -40px |
|
|
height: +0 |
height: -40px |
|
|
width: +0 |
width: -20px |
|
|
width: +0 |
width: -40px |
|
|
width: +0, height: +0 |
width: -50px, height: -20px |
|
|
width: +0 |
width: -50px |
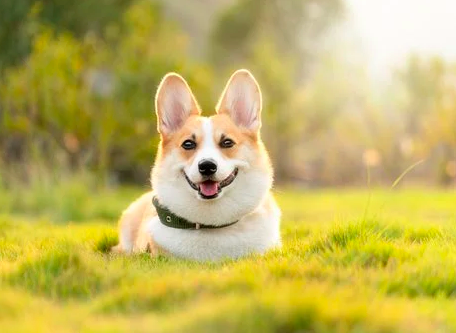
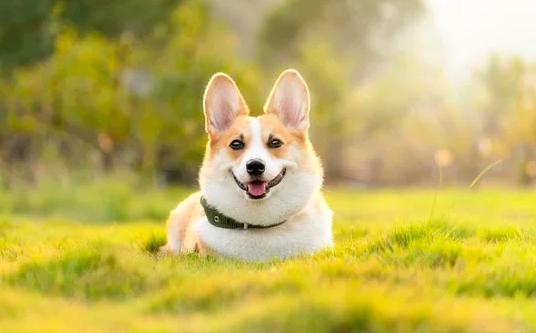
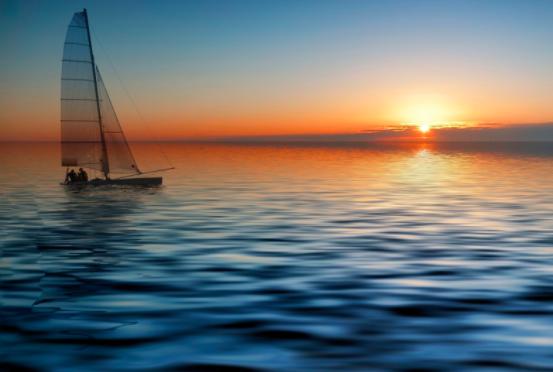
Overall, the algorithm works best on images with some objects in focus and the background blurred or more uniform. This allows the algorithm to shrink the background areas while preserving the prominent features.
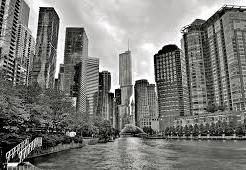
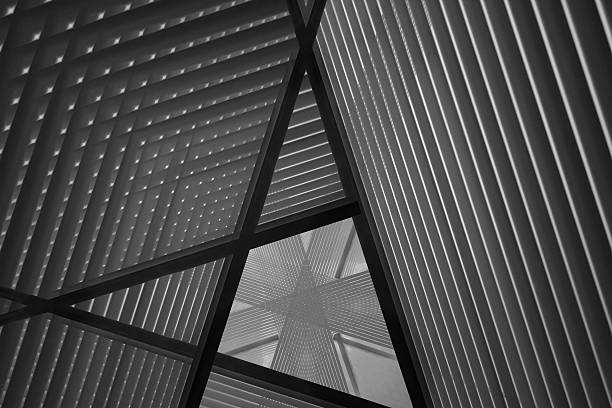
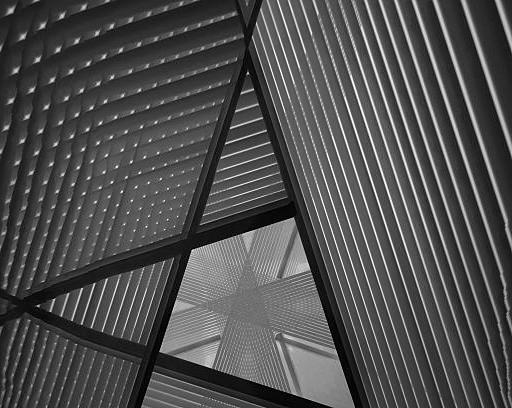
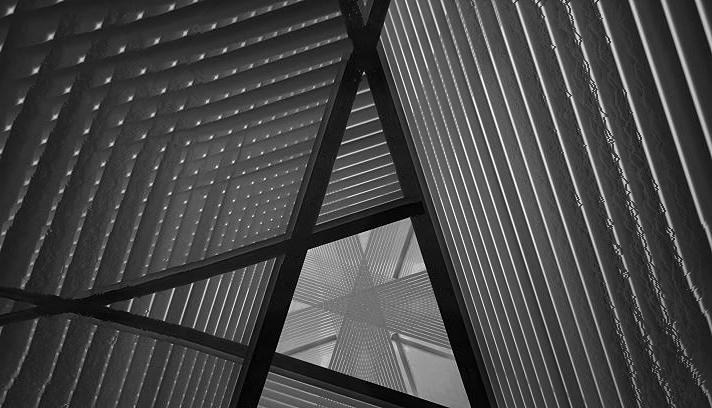
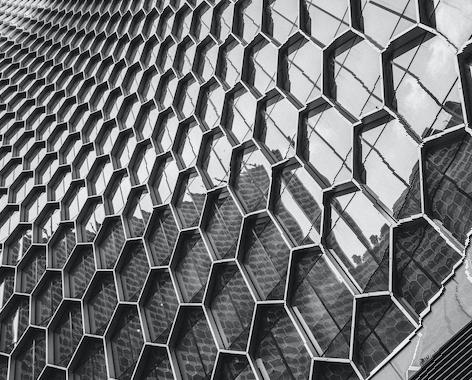
Geometric scenes were not seam carved very successfully; it’s more obvious when a straight line is not preserved.
| Original | Seam Carving |
|---|---|
 |
 |
width: +0 |
width: -100px |
 |
 |
height: +0 |
height: -50px |
 |
 |
width: +0 |
width: -100px |
Seam insertion is more difficult than seam removal because we cannot just continuously add near the lowest-energy seam; doing so would result in lots of seams added all in the same location. Instead, we first remove the same number of seams that we want to add, then add two seams back for every one seam removed. This resulted in some of the following images:
| Original | Seam Carving | Seam Insertion |
|---|---|---|
|
|
 |
width: +0 |
width: -40px |
width: +40px |
|
|
 |
width: +0 |
width: -20px |
width: +20px |
|
|
 |
width: +0 |
width: -100px |
width: +100px |
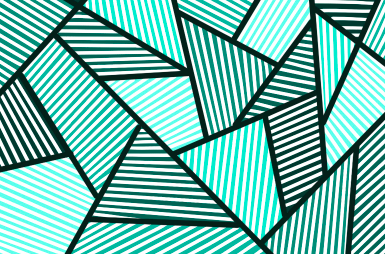
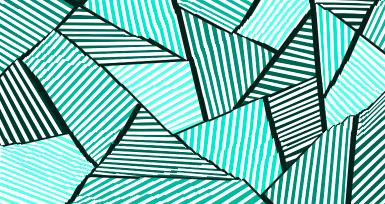
From the results, we see that the corgi image worked the best; since the dog is in focus and the background is blurred, we can add or remove seams to the background without noticeable difference.
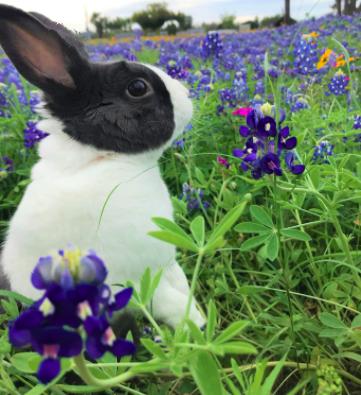
The rabbit image worked alright, though not as expected; even though the rabbit is a main feature of the image, its width was altered by seam carving and insertion, likely due to the consistent shade of fur creating low-energy paths through the rabbit.
The geometric image was the least successful. While most of the image looks similar at first glance, the straight lines are not well-preserved, especially in the bottom left and right corners.
I used both the L1 and L2 gradient norms to compute the energy of the images. Although the results are not too different, I still noticed some small differences. For instance, in the last example, the straight lines are better preserved using L2, as seen in the hexagon shapes of the column starting at the top right corner and going left. Also, in the second-to-last example, both images lose the straightness of the lines in the bottom right corner, but L2 keeps the lines straighter longer.
| Original | L2 Norm | L1 Norm |
|---|---|---|
|
|
 |
height: +0 |
height: -40px |
height: -40px |
|
|
 |
width: +0 |
width: -20px |
width: -20px |
|
|
 |
width: +0 |
width: -40px |
width: -40px |
|
|
 |
width: +0 |
width: -50px |
width: -50px |
|
|
 |
width: +0 |
width: -100px |
width: -100px |
|
|
 |
width: +0 |
width: -100px |
width: -100px |
Because L2 seems to preserve straight lines a bit better, it’s preferable to use it in more geometric images. In the absence of straight lines, either would suffice.
I really enjoyed learning about how clever the seam carving algorithm is. It was quite rewarding when seam insertion finally worked, since I struggled with how to efficiently store my removed seams and re-add them. It was interesting how the images produced look feasible, even after we alter things slightly.
Image Sources:
The purpose of the project was to simulate depth refocusing and aperture adjustment using images of the same scene taken by cameras with slightly different positioning. The lightfield camera data consists of a 17 x 17 grid of images, and we adjust the images based on their offsets to simulate different depth and aperture effects.
Depth refocusing is accomplished through the following algorithm:
Here are some examples of images created, with their corresponding C values.
C = 0

C = 0.5
Here are some examples of gifs created with the approach detailed above.
C = [-0.5, 1)
C = [-1, 1)
C = [-0.5, 0.8)
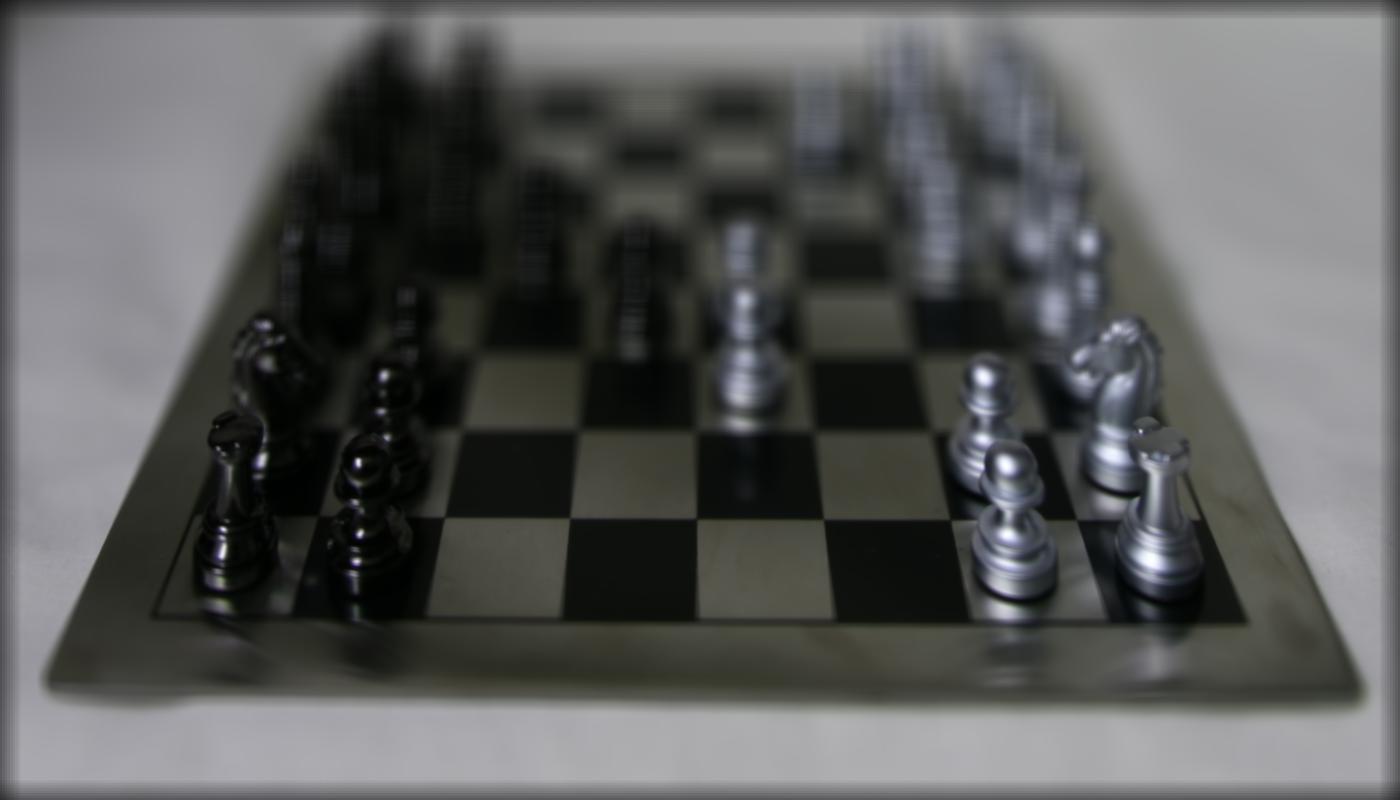
To simulate aperture adjustment, we do a process similar to depth refocusing. However, instead of averaging all images, we only choose a selection of images. I first included only the center image, then the 9 center-most images, then 25, etc., slowly increasing the number of images in the average to simulate a larger aperture size. We can also alter C, as specified above, to change the center of focus.
Here are some examples of images created.
Chess: 1 image
Chess: 25 images
Here are some examples of gifs created.
In the tarot example, the center of focus is close to the center of the picture, while for the jelly beans, the center of focus is around the area of the closest line of jelly beans.
It was interesting to experiment with different focus and aperture settings. Sometimes edge artifacts are visible during shifting a lot, but that can be solved by just having more pictures to use. I would want to replicate this on my own, but it’s inconvenient to take photos in that format of grid.