Project 1: Seam Carving
This project focused on implementing the seam carving strategies from this paper: Seam Carving for Content-Aware Image Resizing. Using seam carving allows for image resizing (both up and down) by removing or inserting seams (horizontal or vertical connencted paths of pixels across an image) in order to resize the image while preserving "important" parts of the image. Following the tips and implementation guidelines in the paper and in the spec, I ended up using the e_1 (sum of absolute value of x and y gradients) energy function to compute the importance (energy) of each pixel. I then constructed the M matrix as described in the paper, where M(i,j) represents the cheapest cost of of a seam reaching the pixel at (i,j), and filled it in with dynamic programming. Finally, I find the cheapest seam across the image based on M, and remove it. To remove multiple seams, I iteratively repeat this process. To remove horizontal seams, I remove vertical seams from a rotated version of the image, then rotate it back (which is equivalent to removing horizontal seams from the original image).
The bell and whistle I implemented for this project was splitting the computation for seam carving into a preprocessing step and a carving step. To actually preprocess the image, I generate (a slightly modified version of) the V matrix from section 5 of the paper linked above. Essentially, V encodes which seam (in order of least to most important) a pixel is removed as part of. Timing my results shows that doing the preprocessing saves time compared to unoptimized seam carving even just a few (~3) times from scratch. By timing 20 carving runs that each removed 200 vertical seams from a picture, I determined that it takes 40.91 second to generate (my version of) V, and only 0.87 seconds to remove 200 seams from an image using V. Removing 200 seams from scratch from the same image, for reference, took an average of 14.68 seconds per run. The image I tested on was of size 640x360
I've included some good and bad results below. The results make it clear that although seam carving is a powerful technique, some images are not suited to carving, and overcarving leads to artifacts in most cases. Throughout this project, I learned the importance of selecting for images with plain(ish) backgrounds when doing carving, and also that the human (my) eye is very sensitive to artifacts and changes in faces, meaning they're generally not great for carving. From a technical perspective, I also learned a little bit about the memory layout of sliced and spliced numpy arrays, which is not always intuitive and can lead to unexpected results when reshaping. I also learned small iamges are great and much faster to process with unoptimized code on my old computer.
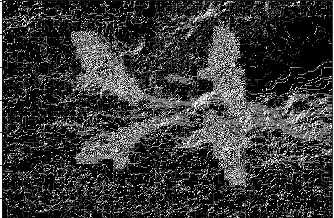
Visualization of Pixel Energies
Good Examples: Side-by-Side Original Images and Carved Results
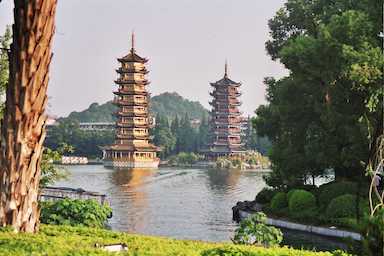
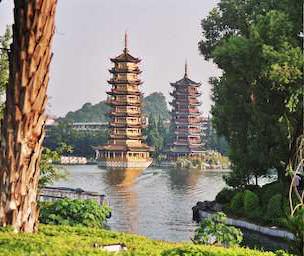
Good Example 1: Carved 200 Vertical Seams
Good Example 2: Carved 90 Horizontal Seams

Good Example 3: Carved 250 Vertical Seams
Good Example 4: Carved 90 Horizontal Seams

Good Example 5: Carved 300 Vertical Seams
OK Example 6: Carved 150 Vertical Seams
Good Example 7: Carved 80 Vertical Seams
Bad Examples: Side-by-Side Original Images and Carved Results
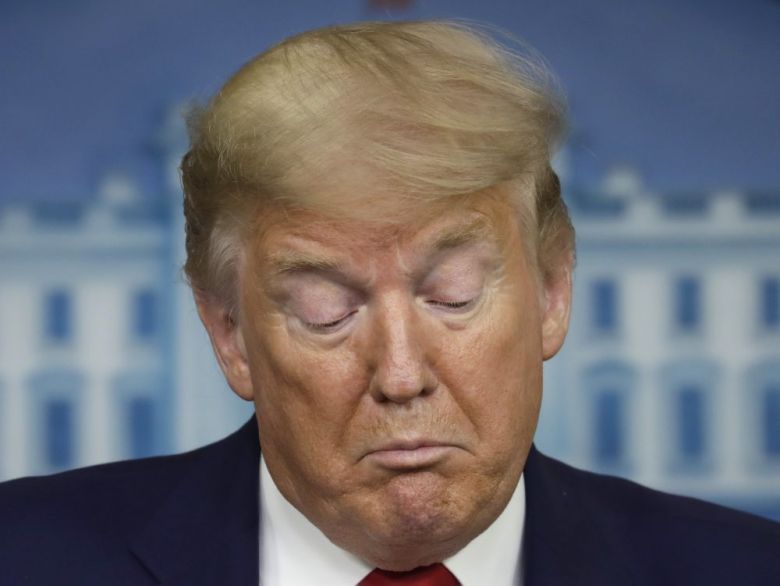
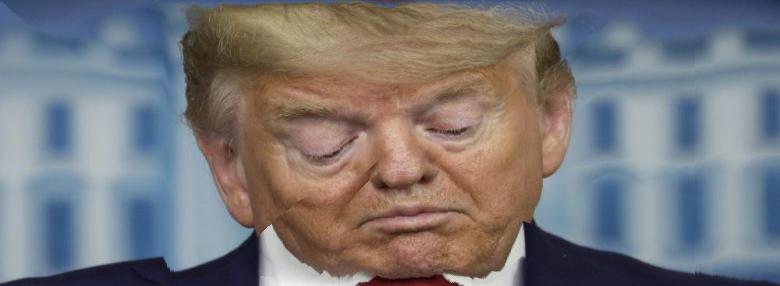
Bad Example 1: Easily Perceiveable Carving Artifacts on a Human(ish) Face (Carved 300 Horizontal Seams)
Bad Example 2: Vertical Overcarving Artifacts (Carved 350 Vertical Seams)
Bad Example 3: Horizontal Overcarving Artifacts (Carved 350 Horizontal Seams)
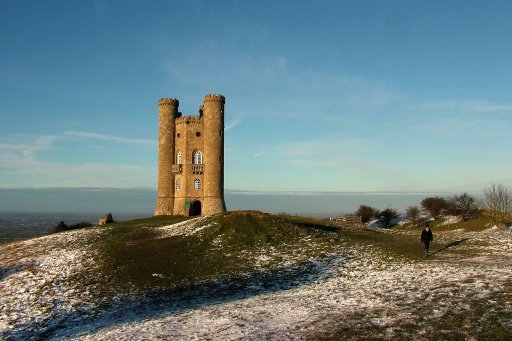
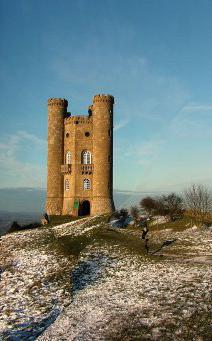
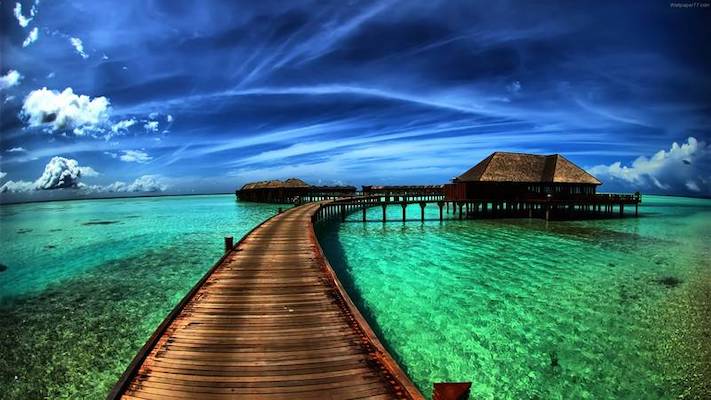
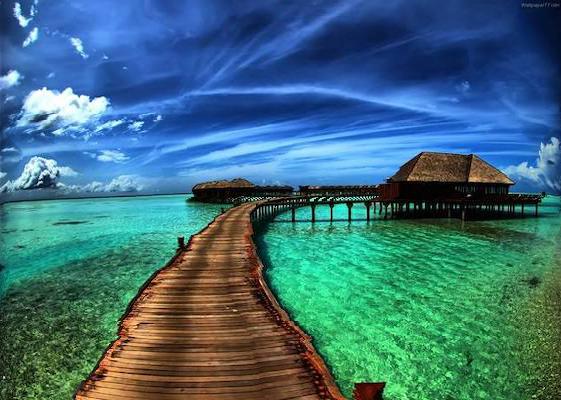
All examples above were taken from the first 3 pages of a Google Images search for "good seam carving images."
Project 2: Gradient Domain Fusion
This project focused on image manipulation in the gradient domain, particularly Poisson Fusion of a patch of an image into another image. More specifically, given a patch in a source image, Poisson blending attempts to paste that patch into a target image at a specified offset, but modifies the patch so the pixel intensity values match the target image while the gradients match the source image. Conceptually this preserves the texture (so hopefully the object) from the source image while allowing the patch to blend into the target image. To actually implement Poisson blending, I formulated it as a least squares problem as descried in the spec. To create my least squares system (matrix A and vector b), I created an MxN sparse matrix A, where N is the length of the vector representing the flattened version of the patch I was trying to construct. M is the number of constraints, which for the toy problem was 2N + 1. I then took the gradient of the source image, and for each of the N pixels p in the patch I was trying to construct, I added a constraint of the form (1 * p) (-1 *x_neighbor or y_neighbor) = (x_gradient or y_gradient). To actually encode this constraint, I set the appropriate values to 1 and -1 in A, and set the appropriate value in b to the x_gradient or y_gradient. Finally, for the toy problem I added a constraint that the 0th pixel value * 1 = the given 0th pixel value. For the Poisson blending case, I added a constraint for each pixel on the border of the patch relating it to the value of the gradient at the border ± the intensity of the target image pixel across the border (to ensure the pixel intensities matched the target image).
For a bell and whistle, I also implemented mixed gradient blending as described in the spec. But unfortunately, due to (I suspect) my choice of images, my results weren't as great as I would have liked since some of the necessary gradients from the source image are overwritten by gradients from the target image. To try and compensate, I added a parameter to my mixed gradient poisson blending that allows me to set a threshold such that only target gradients more than the threshold greater than source gradients are used in the mixed gradients maps. This allows me to blend between unmixed gradients (which preserve the subject matter but blend the background poorer) and completely mixed gradients (which can overwirte the subject I'm trying to preserve). See the handwriting example below.
I learned a lot of things from this project. First and foremost was the importance of using sparse matrices and setting their values efficiently and correctly. I was also reminded (many times) about the sensitivity of least squares solvers to outliers when making small mistakes in how I set up the constraints, and that overflow issues can often go undected and cause weird errors much lower down the line.
Some of My Results (Original Images then Blended Image)
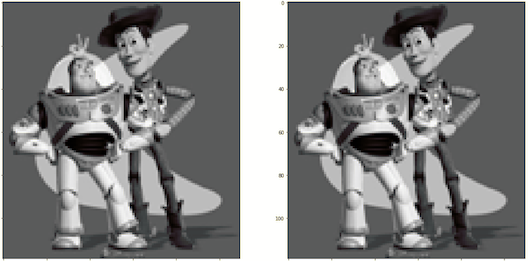
Example 1: The Toy Problem
I used the approach described above to exactly reconstruct the Toy Story image given gradients and the top left pixel value.
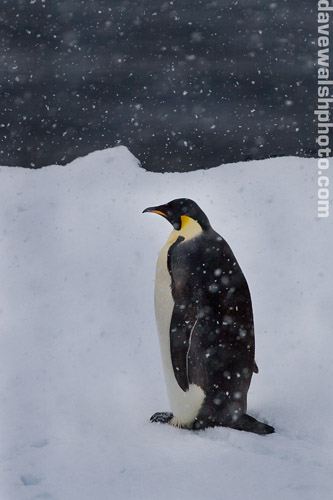
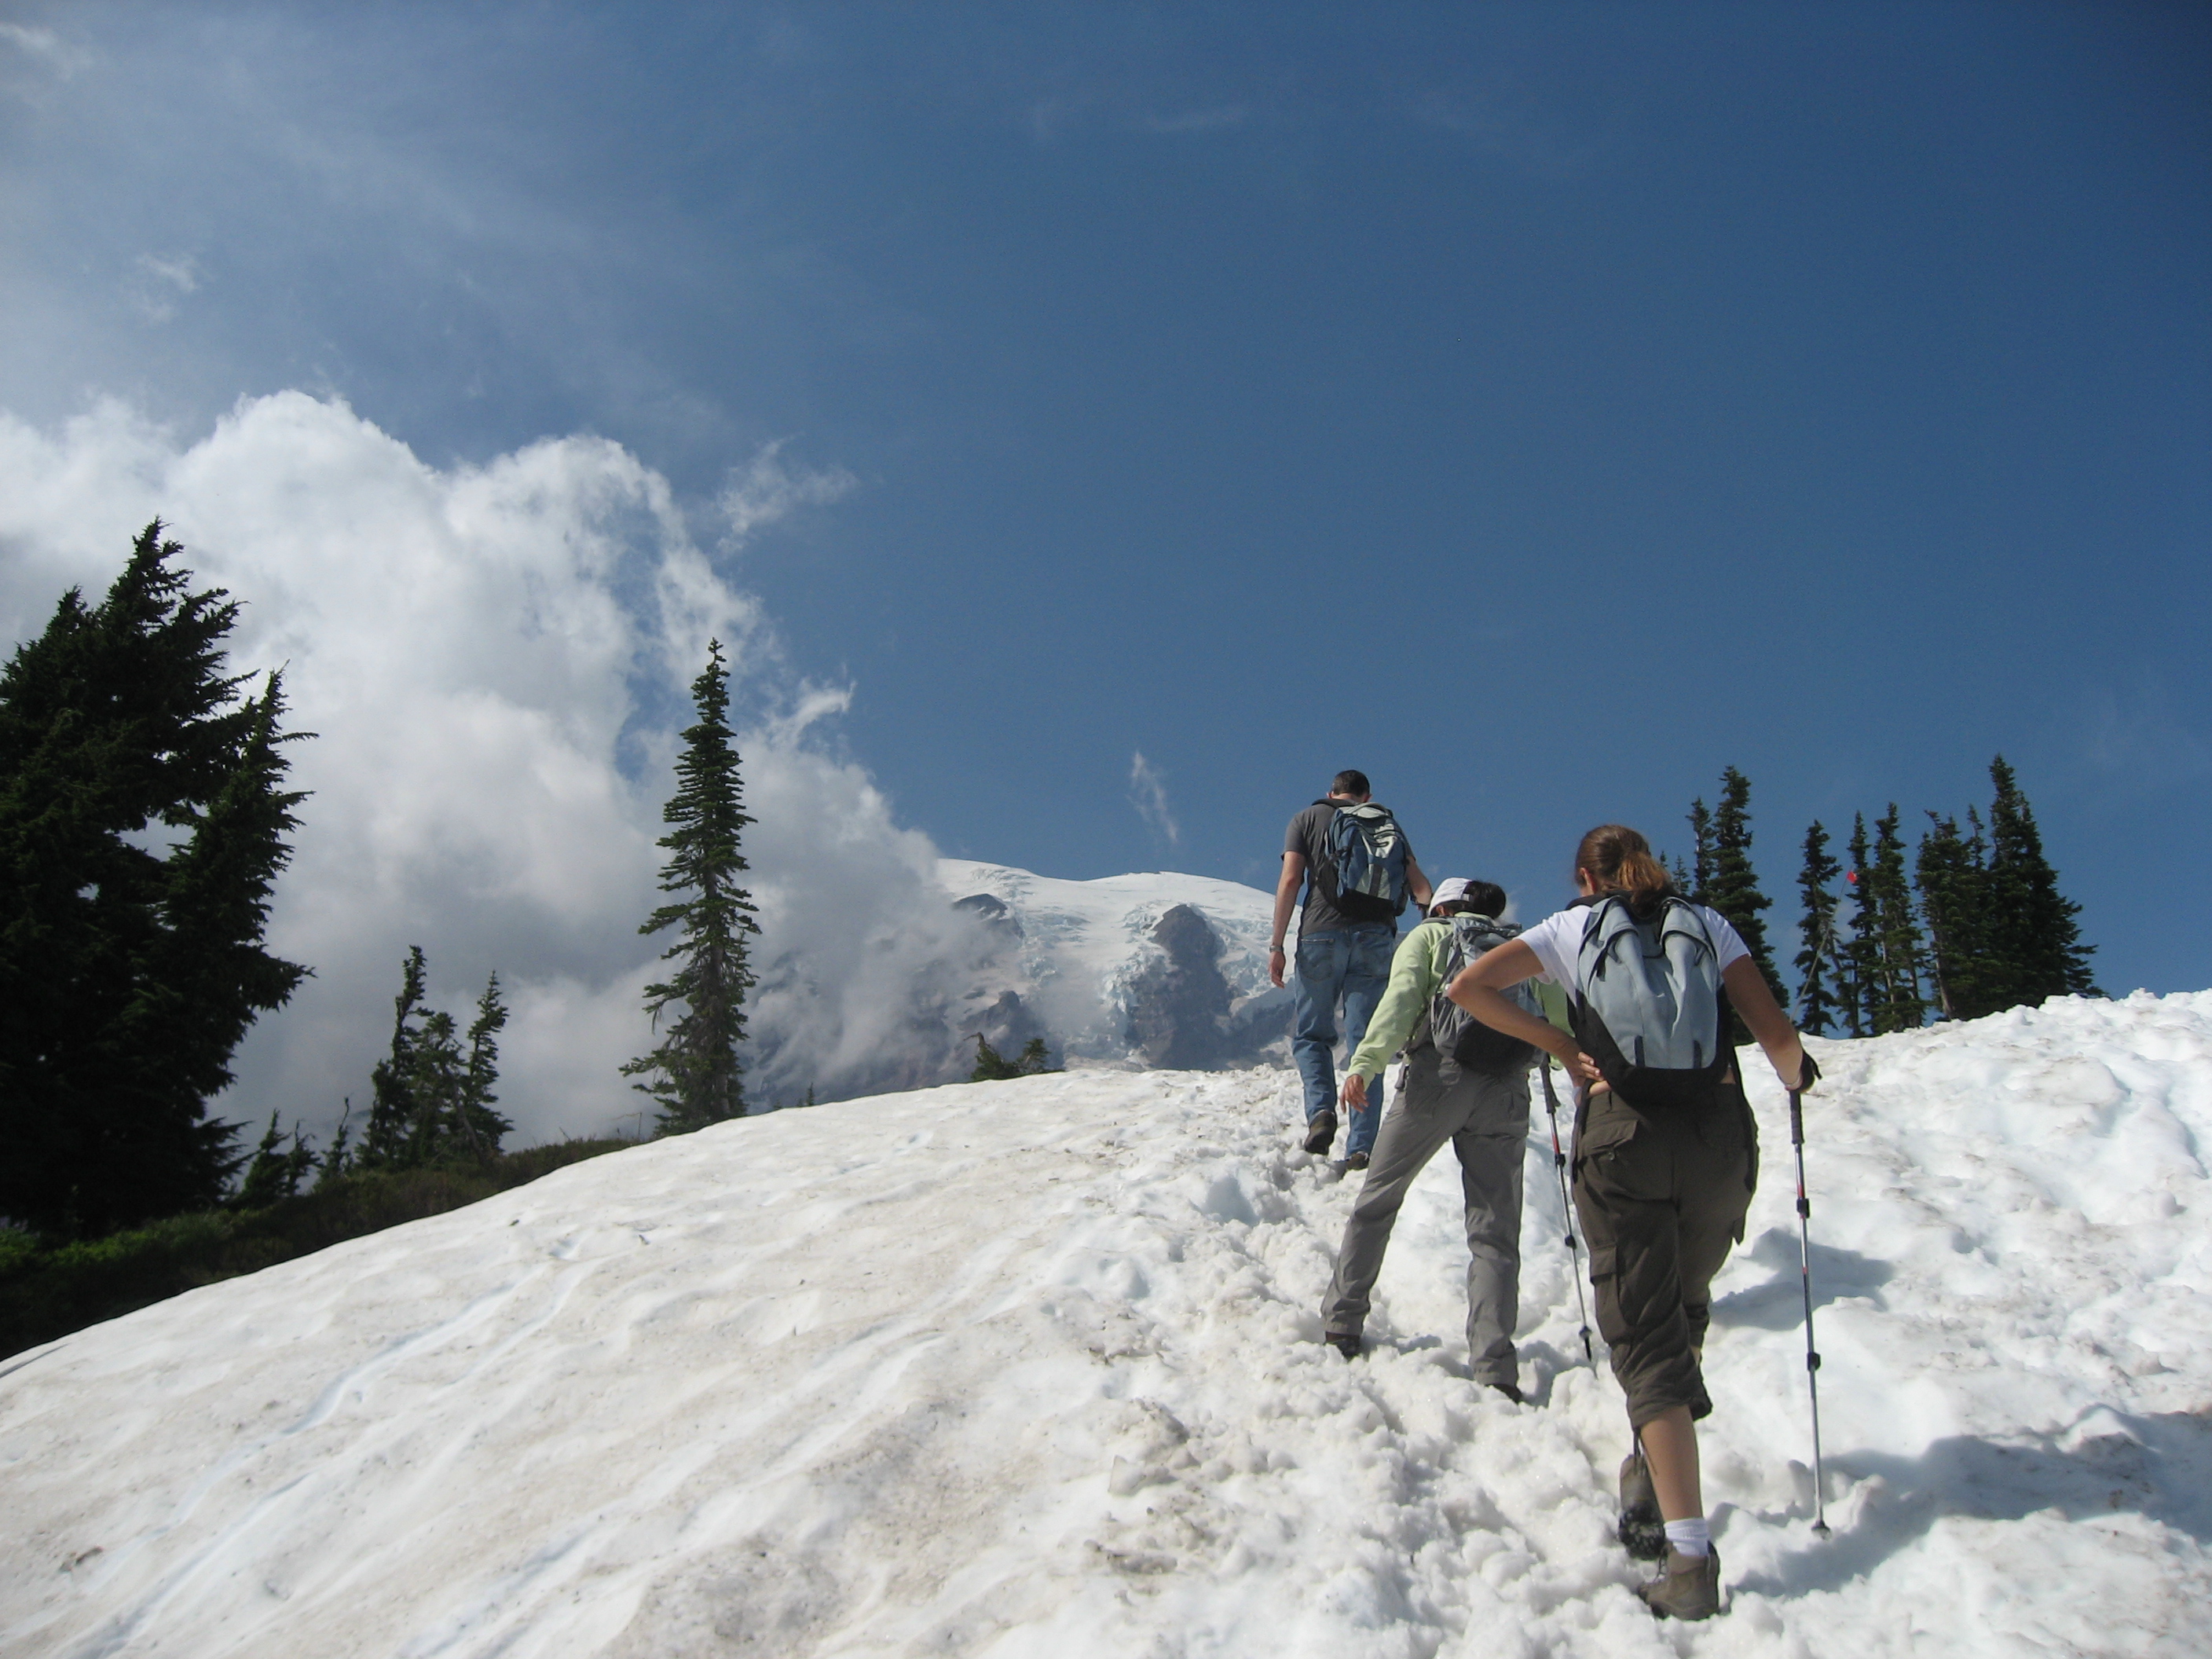
Example 2: Blending a Penguin into Snow
I used the standard Poisson blending approach above to blend the penguin image into the snow image to get the following blended image.
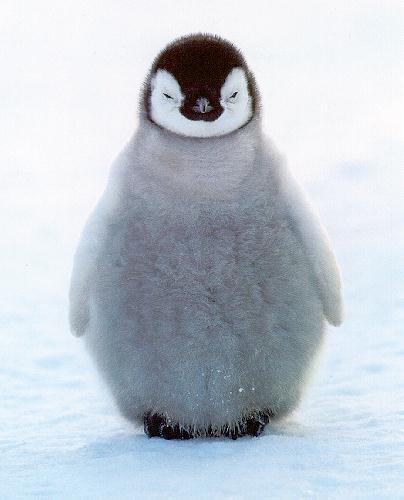
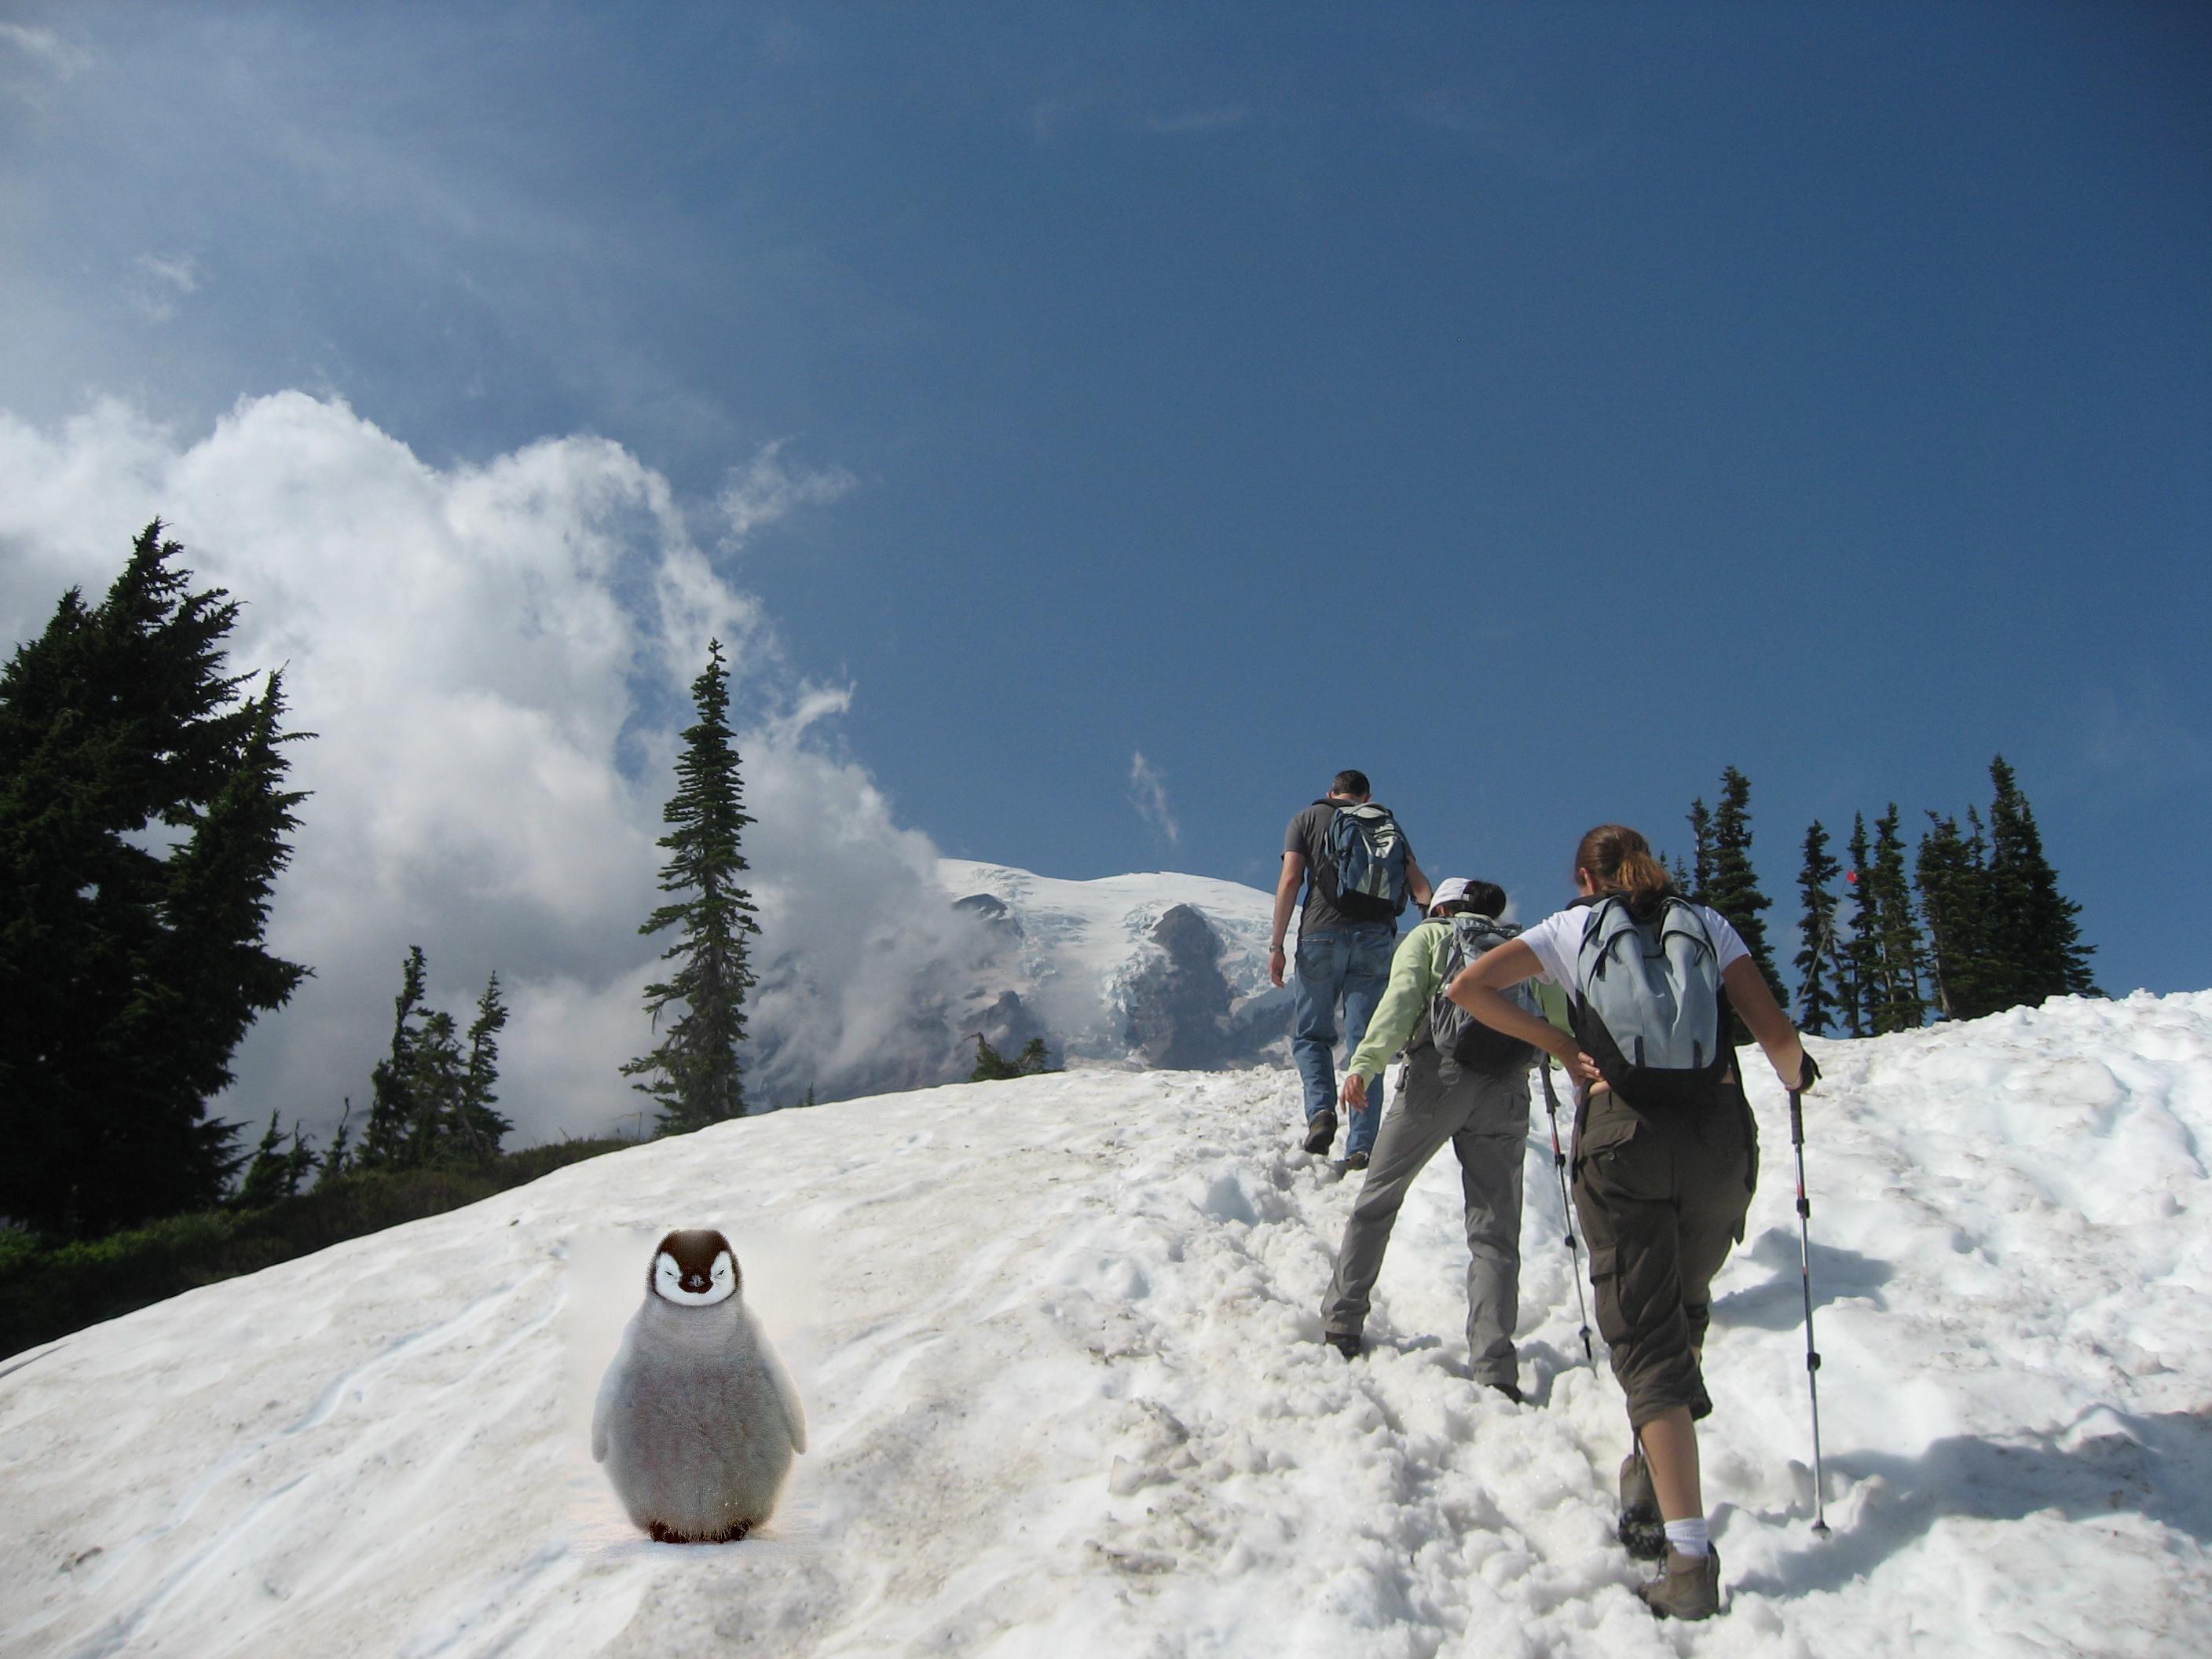
Example 3: Blending a Penguin Chick into More Snow
I again used the standard Poisson blending approach above to blend a penguin chick into a differnt snow image to get the following blended image.
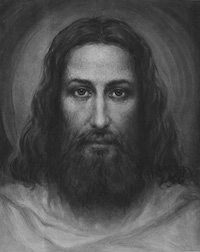
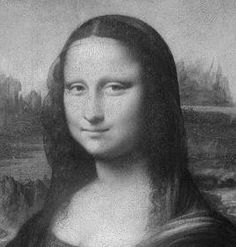
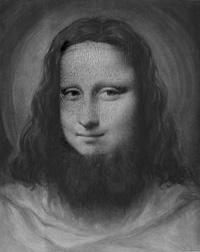
Example 4: Blending Jesus and the Mona Lisa
I once again used the standard Poisson blending approach above to blend the image of Jesus' face and the Mona Lisa. Although these two images are not ideal candidates for blending (since the orientation of the two faces is different), I chose to do this to see if the blending would work. All in all, it worked ok, although the beard and the left edge of Mona Jesus' face are a little weird.
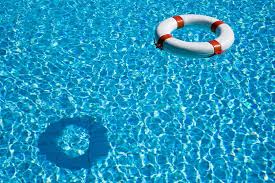
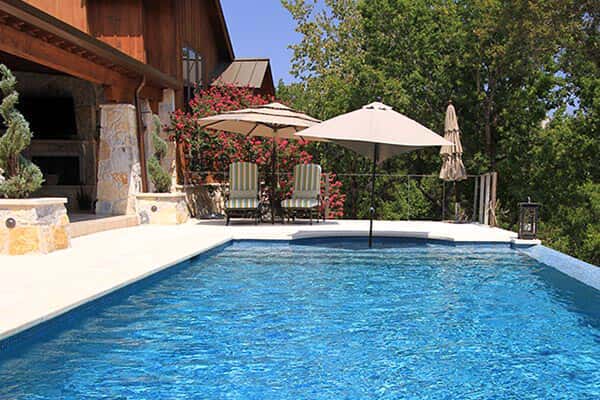
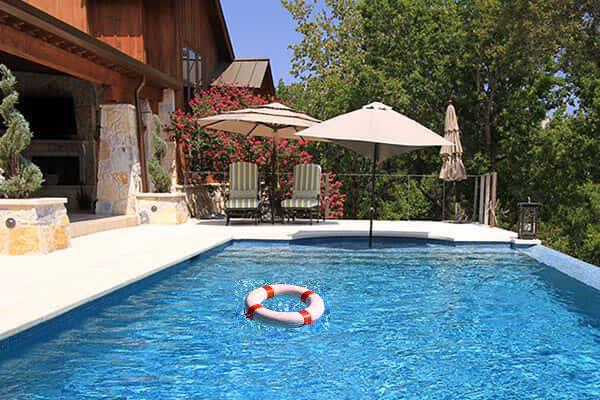
Example 5: Blending A Lifesaver into a Pool
I once again used the standard Poisson blending approach above to blend the image of the lifesaver into a pool.
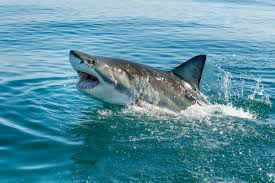
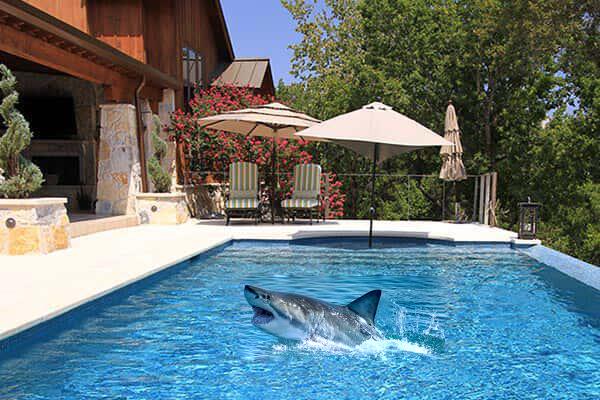
Example 6: Blending A Shark into a Pool
I once again used the standard Poisson blending approach above to blend the image of the shark into a pool.
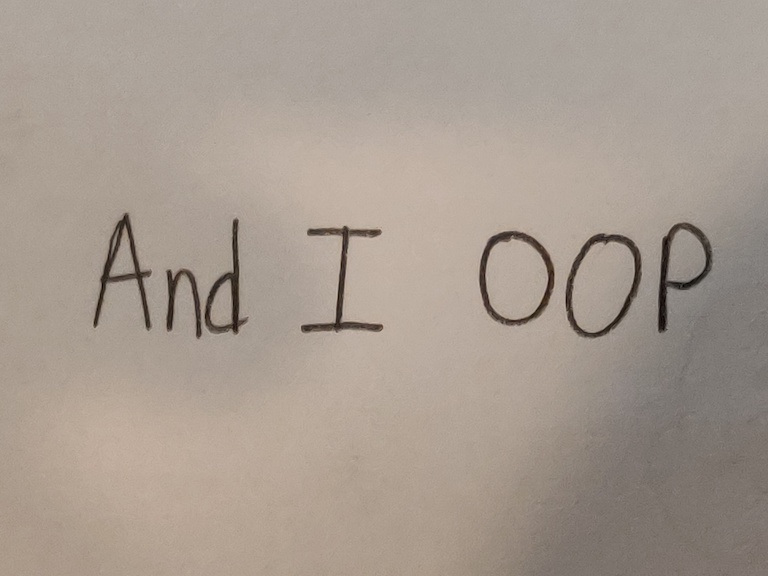
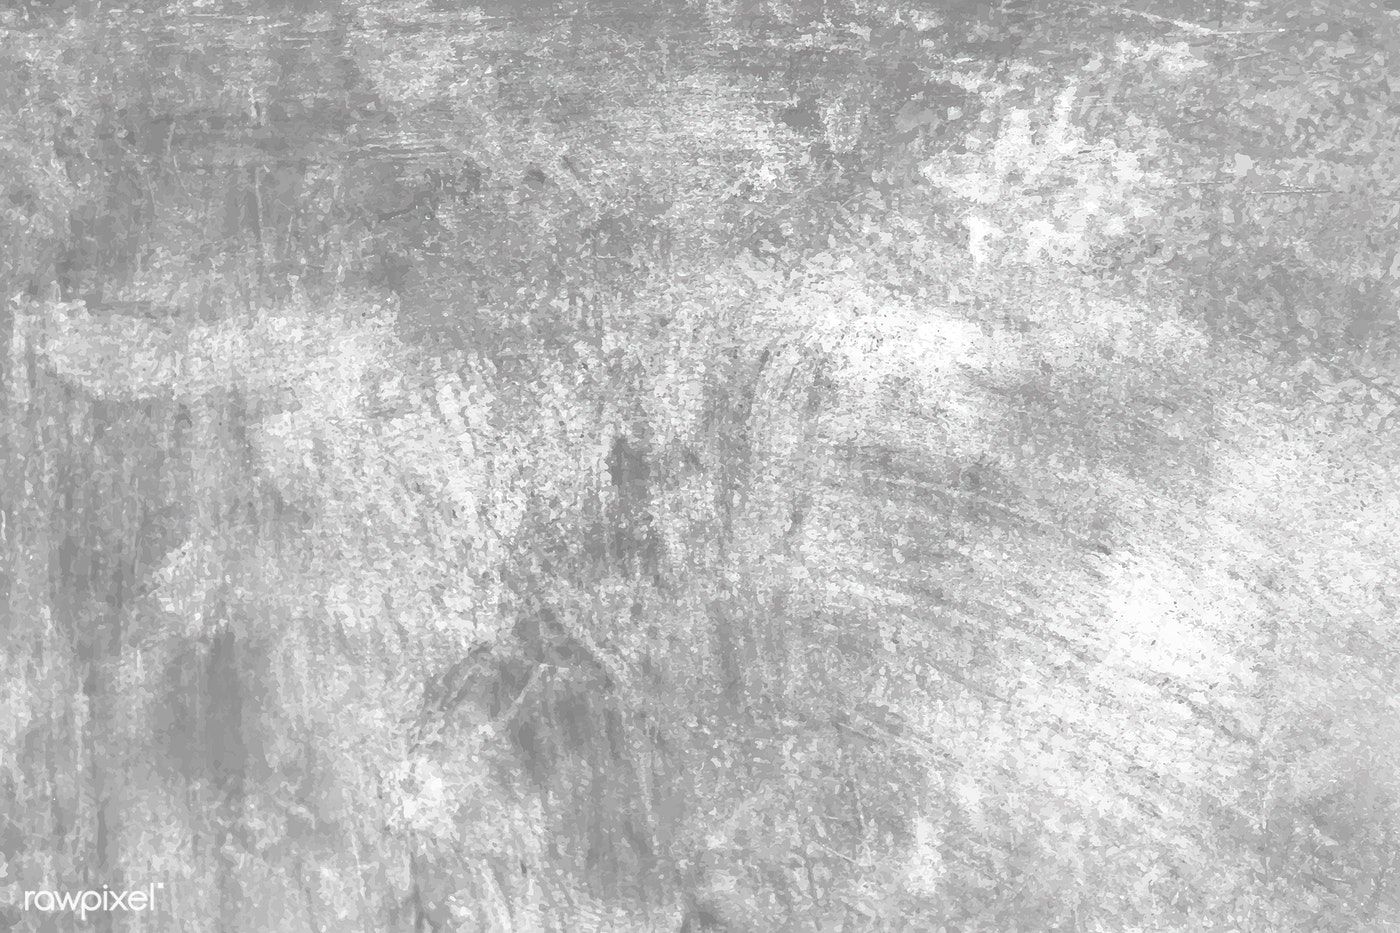
Example 7: Blending Handwriting onto a Textured Background
As described above, I used a couple approaches to try and blend these images (though none were as ideal as I would have liked). In order are the original images, the standard Poisson blended image, the image blended with the standard mixed gradients Poisson blending technique, and the image blended with the thesholding approach described above (param=40).
All images taken from the examples provided with the project or from Google Images. I manually resized some of the source images so they would fit in the target images.
Thanks to the course staff for a great semester and a fun course, and for adapting to everything that happened this semester!