Seam Carving
Overview
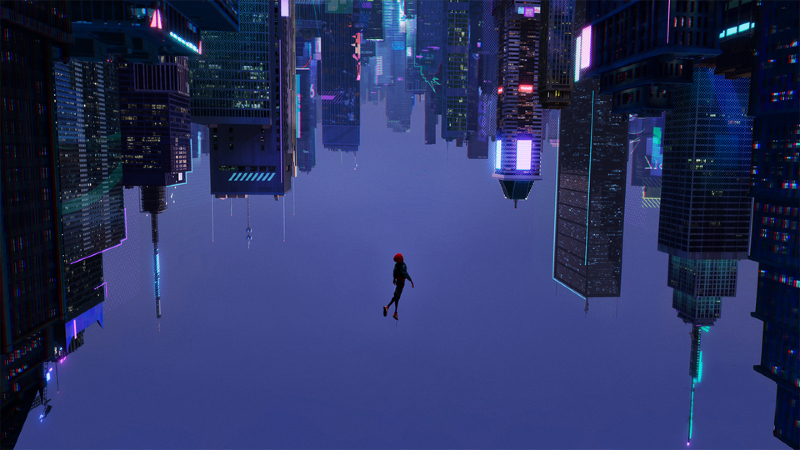
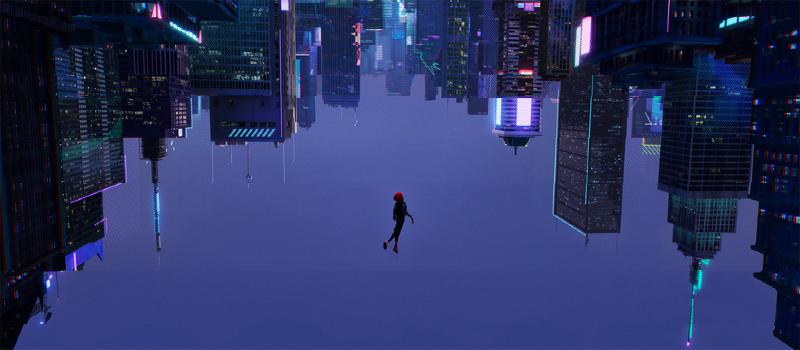
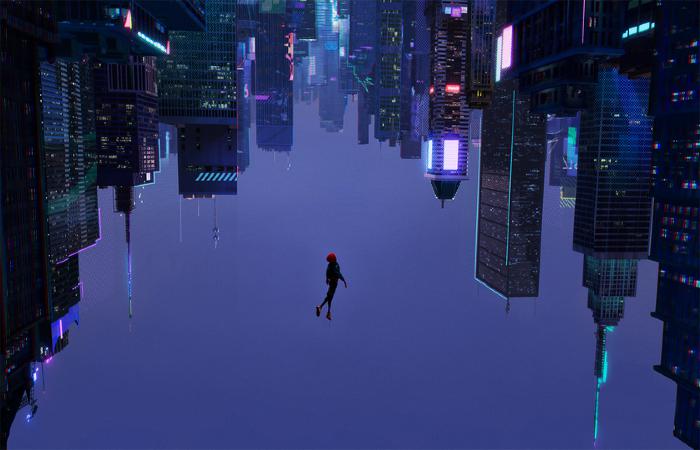
Our objective is to implement the basic algorithm presented in Seam Carving for Content-Aware Image Resizing by Shai Avidan and Ariel Shamir. Given an image, we want to shrink it horizontally or vertically without losing the important bits. We can do this by identifying the lowest-importance seams and removing them until we reach our desired size. An efficient way of accomplishing this is through dynamic programming. Below is an example of horizontal and vertical seam carvings on a shot from Spider-Man: Into the Spider-Verse.
| Original | Horizontal Seam Carving | Vertical Seam Carving |
|---|---|---|
|
|
|
Method
Energy Matrix
The first step in seam carving is building our energy matrix. We want to measure the energy of each pixel in our image by summing the squared difference between its 1. left and right pixels, and 2. top and bottom pixels. We remember that each pixel has a R, G, B channel representation. So for example, calculating the squared difference between a pixel's left and right pixels requires calculating the squared difference for each channel and summing the respective squared differences.
Finding and Removing the Minimum Seam
Now that we've built our energy matrix, we want to find the seam running through the picture that has the lowest energy. While it might seem easy to just find the minimum energy pixel of each row in the image to find a vertical seam, this method won't work. A seam must be a "connected path" so that if we're looking for a vertical seam, our next pixel can only be a maximum 1 pixel to the left or right of our previous pixel in the seam. To achieve this effect, we use dynamic programming. We create an empty matrix with the first row filled out with their corresponding energy values. Then, we work through the rest of the matrix, storing in each entry the minimum of three possible branches- that our previous pixel above us was 1. directly above, 2. left and above, or 3. right and above. When our matrix is filled out, the minimum value of our last row reveals our minimum seam, which we can trace the path of using pointers we stored. Removing the seam is simple. Just copy all pixels (except for the ones included in our seam) into a new image matrix. This procedure can be adapted for horizontal seams by rotating our image prior to processing.
Results
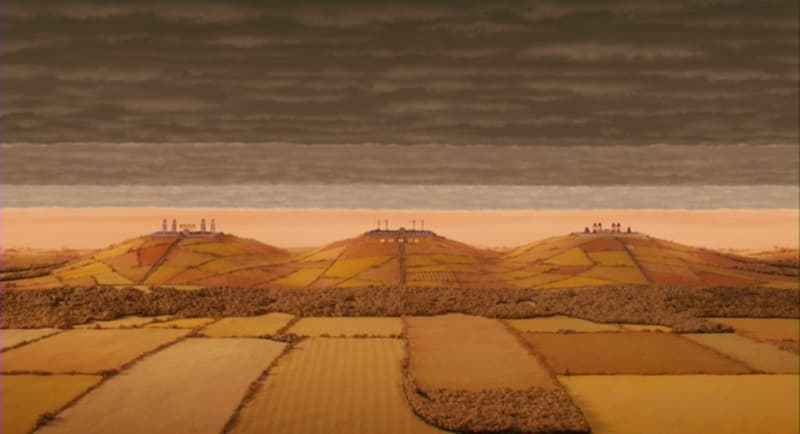
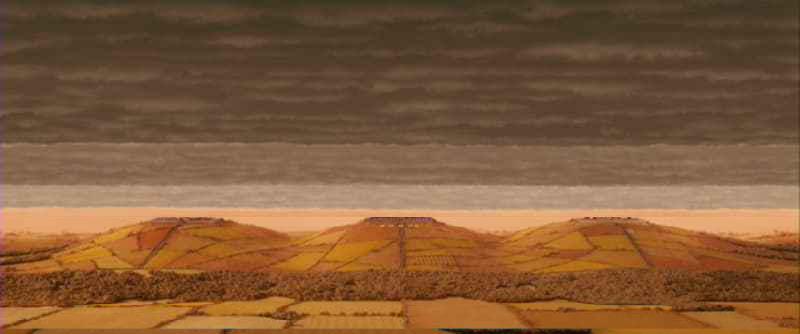
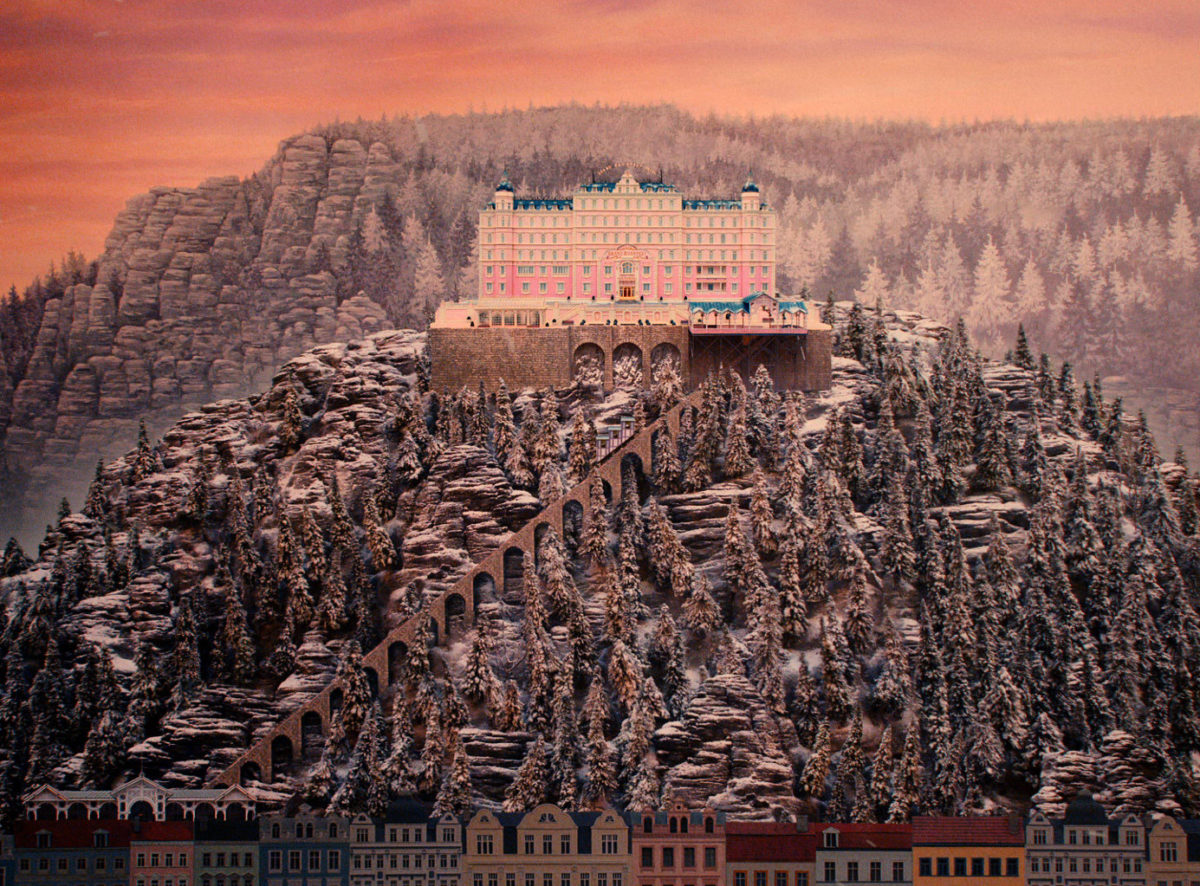
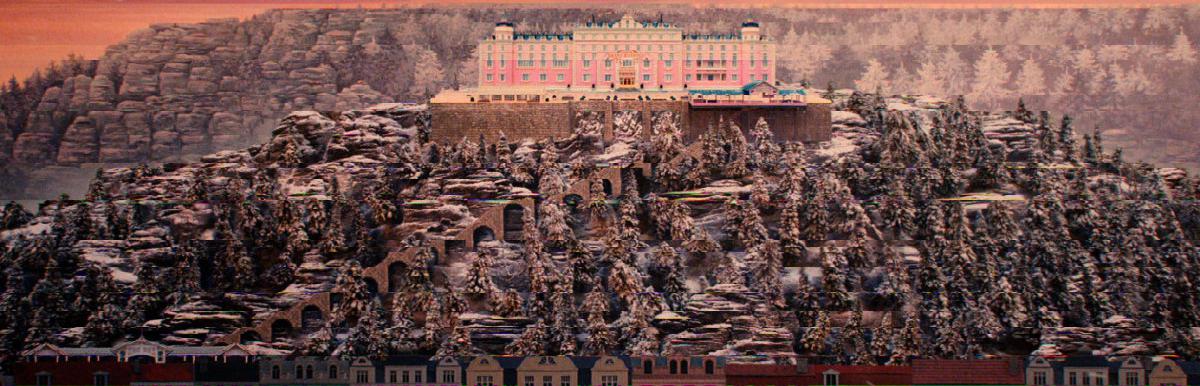
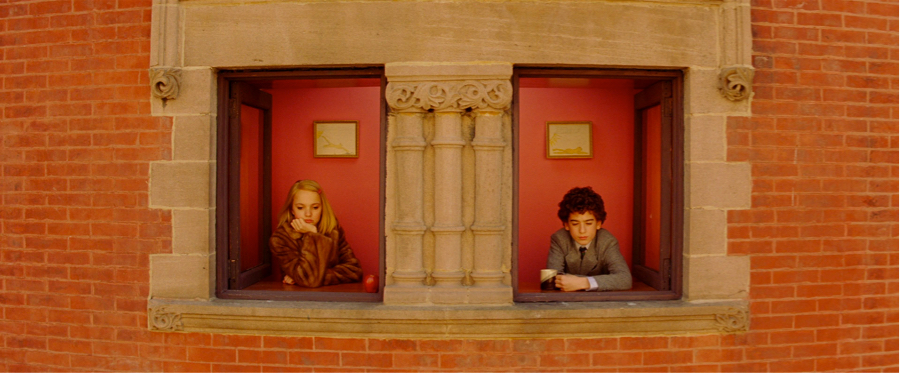
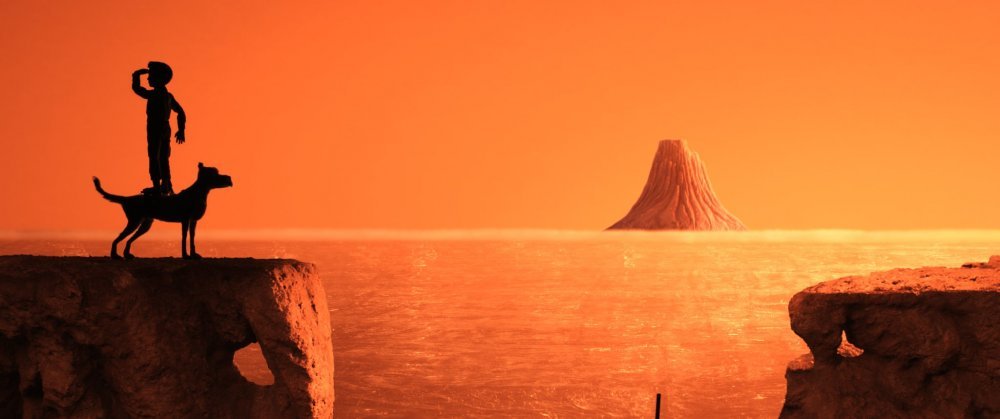
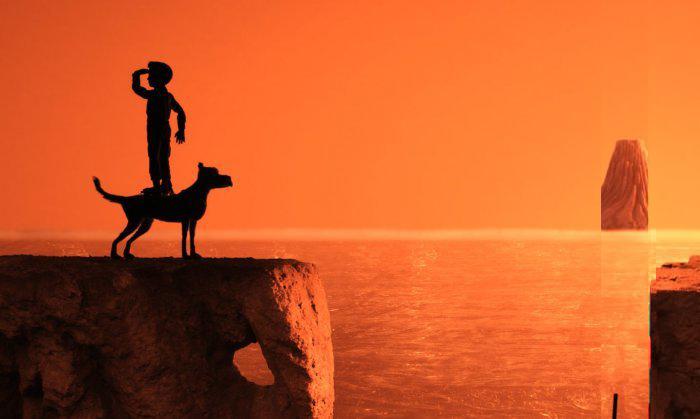
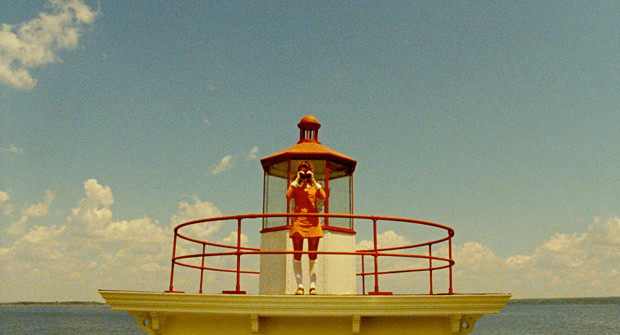
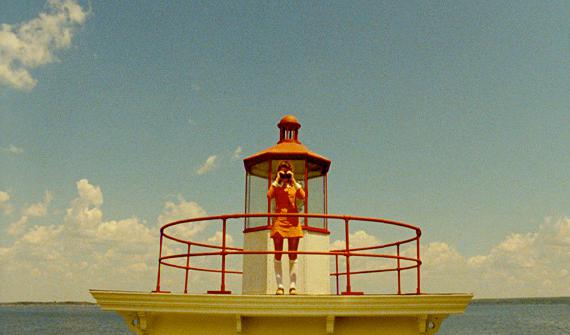
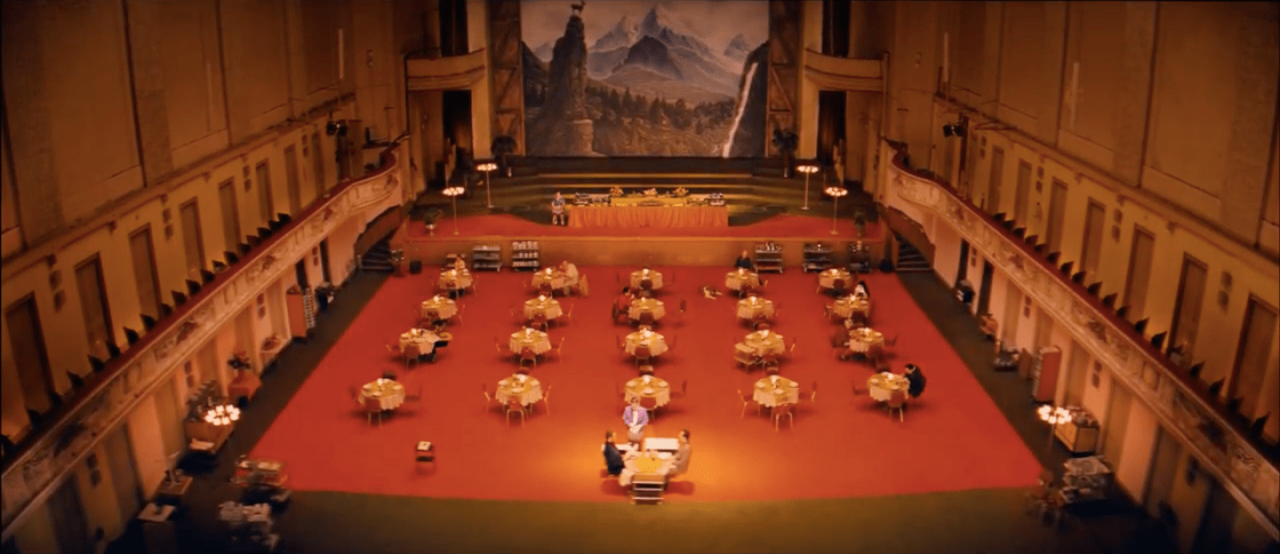
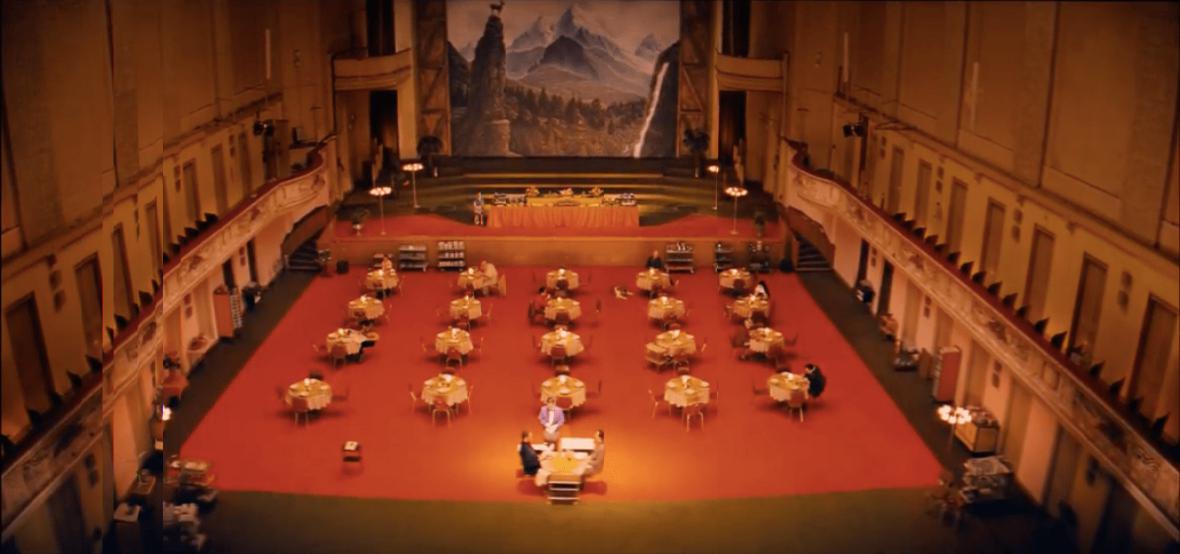
I chose to try seam carving on some shots of Wes Anderson movies. He's known for using a lot of wide angle, negative space, and symmetry in his style so I thought it would be interesting to see how seam carving might exaggerate or lessen the aesthetic. For the most part, seam carving did a good job of deleting the negative space and conserving the important parts of the images (dogs, people, hotels, lighthouses, etc). However, there were some failures where artifacts appeared. In one image, the fox's proportions were distorted. In another, the walls of the building show very apparent artifacts.
Successes
| Original | Horizontal Seam Carving |
|---|---|
|
|
|
|
| Original | Vertical Seam Carving |
|---|---|
|

|
|
|
|
|
Failures
| Original | Horizontal Seam Carving |
|---|---|
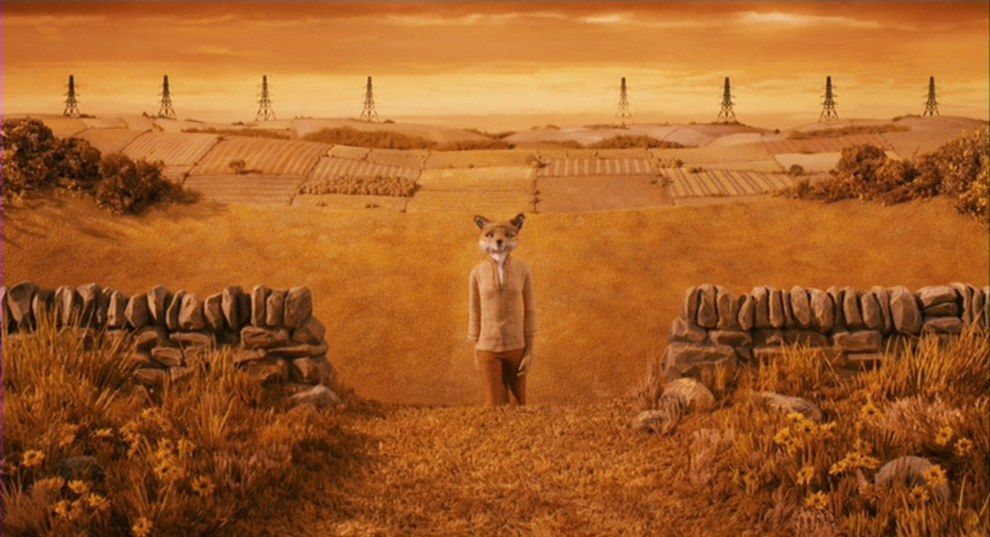
|
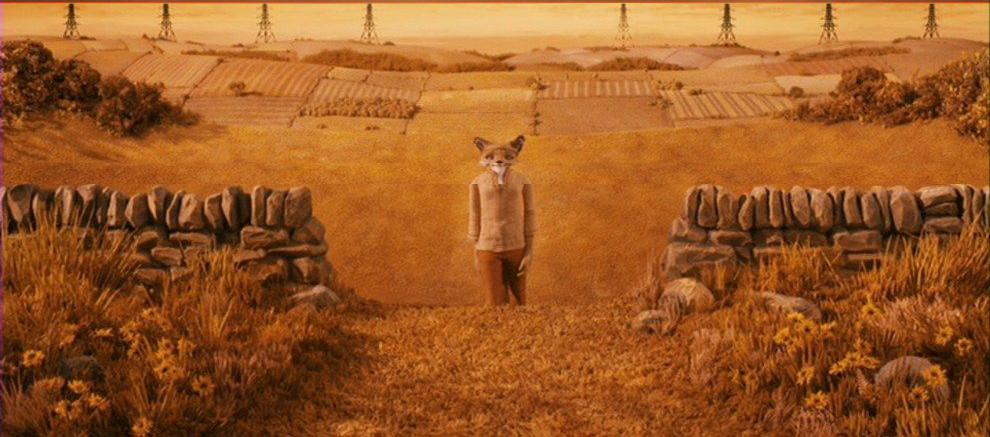
|
| Original | Vertical Seam Carving |
|---|---|
|
|
Bells and Whistles: "compose and photograph an engaging scene"
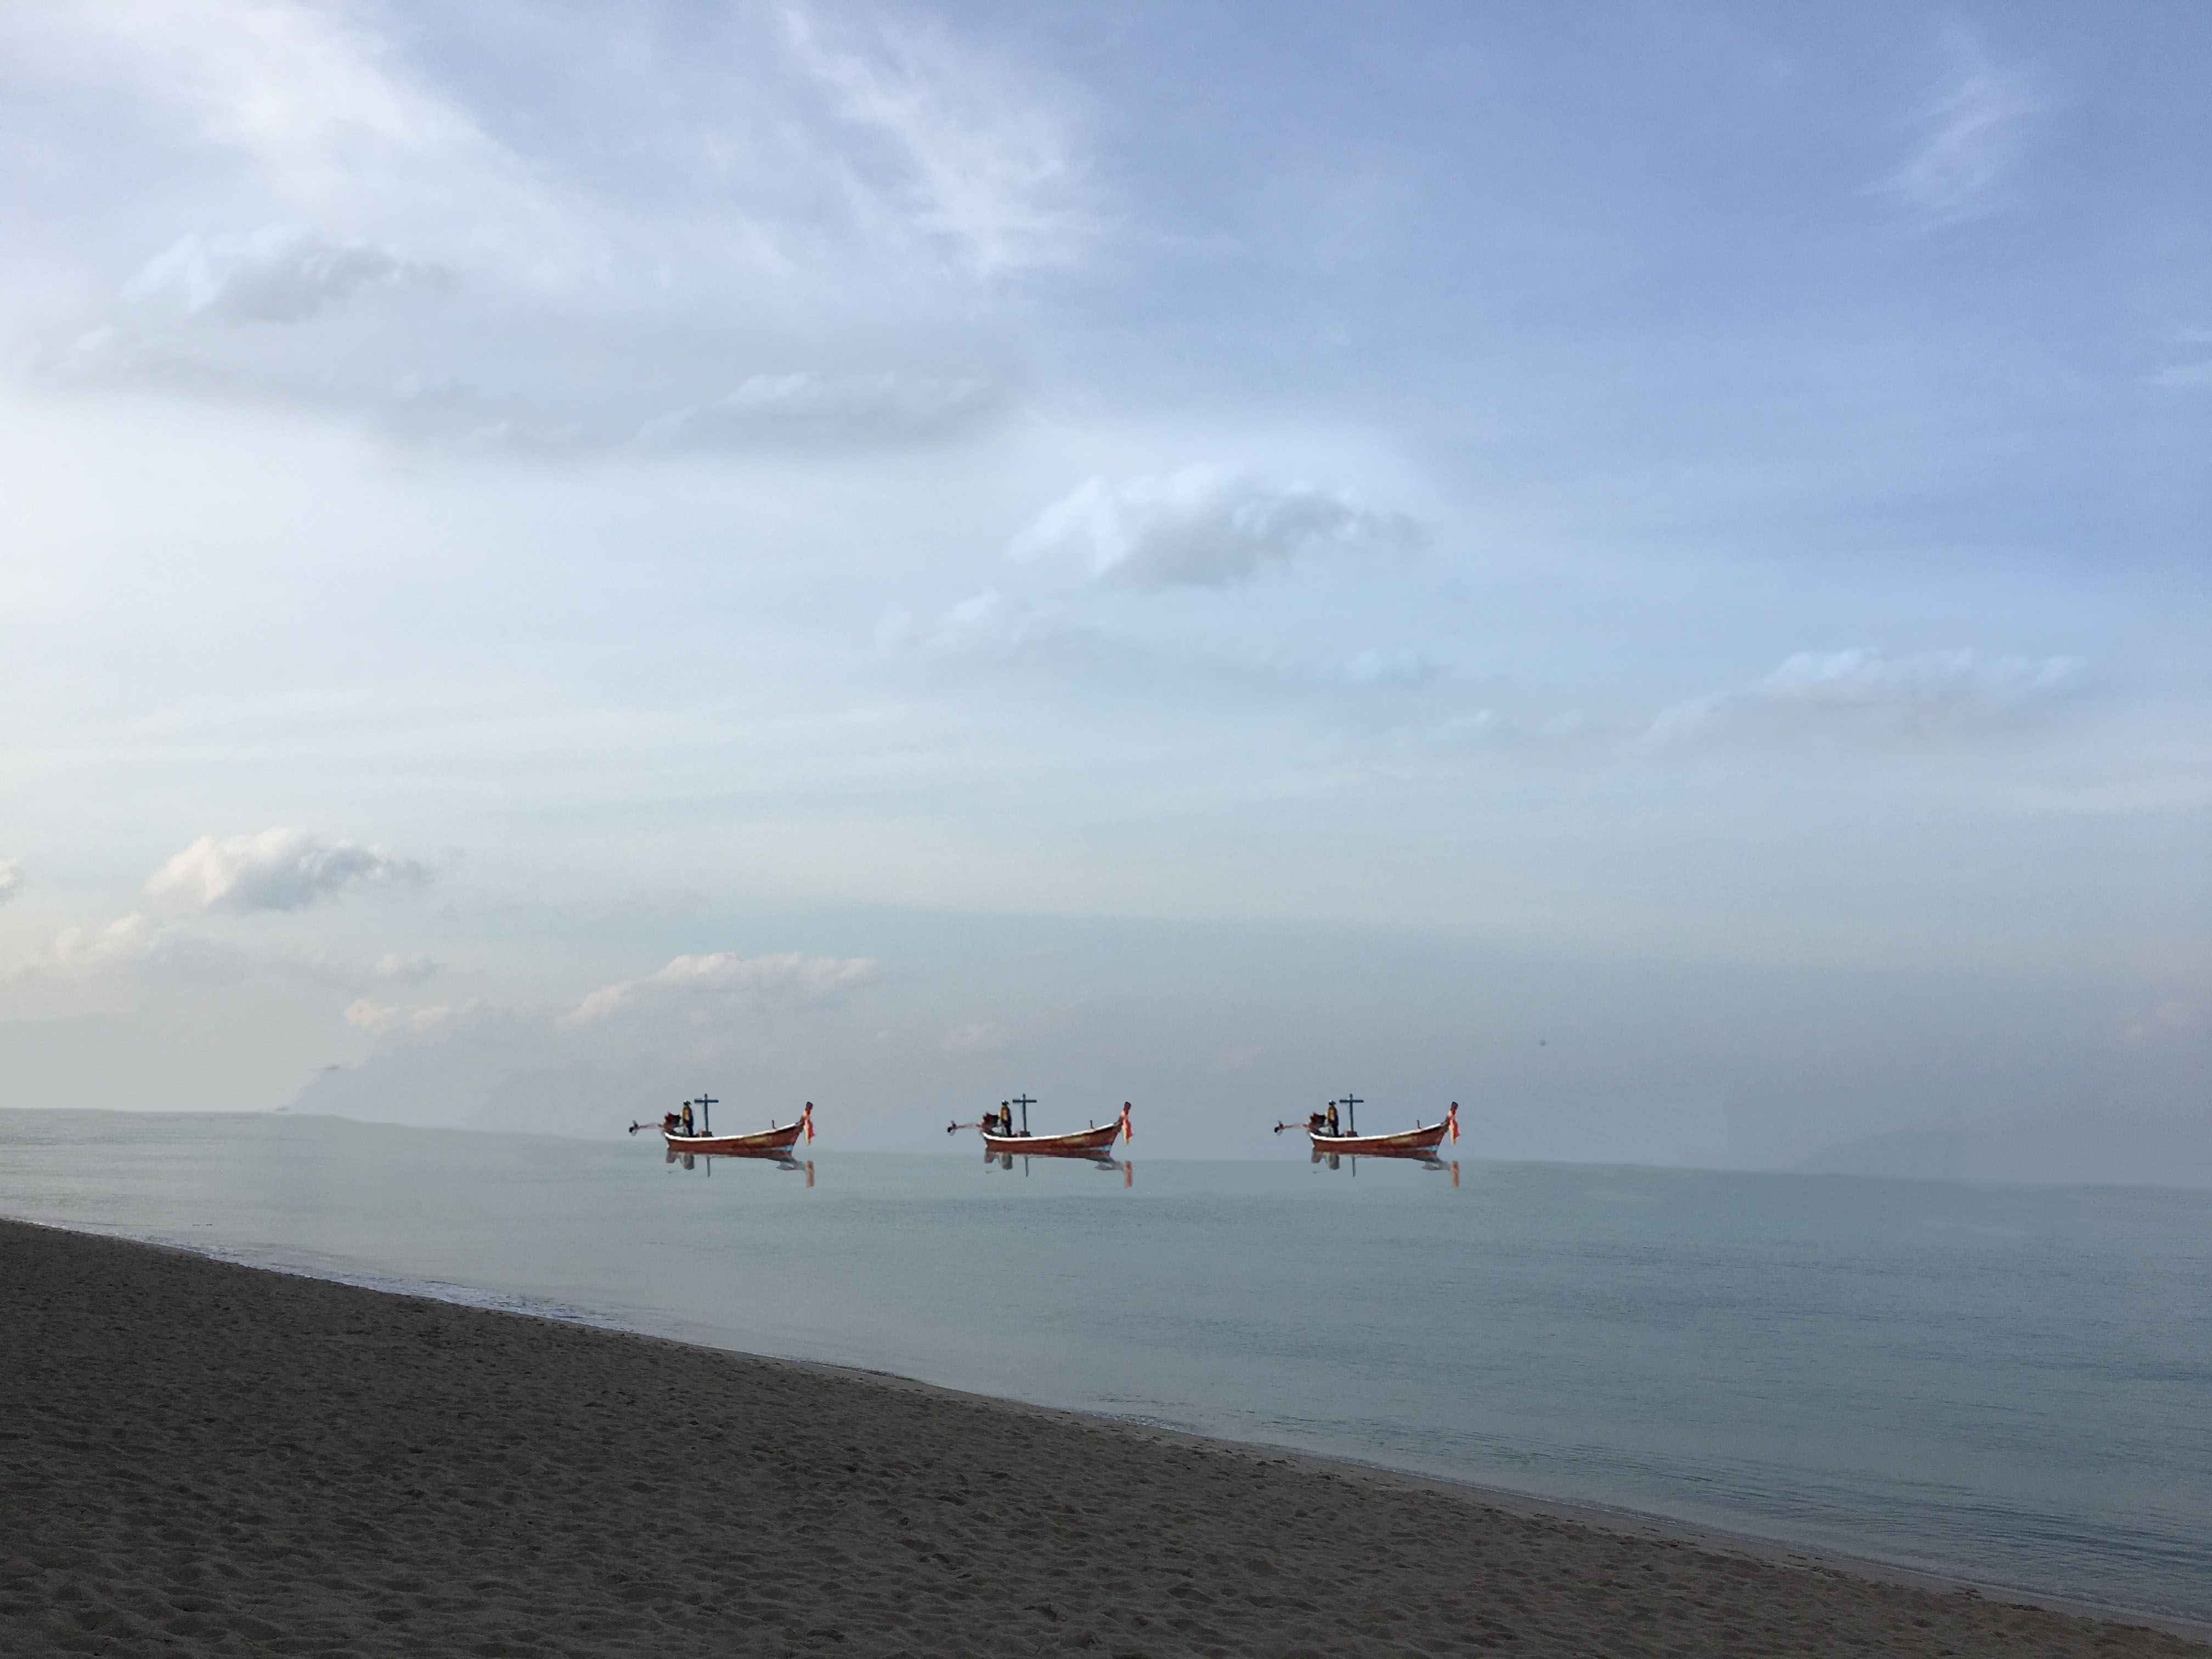
For my bells and whistles, I decided to use a photo I had taken in Thailand and see what I could do using seam carving vs. photoshop. My goal was to get rid of the negative space and create a composition with a main subject. With seam carving in either directions, it's still hard to make out details of the image. For example, the boat in the distance is still too small. There are also parts of the image that I'd want to get rid of, such as the land in the background and the buoy lines. In my photoshopped version, I decided to enlarge and duplicate the boats, remove the shoreline, and duplicate clouds in the sky.
| Original | Horizontal Seam Carving | Vertical Seam Carving |
|---|---|---|

|

|

|
| Photoshop Creation |
|---|
 |
Reflection
The most interesting part of this project was implementing the dynamic programming and getting to understand how much more efficiently we could find our minimum seam paths. Experimenting with input images was also fun. I'm definitely surprised with how well the Grand Budapest Hotel seam carving turned out.
Lightfield Camera
Overview
Now, let's explore lightfield cameras by implementing the procedure described in “Light Field Photography with a Hand-held Plenoptic Camera” by Berkeley Professor Ren Ng. We'll see how we can refocus and adjust apertures of images if we capture multiple images over a plane orthogonal to the optical axis. We'll use images from the Stanford Light Field Archive.
Depth Refocusing
If we look at our set of sub-aperture images, we see that the objects far away from the camera don't vary in position as much as the objects closer to the camera. Using shifting and averaging, we can produce an image that is focused at certain depths. For example, if we average all sub-aperture images with no shifting, we get an image that is focused around the objects furthest from the camera and blurry around the objects closest to the camera. Now, if we increment our shift and then average the sub-aperture images, we can shift the focus closer towards the objects closest to the camera.
In order to achieve this, we first find the coords given by each sub-aperture image's filename. We calculate the offset from the sub-aperture image coords to the centermost sub-aperture image coords, and assign this to (u,v). We choose some constant, C to shift our sub-aperture image by C*(u,v). Then, we average on all shifted sub-aperture images to create our refocused image. As we see in the gif, our focus moves closer to the objects closest to the camera as we increase our constant, C from the range 0 to 0.5.
Aperture Adjustment
In order to replicate the effect of changing our aperture, all we need to do is average on a smaller subset of images. We choose which sub-aperture images to average on by choosing a radius and selecting sub-aperture images within the radius which is centered on the centermost sub-aperture image. We keep C constant at C = 0.2 this time to steady the focus as we change our aperture by incrementing/decrementing our radius. The shifting and averaging procedure is as described in the section above. As we can see in our gif, the aperture closes and opens on one focus point.
Reflection
It's cool to see how it's possible to readjust focus and aperture after taking an image given sufficient data. Being able to post-process images this way gives photographers a lot of flexibility, so it was fun getting to actually understand the process behind lightfield cameras!