Final Project: Image Quilting & Seam Carving
Omkar Waingankar - Spring 2020
Image Quilting
Overview
This project is comprised of two significant components: implementing general texture synthesis, and then leveraging those subroutines to perform texture transfer. Texture synthesis refers to the process of taking an original image of a texture (say a field of flowers, a page of a book, or a neatly shelved bookcase) and generating a larger image of that texture which possesses the same order statistics as the original. Transfer, then, is the process of repainting a target image using a different source image/texture (e.g. imprinting one's face in rice or grain).
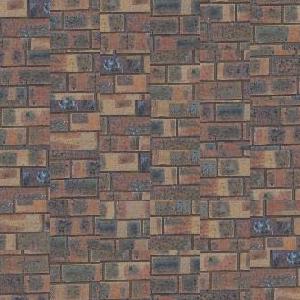
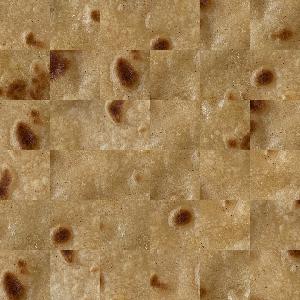
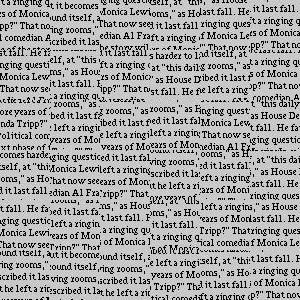
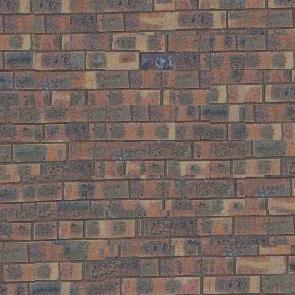
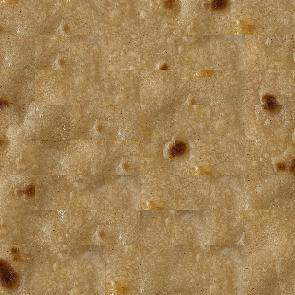
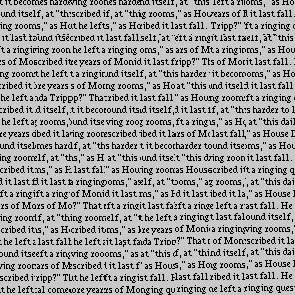
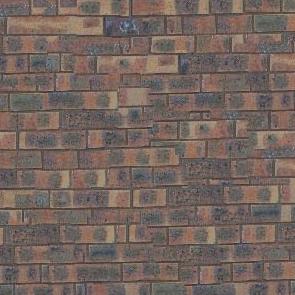
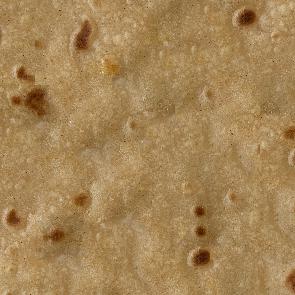
Here are some sample textures that we will be testing various phases of our texture synthesis algorithms with.
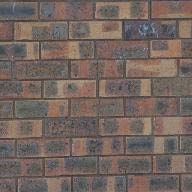
Bricks
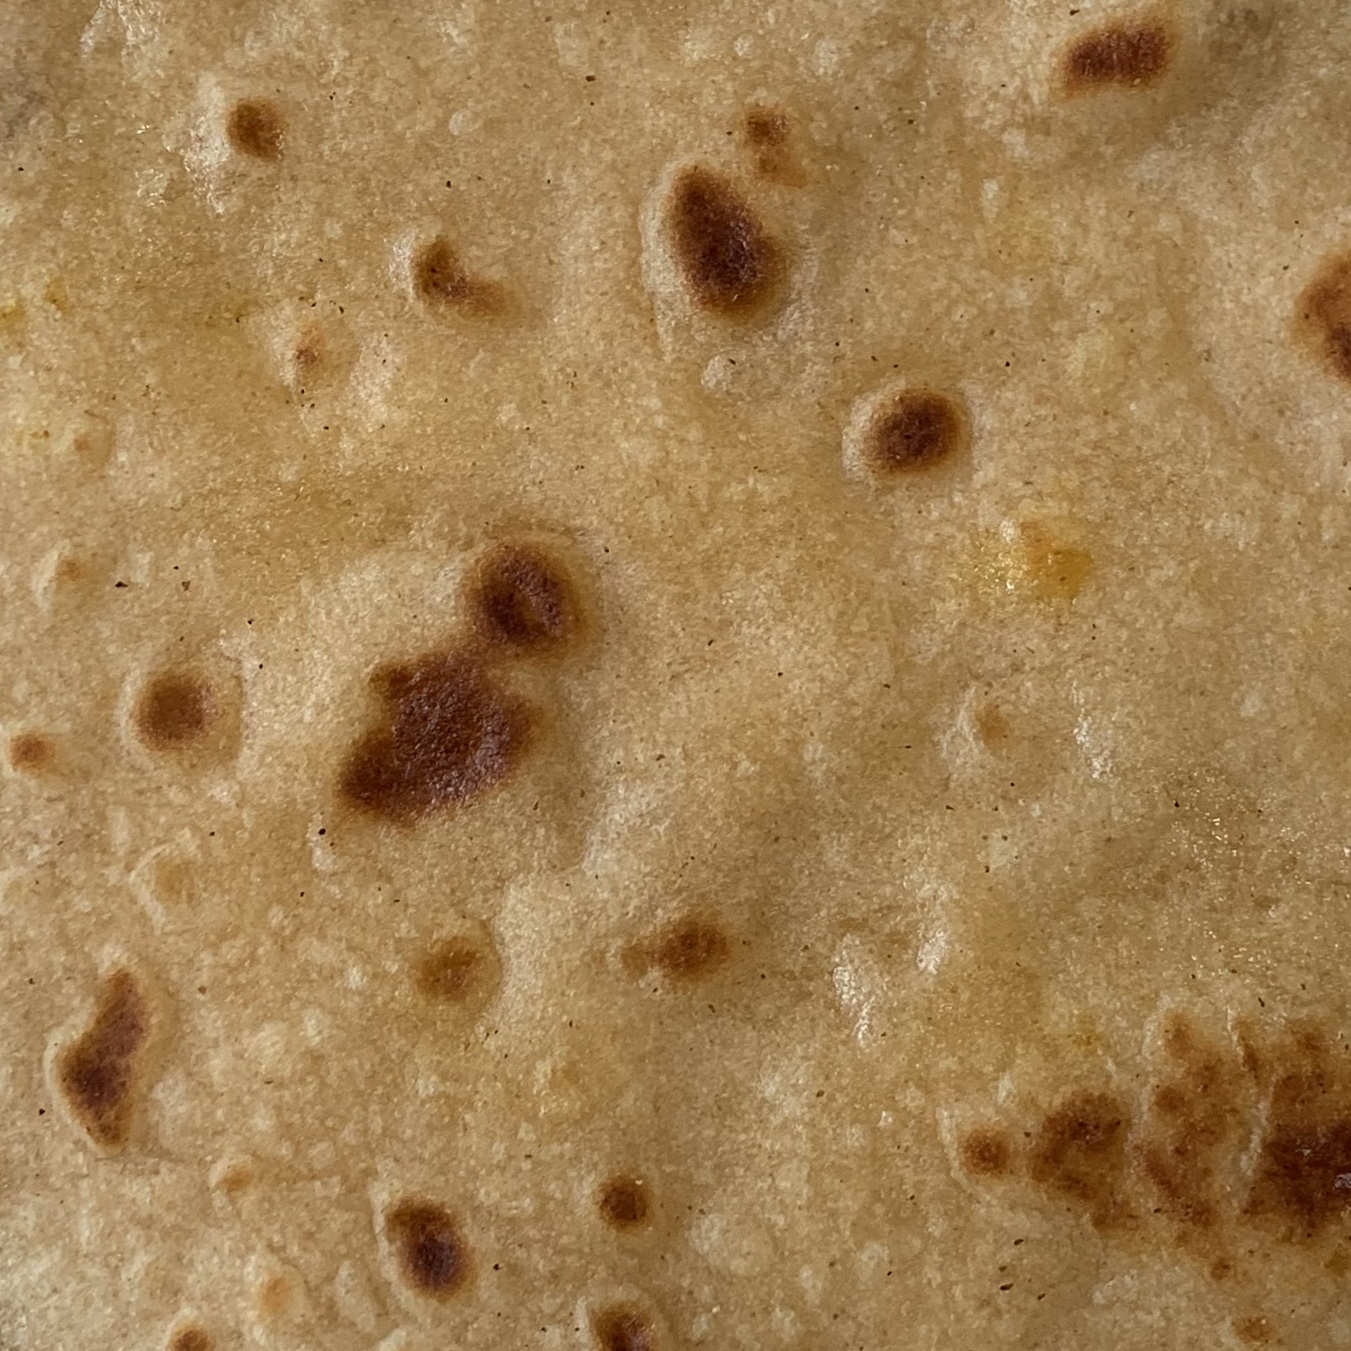
Roti
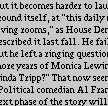
Text
Part 1: Randomly Sampled Texture
As an initial naive attempt at texture synthesis, this algorithm simply selects patches of size "patchsize" and outputs a square texture of dimensions "outsize" x "outsize". As expected, this algorithm performs quite poorly and leaves a great deal of artifacts, particularly at the edges of each patch.
Bricks
Roti
Text
Part 2: Overlapping Patches
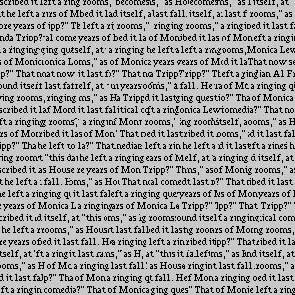
The next improvement we introduce to our texture synthesis algorithm is overlap (of size "overlap" pixels) to the top and left sides of patches. We start by placing a starter texture patch in the top left hand corner, and then for each subsequent patch (proceeding row-wise), we generate a number of potential patches (k=500), and select the patch whose overlap with the existing synthesized texture minimizes some cost function. In the examples below, the cost function used was simply SSD across the area(s) of overlap. The results below are significantly more promising - bricks are aligning much better, text is aligned, and the artifacts at the edges of patches are significantly reduced.
Bricks
Roti
Text
Part 3: Seam Finding
The final improvement we introduce to our texture synthesis algorithm is to find seams across the overlapping area of patches such that the arragement of the patches next to one another eliminates edge artifacts as much as possible. This can be done by computing the pixel-wise cost (SSD) of the overlapping area, and then selecting a seam (consecutive path from top to bottom or left to right) such that the path takes the minimum cost. To illustrate further, shown from left to right are the two areas of overlap from the existing synthesized texture & the new patch we intend to introduce, a visualization of the cost at each pixel, and lastly the optimal path through this energy map.

Existing Synthesized Texture Overlap

New Patch Overlap

SSD of Overlap Error

Minimum Path
As shown below, this addition to our algorithm essentially eliminates all edge artifacts across each of the three texture samples, giving us the best results thus far.
Bricks
Roti
Text
Part 4: Texture Transfer
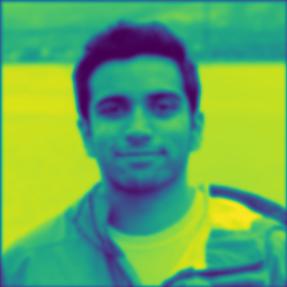
Now that our subroutines for texture synthesis have been refined, we can proceed to texture transfer. For the most part, our algorithm from the previous part will remain largely the same; however, we will introduce a new term in the calculation of the cost to account for the target image. This term will be the SSD of the difference between the lumosity of the new patch we are adding to our exsiting synthesized texture and the lumosity of the patch of the target image at those corresponding pixels. In this manner, we will be selecting patches whose brightness best approximates that of the target image, and thus should be able to re-draw the target with another texture (the extent to which we fit to our target image can be tweaked via a hyperparameter, alpha). Below are examples of the lumosities of a target image and a sample texture; it is critical that the sample texture have enough variation in its lumosity to approximate the target well.

Omkar (Target)
Blur Lumosity (Target)
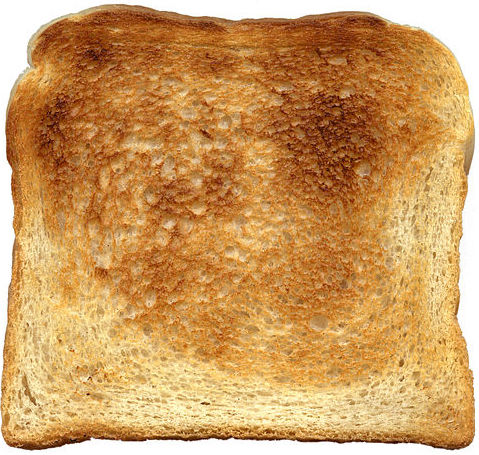
Toast (Source)

Blur Lumosity (Source)
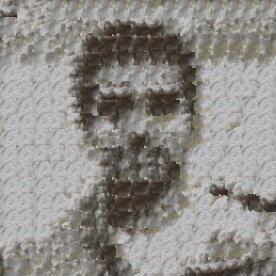
Picture below are the results of transferring various textures to the target image above (me).

White Fluff (Source)
Toast (Source)
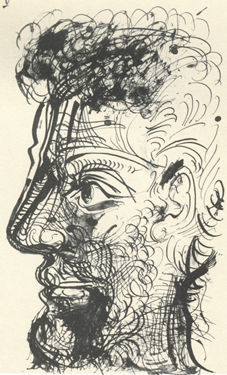
Squiggly (Source)
Fluff Omkar
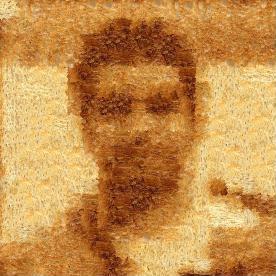
Toasty Omkar
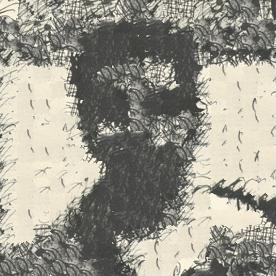
Squiggly Omkar
Bells & Whistles
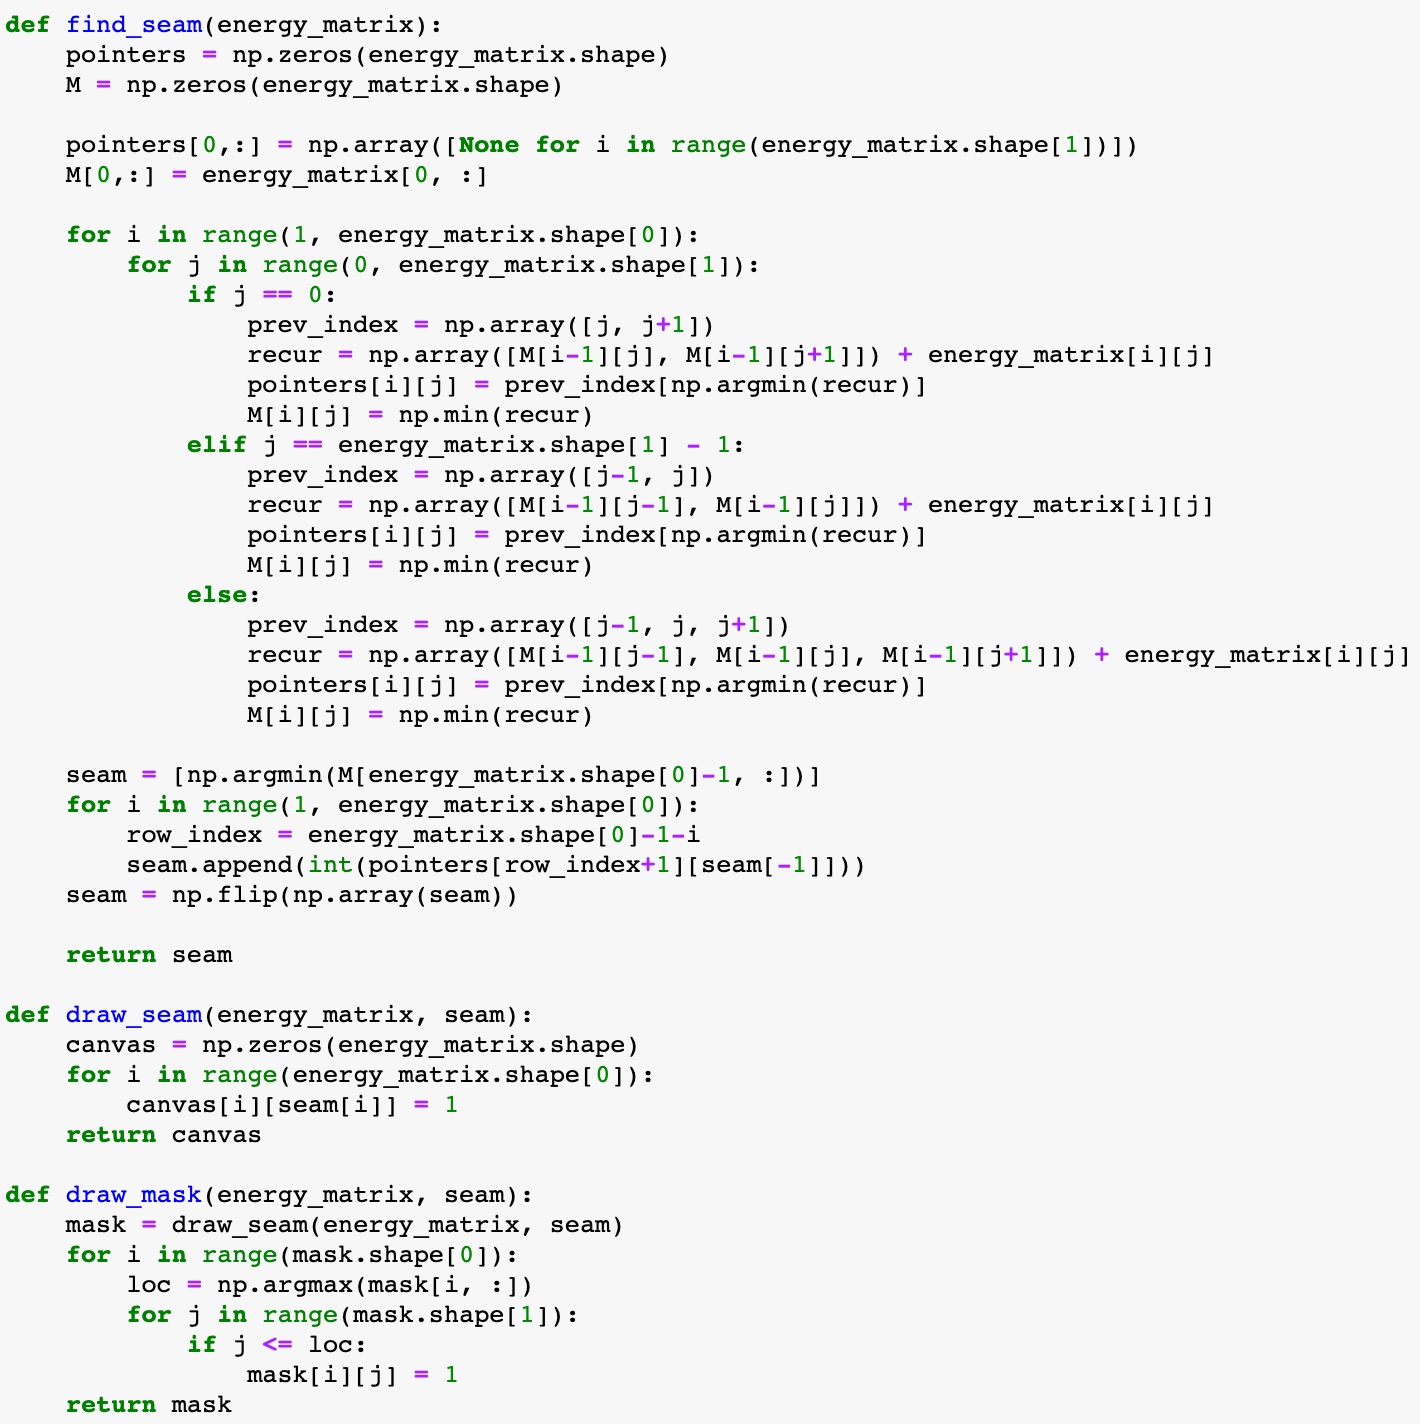
One of the bells and whistles I chose to implement for this pre-canned project was the implementation of the provided file "cut.m" which was responsible for both finding a seam and generating a mask for the two sides of the seam. Naturally, since I wrote my project in Python, I had to reimplement this functionality provided to us in a Matlab file. Below is a screenshot of this code segment from my jupyter notebook.
Draw Mask
Seam Carving
Overview
Sometimes we want to shrink images to better fit them into portraits, slide decks, etc. How can we be sure to crop / remove the right information so that as much relevant content and structure in the original image is preserved without artifacts? Enter seam carving - a content aware resizing algorithm.
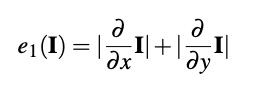
Energy Function (e1)
The first part of the algorithm is to assign an energy function that will be applied to each pixel of the original image. The formula for the energy function I used throughout this project, e1, is shown below. The goal of the energy function is to assign areas of importance to the structure and content of the original image.
Here are some visualizations of the output of e1 across an image of a sunset.
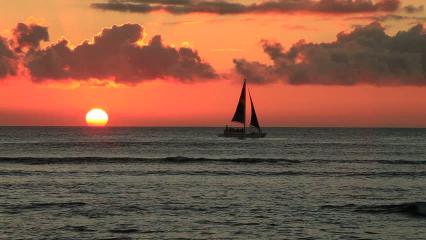
Sunset (Original)
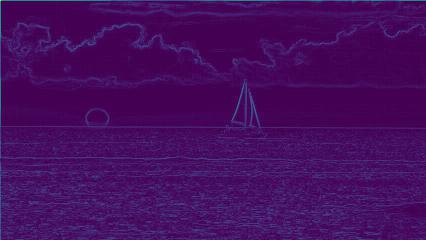
Sunset (Energy)
Seam Finding & Extraction
Now, to determine the best pixels to remove such that the image is shrunk in a content-aware manner, our objective is to find a seam (consecutive path from top to bottom or left to right) such that the path takes the minimum cost through the energy function output visualized above (solved via a simply dynamic programming path finding algorithm). Shown below is the minimum path through the e1 output of the sunset image below.
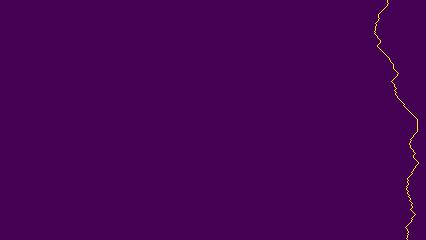
After removing this seam, we have effectively shrunk the image by 1 pixel in the vertical direction. From here, we can simply rinse and repeat the process of re-applying the energy function and finding the next seam to extract. Now that we have everything in place, let's take a look at some seam carving results!
Vertical Seam Examples
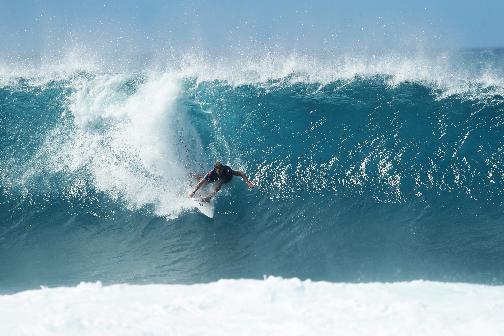
Surfing (Original)
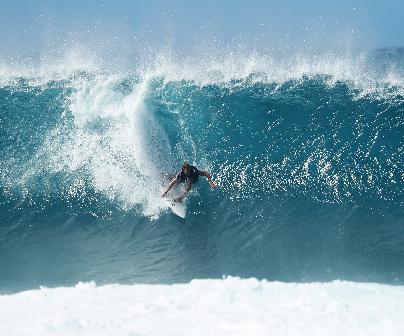
Surfing (Carved)
Sunset (Original)

Sunset (Carved)
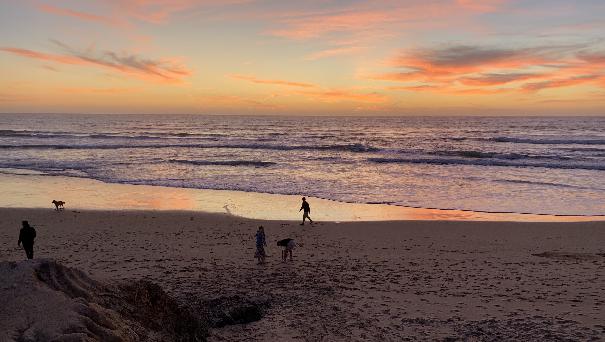
Sunset Beach (Original)

Sunset Beach (Carved)
Horizontal Seam Examples
To apply our seam carving algorithm for horizontal seams, all we need to do is transpose our images before and after they are outputted by our algorithm.

Beach (Original)
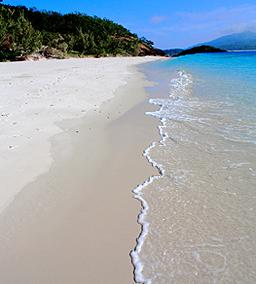
Beach (Carved)
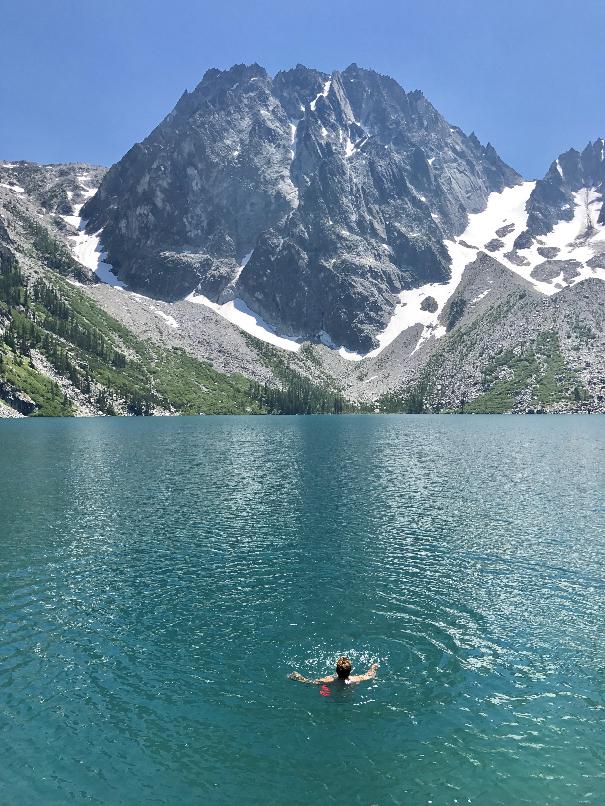
Lake Colchuk (Original)
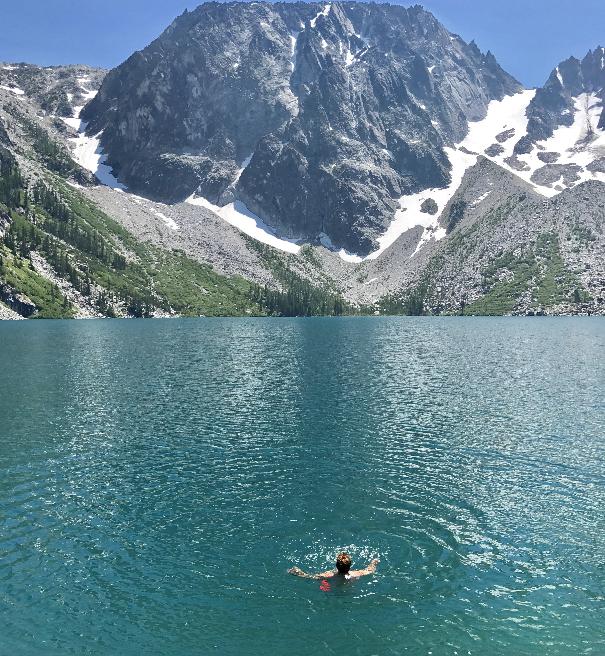
Lake Colchuk (Carved)
Star (Original)
Star (Carved)
Failure Cases
Unfortunately, seam carving does not work effectively for all images and can produce artifacts, particularly for examples that involve human bodies and faces. Below, faces are distorted and parts of the woman's body in the tulip field are incorrectly removed during the process of shrinking the image.

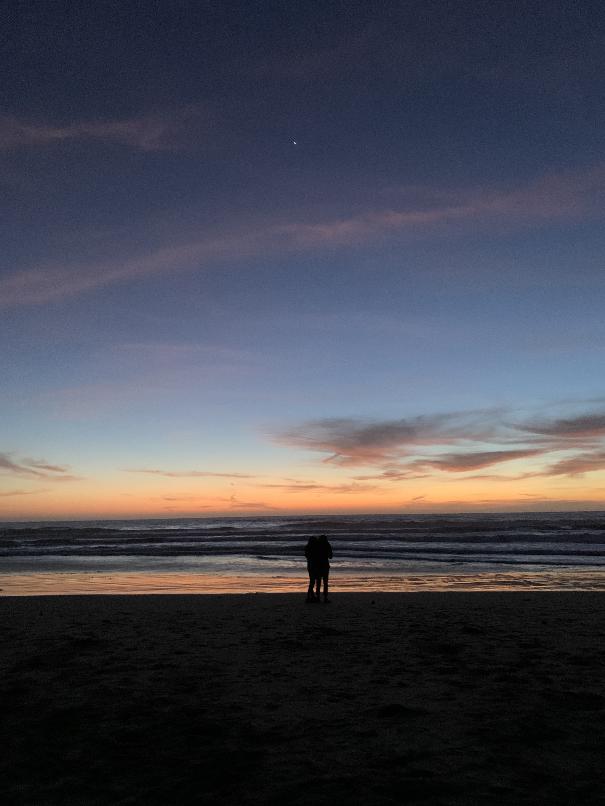
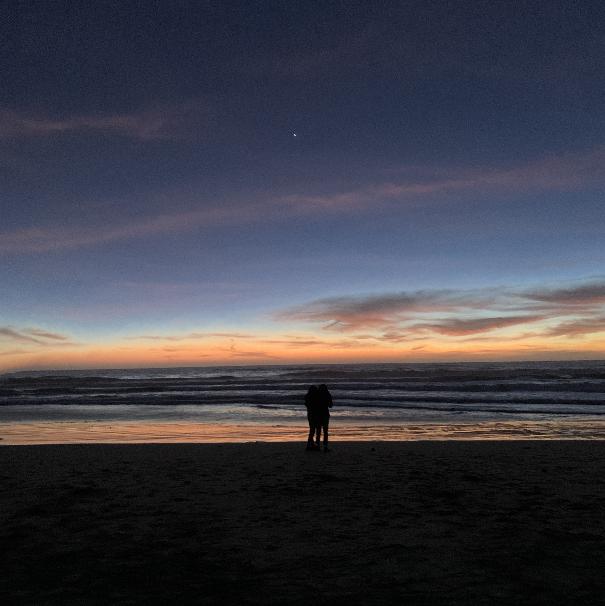
Friends (Original)
Friends (Carved)

Tulips (Original)

Tulips (Carved)
Conclusion & Learning
Ever since I saw the visualization of that grad student's face texture mapped to toast, I knew I wanted to implement texture transfer myself at some point this semester - I'm so happy it was selected to be amongst the other pre-canned projects! I think the most valuable thing this project demonstrated for us was a valid application of a dynamic programming technique that we typically learn in theory courses such as CS 170 but never get an opportunity to implement for any interesting applications. This project also taught me that sometimes the simplest algorithms derived from subtle understandings of probability and spatial relationships work surprisingly well! You don't always need a neural network to approximate and deliver great results.
I also would like to say a big thank you to this semester's course staff and Prof. Efros for doing the absolute best to deliver us a quality course amidst the chaos of navigation COVID-19 throughout the latter half of the semester. Thank you for opening my eyes to the beautiful world of computational photography!