CS 194-26 Final Project: Seam Carving, Tour into the Picture, and Image Quilting
By Sean Chen and Sofia PaganinPart 1: Seam Carving
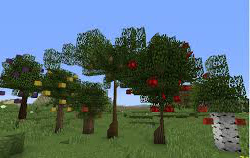
Based on the paper, Seam Carving for Content-Aware Image Resizing by Shai Avidan and Ariel Shamir, is an implementation of the basic algorithm presented. This program can shrink an image (either horizontally or vertically) to a given dimension without distorting the image.
Explanation of the Process
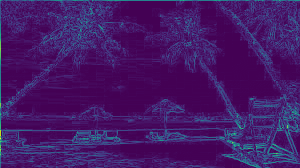
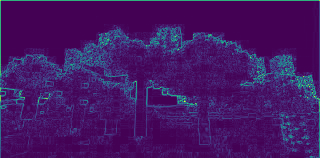
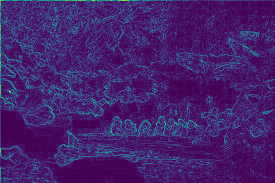
To determine the areas of the image which can be removed without distorting it, we use an energy function. There are many options for what this can be, but here we use a simple x and y gradient.
We use a dynamic programming algorithm as follows to compute the cost of each minimum path through the image.

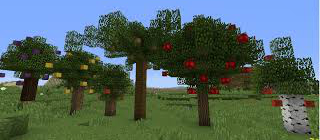
Using a backtracking matrix that was calculated during the creation of M, we are able to retrace the minimum path back to the top of the image. We create a mask that removes the pixels at the seams, and repeat the process.
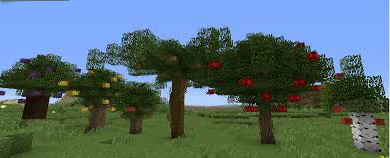
Vertial Seam carving uses the same code, but the input and output are transposed. Seam insertion is a bit more complicated. We save the seams that were calculated in a seam carving of the same size difference as what size we want for the expanded image. Using these seams we can add pixels that are calculated by taking the average from the neighboring pixels. This is done on each seam, and results in a fairly good-looking image.
Bells and Whistles: Seam Insertion
We first search for the n lowest energy seams that we want to duplicate. Then we can duplicate them, which expands the image. This avoids duplicating the same seam over and over again.
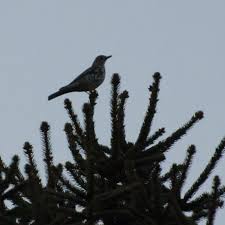
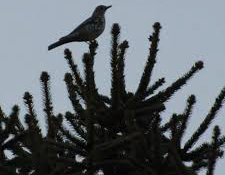
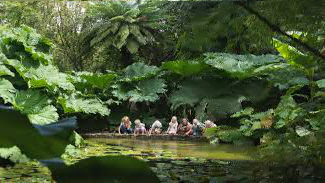
Original Image
|
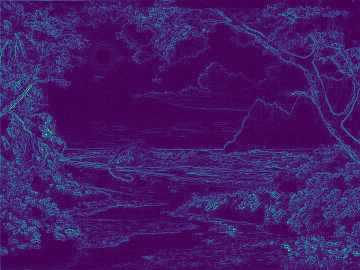
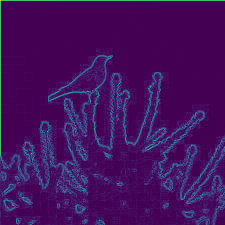
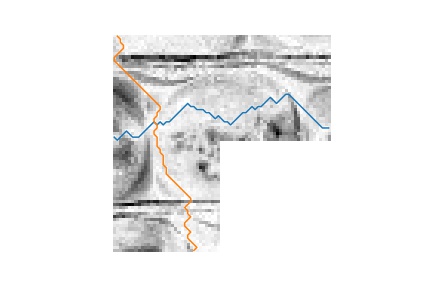
Energy Function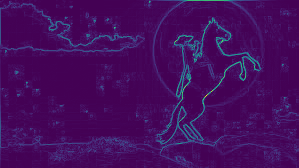
|
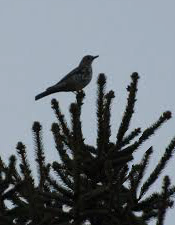
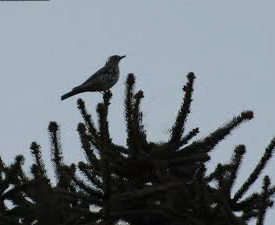
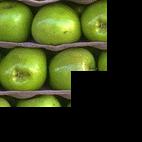
Horizontal Seam Carving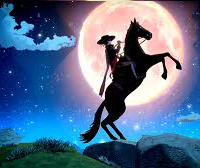
|
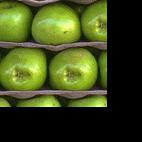
Vertical Seam Carving
|
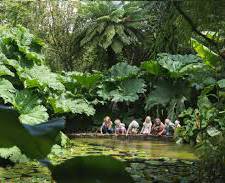
Seam Insertion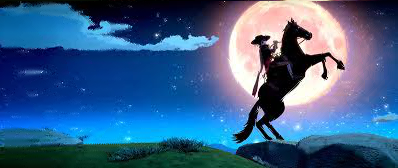
|

|
|

|

|

|
|
|
|
|
|

|
|

|

|

|
|
|
|
|
|

|
|
|

|
|
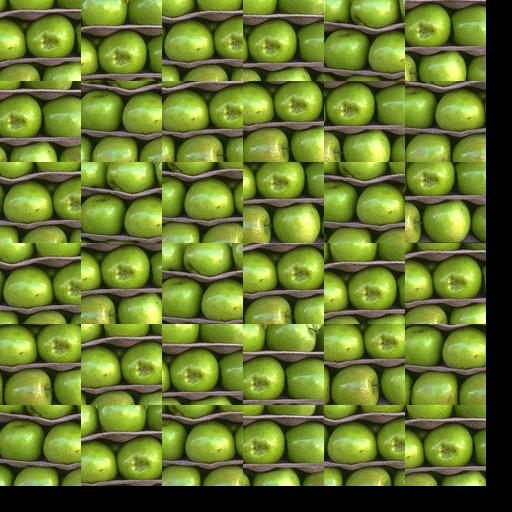
Part 2: Image Quilting
Based on the paper, SIGGRAPH 2001 by Efros and Freeman, image quilting algorithm for texture synthesis and transfer.
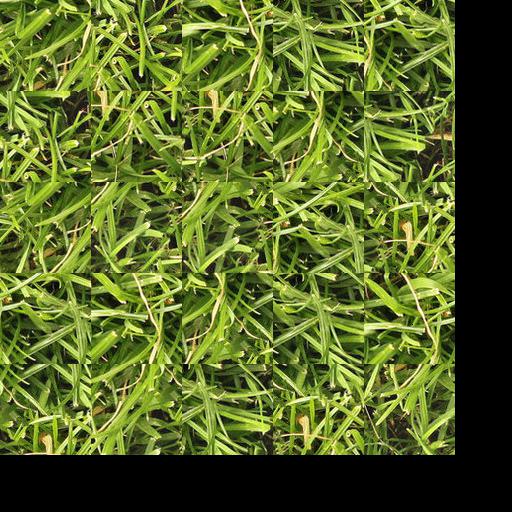
Randomly Sampled Texture
Randomly samples square patches from a sample pattern to create a larger output image. We start from the upper-left corner, and tile samples until the image is full.
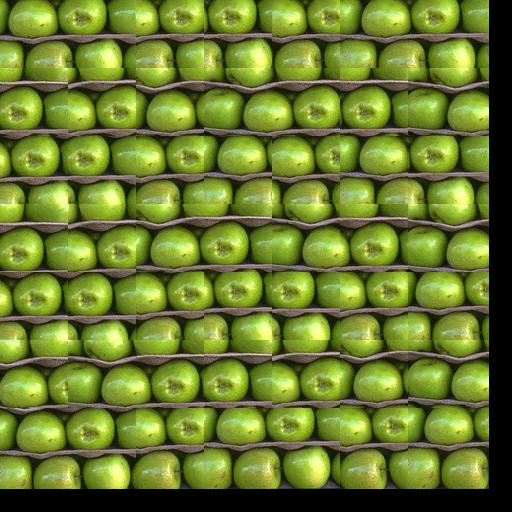
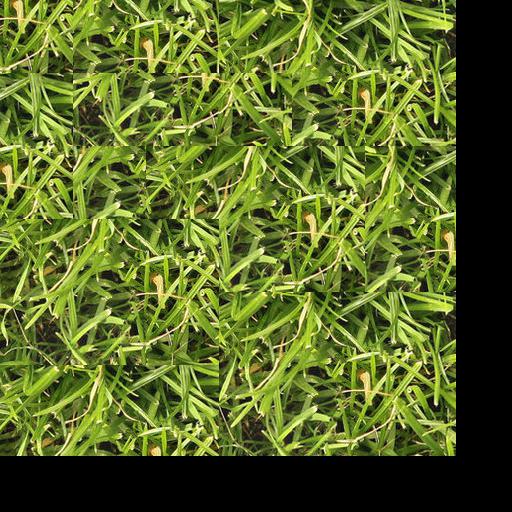
Overlapping Patches
Similar to the previous function, we randomly sample patches, but this time we calculate the SSD between overlapping areas of the patches to find ones that match better.
Seam Finding
Building off of overlapping patches, instead of putting the patches next to each other with straight edges, we find the minimum cost seam that goes through the overlapping region so that the combinations look smoother. We do this using using a dynamic programming algorithm and backtracking
tiled image so far

sampled patch
cost image

mask
result
Bells and whistles: wrote a numpy optimized version of cut.m
Finds the min-cost contiguous path from the left to right side of the patch according some given cost (like SSD). Parallelized with numpy operations to handle larger seams.
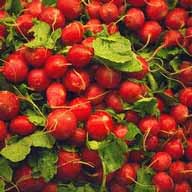
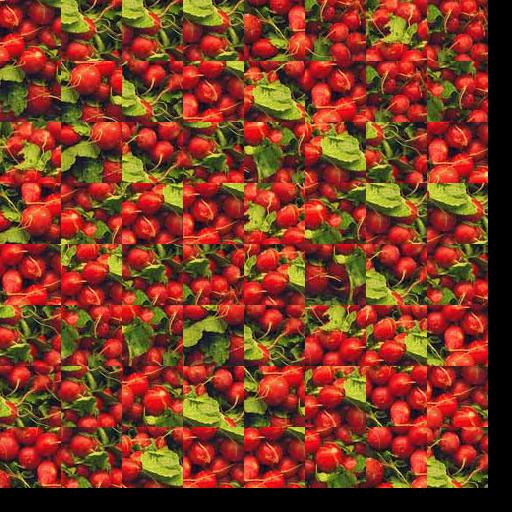
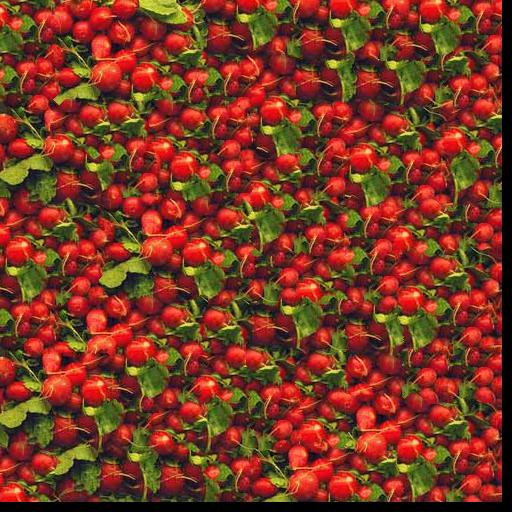
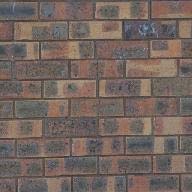
Results
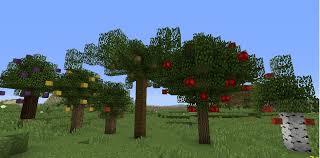
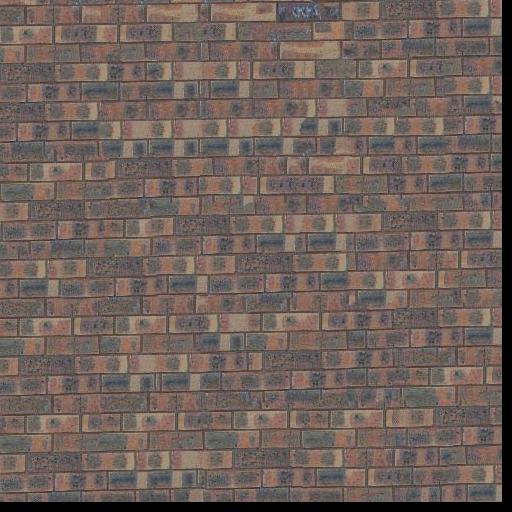
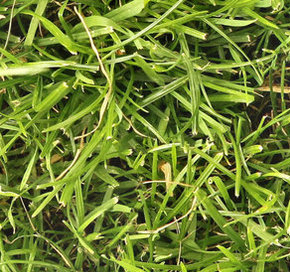
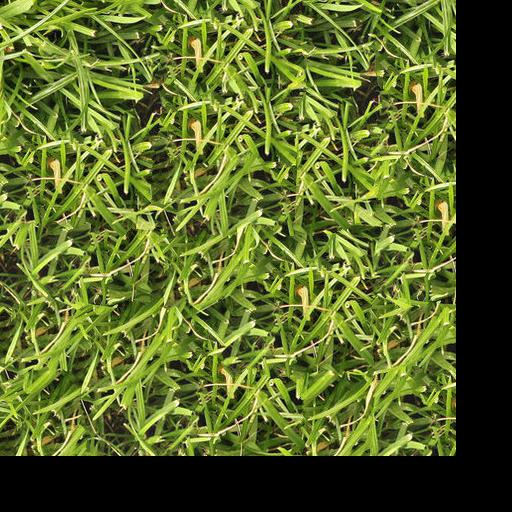
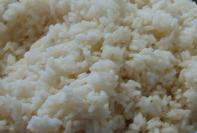
Source Texture
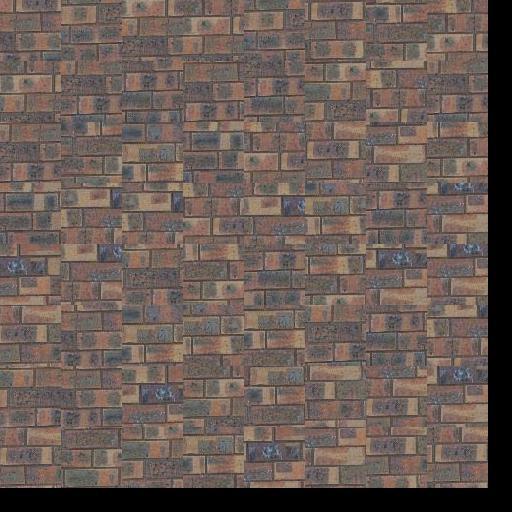
Random
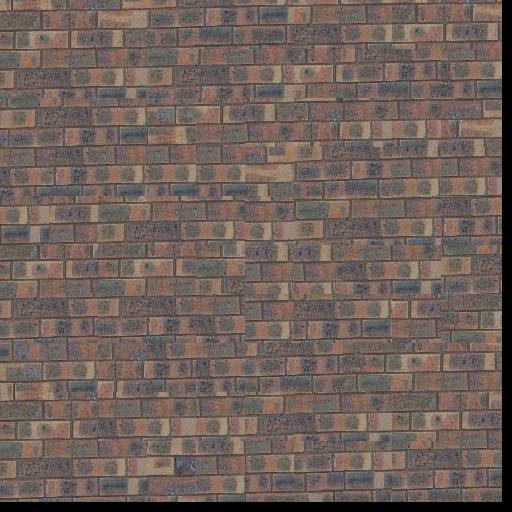
SSD
SSD + Min-cut


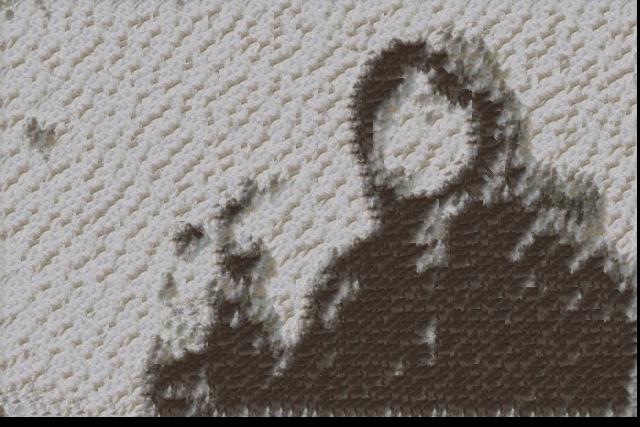
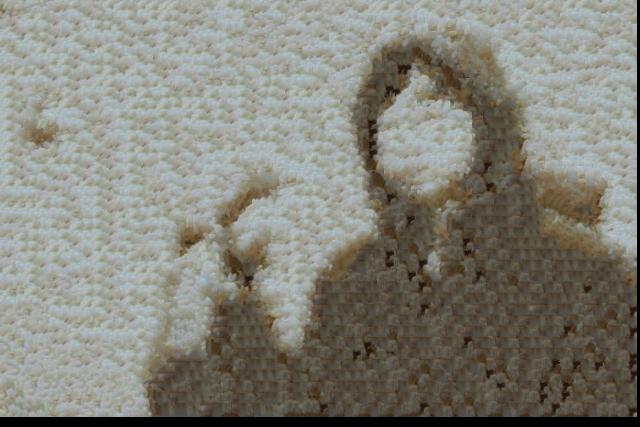
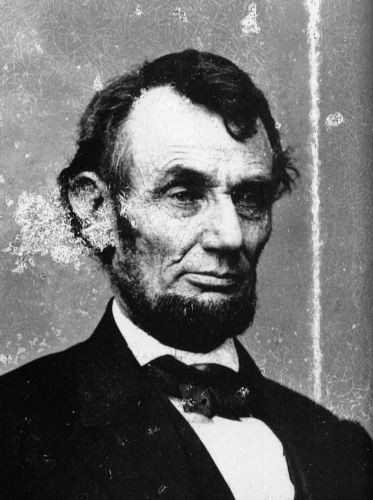
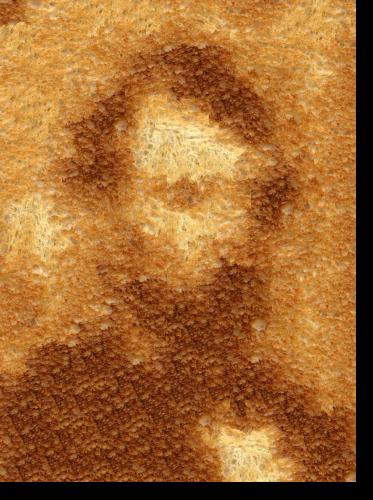
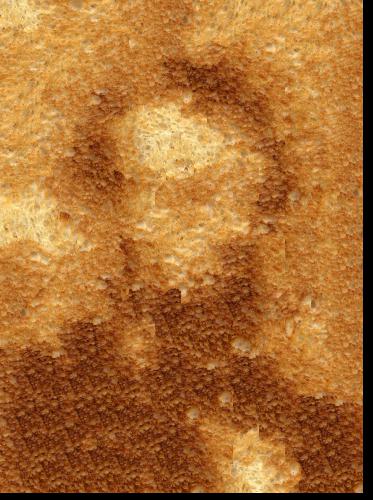
Texture Transfer
The goal for this portion is to use a texture pattern to seamlessly fit to a target image, matching the luminance values. We do this by adding a cost term based on the difference between the sampled source patch and the target patch at the location to be filled.
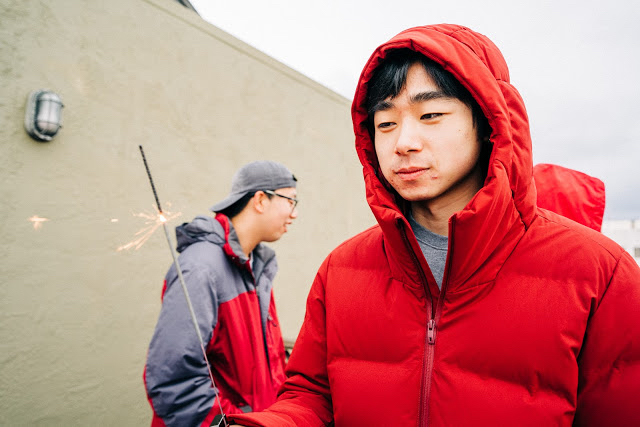
Source Texture
Source Image
Results


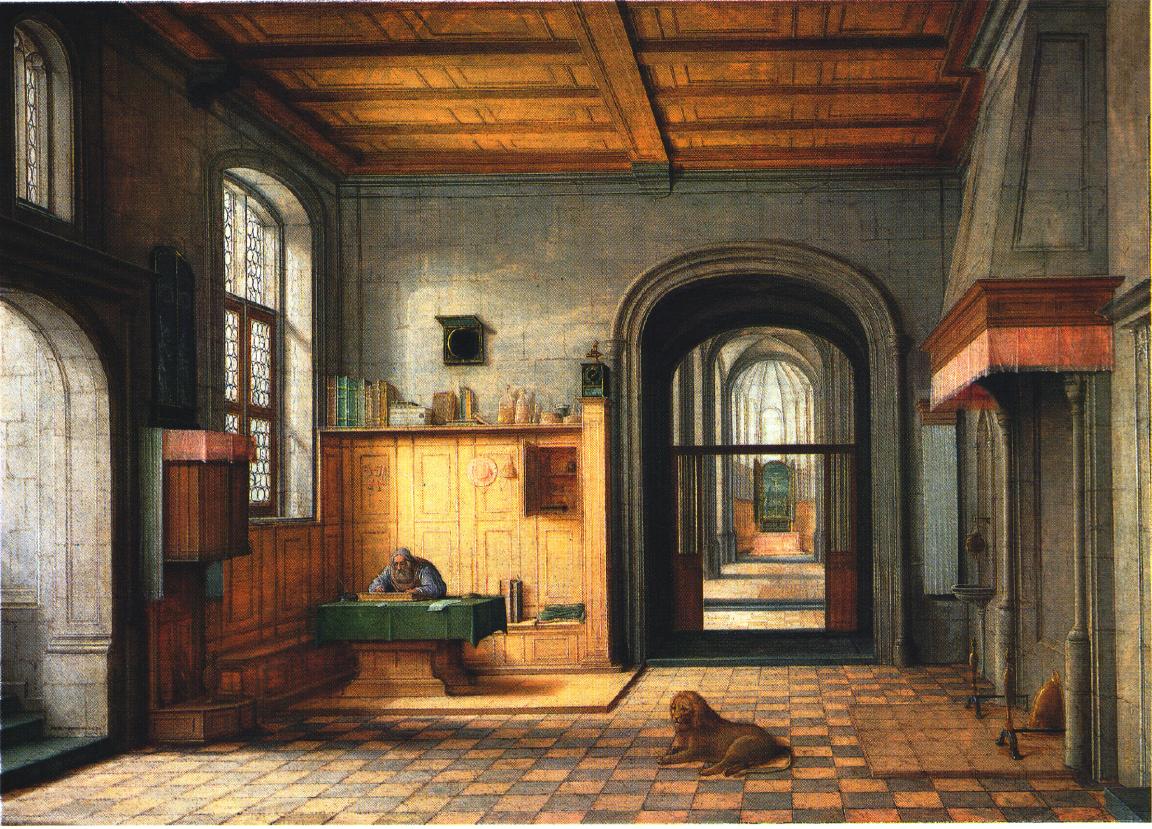
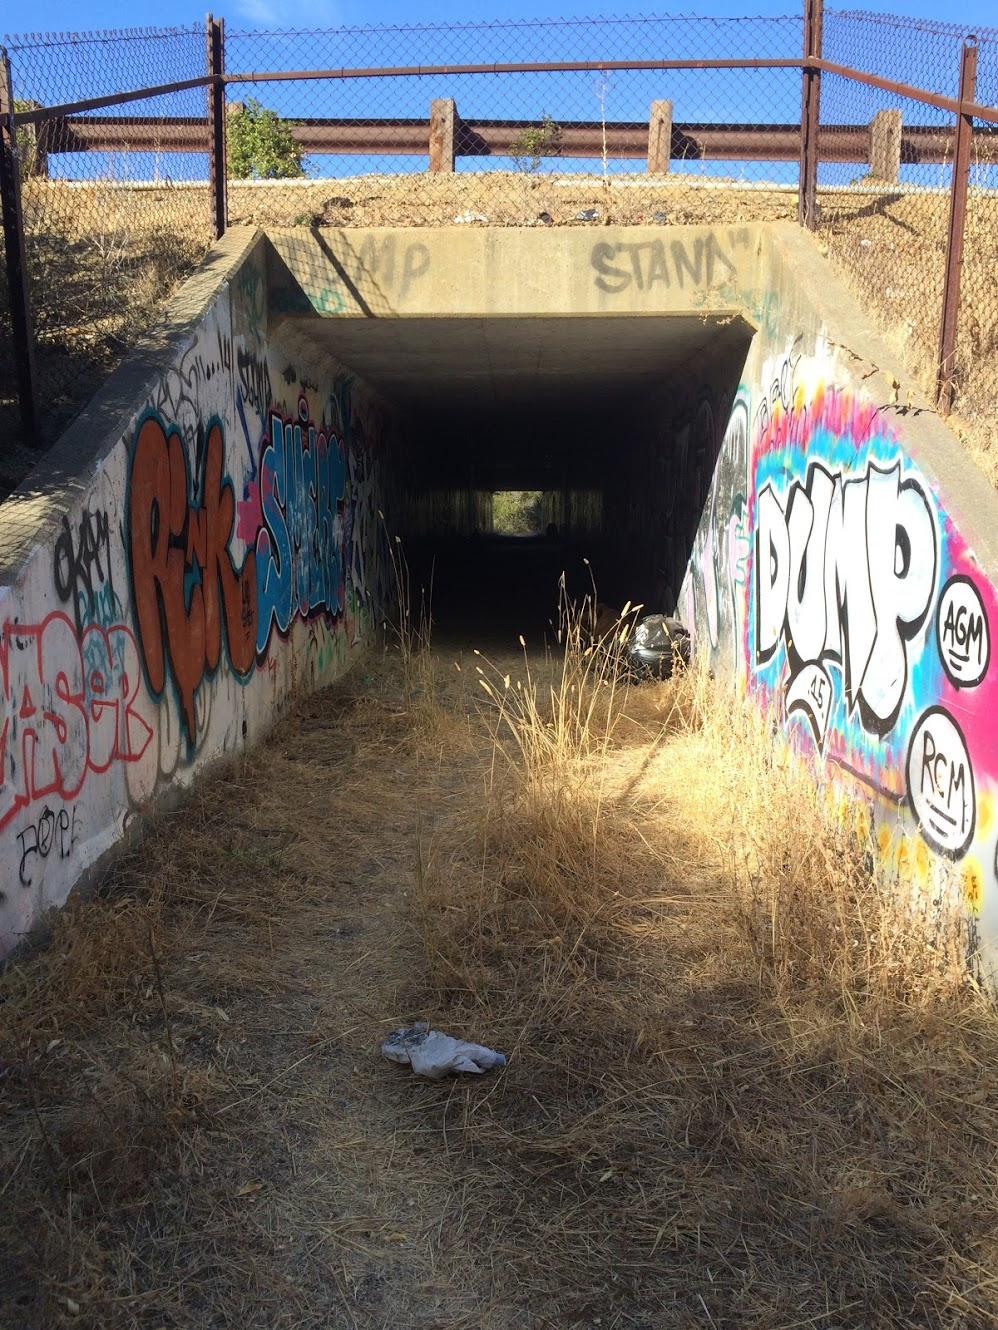
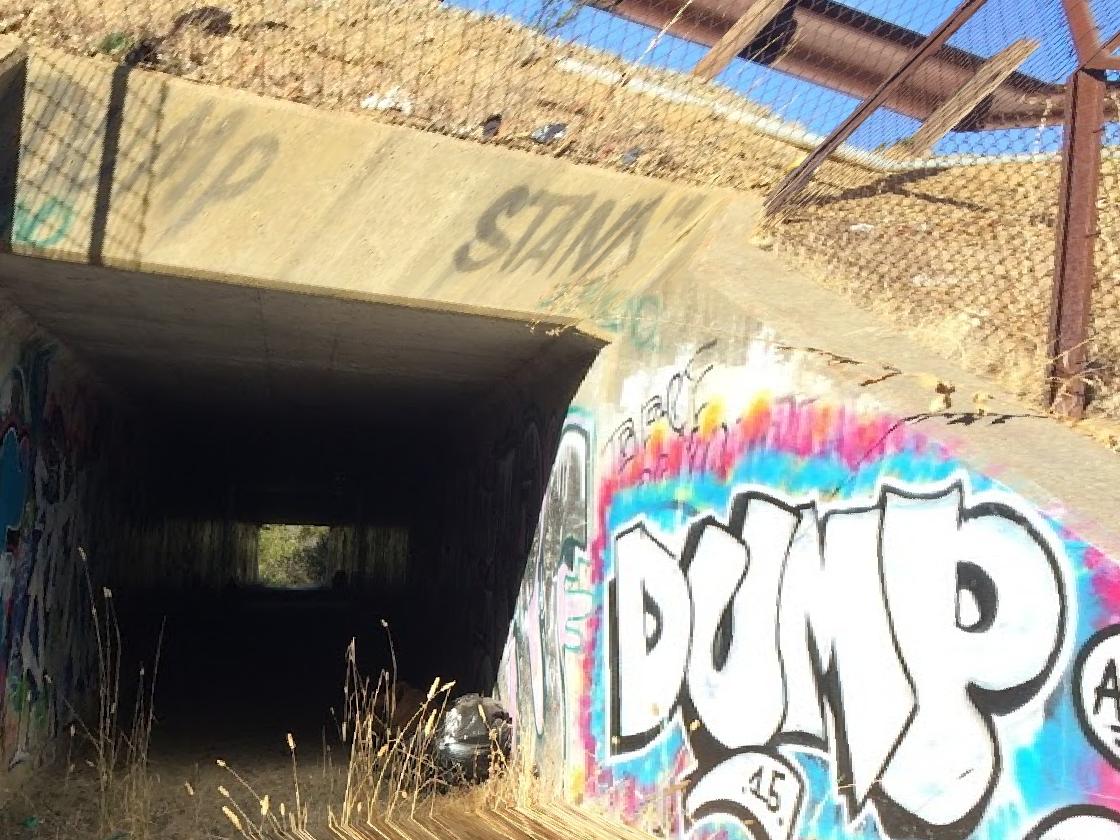
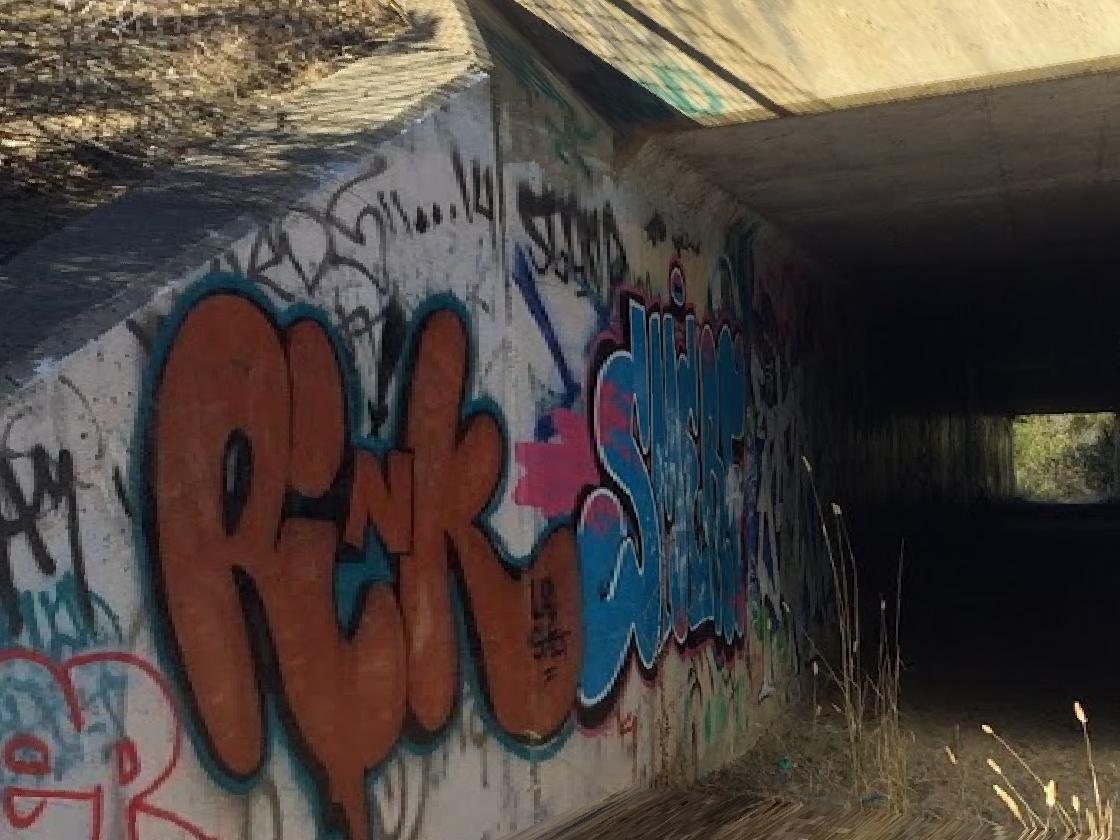
Part 3: Tour into the Picture
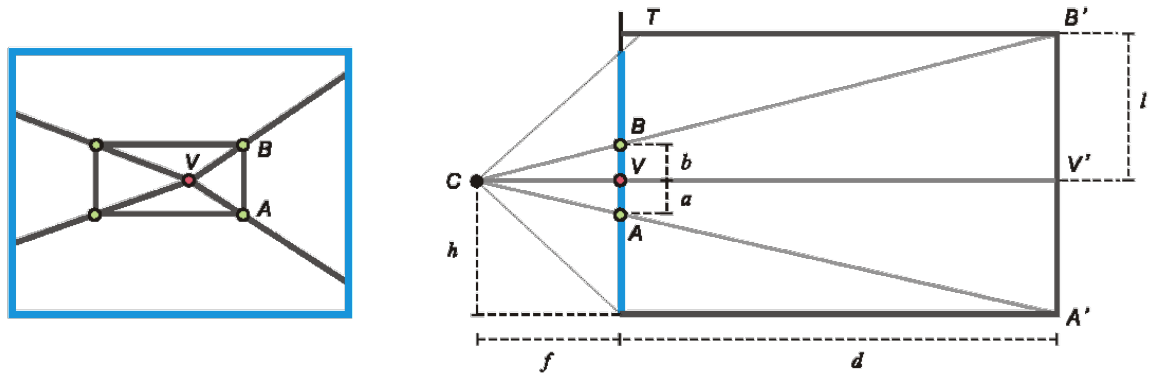
depth of the box
Compute the depth of each of the four side of the box.
The width/height of the camera plane is the same as the back plane (b/c orthogonal sides).
We can now model the 3d geometry of the box in world coordinates.
Rectify the four images on the side of the box (it's a homography), and finally texture map them onto the box's planes.