Poor Man’s Augmented Reality and A Neural Algorithm of Artistic Style
Poor Man’s Augmented Reality
Keypoints with known 3D world coordinates
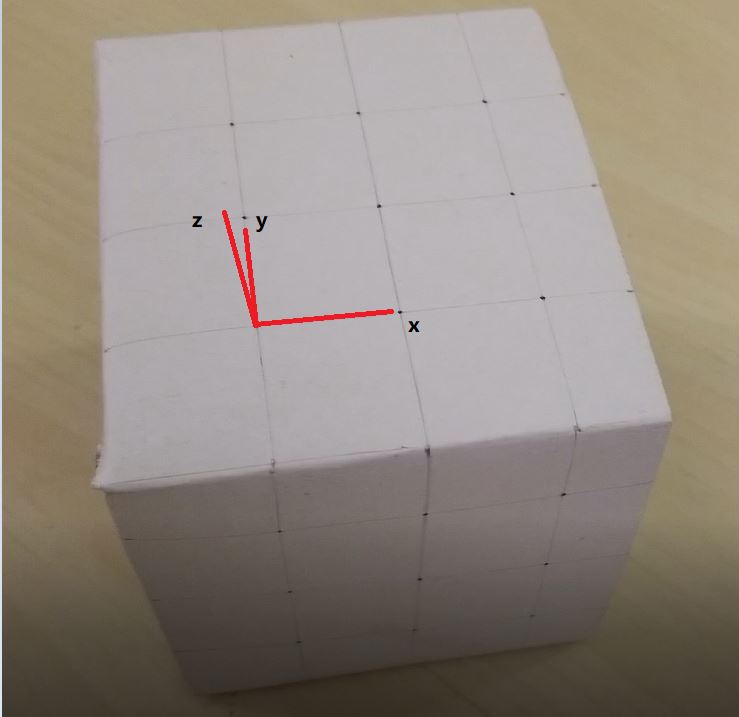
The true coordinates of the points is
[[6,6,0],[3,6,0],[0,6,0],[6,3,0],[3,3,0],[0,3,0],[6,0,0],[3,0,0],[0,0,0],[6,-3,-2.3],[3,-3,-2.3],[0,-3,-2.3],[6,-3,-4.6],[3,-3,-4.6],[0,-3,-4.6],[6,-3,-6.9],[3,-3,-6.9],[0,-3,-6.9]]
Tracking
A Hacky Corner Detector
At first, I load the manually selected points of the first frame.Then I used the given get_harris_corners() but replace peak_local_max with corner_peaks. After detecting the points, I calculated the distance between the given points and detected points. For each given points, I found the smallest distance and if d<30, this points is counted as corresponding points. I use a list to keep track and update everypoints.
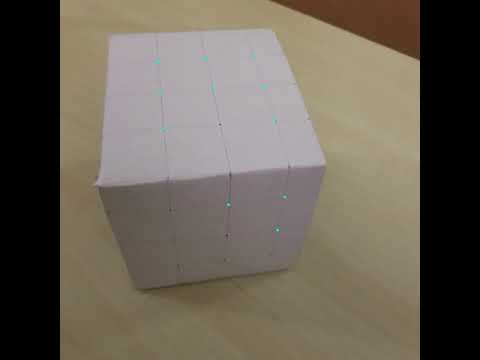
Click the picture to see the video~
Off the Shelf Tracker
At first,I initialize a list of independent MedianFlow trakcer by manually selected points. I used a 8*8 patch. In order to ensure the points are correctly tracked, I create a list to record every point’s last successful position. And calculated the distance between the current point and last successful point. If d<30, the detected point will be considered as a successful point.
.jpg)
Calibrating the camera
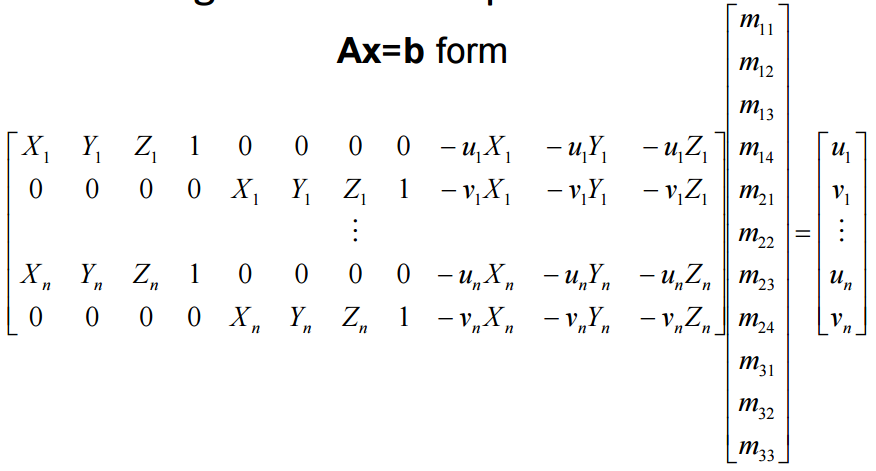
I used the mask to decide which point is successfully detected. And use the corresponding 3D coordinates and detected 2D coordinates to calculate the projection matrix by least squre methods.
Projecting a cube in the Scene
After calculating the projection matrix, I calculate the 2D coordinates of my cube.The true coordinate of my cube is [3,6,3,1],[0,6,3],[3,3,3],[0,3,3],[3,6,0],[0,6,0],[0,3,0],[3,3,0]. Then draw lines between this points to create a cube in the pictures.
Output
.jpg)
.jpg)
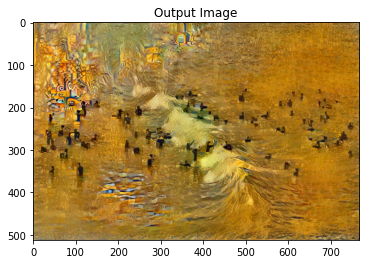
A Neural Algorithm of Artistic Style
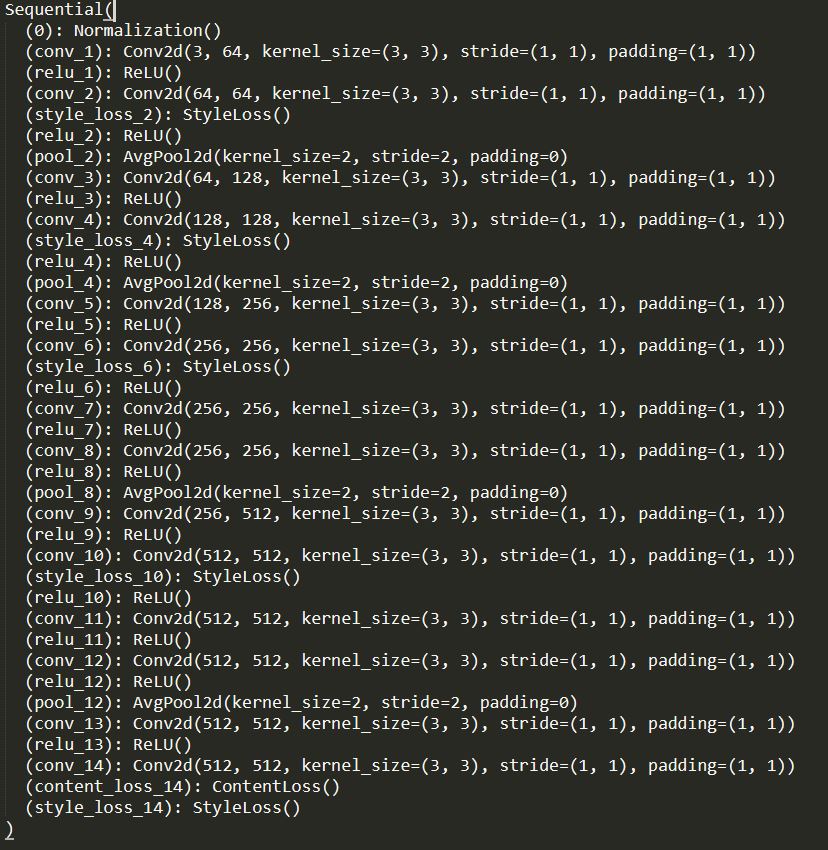
Visualization of the model
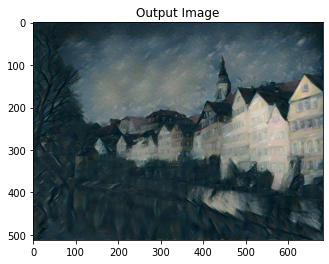
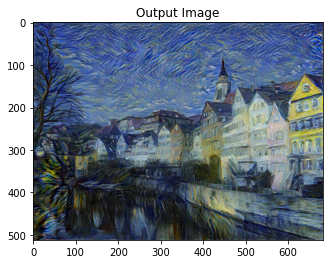
I used LBFGS as optimizer.the ratio α/β I used is 10^(-3), the iteration number is 1500.
In the paper,they matched content representation on layer ‘conv4_2’.But in my implementation, I found that match on layer ‘conv5_2’ would have a better output.
Also, in the paper they match style representation on layer ‘conv1 1’, ‘conv2 1’, ‘conv3 1’, ‘conv4 1’ and ‘conv5 1’. But I matched them in ‘conv1 2’, ‘conv2 2’, ‘conv3 2’, ‘conv4 2’ and ‘conv5 2’. Technically, this will make little difference, I but found this has a better output then the former one.
At first, I found that using Adam will have a faster speed, but LBFGS indeed perform better.
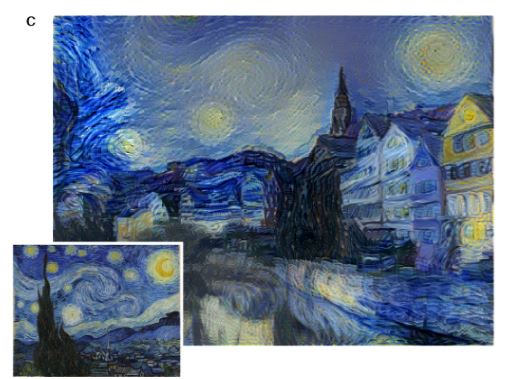
Output of Neckarfront
| my output | paper’s output |
|---|---|
 |
 |
 |
 |
 |
 |
Output of my choice
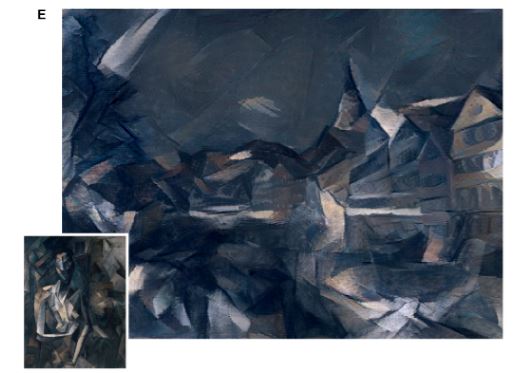
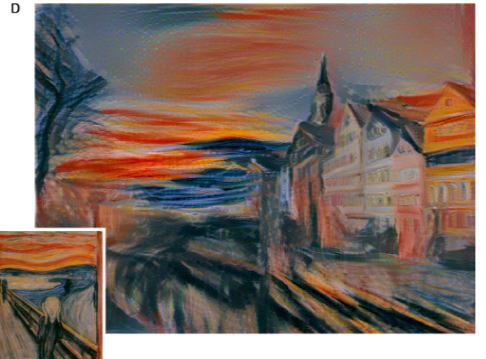
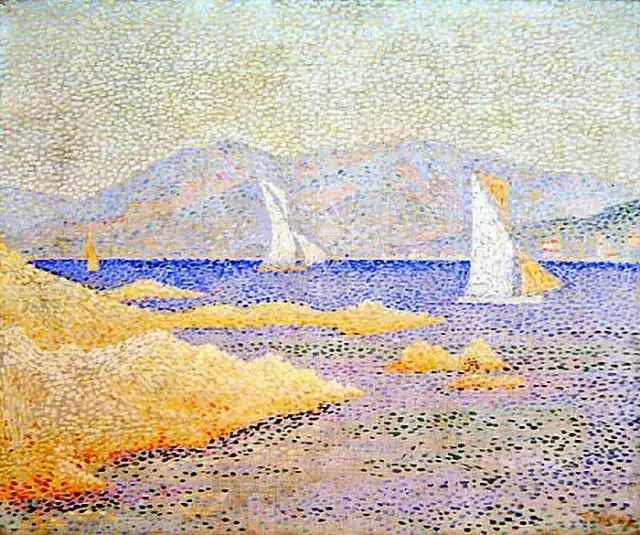
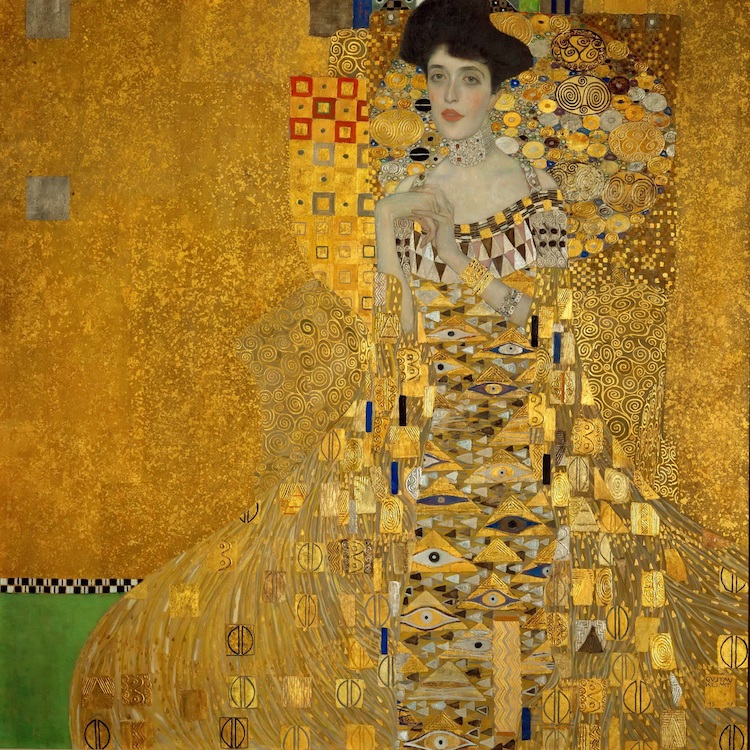
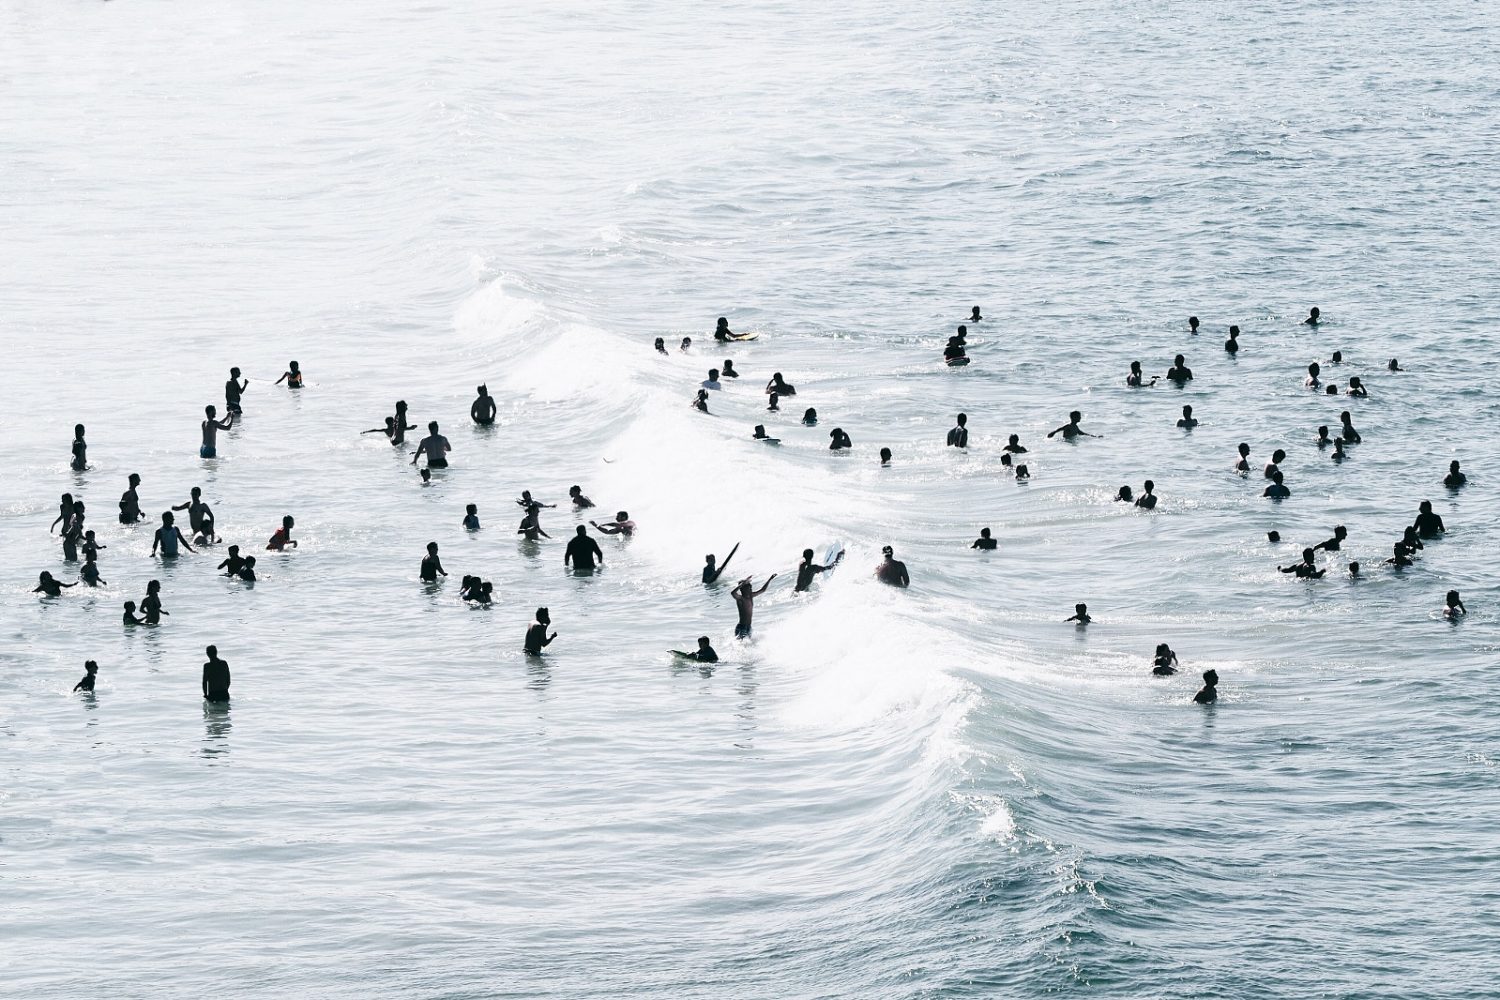
style images and content images
| style img | content img |
|---|---|
 |
 |
 |
|
 |
 |
output
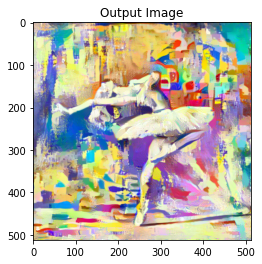
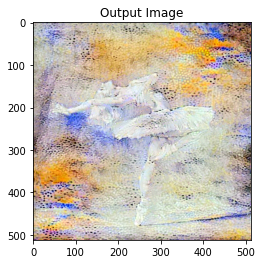
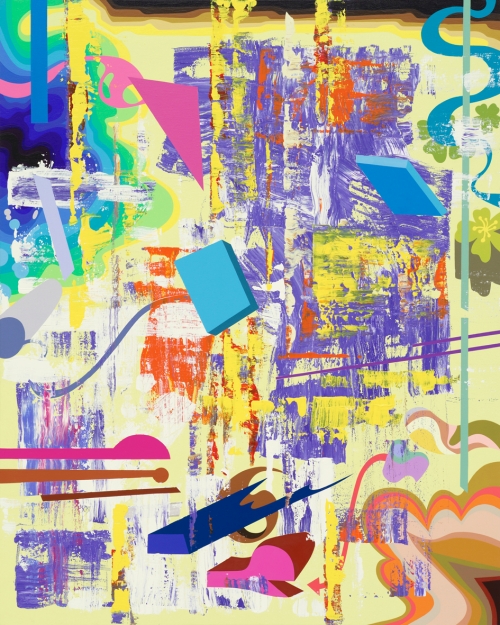
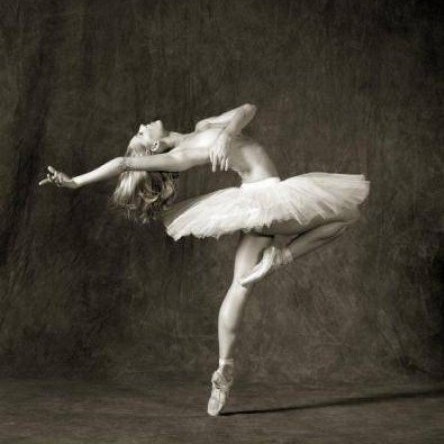
Failure case: The input content image:
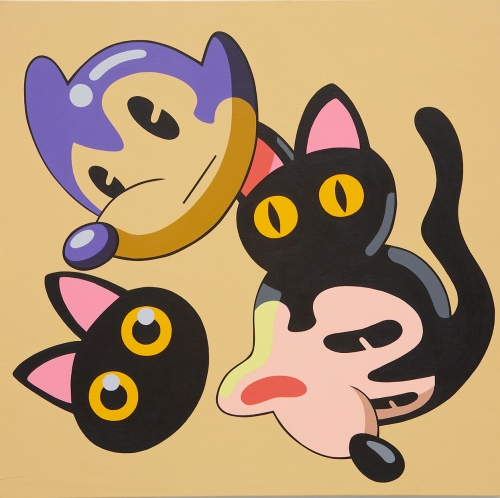
THe input style image:
What I expect is something like this:
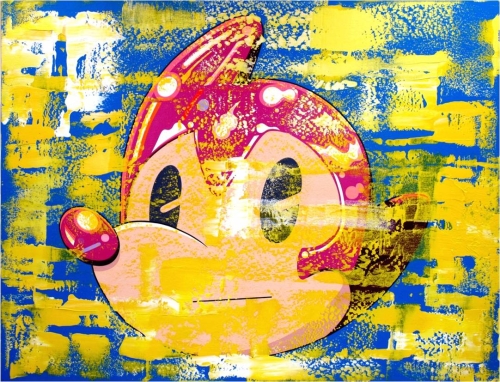
But I got this output:
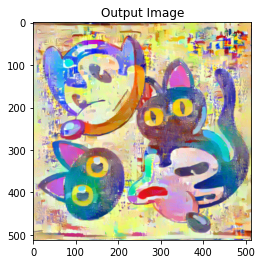
I think the main reason is: don’t like the other paintings or pictures, this artwork is consist of color blocks with little detail and brush stroke in it. With a lot of same piexls in it, it’s hard to generate the texture. So I think this style transfer method is good for detailed picture but not this kind of animation drawings.