

1. SET IMAGE SIZE

First, make sure the image resolution isn't too small. Turn the dial to the pixelated diamond icon to bring up the size/quality menu.
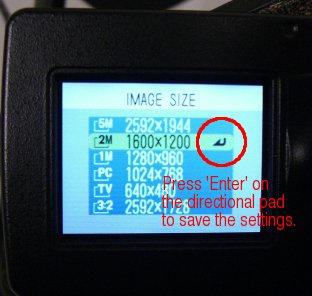
Something like 1600x1200 should be fine. If you pick something smaller and your line drawings are thin, the camera may not pick up enough detail. Remember to press the 'Enter' button in the middle of the directional pad to save this setting.
2. SET WHITE BALANCE
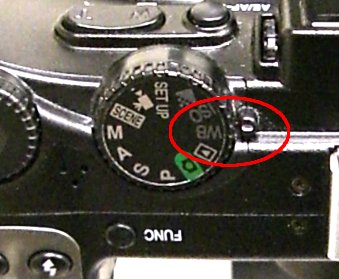
Now, set the white balance. Turn the dial to 'WB'.
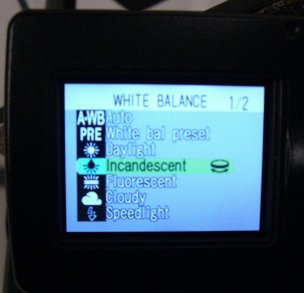
Since the camera stand is fitted with halogen lamps, the 'incandescent' setting seems appropriate. There's no need to press 'Enter' for this setting.
3. SWITCH TO MANUAL MODE AND ZOOM IN

Turn the dial to 'M' to enter Manual mode. Use the Zoom switch to zoom in, so that the paper fills as much of the image as possible.
By default, the camera is zoomed pretty far out, so don't forget this step. It will assist the camera in discerning thin line drawings, and reducing glare from the paper.
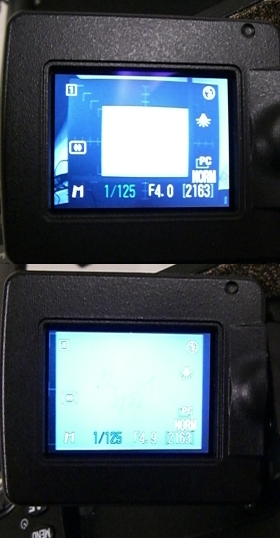
4. ADJUST THE EXPOSURE AND APERTURE
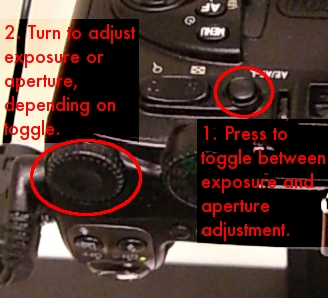
Leave the dial set to 'M'. Press the 'AE/AF-L' button to toggle between adjusting the exposure and aperture. (The parameter that is being set will be displayed in green on the camera's LCD.) Use the unlabeled dial to alter the exposure or aperture, depending on which one you've toggled to.

Set the exposure to 1/30, and the aperture to approximately F6.0 (You will need to approximate the F number.)
5. TAKE YOUR PICTURES
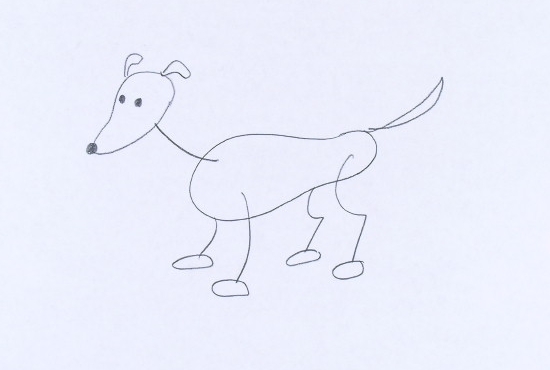
Now, make sure the halogen lamps are on, and take your pictures. Here is a cropped version of my actual photo, without any enhancement. As you can see, the quality is already pretty high. You can view the uncropped version here.
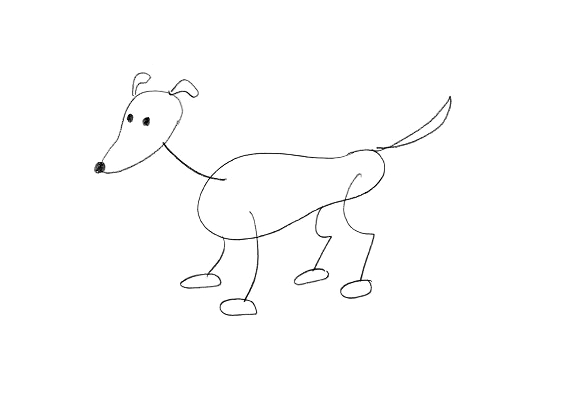
Finally, here is my image after it has been enhanced. I hope these instructions will help you get similar results.