CS 39J > Schedule & Notes > Session 10 Detailed Notes

CS 39J: Session 10

http://inst.eecs.berkeley.edu/~cs39j/session10.html
4 April 2002


Announcements


Photoshop Revisited

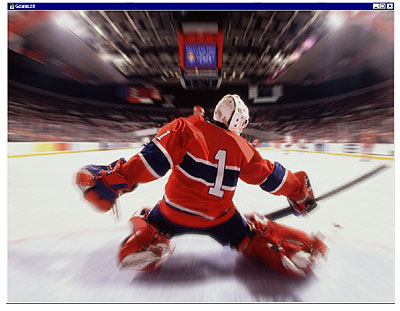
You can do many things with Photoshop:

Hockey photograph at the Winter Olympics 2002, from Wacom Incorporated

  • Photograph Retouching — Blemishes, Red Eye, Light Adjustments
  • Photographic Special Effects — Motion Blur (shown above)
  •  


    Closing The Gap Between ASIC & Custom cover design by Steven Chan, 2002.
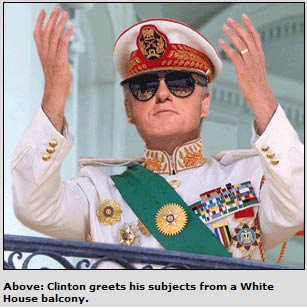
    Clinton photo from "Clinton Declares Self President for Life" by The Onion, 2001.

  • Photograph Compositing — Collages, Magazine Covers, Book Covers
  • Stupid Fake PhotosHeuristic Squelch, The Onion, The National Enquirer (I'm sure of it!)
  •  


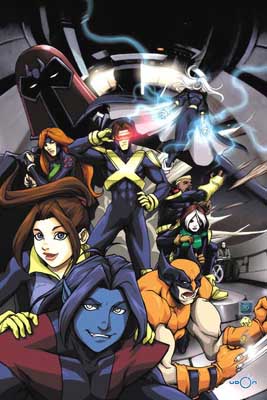
    X-Men Evolution comic book cover ©Marvel Comics. Art by Udon Comics.

  • Digital Art — Comic Books, Full Paintings, Web Design
  •  


    Today's Topics


    Kawaldeep Grewal

    Viet Nguyen & Steve


    Kawaldeep

    Download his handout on color casts here!

    catalogshot kawaldeep wheeler face


    Starting Off

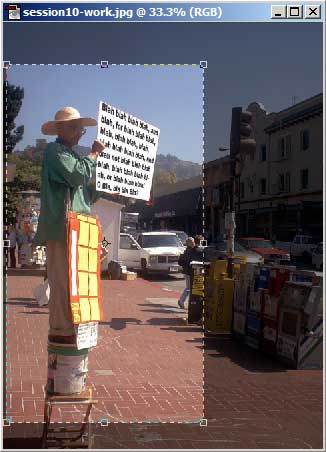
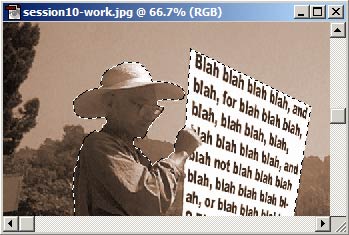
    Start Photoshop as usual. If you don't know how, read last session's handouts or ask a "T.A.". Then, download the picture on the right using this link (TIFF) or this link (JPEG).

    This picture needs a serious facelift. It's the picture of this Chinese guy who stands on his bucket and stool all day long in front of Telegraph. In case his pro-China propaganda offends people, I've secretly replaced his signs with more peaceful words.

    What's wrong with this picture? (besides the sign)

    What kinds of things can be done to improve this picture?

    Goal: to make a picture focussing on the guy. And maybe give it some rustic appeal.


    Fixing - Adjusting Tones, Colors, and Variations

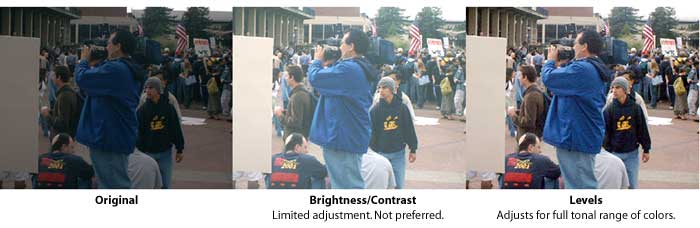
    Photoshop gives us a variety of ways to adjust the colors. We'll try two of the methods today.
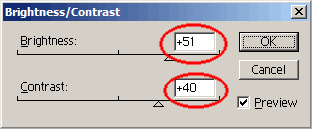
    Brightness/Contrast

    1. Menu Image > Adjust > Brightness/Contrast.
    2. Increase the values of "Brightness" first. What does it do? What does decreasing "Brightness" do?
    3. Now increase the value of "Contrast". Observe that there is a better contrast between colors. What does decreasing "Contrast" do?
    4. Try fixing the colors of the photograph. Are you satisfied? There seems to be something missing ... for example, the trees aren't very green! :)
    5. Hit Cancel.

    Levels

    1. Menu Image > Adjust > Levels.
    2. Try hitting "Auto." Wow! It looks so much nicer! Auto tries to spread the tonal ranges of the photograph across the full spectrum. (It doesn't always work, though, but it's usually a good start.)
    3. Fiddle with the Input Levels and Output Levels sliders.
    4. Fiddle with the Channel sliders.
    5. When you're satisfied with the resulting picture, click OK.


    Try adjusting this discolored photo of Sproul Plaza for more practice.


    Fixing - Crop

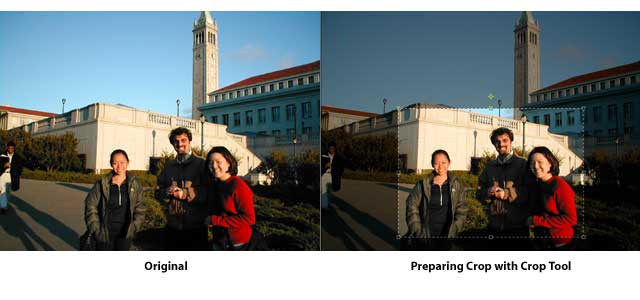
    Cropping is relatively straightforward. Photoshop's crop tool allows you to select the area that you want to keep. It also allows you to rotate an area.

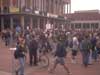
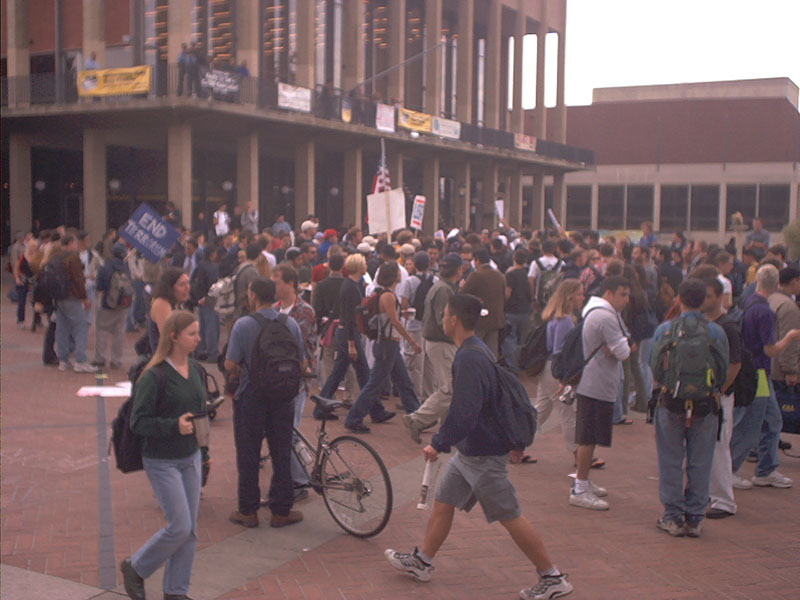
    You usually want to crop out parts of a photograph that are irrelevant and unnecessary. For example, what could we crop out in this photograph?

    Crop

    1. In the toolbox on the left, click Crop (or hit C).
    2. Drag a box around our guy, like you see on the right. Do this by clicking on the image, holding the mouse button down, and dragging it around.
    3. The selection area is informally called "Marching Ants". On the corners and midpoints of this rectangle are smaller boxes called "Handles". You can click and drag these around to resize the box or rotate the box.
    4. Photoshop 6: In the toolbar on top, click Okay (or hit ENTER). Photoshop 5: I don't know. Try ENTER. ^^;;


    trace the man's outline.


    Special Effects - Sepia

    Adapted from The Photoshop 6 Wow! Book (Dayton & Davis), page 120, and Maine.com.

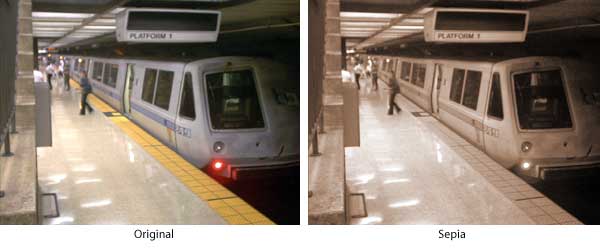
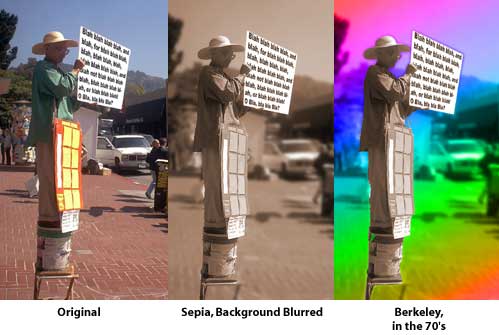
    Sepia helps give a photograph an antique, rustic mood, primarily used in old black and white photographs. Ironically, this photo of the Berkeley BART station here is by no means antique, but if you compare the Original and the Sepia photos above, the Sepia effect better conveys a feeling, perhaps of isolation or longing. In traditional photographs, sepia tones exist because its black & white paper has deteriorated.

    Basically, we apply a brown color to the image. The easiest way:

    1. Image > Adjust > Hue/Saturation. (or press CTRL/Command+U)
    2. Tick the "Colorize" option.
    3. Choose an orange hue (~25). Reduce the saturation (~25).
    4. OK.


    Selections

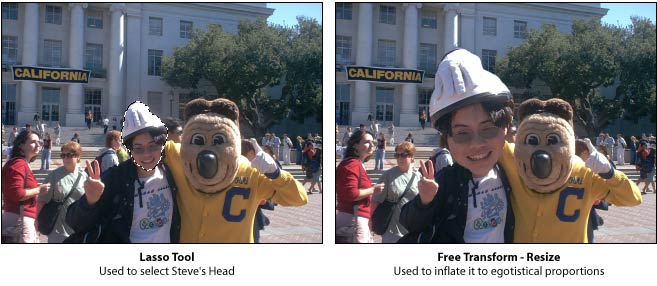
    The crop tool is actually a particular instance of a family of tools named "Selections." Selections allow you to pick and choose a particular portion of an image, and fiddle with it to your heart's content. Whatever colors you adjust, for example, only affects your selected area.

    In our example picture, we're going to experiment a little bit with the man's head.

    Rectangular Marquee and Move

    1. In the toolbox on the left, click Rectangular Marquee (or press the M key).
    2. His head is now selected. Notice that the Marching Ants? They indicate what area you have selected.
    3. Click Move (or press the V key).
    4. Move your mouse cursor over the man's head and drag it somewhere else. Notice that only the area you selected goes along with him.
    5. Menu Edit > Undo (or press CTRL/Command+Z).

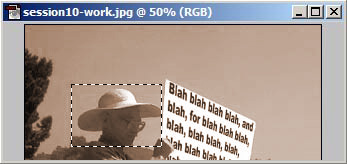
    This next bit will be a little more complicated. We're going to trace the man's full outline.

    Lasso

    1. In the toolbox on the left, click Lasso (or press L).
    2. With your mouse button held down, drag an outline across our man.
    • It may take some practice, since you can easily lose the outline. Don't worry too much about accuracy now.
    • Holding down the SHIFT key and following steps 1 and 2 again allows you to add to an existing selection.


    Stupid Filter Tricks

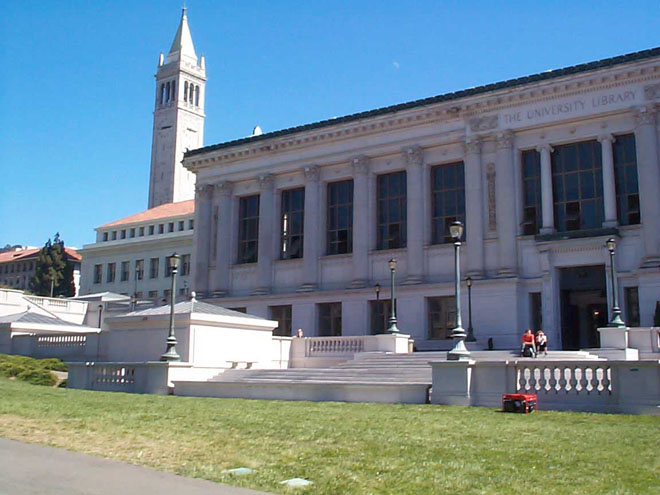
    You can do lots of fancy things with filters. They are an essential part of a graphic designer's work, but they are also an important tool for professional photography editing. Let's take the Doe Library for example.

    We can distort the library to make it look (kinda) like a swimming pool's reflection ...

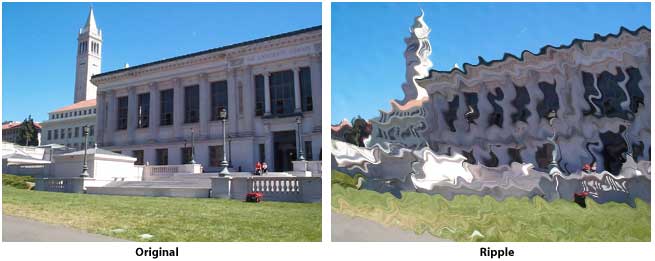
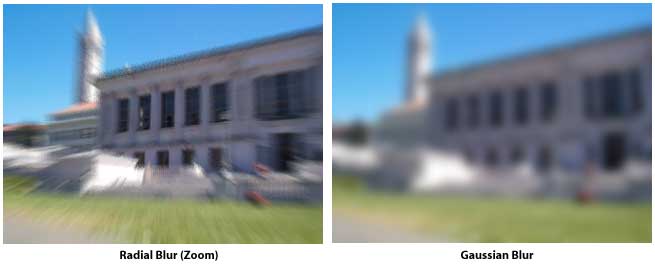
    ... we can blur the colors together ...

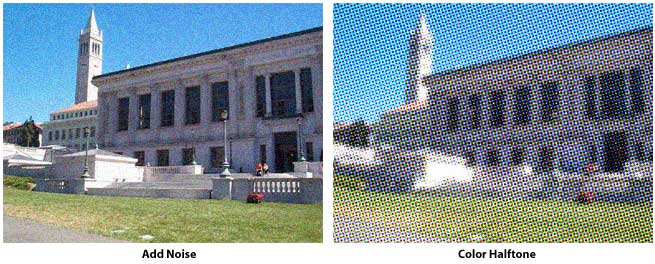
    ...and we can add stuff to the image.

    Explore through the Filters menu and write down the effects you particularly like. Experiment on our example man, or you can use the photograph of the Doe Library here.

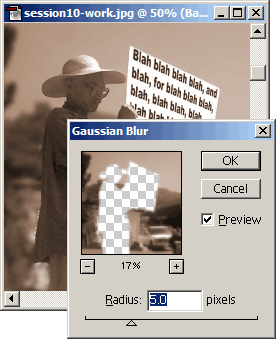
    For the next part, we will use a filter to blur the background.


    Special Effects - Blurring Background / Depth-of-Field

    Adapted from The Photoshop 6 Wow! Book (Dayton & Davis), page 140-43.

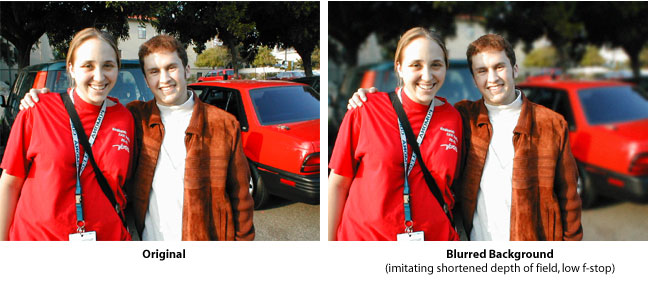
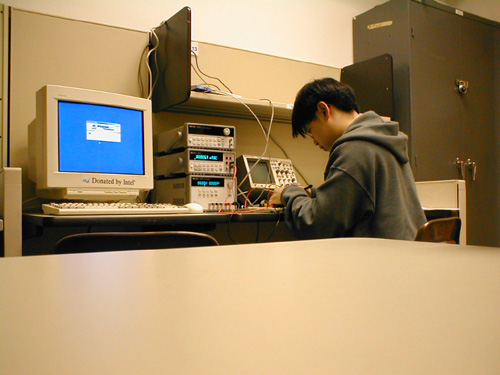
    We can blur the background to imitate a shortened depth-of-field. It's especially useful in these areas:

    The Cheap, Easy Way

    1. Did you select the man?
    2. Menu Select > Inverse. This will invert your selection.
    3. Menu Filter > Blur > Gaussian Blur. This will blur the background.
    4. Deselect everything by clicking Select > None. What's wrong with this picture?


    The Harder, Better-Looking Way

    1. Observe the Layers palette. You have ONE layer now, and this is locked in as the "Background."
    2. Release this Background layer by double-clicking it.
    3. Hit OK.
    4. Now you have an adjustable layer, "Layer 0".
    5. Click on the top-right Options button; a menu will pop out.
    6. Click "Layer Properties."
    7. This new box lets us rename our layer. Call it "Original" and click OK.


    Step 2


    Step 5 and 6

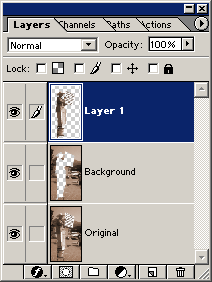
    Preparing the next few layers

    1. Menu Layer > Duplicate Layer. Name this "Background."
    2. Menu Layer > New > Layer Via Cut (or, SHIFT+CTRL/COMMAND+J). This takes your selection of the man and puts him on his very own layer. You should now have three layers, total.
    3. Click the Background layer.
    4. Menu Filter > Blur > Gaussian Blur.


    Step 9


    Blurring the background

    1. Adjust the settings to your liking. Try dragging the Radius slider to the right (for lots of blur), or to the left (for very little blur). Notice how the Radius number of pixels changes, and your background will also blur. I chose 5, but you could choose something else.
    2. Click OK once when you're done having fun.


    Step 12


    Your photograph should look like the first one on the right.

    I encourage you to be creative. You can do lots of cool things with Photoshop, like a psychedelic acid trip to the 70's. Groovy.


    Anything else, if we have time

    Softening Focus

    wow! page 130-1
    - need photo of "still life."

    Dust & Scratches

    wow! page 134-6

    Painting

    Dodge & Burn

    Retouching


    Note: All photos on this page are ©2001-2002 Steven Chan. Duplication prohibited. All rights reserved. So don't stealie, or you just might wake up screaming . . . mwahaha.


    Return to the Schedule Page


    Department of Computer ScienceOfficial Website for the University of California, Berkeley


    Current webmaster: Steven Chan (mr_chan@uclink.berkeley.edu).
    CS 39J: The Art and Science of Photography is a freshman seminar taught by Professor Brian A. Barsky.
    Site design by Steven Chan.