Due Date: Friday 4/15 11:59PM.
Navigation
- Before You Begin
- A. Software Design Principles
- B. How to Write a Design Doc
- C. Exercise: Gitlet Design Doc
- D. Deliverables
Before You Begin
NOTE: This lab will guide you in writing a design doc and design diagram for Gitlet. Having a good design doc/diagram is a mandatory prerequisite for getting project help in OH and Gitbugs, and we will reject your tickets otherwise.
In this lab, we'll be exploring deeper into the art and practice of software engineering, which combines all of the ideas we've learned in the course to this point. For the most part, our discussion of design trade-offs in the course have mainly focused around smaller snippets of code. We learned algorithmic analysis to make arguments about the execution costs of a piece of code, and throughout the projects and other assignments you have probably noticed some of the programming costs incurred from the writing, improvement, and maintenance of a programming product. By the end of this lab, you will have explored some important concepts of software engineering. You are highly encouraged to work through this lab with a partner, and we have tried to incorporate a number of prompts for you to discuss things with your partner.
The core exercise in this lab is to write a design document for Project 3: Gitlet. If you have not already, you should read through the Gitlet spec. You are not expected to know everything about the project before beginning this lab. However, without a solid understanding of the fundamentals of the project, the lab will likely be more challenging and less useful to you. A great way to reinforce your understanding is to discuss any questions you have about the spec with your lab partner or a member of course staff as you work through the design process. You may work through the design for Gitlet with your lab partner and even may have the same design document (however you will both have to submit individually). To be explicit, you will be able to work with a partner in order to come up with a design, but all code for the project must be written individually.
Helpful resources:
A. Software Design Principles
Multi-person Development of Multi-version Programs
Designing a programming product is different from 'simple programming'.
Programming products often combine the work of many programmers: It's not always the case that programmers share a common understanding of every component of the program. Code that is written by one programmer may not be easily understood by another programmer, or even the original programmer themselves weeks or months down the line. Working in teams imposes real stress that is not evident from working alone.
Programming products are prepared for use by other people: Unlike software that is written by programmers, for programmers, or purely 'academic' problems which might not be used in a real world setting, programming products need to meet the requirements of the client or target user. Unfortunately, clients and users rarely, if ever, completely understand what their programming product should do; instead, they often have a vague notion of a problem. Part of the challenge of software engineering is in acquiring a deep-enough mental model of the fundamental problem the client is facing in order to choose between multiple possible solutions.
In short, software engineering is concerned with the problem of "multi-person development of multi-version programs".
Discussion: Information Hiding
Software doesn't exist in a vacuum. In the real world, software constantly undergoes changes in requirements in response to shifts in requirements.
There are two, quite distinct, types of software aging, which is the tendency for software to fail after running continuously for a period of time. The first is caused by the failure of the product’s owners to modify it to meet changing needs; the second is the result of the changes that are made. This "one-two punch" can lead to rapid decline in the value of a software product.
Read Revealing the Secrets of David Parnas.
Work with your partner to come up with a shared definition for information hiding as it is used in the excerpt below. Then, come up with a couple examples of when you've used the principle of information hiding in this course.
Parnas uses information hiding to decompose the system in modules that satisfy his goals; each module keeps its own secret design decision about some aspect of the system (e.g., choice of a data structure). A module's design decision can change but none of the other modules should be affected.
Consider the following claim from the paper.
[Parnas] defines the "interface between programs" to consist "of the set of assumptions that each programmer needs to make about the other program in order to demonstrate the correctness of his own program." In addition to an operation signature, these assumptions must specify the restrictions on data passed to the operation, the effect of the operation, and exceptions to the normal processing that may arise.
How can information hiding affect the number of assumptions a programmer needs to make? How is testing related to the assumptions that come with designing a particular program method?
One aspect of information hiding is encapsulation, an idea we've already explored several times in the course. Can you think of other examples outside of encapsulation where the hiding information from the programmer has been helpful or desirable?
A secret of a well-designed module is more than hidden data. It is any aspect that can change as the system evolves: processing algorithms used, hardware devices accessed, other modules present, and specific functional requirements supported.
In what ways has technology changed in the past 5 or 10 years? What kind of gadgets and software services have become popular in recent years? How can information hiding help software adapt to these changes?
Designing for Change
David Parnas also has written about designing for change. In multi-version programming we find three additional problems that are not present if we are going to write a single program:
- How to write programs that are easily modified. Programs in which a change of one design decision does not require changes in many parts of the program.
- How to write programs with useful subsets. If we only need a subset of the services performed by a program we should be able to quickly remove unneeded parts without having to rewrite the remainder. If we are unable to complete or use certain functions, we would like a reduced set of capabilities to be available.
- How to write programs that are easily extended. We should like to be able to add new capabilities to programs without rewriting the programs that are already present. This, too, is fail safe goal; build a subset to meet a deadline, then extend as time permits.
Some key ideas that can help you create code are listed below:
Apply the following ideas to your design:
- Information hiding: the concept of using an abstract interface as a mechanism for hiding the details of a low-level interface from other modules of the software system.
- Abstraction: the process of filtering out non-important details to concentrate on more relevant information.
- Separation of concerns: a design principle for separating a computer program into distinct sections.
- Data hiding: the idea to hide internal object details.
Begin by characterizing likely classes of changes:
- Do not begin with designing data structures/algorithms
- Think about change as part of documenting requirements
- Changeability is a requirement and should be treated as such.
Estimate the probabilities of each type of change:
- We cannot make everything equally easy to change.
- In many cases, functional requirements for programs evolves over time.
- Our intuition on what will change is often wrong, but we can consult clients as well as more experienced software engineers for feedback.
- Oftentimes, we won't know what will be more likely to change, but an educated guess is better than nothing.
- Review changeability at every step in the design.
Then, organize the software to confine or encapsulate likely changes:
- Provide an abstract interface that is unlikely to change.
- Implement objects that hide changeable data structures.
Experience has shown that, even if unanticipated changes are eventually required, software designed for ease of change is easier to maintain than software designed without concern for future changes.
Don't Repeat Yourself (DRY)
When working on any software project, the principle of "Don't repeat yourself", or DRY, is one of the simplest but also most general principles for writing maintainable software. We've already seen several examples of this in action when we examined the Comparable, Comparator and Iterable, Iterator interfaces.
Each of these methods reduced our need to make redundant near-copies of code throughout our program. For example, say we had several classes that represented animals and we wanted to implement some function that would take the maximum of two such animal objects. Before the introduction of Comparable, we would have needed to implement a different max function for each type of Animal: we'd need to write a maxDog function, a maxCat function, a maxPenguin function, a maxWhale function, etc., resulting in unnecessary repeated work and a lot of redundant code. By introducing the Comparable interface, we can instead implement one max function that uses each Animal's compareTo method.
In Java (and many other programming languages), our solution to improve code reuse is to extract repeated code snippets into methods or other subroutines. For each variable or value that differs between the code snippets, parameterize the variables, turning them into parameters that can be passed into the function by the caller.
DRY, as a design philosophy, is interesting because it takes the approach of write code first, then abstract it away second. Unlike upfront design where all the decisions are made at the start, pulling code out into a method can be done at the precise time when the abstraction is needed. But DRY is not incompatible with information hiding. The better way to formulate the problem may be to say that, if information hiding is responsible for managing the complexity of the high-level program architecture, DRY can be thought of as a technique to help programmers manage complexity as they implement each individual class.
There are many different approaches to how to go about practicing these DRY principals. One good approach is that the second time you write the same (or code that is similar enough that can be parameterized), you should create a new function or otherwise. This makes your code easier to maintain as the logic is only contained in one location. In general it should also lead to hopefully shorter and cleaner code.
B. How to Write a Design Doc
After reading about the various software design principles, let's now put them into practice and write a design doc. For project 3, you are required to complete the design doc located at proj3/gitlet/gitlet-design.md.
To help you understand what a design doc look like, course staff have prepared sample design docs for Lab 12 Capers and Project 1 Enigma. Please take a look at capers-design.md and enigma-design.md in your lab13 folder to see the sample design docs.
For the purpose of assignments in CS61B, we recommend formatting your design doc into the following sections:
Classes and Data Structures
- Include any class definitions here. For each class list the instance variables and static variables (if any). Include a brief description of each variable and its purpose in the class.
Algorithms
- This is where you tell us how your code works. For each class, include a high-level description of the methods in that class. That is, do not include a line-by-line breakdown of your code, but something you would write in a javadoc comment above a method, including any edge cases you are accounting for.
Persistence
- Describe your strategy for ensuring that you don’t lose the state of your program across multiple runs. This section should be structured as a list of all the times you will need to record the state of the program or files.
Design Diagram
- Attach a picture of your design diagram illustrating the strcture of your classes and data structures. The design diagram should make it easy to visualize the structure and workflow of your program.
C. Exercise: Gitlet Design Doc
One key idea in designing architecture is to imagine you're inventing new "species" of creatures. Unlike living species, however, which are concerned with survival, your components are entities that have responsibilities for storing data and accomplishing computation of some kind. Inventing new species is a creative activity; you want to think about what they will and won't do, give them names, and tell stories about how they interact with each other, exchanging data.
---Amy Ko
For the remainder of the lab you are to work on the Gitlet Design Document. You will be required to submit your first draft of your design for this lab assignment. It is OK if you have not finalized all of the details by this submission, and it is important to remember that a design document should be a living document. If your design changes at any point, or if you do determine more details of your design, you should update the design document to reflect this.
Keeping an updated design document should keep you organized, but it will also allow us to be able to help you. In order for us to understand your implementation in a timely manner when we help you in office hours or via GitBugs, it is imperative that you keep a design document and design diagram in your proj3 folder that reflects the current design of your program. We will not help you in office hours or process your GitBugs otherwise.
Again, before beginning you and your lab partner should take some time to first ensure that both of you have a reasonable understanding of the project. If you have not already, you should read or at the very least skim the spec here. What is the problem(s) that Gitlet aims to solve? How does Gitlet propose to solve that problem? What kind of mental models and representations are used as part of Gitlet? Also, make sure to read through the explanation and tips in proj3/gitlet/gitlet-design.md.
You will be adding your design doc to the proj3/gitlet/gitlet-design.md file. This means that you must have fetched and merged the project files before continuing. Again to do this please run the following commands:
git fetch shared
git merge shared/proj3 -m "get proj3 skeleton"- Start by reading
gitlet-design.mdfor guidelines on how to write your design doc. - Read the “Internal Structures” portion of the spec. Brainstorm what data structures you might want corresponding to these internal Gitlet structures.
- Then, read through the “Description” section of each command one by one. After each command, pause to see if you should add any data structures or functions to your design. Also, for each command, note what information (if any) needs to be persisted.
- Next, read the “Serialization” section of the spec and strategize how your persistence will work. Think both about what libraries/classes you might want to use and how your file system will be structured. Write this under the “Persistence” section of your design doc.
- Finally, combine elements from your design doc into an image.
- A good idea is to use box-and-pointer diagrams for the classes and methods in your design. Use boxes to represent classes, and draw their methods and attributes inside these boxes.
- Draw arrows between classes to represent interactions between these classes.
- Write down specific commands and summarize, in your own words, the “Goal” of each command. Then, write down the rough sequence of function calls that each command will make.
- Draw out your file system structure. It may be helpful to use a nested hierarchy or a tree diagram.
It's very important that you think about the overall design and functional requirements first before thinking about implementation.
Writing Your Design Doc
We are asking you to complete your design doc in markdown, a language that allows you to nicely format and style a text file. There are various ways that you can edit markdown (we will describe two options below). We again do not necessarily care that your file is perfectly formatted, but find that it can be nice to write design documents (or other files like this) in a more featured way (e.g. with bold text, code blocks / text, bullets, etc.). Some features that might be particularly useful for your design doc are the headers and the code / syntax highlighting (see the link above for how to do each of these)!
Don't spend too much time deciding how you want to work on the design doc, we care much more about the content than the formatting. The guidelines of your design document can be found here. Remember that the purpose of this document you're writing is not just to satisfy the instructors. It's intended to help you organize, plan, and streamline your Gitlet implementation, so focus on writing a document that's useful to you.
There are many ways that you can edit Markdown files that allow you to more easily visualize the formatted output. We have listed two ways that you can edit your design doc markdown file.
IntelliJ Markdown
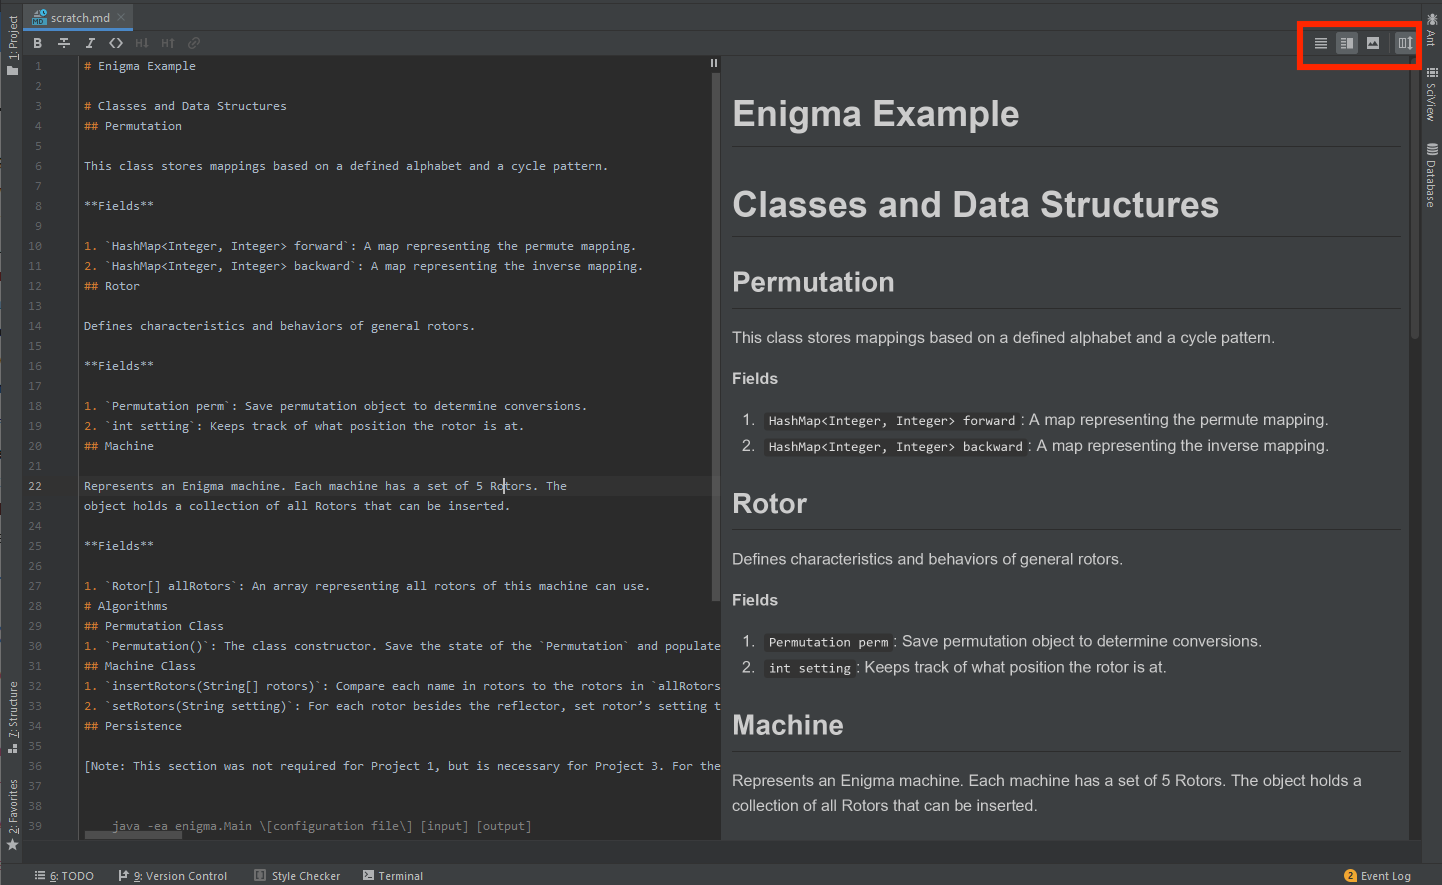
You can also just edit the markdown directly in IntelliJ. Open the proj3 folder as you would normally, then if you edit the gitlet-design.md file you should see the live rendering of the markdown appear in a different pane of the IDE. You can toggle the pane open using the buttons at the top right.
Text Editor
If you have a text editor, such as VSCode and Atom, you can edit your gitlet-design.md using these text editors. For Atom, you can open rendered version of your markdown with ctrl-shift-m. For VSCode, you can enable live rendering of your markdown file by clicking the following button on the top right corner.

D. Deliverables
The submission process for this assignment will be a bit different than other labs, so please follow the instructions carefully. To receive full credit for completing this lab, make sure that you:
- Double check that your design document fulfills all of the requirements specified in the design document guidelines
- Complete your design document and ensure that the markdown / text has been copied into the
proj3/gitlet/gitlet-design.mdfile. - Added and committed your
proj3/gitlet/gitlet-design.mdfile. If you have not already, fetch the files for Lab 13. To do this run the commands:
git fetch shared git merge shared/lab13 -m "get lab13 skeleton"- Fill out the
lab13/partner.txtwith your partners information. If you did not complete this lab / your design document with a partner, just leave this blank. Copy your
proj3/gitlet/gitlet-design.mdinto the lab folder. This is only for submission purposes, and you will only need to maintain / update theproj3/gitlet/gitlet-design.mdfile in your/proj3directory. You can do this by running the following command from yourrepofolder:cp proj3/gitlet/gitlet-design.md lab13/gitlet-design.md- Copy your gitlet design diagram into the
\lab13folder and rename it asgitlet-design.png. It's very important you put it in/lab13directory and has the correct name. - Create a folder in your Google Drive. In the folder, upload you design diagram and copy your markdown file to a google doc so that you have a sharable link to your Google Drive folder to use in Office Hours/Labs. (Make sure you selected "Share with UC Berkeley" when creating the shareable link so that course staff can access it.) You are required to share your most up-to-date version of your design diagram & design doc to get help in Office Hours/labs for Gitlet.
Once this has been copied over, you can now submit the assignment in the same way you usually do.
git add lab13 # or equivalent add command
git commit -m "submitting lab13"
git tag lab13-x  # x is the next highest submission number
git push
git push --tags
Grading
This assignment checks if you have a sufficient design document and design diagram. Having a good design is one of the most important things you can do in order to set yourself up for success on the project. Putting in effort to this assignment should lead to a cleaner implementation of Gitlet and designing before you code will almost certainly save you time. Additionally once again, if you do not have a sufficient design document, you will not be able to get help from course staff through office hours or GitBugs.
Acknowledgments
This lab was adapted by Matthew Owen and Linda Deng from the CS61BL Summer 2018 Software Engineering lab written by Kevin Lin.