Background
Table of contents
Here is some basic information on the HTTP server that you will be implementing.
Structure of an HTTP request
The format of an HTTP request message is:
- An HTTP request line containing a method, a request URI, and the HTTP protocol version
- Zero or more HTTP header lines
- A blank line (i.e. a CRLF by itself)
The line ending used in HTTP is CRLF, which is represented as \r\n in C.
Below is an example HTTP request message sent by the Google Chrome browser to an HTTP web server running on localhost (127.0.0.1) on port 8000 (the CRLF’s are written out using their escape sequences):
GET /hello.html HTTP/1.0\r\n
Host: 127.0.0.1:8000\r\n
Connection: keep-alive\r\n
Accept: text/html,application/xhtml+xml,application/xml;q=0.9,image/webp,*/*;q=0.8\r\n
User-Agent: Chrome/45.0.2454.93\r\n
Accept-Encoding: gzip,deflate,sdch\r\n
Accept-Language: en-US,en;q=0.8\r\n
\r\n
Header lines provide information about the request. For a deeper understanding, open your web browser’s developer tools, then click on the “Network” tab and look at the headers sent when you request any webpage. Here are some HTTP request header types:
- Host: contains the hostname part of the URL of the HTTP request (e.g.
inst.eecs.berkeley.eduor127.0.0.1:8000) - User-Agent: identifies the HTTP client program, takes the form
Program-name/x.xx, wherex.xxis the version of the program. In the above example, the Google Chrome browser sets User-Agent asChrome/45.0.2454.93(Or at least this was the idea back in the early days of the web. Now the User-Agent is generally an unholy mess. If you’re curious as to why this is the case, the history behind it is amusing).
Structure of an HTTP response
The format of an HTTP response message is:
- An HTTP response status line containing the HTTP protocol version, the status code, and a human-readable description of the status code
- Zero or more HTTP header lines
- A blank line (i.e. a CRLF by itself)
- The body (i.e. content) requested by the HTTP request
Here is an example HTTP response with a status code of 200 and a body consisting of an HTML file (the CRLF’s are written out using their escape sequences):
HTTP/1.0 200 OK\r\n
Content-Type: text/html\r\n
Content-Length: 84\r\n
\r\n
<html>\n
<body>\n
<h1>Hello World</h1>\n
<p>\n
Let's see if this works\n
</p>\n
</body>\n
</html>\n
Status lines
Typical status lines might be HTTP/1.0 200 OK (as in our example above), HTTP/1.0 404 Not Found, etc.
The status code is a three-digit integer, and the first digit identifies the general category of response. (For those curious, more information can be found here):
- 1xx indicates an informational message only
- 2xx indicates success
- 3xx redirects the client to another URL
- 4xx indicates an error in the client
- 5xx indicates an error in the server
Header lines
Header lines provide information about the response. Here are some HTTP response header types:
- Content-Type: the MIME type of the data attached to the response, such as
text/htmlortext/plain - Content-Length: the number of bytes in the body of the response
Server outline
From a network standpoint, your basic HTTP web server should implement the following.
- Create a listening socket and bind it to a port
- Wait for a client to connect to the port
- Accept the client and obtain a new connection socket
- Read in and parse the HTTP request
- Do one of two things: (determined by command line arguments)
- Serve a file from the local file system, or yield a 404 Not Found
- Proxy the request to another HTTP server. When using a proxy, the HTTP server serves requests by streaming them to a remote HTTP server (proxy). Responses from the proxy are sent back to clients.
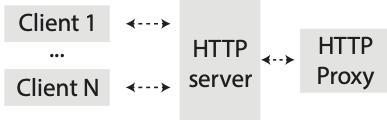
The httpserver will be in either file mode or proxy mode; it does not do both things at the same time.
- Send the appropriate HTTP response header and attached file/document back to the client (or an error message)
The skeleton code already implements steps 2-4.
Usage
Below is a description of how to invoke http_server from the shell. The argument parsing step has already been implemented for you:
./httpserver --help
Usage: ./httpserver --files any_directory_with_files/ [--port 8000 --num-threads 5]
       ./httpserver --proxy inst.eecs.berkeley.edu:80 [--port 8000 --num-threads 5]
The available options are:
--files
Selects a directory from which to serve files. You should be serving files from the
hw-http/folder (e.g. if you are currently in thehw-http/folder, you should just use--files www/.
--proxy
Selects an “upstream” HTTP server to proxy. The argument can have a port number after a colon (e.g.
inst.eecs.berkeley.edu:80). If a port number is not specified, port 80 is the default.
--port
Selects which port the HTTP server listens on for incoming connections. Used in both files mode and proxy mode. If a port number is not specified, port 8000 is the default. If you want to use a port number between 0 and 1023, you will need to run your HTTP server as root. These ports are the “reserved” ports, and they can only be bound by the root user. You can do this by running
sudo http_server_rs --port PORT --files www/.
--num-threads
Indicates the number of threads in your thread pool that are able to concurrently serve client requests. This argument is initially unused and it is up to you to use it properly.
Running make will give you 4 executables: httpserver, forkserver, threadserver, and poolserver.
Accessing your server
The virtual machine is set up with a special host-only network that will allow your host computer (e.g. your laptop) to connect directly to your VM. The IP address of your VM is 192.168.162.162.
You should be able to run ping 192.168.162.162 from your host computer and receive ping replies from the VM. If you are unable to ping the VM, you can try setting up port forwarding in Vagrant instead.
If you able to ping your VM, you should be able to use all of the commands below from your host computer, replacing 0.0.0.0 with 192.168.162.162. Alternatively, you can ssh into your VM and run the commands as they are shown.
You can send HTTP requests with the curl program. An example of how to use curl is:
curl -v http://0.0.0.0:8000/
curl -v http://0.0.0.0:8000/index.html
curl -v http://0.0.0.0:8000/path/to/file
You can also open a connection to your HTTP server directly over a network socket using netcat (nc) and typing out your HTTP request (or piping it from a file).
> nc -v 0.0.0.0 8000
Connection to 0.0.0.0 8000 port [tcp/*] succeeded!
> (Now, type out your HTTP request here.)
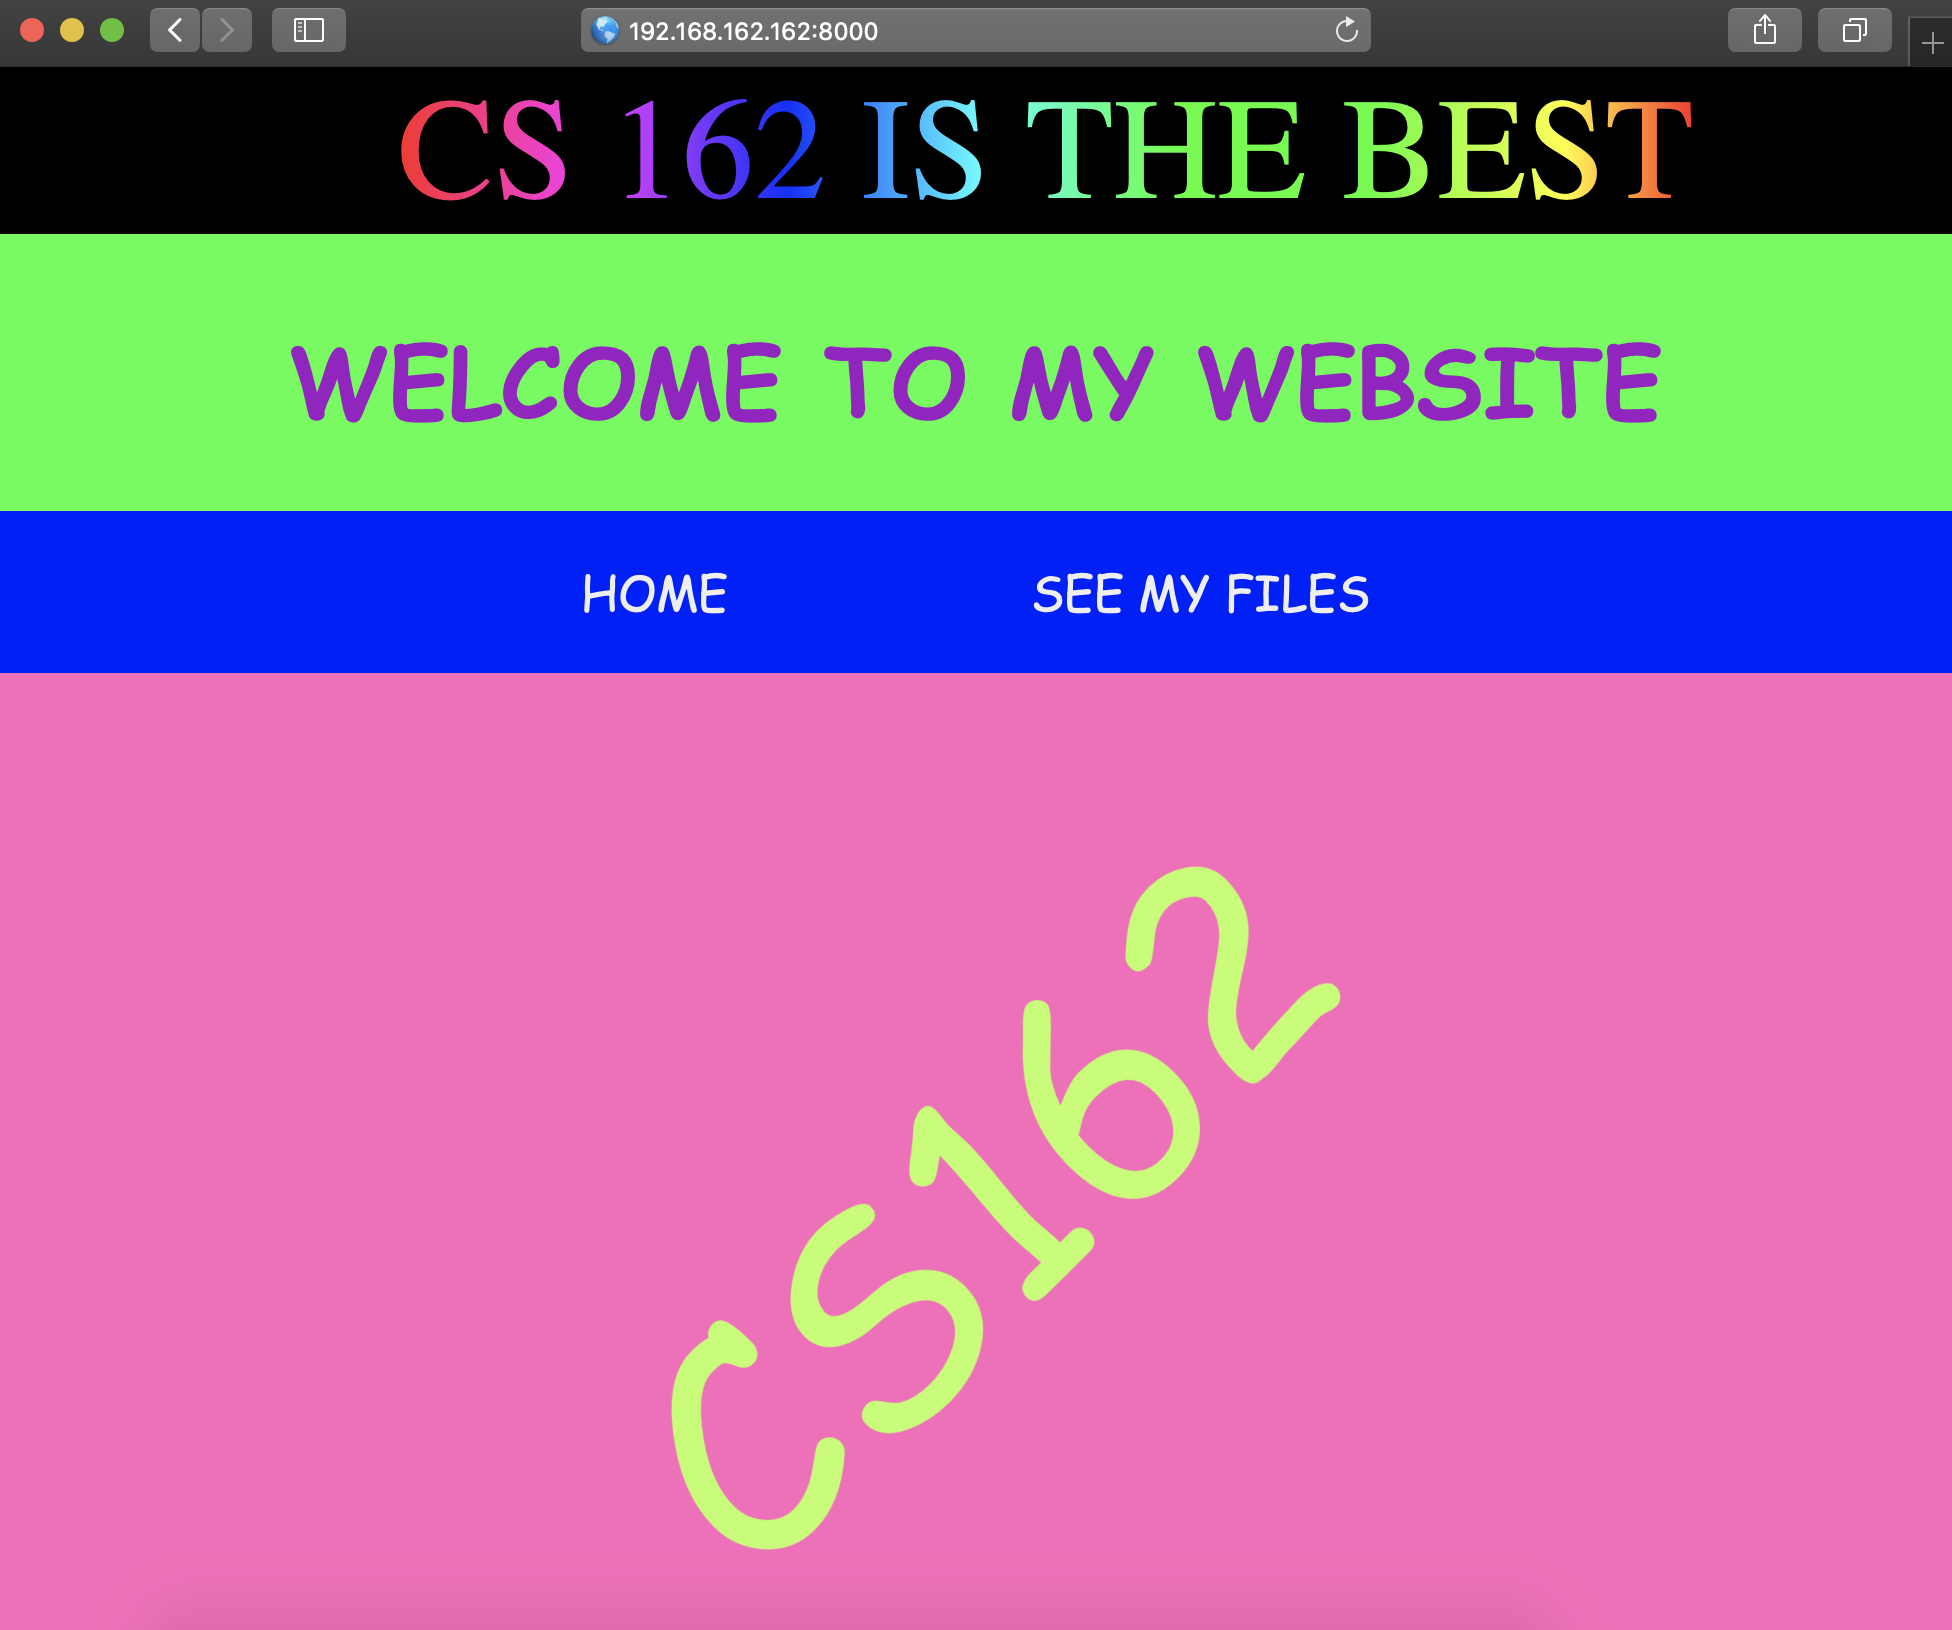
After completing the GET request (directories) task, you can access your HTTP server by opening a web browser and going to http://192.168.162.162:8000/.
Troubleshooting
Failed to bind on socket: Address already in use
This means you have an
httpserverrunning in the background. This can happen if your code leaks processes that hold on to their sockets, or if you disconnected from your VM and never shut down yourhttpserver. You can fix this by runningpkill -9 httpserver. If that doesn’t work, you can specify a different port via--portor reboot your VM withvagrant reload.
Failed to bind on socket: Permission denied
If you use a port number that is less than 1024, you may receive this error. Only the root user can use the “well-known” ports (numbers 1 to 1023), so you should choose a higher port number (1024 to 65535).