
The goal of this project is to rectify images and combine several images into a single mosaic. Rectifying images involves transforming pictures onto some defined plane. An example of this is ground-plane rectification where we transform the image such that the viewpoint of the picture appears to be pointing downward. The transformation needed to accomplish this task is a homography, which will be calculated in the next section. We will be able to use these homographies to combine different viewing angles of the same scene and create panoramas.
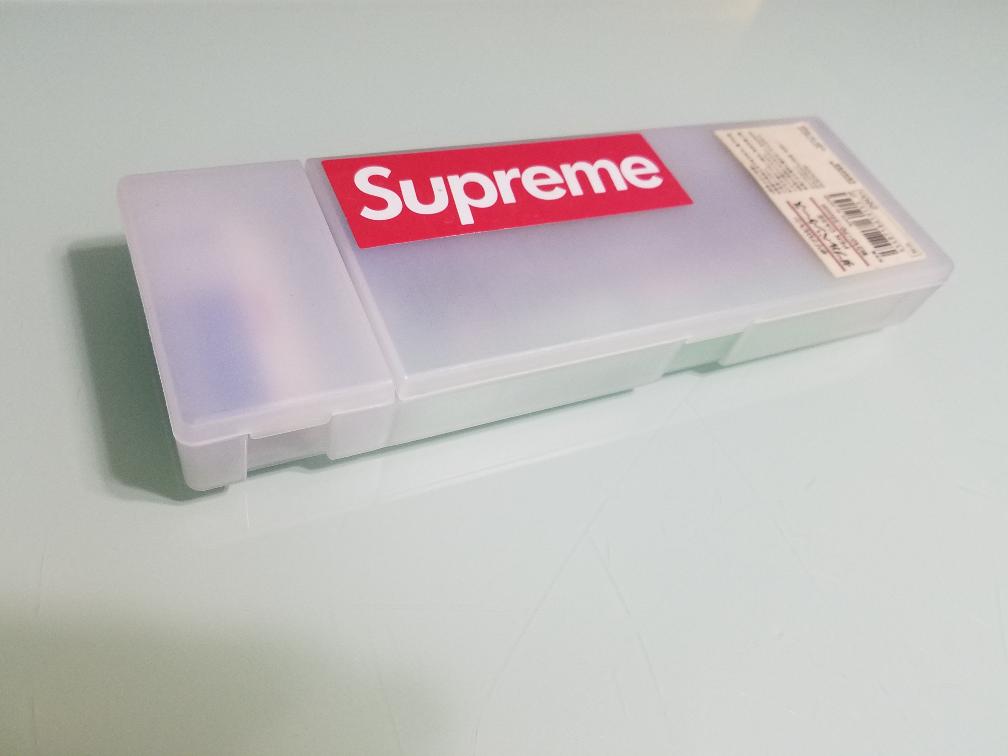
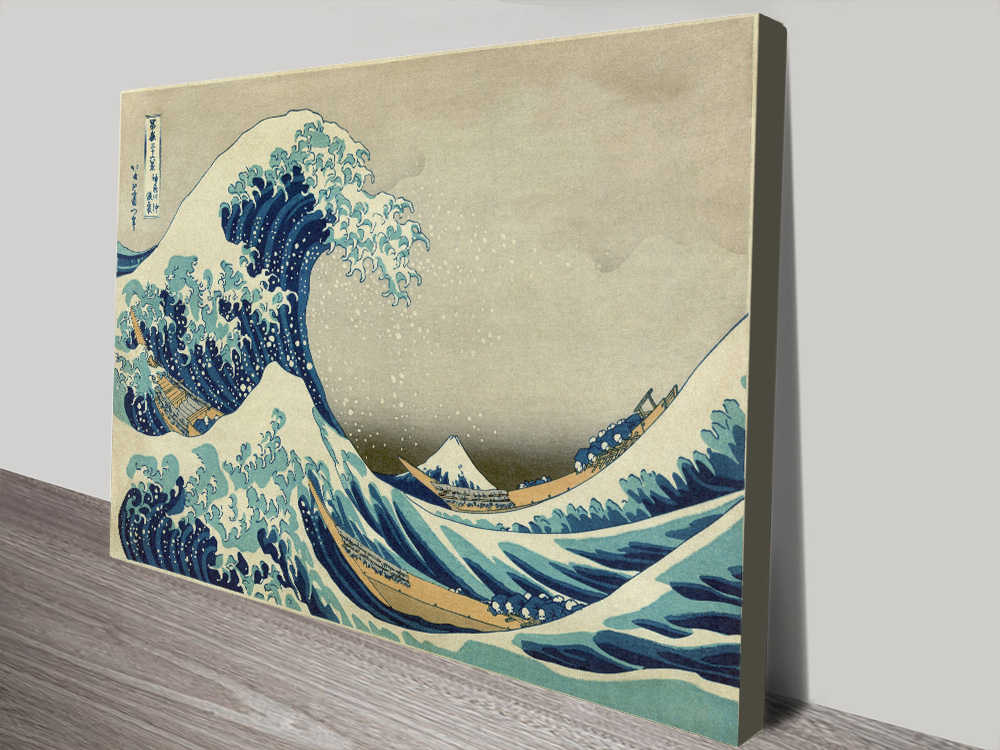
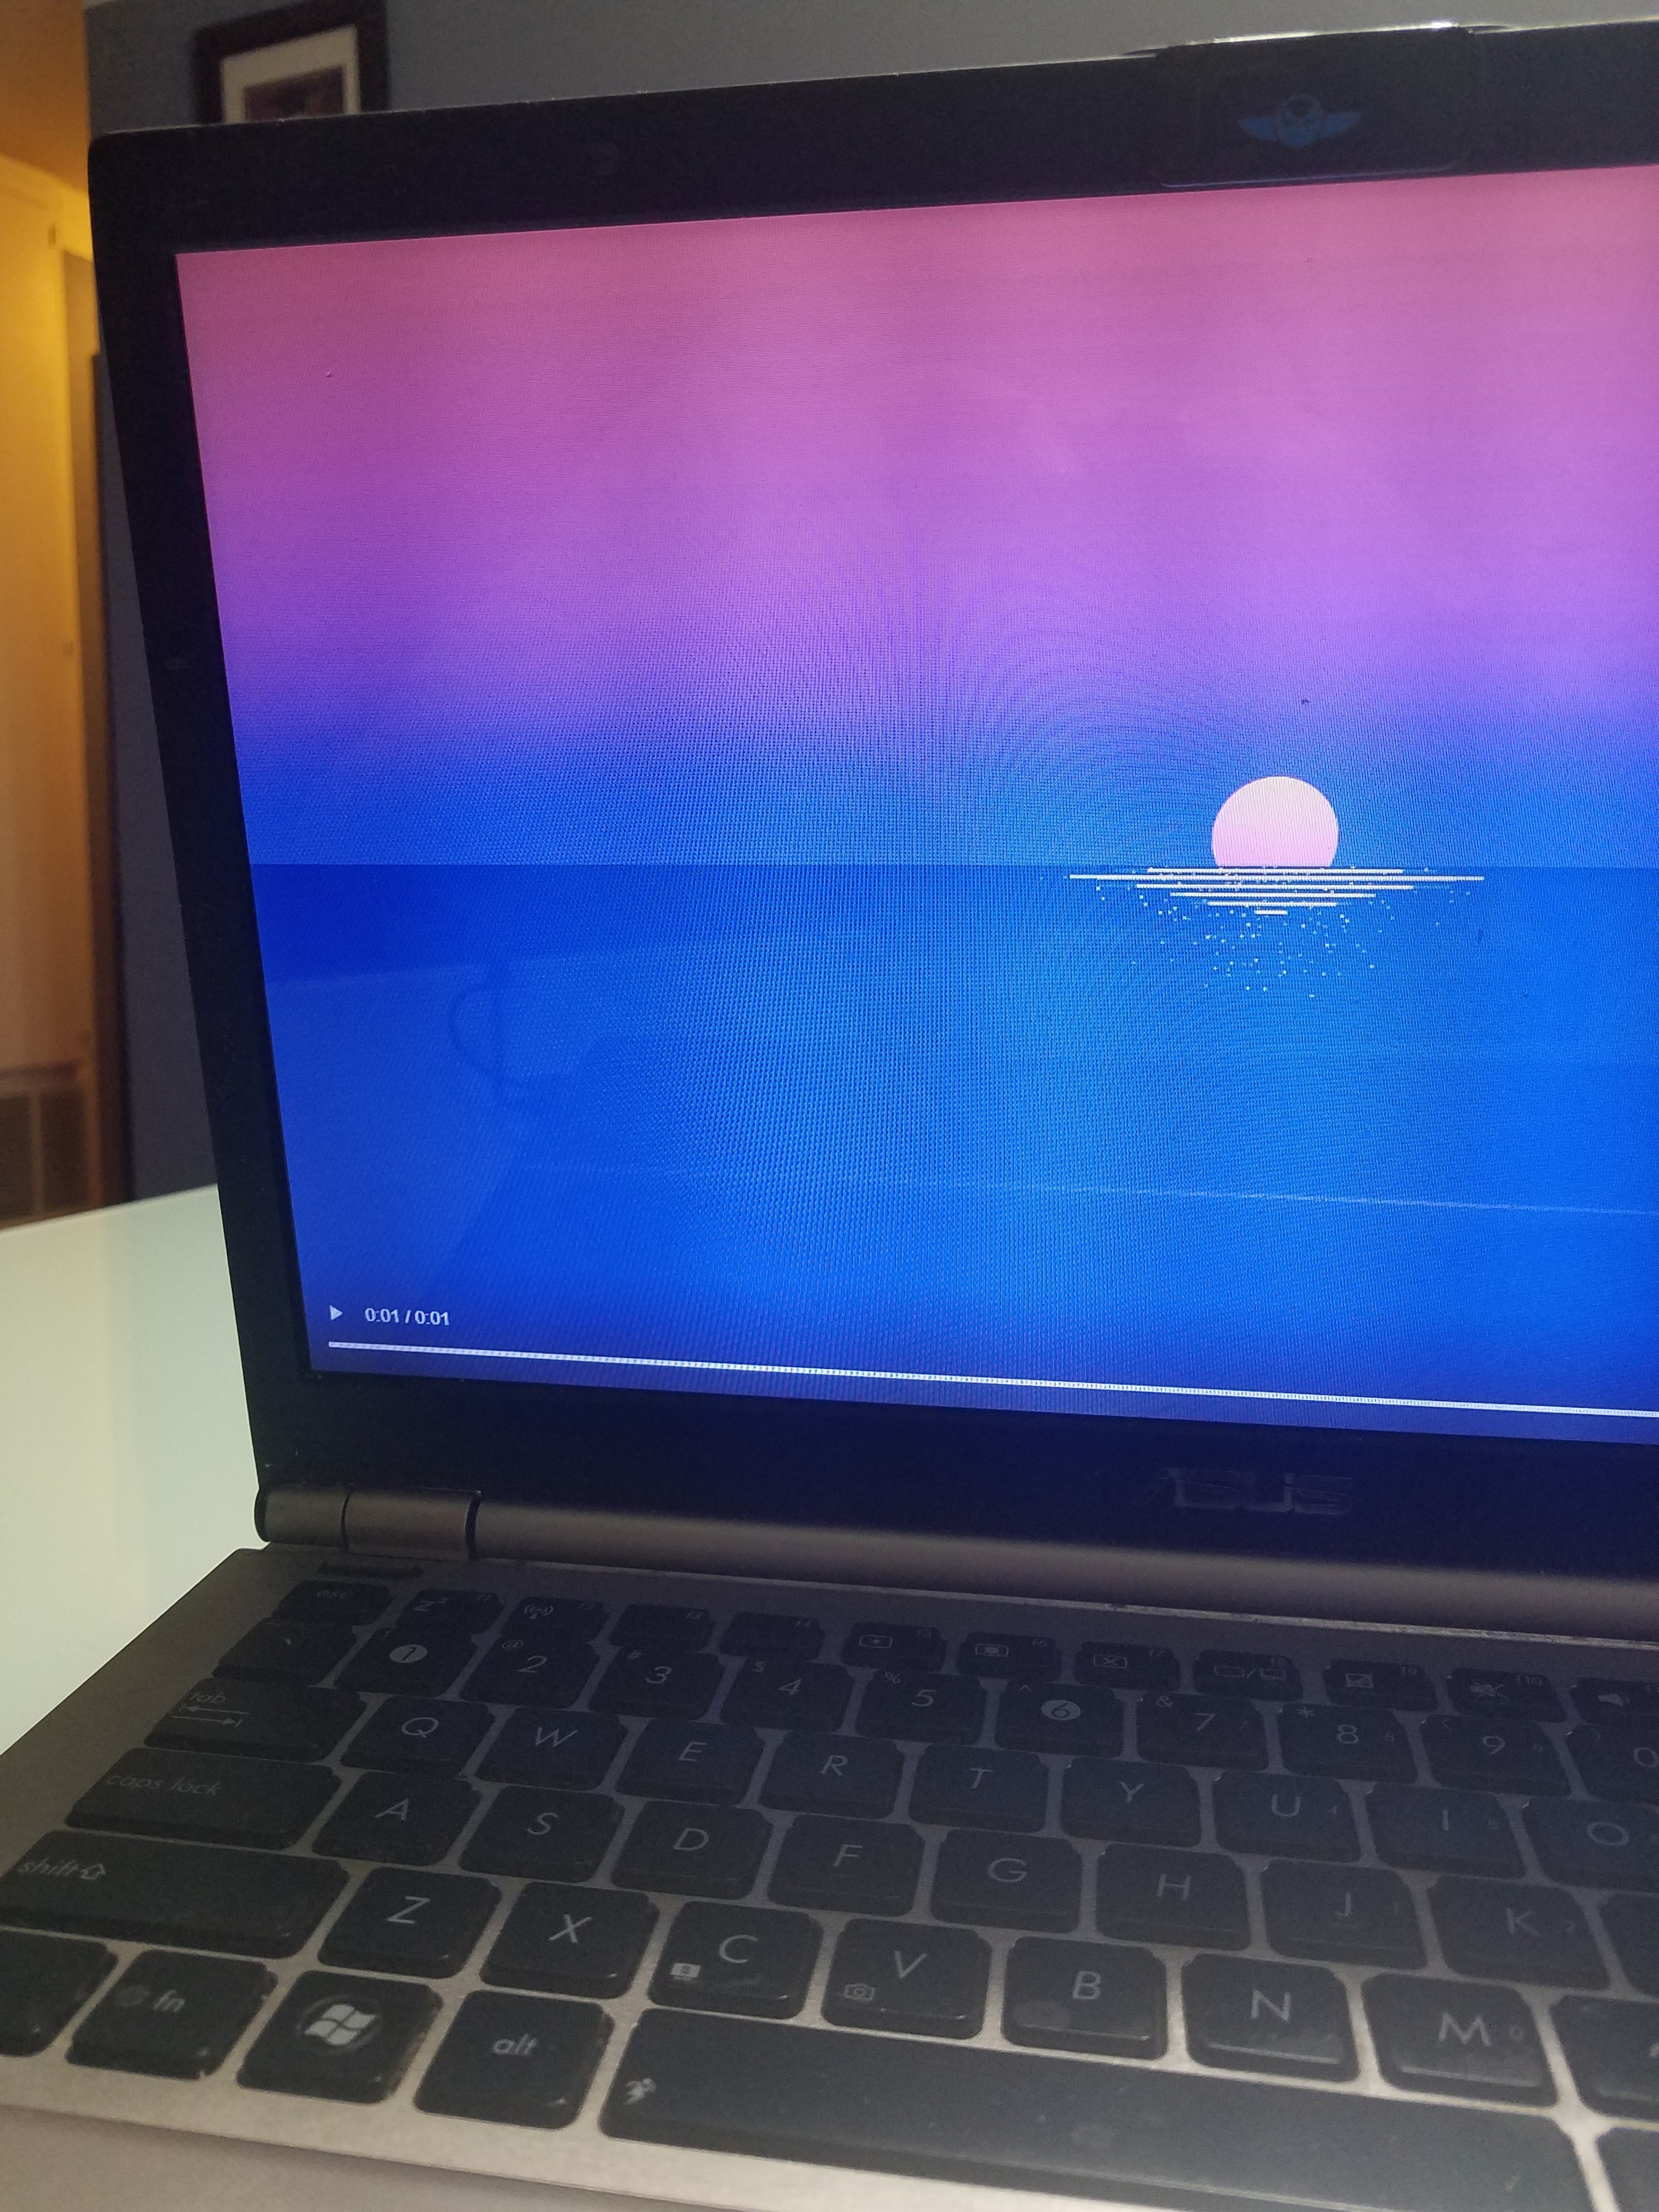
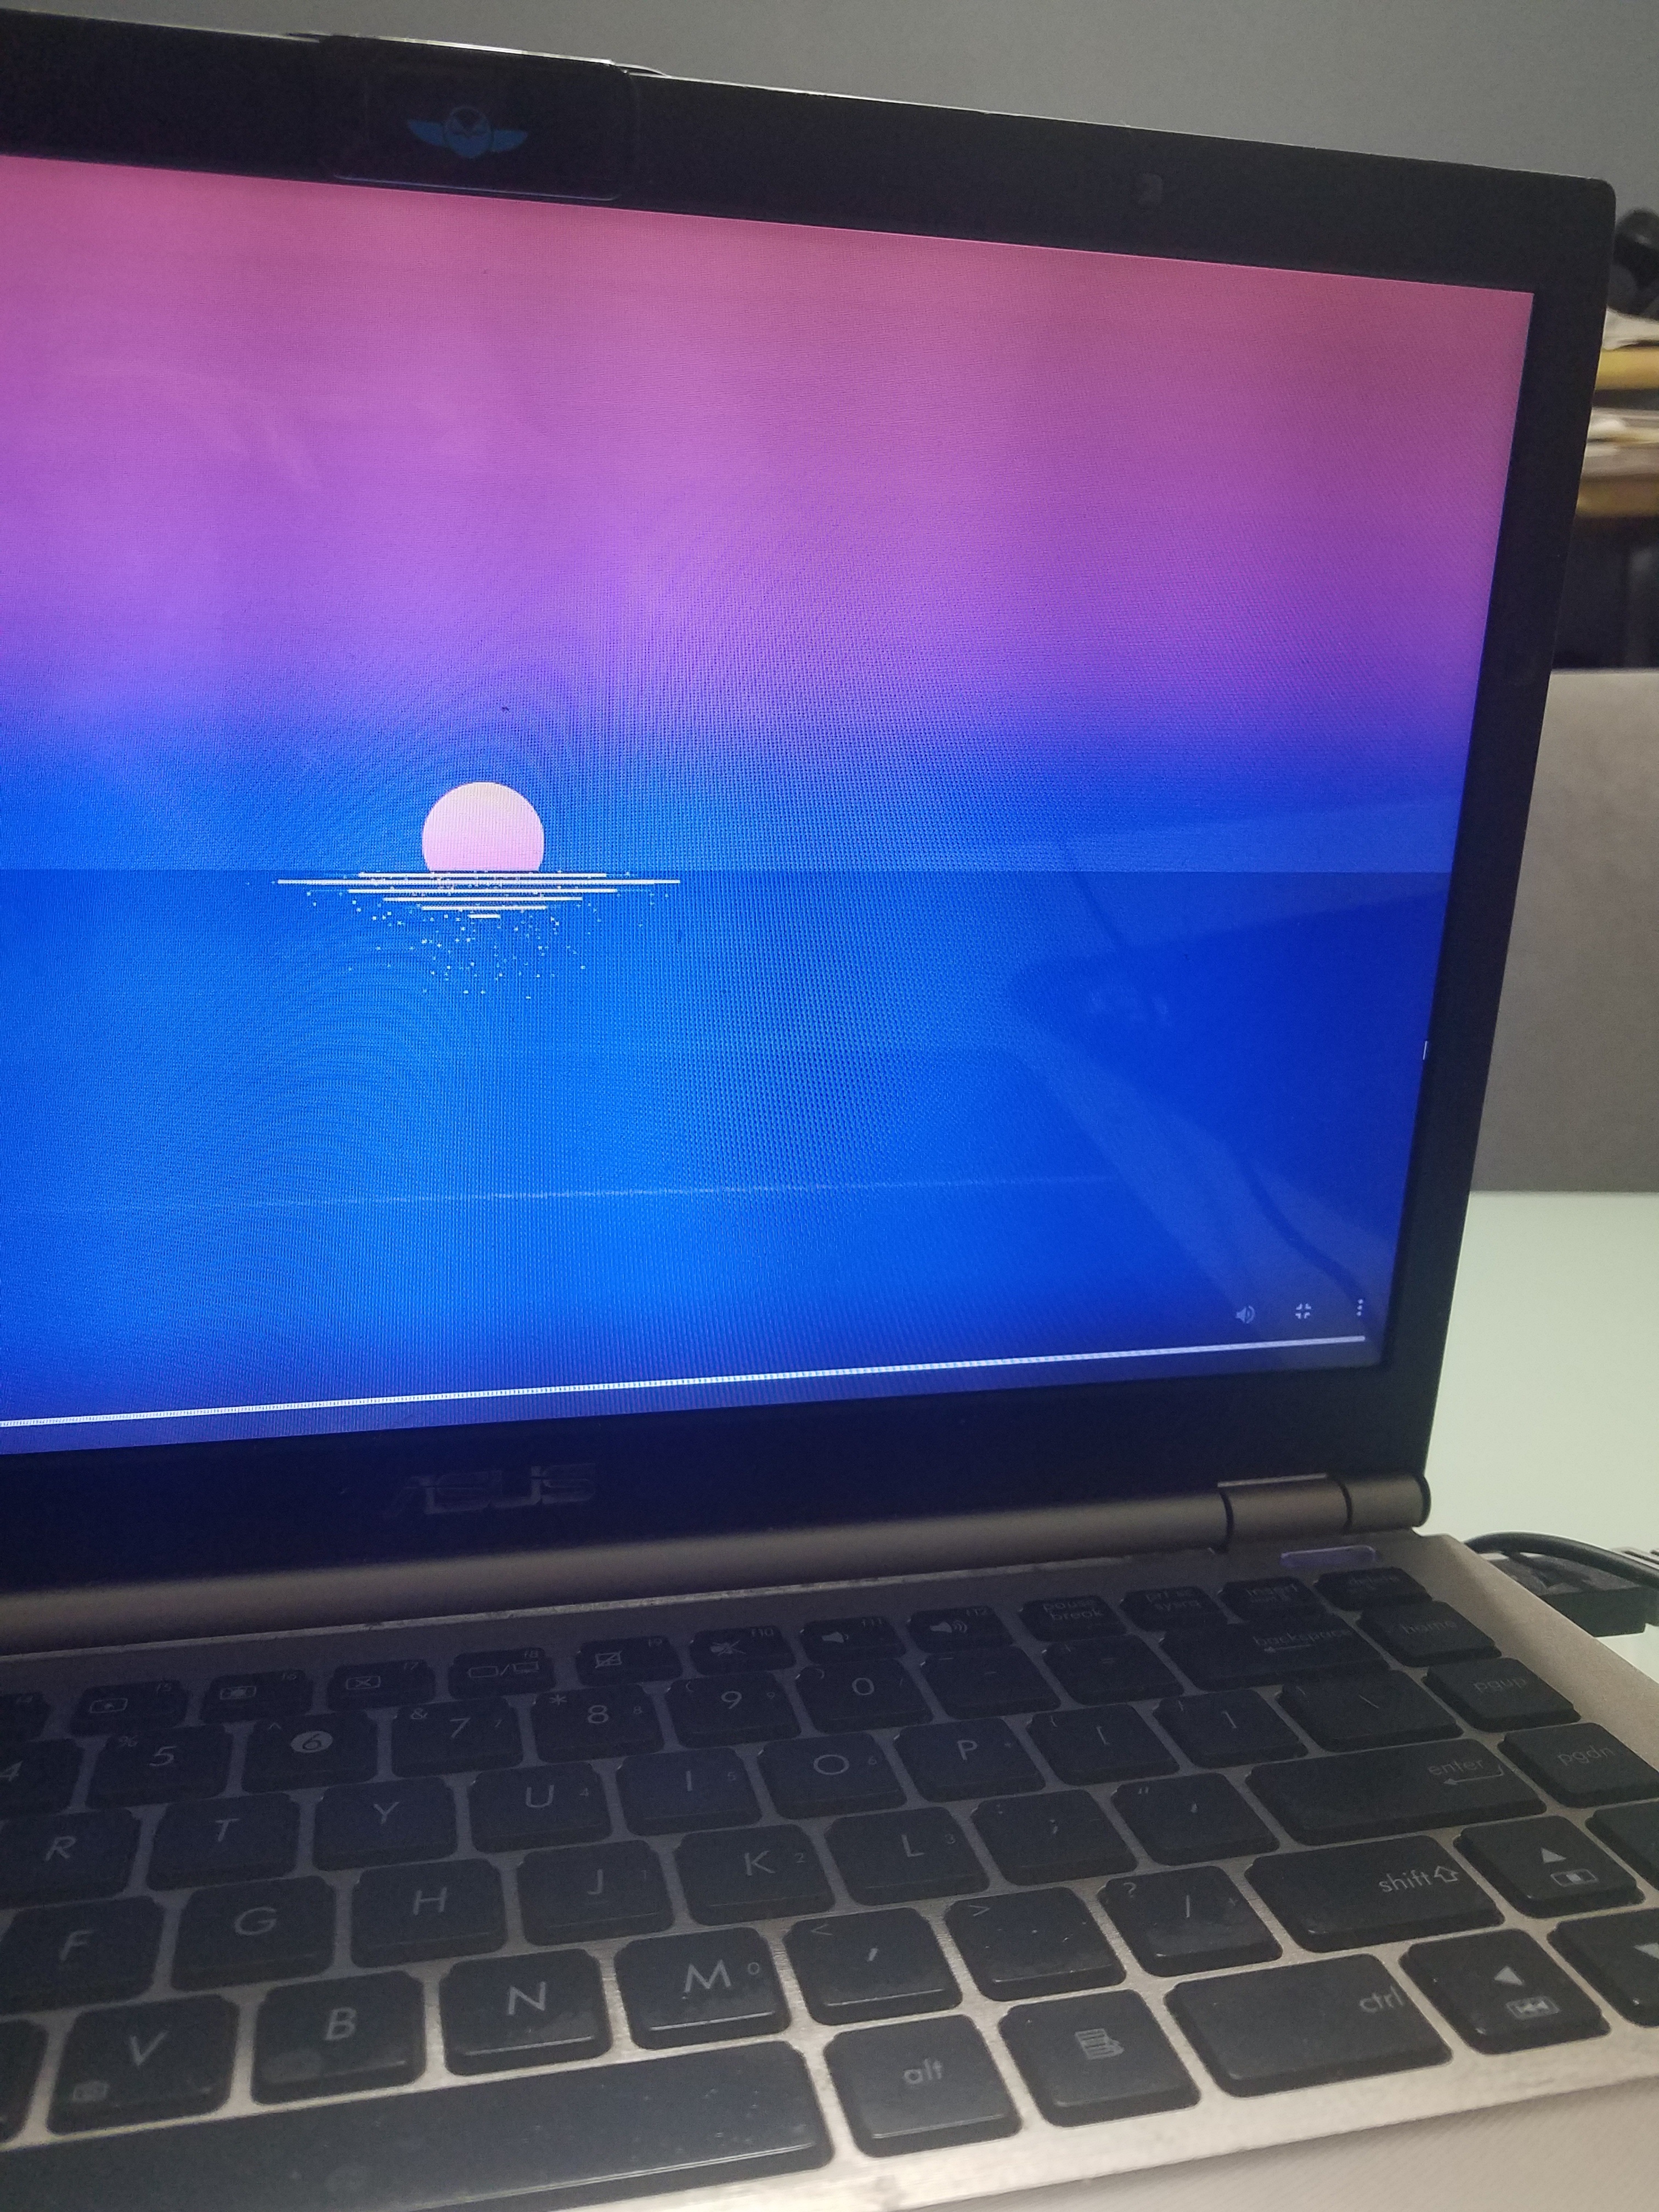
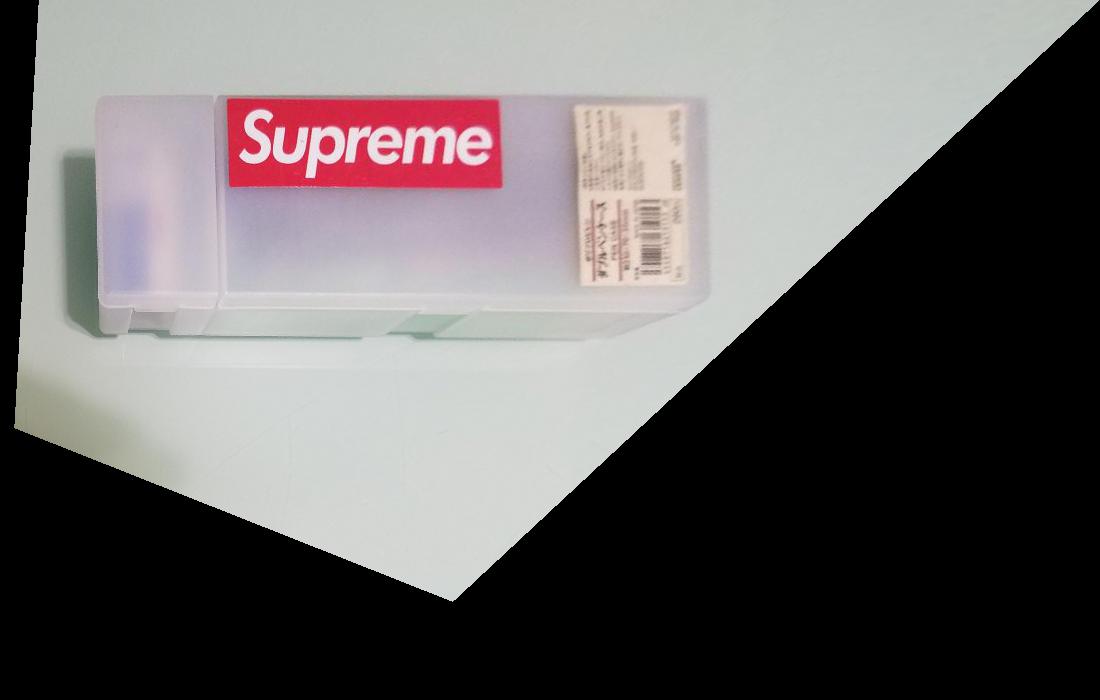
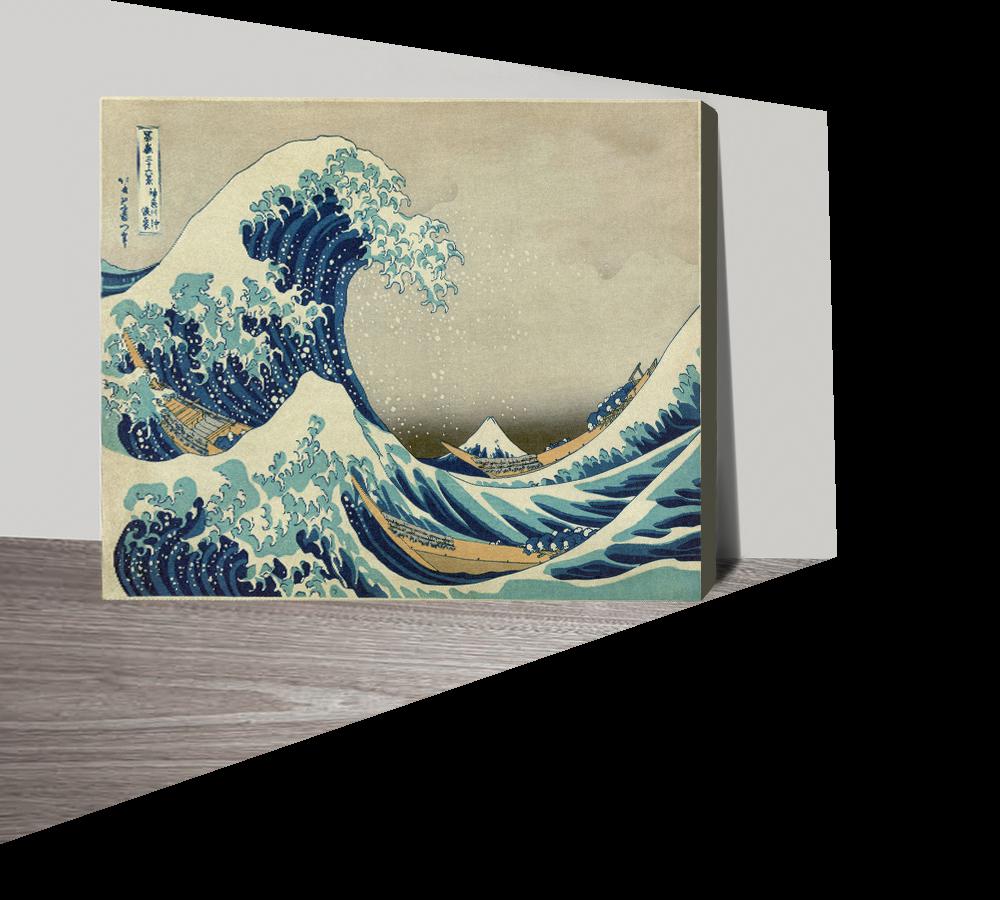
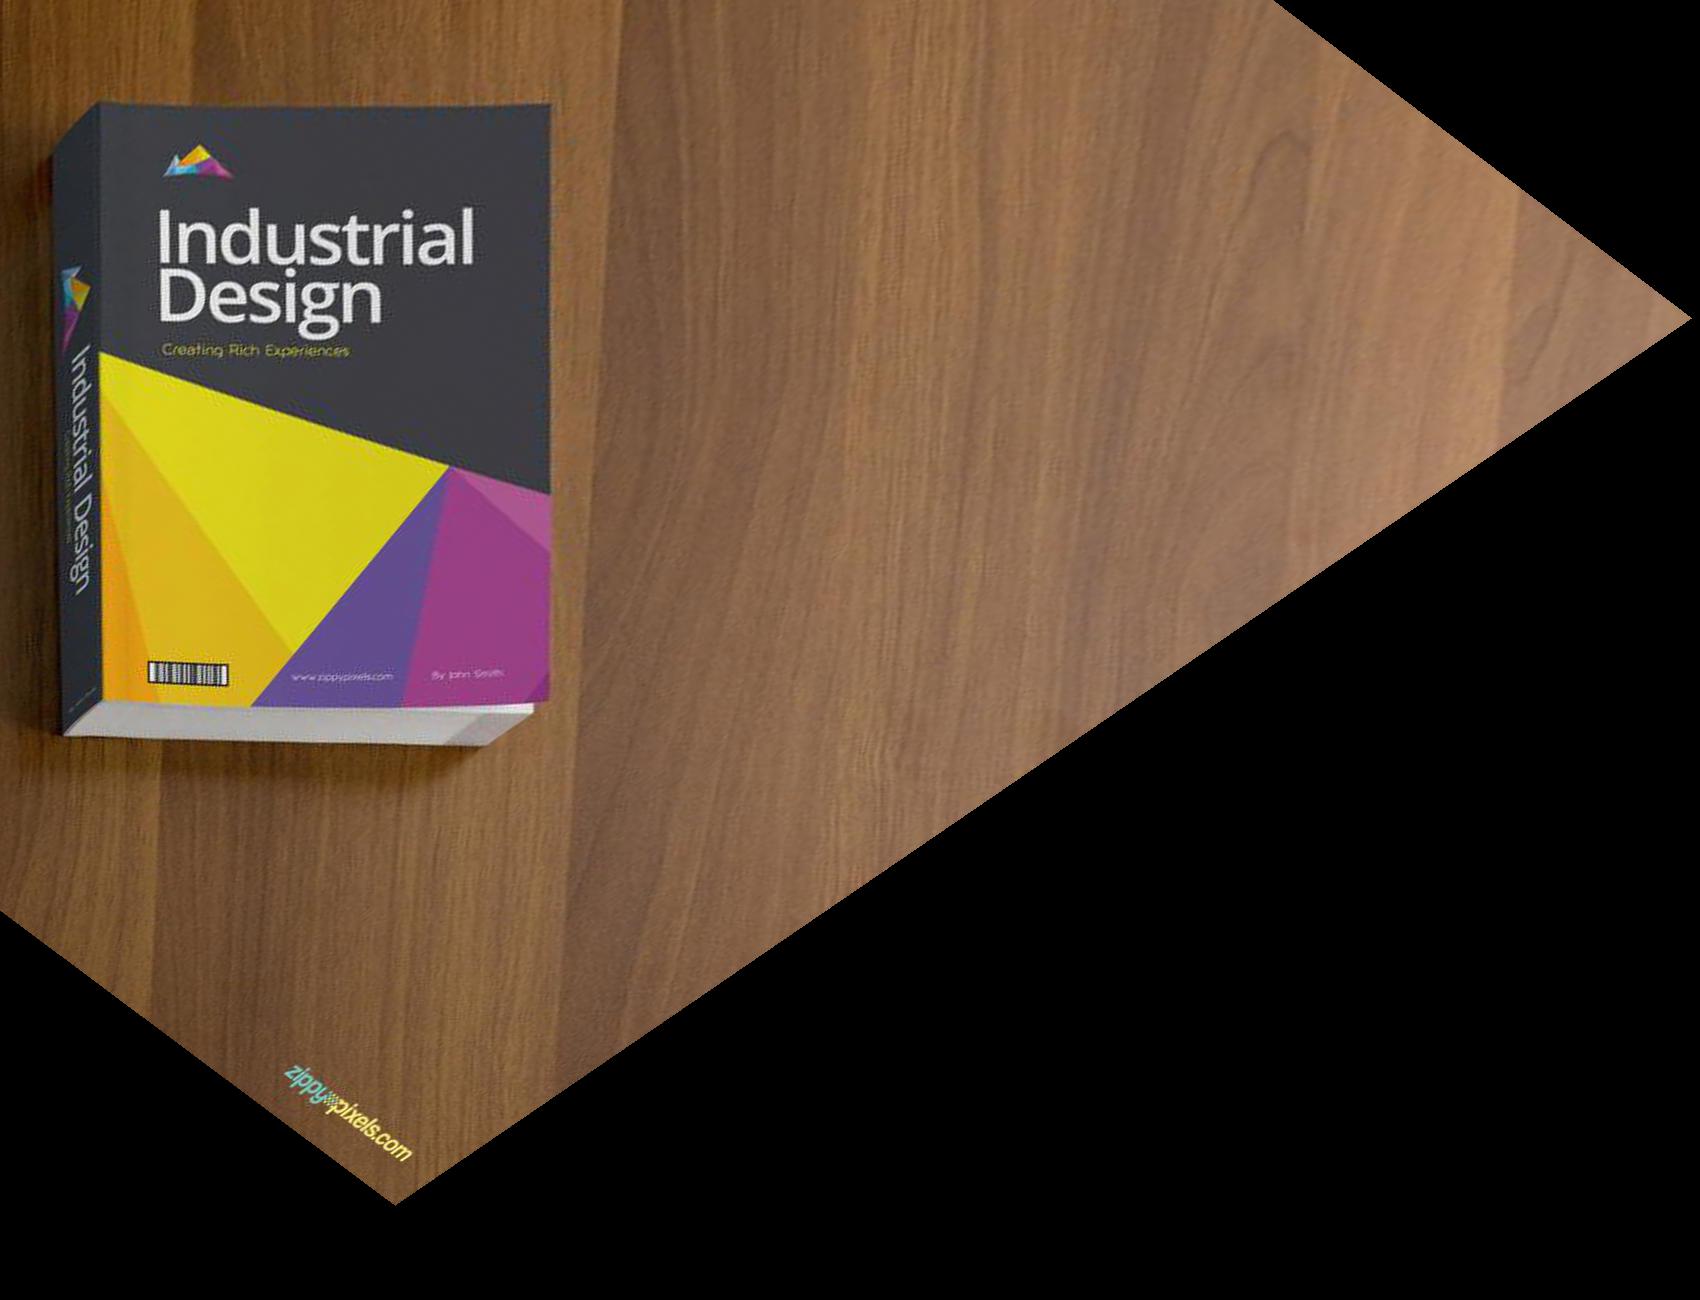
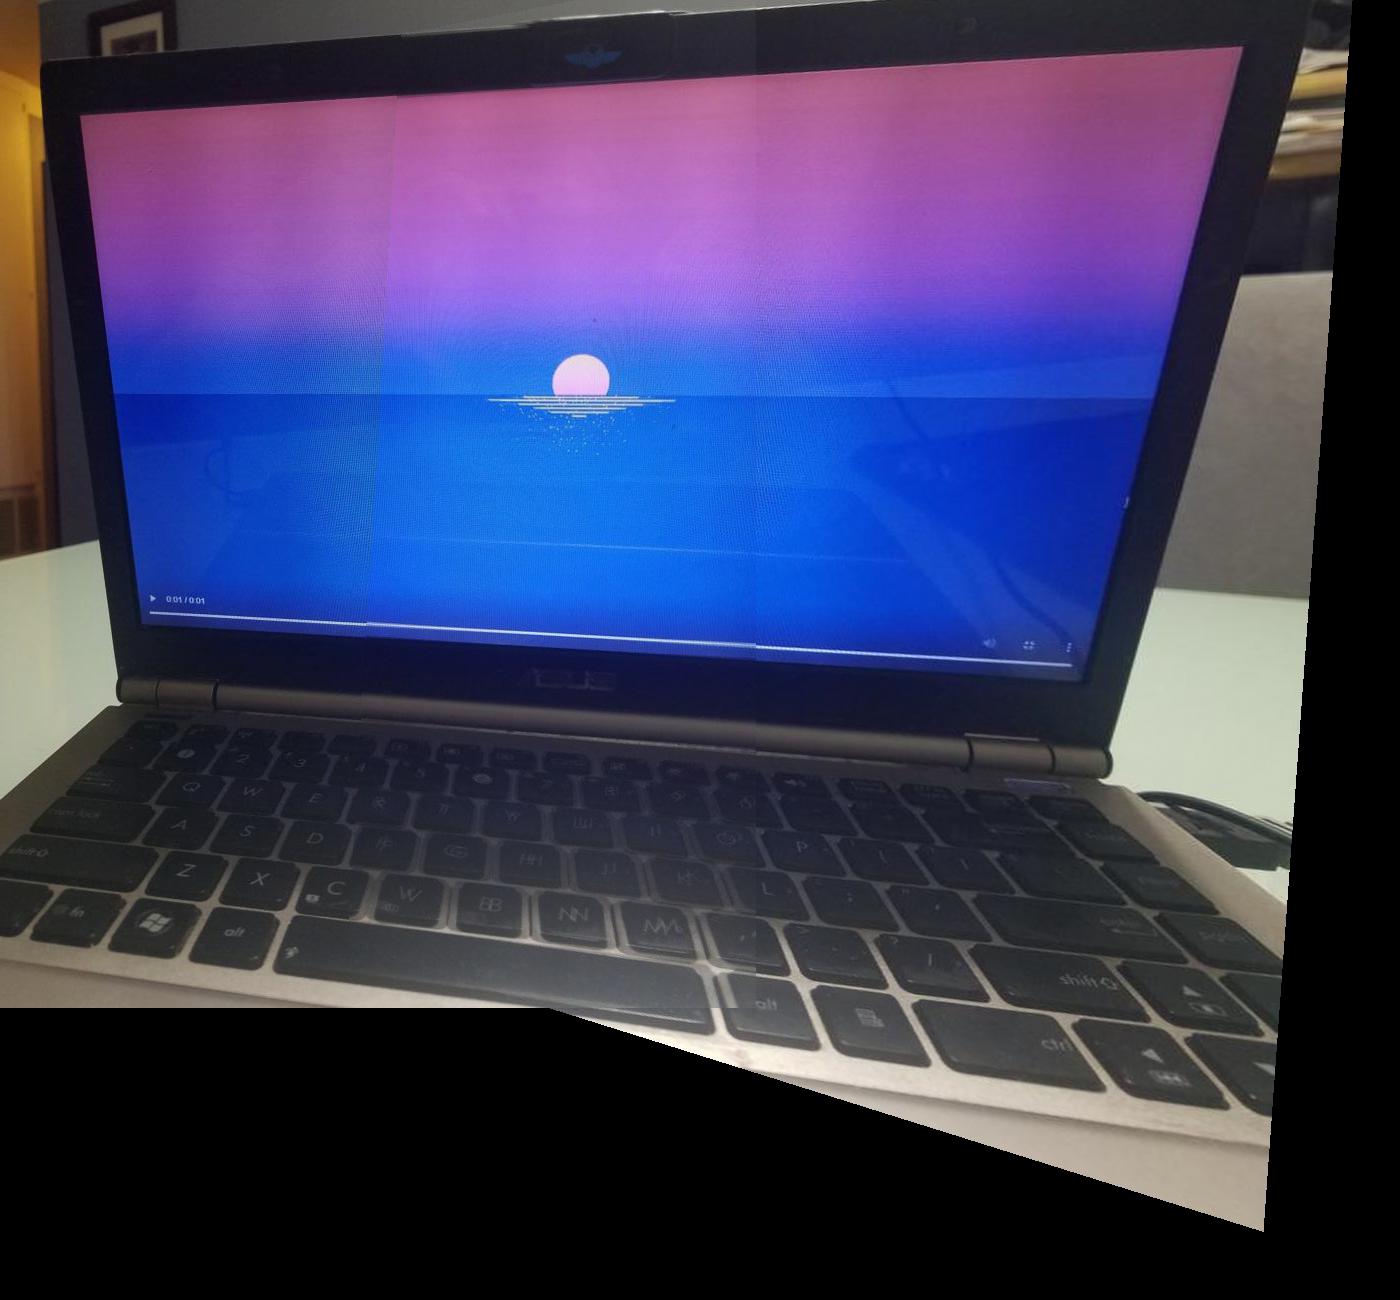
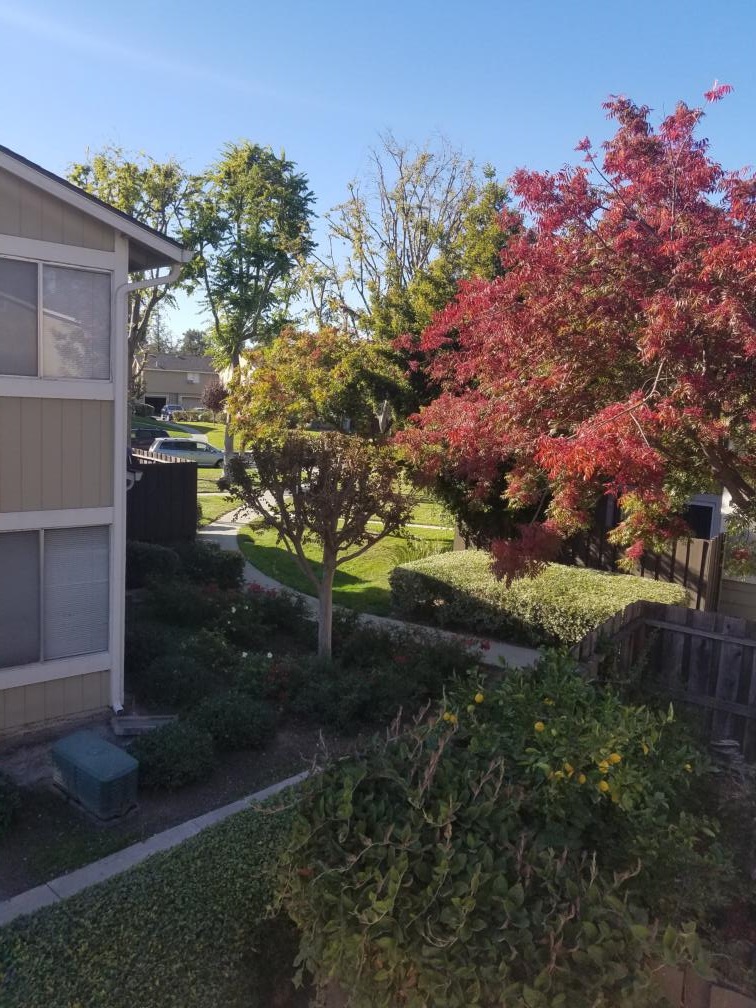
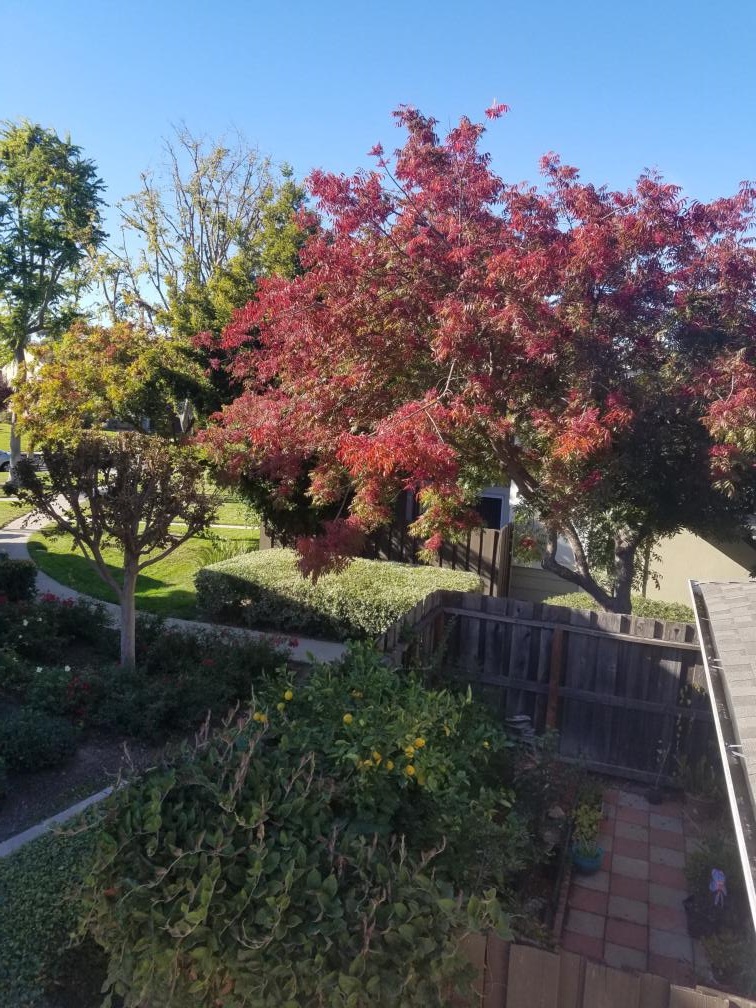
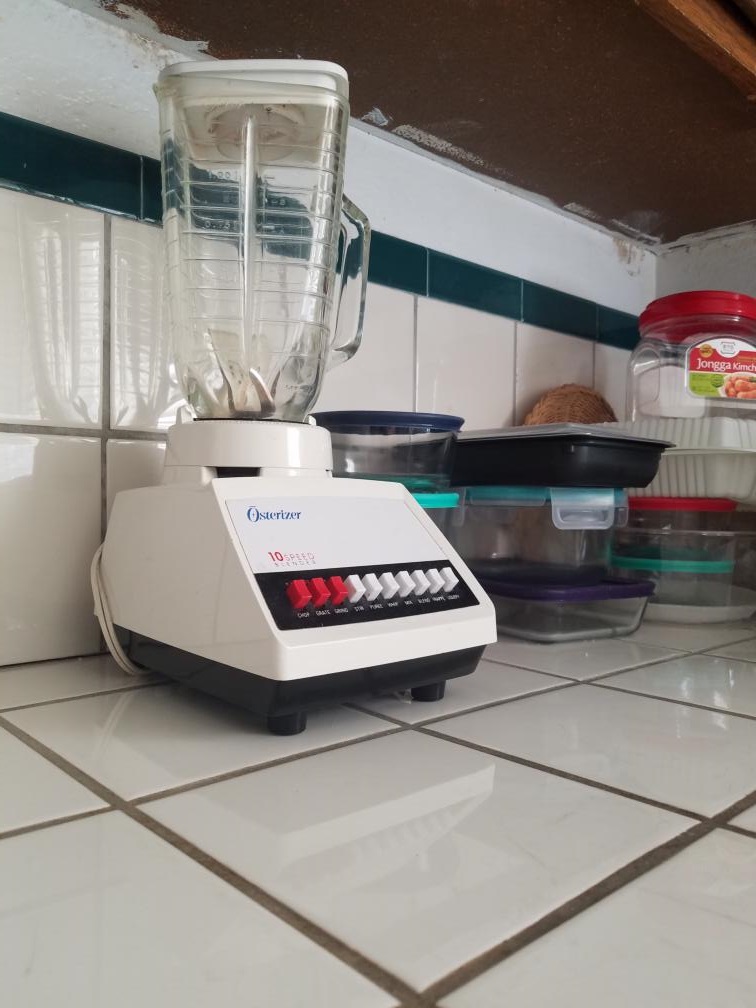
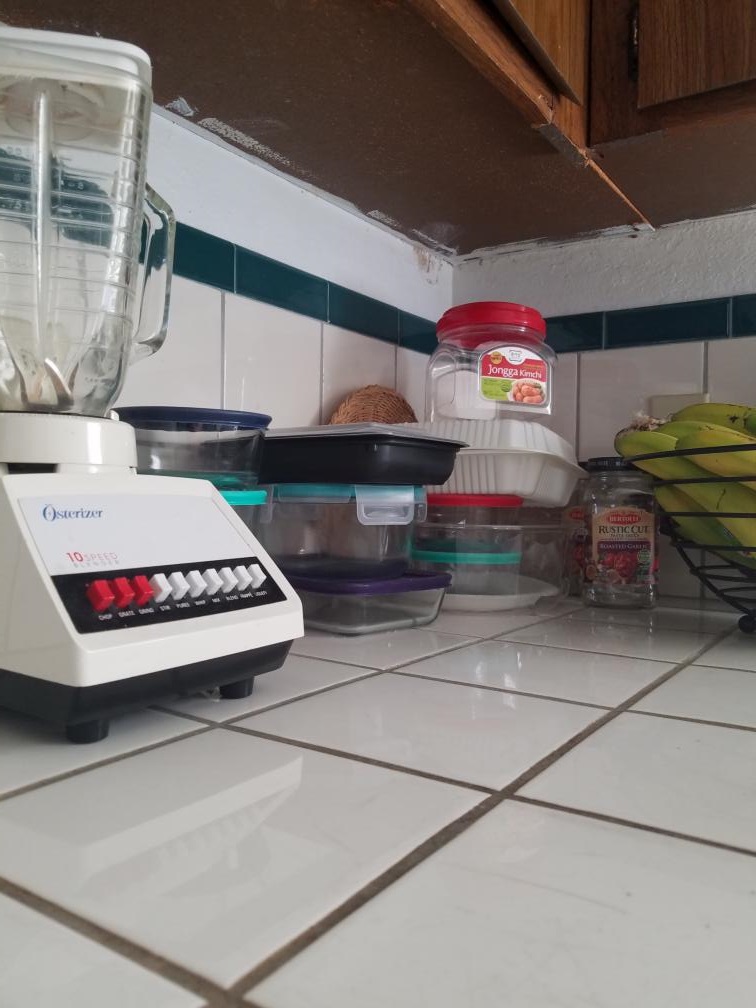
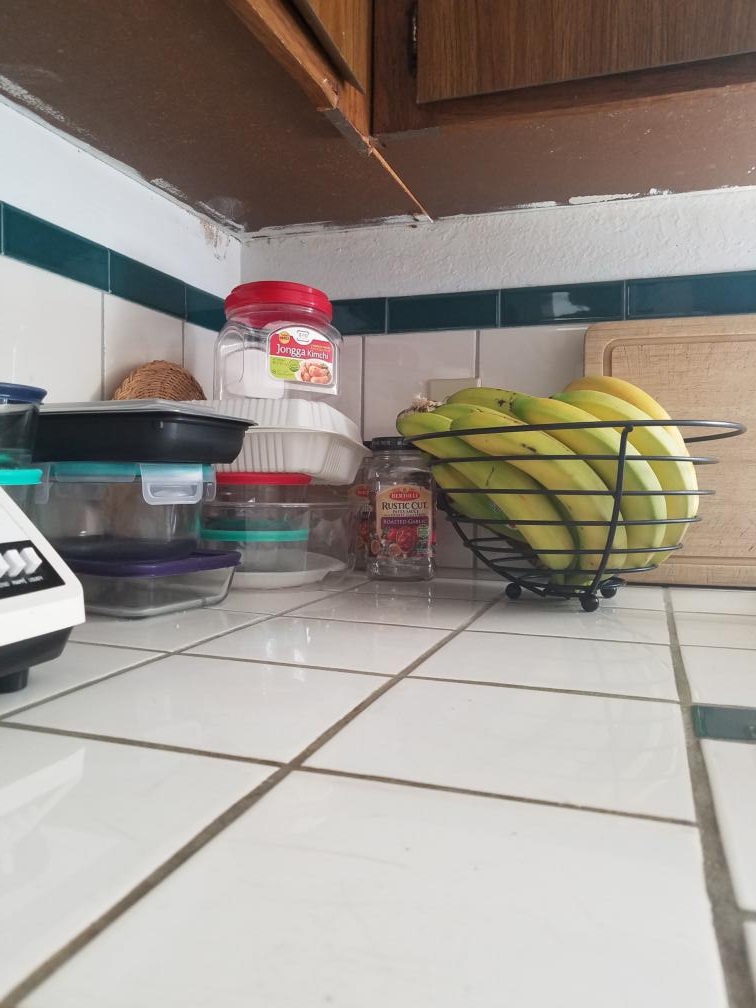
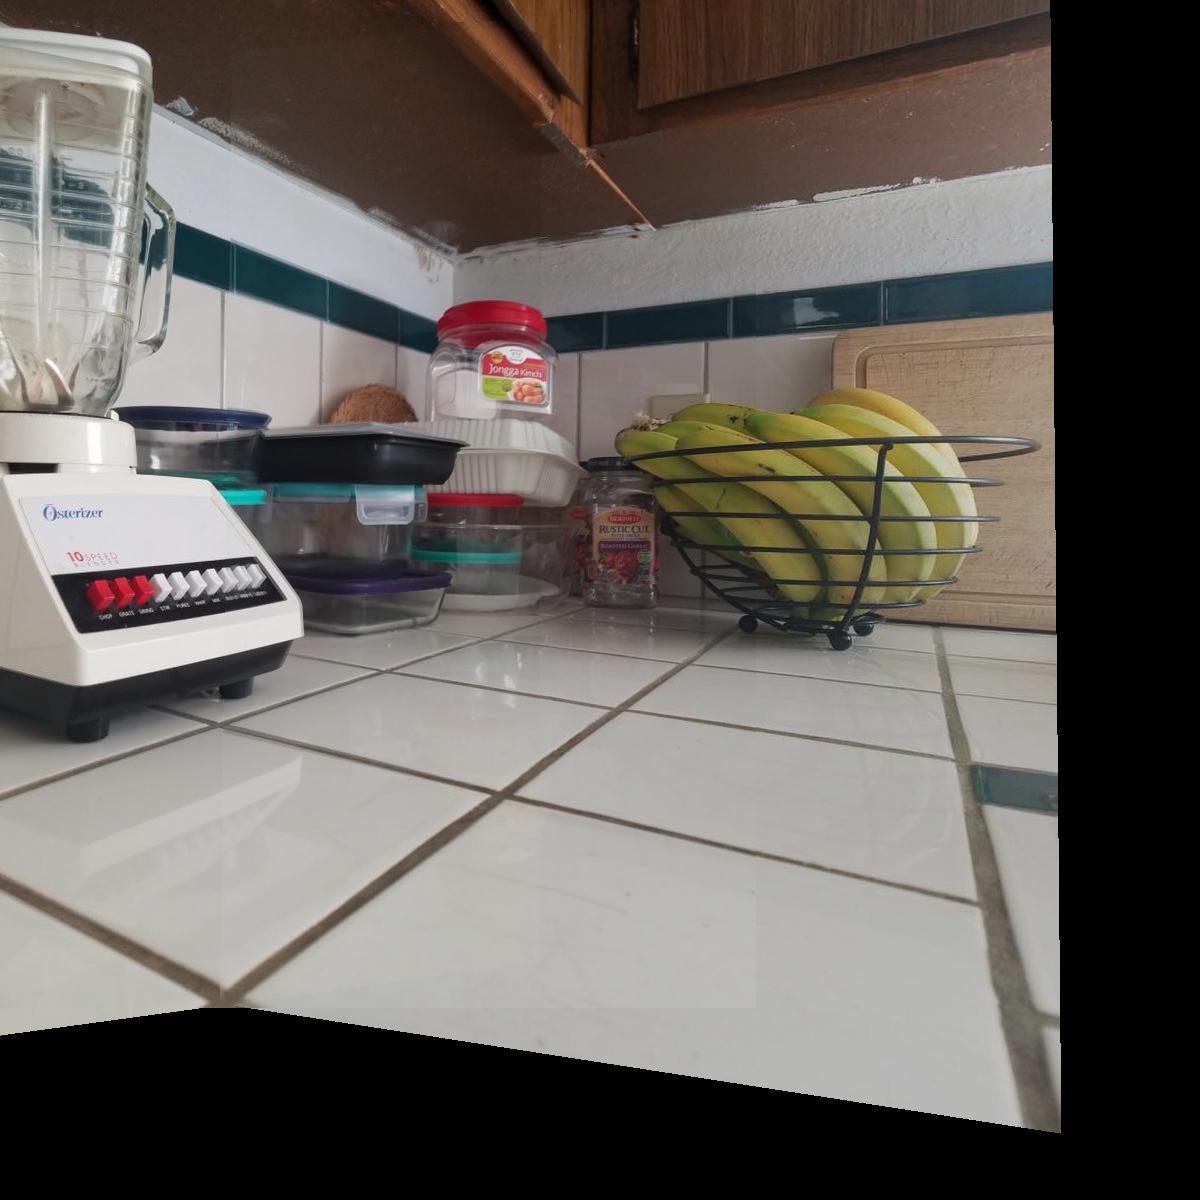
Let's first find some pictures to perform these transformations on. Below are some example pictures I took around my house and found on the internet. I will rectify the first three images so that they appear to be frontal-parallel. The subsequent images will be used to create a panorama.
To properly warp our pictures, we need to find the transformations between a set of images. This transformation is a homography. We can calculate the homography by defining a set of correspondence points between the set of images and compute the matrix transformation H that relates the points:
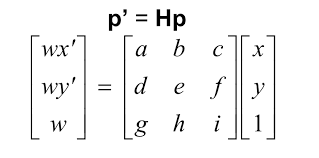
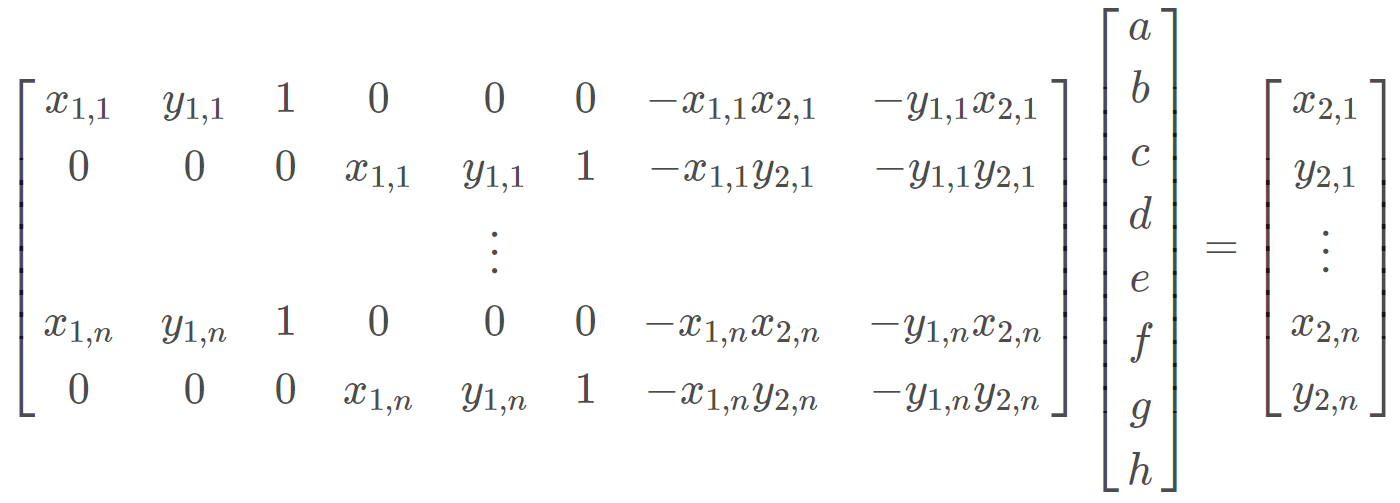
Since our H matrix contains 8 unknown variables (the lower-right corner of the matrix is a scaling factor and set to 1), we need at least 8 equations to solve for the matrix. Each point correspondence gives us 2 equations. Thus, we need at least 4 points to solve the system of linear equations. In reality, we often need more than 4 points to avoid having an unstable and noisy transformation. Least-squares can then be used to recover the homography matrix. This relationship is described below:
After defining the point correspondences and calculating the homography transformation, it's time to start warping some images. The warping procedure utilizes an inverse warp that takes the transformed image shape, finds all coordinate points in the shape, multiplies it by our homography matrix, and then finally puts these transformed points into an interpolation function to set our final output. Note that these transformed points have to be divided by the scaling factor that is present in the last row of the matrix output to normalize them. An example of this is shown in the next section.
Using our newly created warping algorithm, let's rectify some images so that they appear to be frontal-parallel. In all of the following images, I picked 4 correspondence points within the picture (in this case, the corners of the objects) and calculated the homography transformation that would map it to a rectangular shape. We will apply the transformation on the first 3 images shown in the first section. Note that during the warping process, some points became mapped to negative coordinates which is why some parts of the image are cropped.
In this section, we will create panoramas from images of the same scene from different perspectives. We can use the same warping algorithm as used in the previous sections to perform this task. This time, we will choose more than 4 correspondence points to avoid noisy results and apply masks to each image so that we can overlap them and create one smooth result. Let's see how this transformation works on a set of images I took around my house.
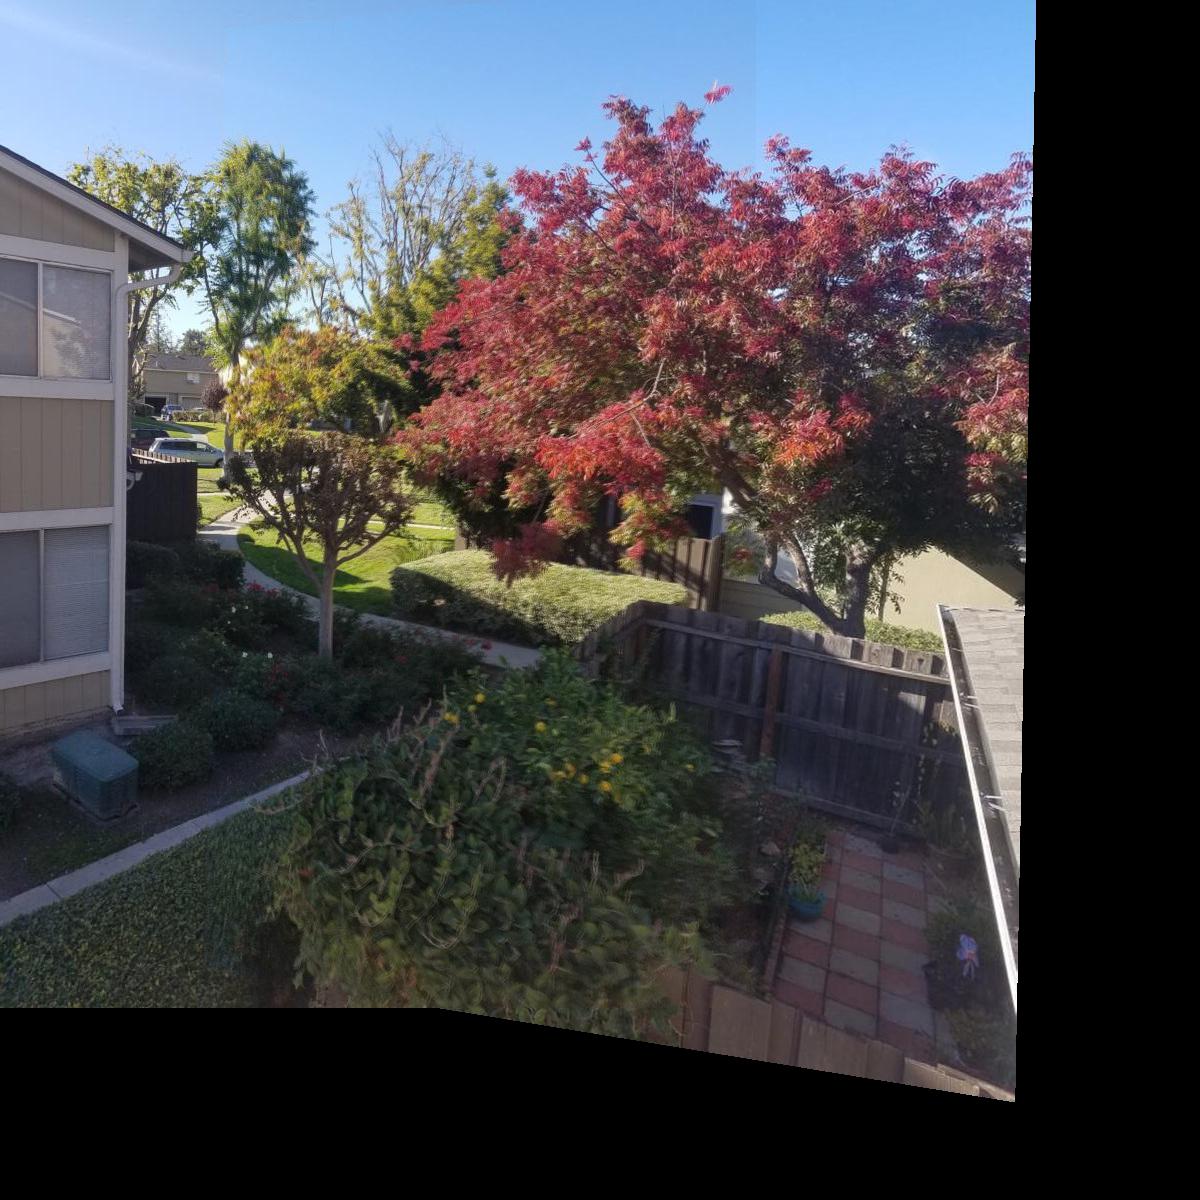
This project was very fun to work on! I learned a lot about how panoramas are created and how cool linear algebra applications can create amazing products. The most important thing I learned is that the more correspondence points your define between images, the smoother the transformation will be in the final result. This can be seen in the previous section where I increased the correspondence points for each set of panoramas which consequently created a smoother image result. To see an extension of this project, see part B.