
Zhenkai Han
In this big project, I learned how to image warping and mosaicing to create a panoramic photo automatically.
I got some photos good for mosaicing in the Internet. Their aperture & exposure settings are identical. All photos were taken in China somewhere.
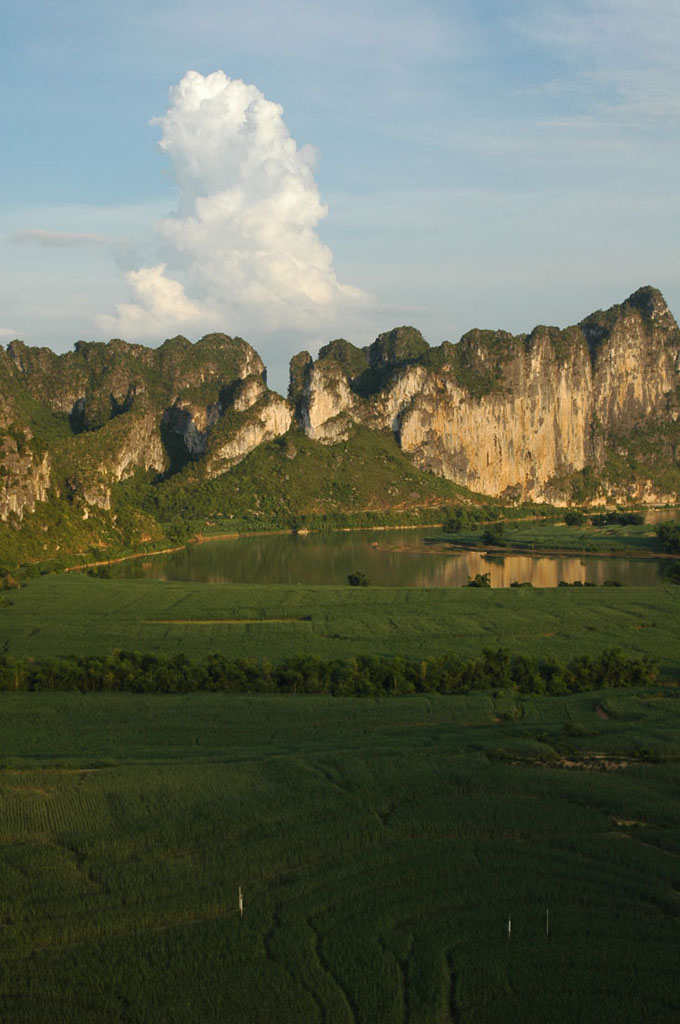
I wrote my own little tool (set_points.py) to define pairs of corresponding points on two images. I defined the points in same order and position.
I recovered the matrix H of homography transformation. We at least need 4 points to recover it since H is a 3x3 matrix with 8 degrees of freedom (lower right corner is a scaling factor and can be set to 1). However, to get more precise blending, I set more than 8 points for each image and used least-squares to get matrix H.


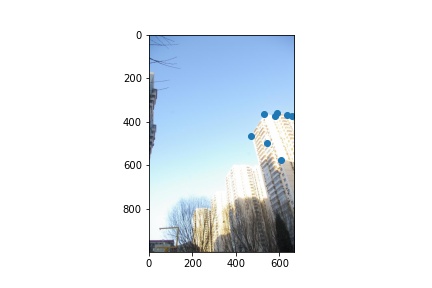
I used inverse warping which is similar to project 3. This time I used inverse of matrix H to transform pixels in original image to pixels in warpped image. For warpped image, I calculated a bounding box for original image to determine the size of warpped image so that I can put another image on warpped image directly later. With method skimage.draw.polygon, I could get a mask which contains all coordinates of points in the warpped image.


Here I blended only two images together, so I don't need to warp another image. Since I already have a rectified image which big enough to contain another image, I can just add another image to the rectified image. To reduce edge artifacts, I take two weighted pixels from rectified image and another image for one pixel in blended image.


The key is set corresponding points precisely. Zooming in and set points carefully is a good idea to do so. Setting more corresponding points is better, but if there is offset between a pair of corresponding points, the result will be bad. The coolest thing the two images can be blended very well with homography transformation!
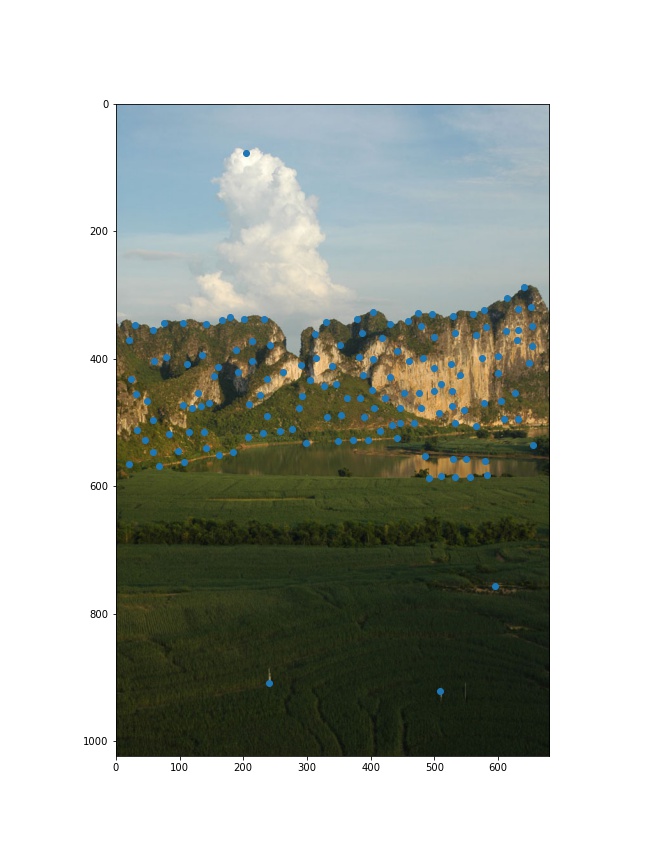
For autostitching, we need to find some interest points automatically instead of manually labelling pairs of corresponding points on two images. A good start is corner detection. With provided code, I got a lot of Harris corners on images.
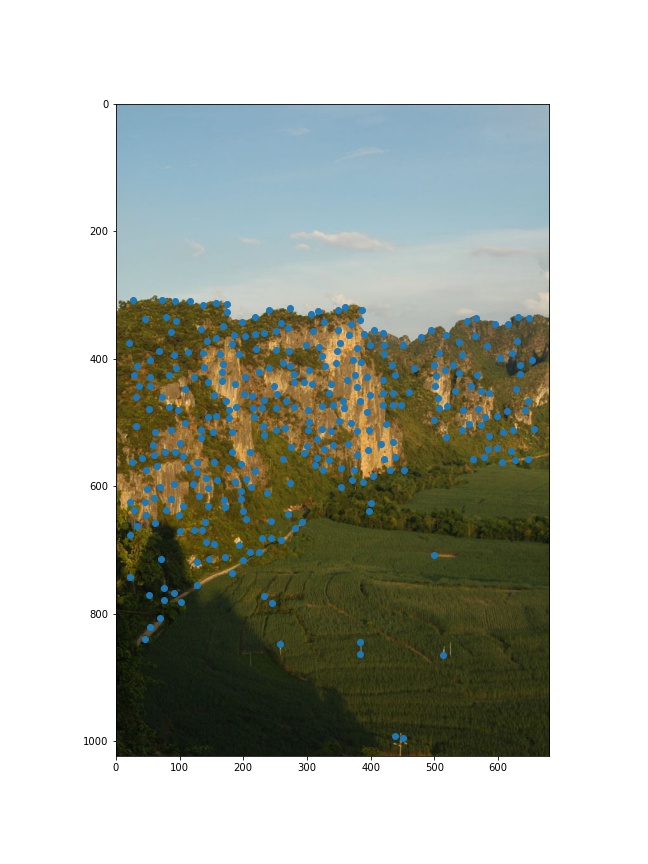

There are too many dense interest points in images. We actually do not need all of them and need to drop most of them. Adaptive Non-Maximal Suppression helps: It can find the significantly highest strength feature point in a range and drop other points in the range. The point with higher harris value is stronger.

To make our interest points more reliable, we want to check how the local image around it looks like and generate feature descriptors to describe objects. To get rid of light intensity and others thing may interrupt us, I applied Gaussian filter to local images of interest points to get descriptors. Then I gain-normalize the descriptors.
With feature descriptors, I matched interest points on two images by compare the feature descriptors. The criteria for good matching is that the best matching must obviously better than the second best matching. As we learned from lecture and the paper in instructions, I used the ratio between the best and the second best matching for thresholding. It really helps me to find useful interesting points for our mosaicing.


With pairs of features, I could compute a homography matrix for them. However, not all pairs of features were aligned. To get a homography matrix which fits as many pairs of features (inliers) as possible, I used RANSAC. It randomly selects four pairs of features and compute homography matrix and check how many inliers the matrix got. At last I kept largest set of inliers and recompute the homography matrix.
With homography matrix H, I produced a mosaic as what I did in part A.


The auto stitching is amazing! I could not imagine computer can do mosaicing like human! The paper was written in 2005 but still very useful for now. I also have learned how to reproduce a paper though I didn't do so exactly but it is still good experience for me.