Project 3: Face Morphing
Project Overview
The aim of the project was to explore the capabilities of image warping in the context of
manipulating human faces. In particular, the main goals of this project were to implement a
face morph animation between two similar faces and to extrapolate different features from
the "mean face" of a subset of human faces and apply them onto another image.
Let's explore!
Project Link
Phase 1: Face Morphing Animation
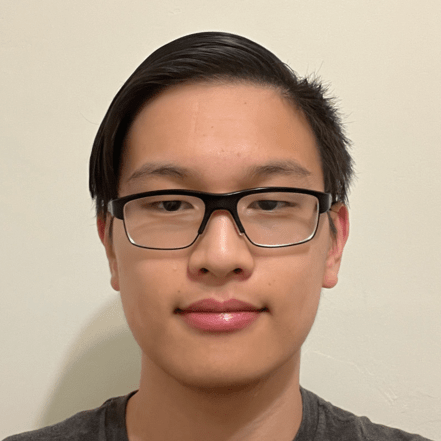
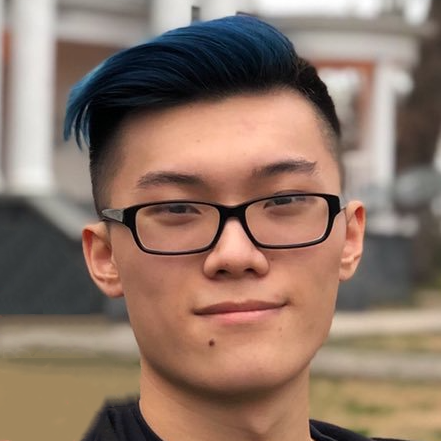
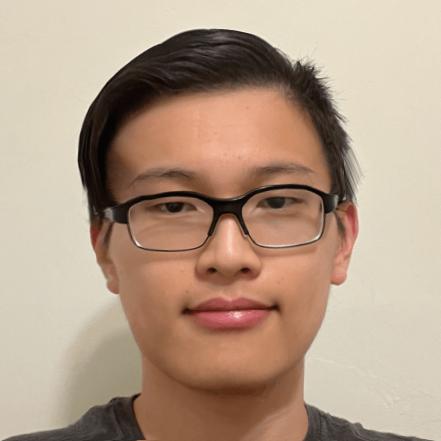
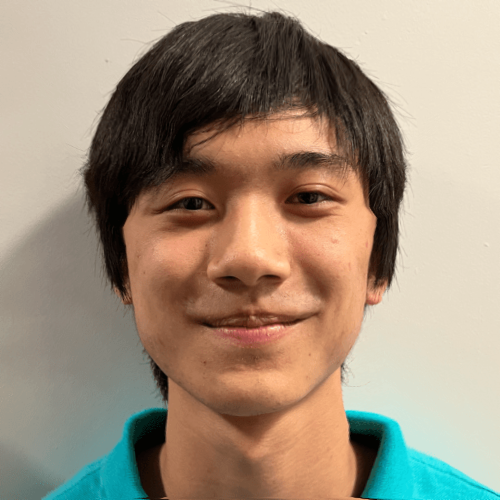
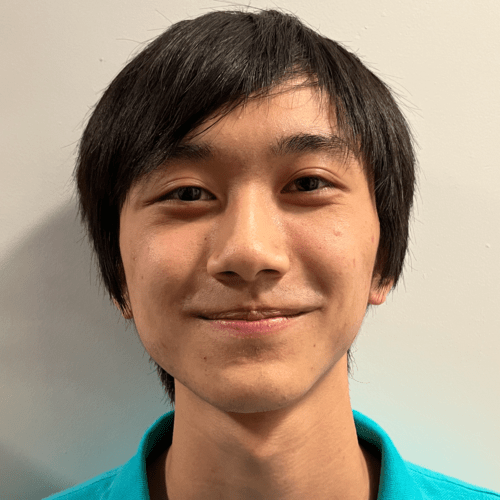
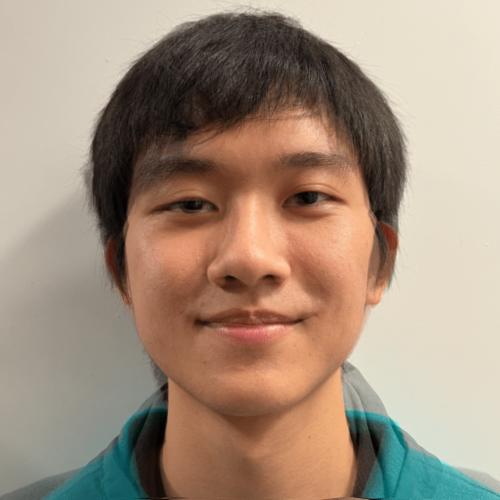
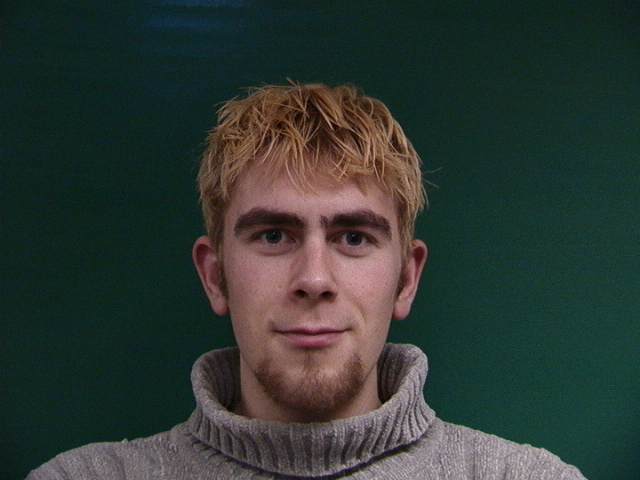
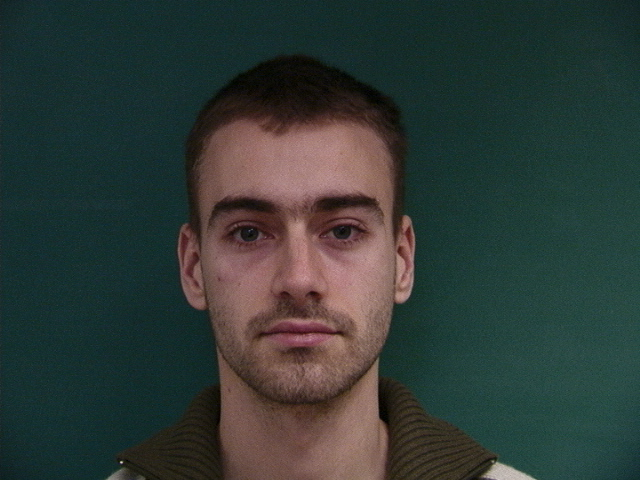
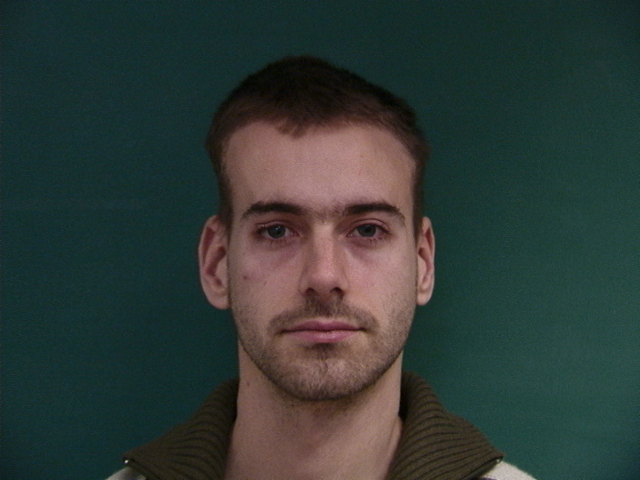
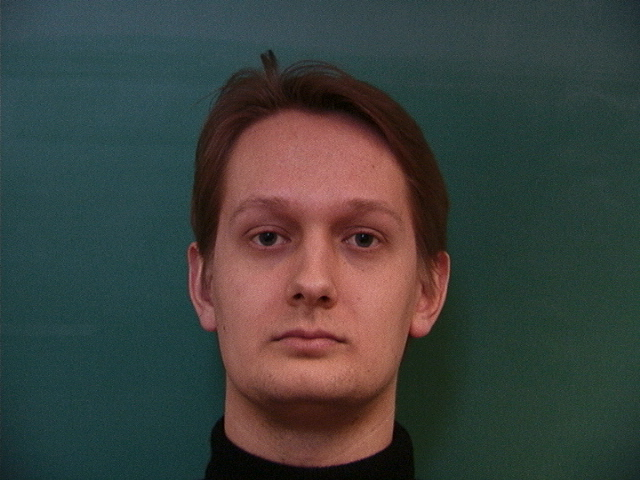
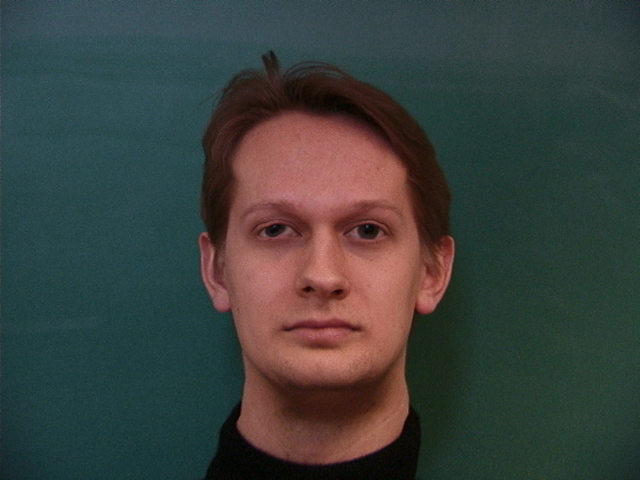
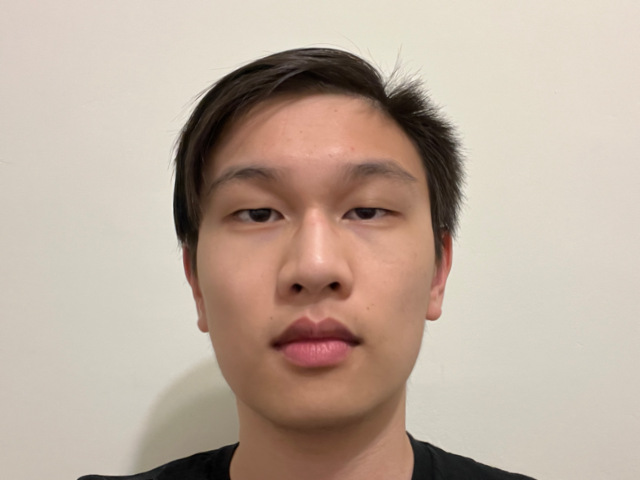
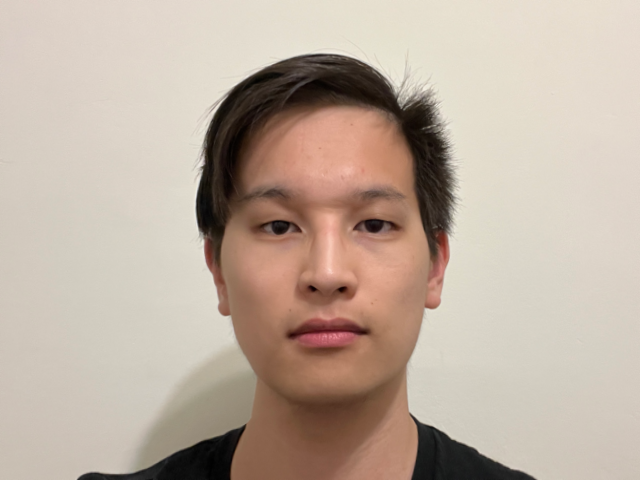
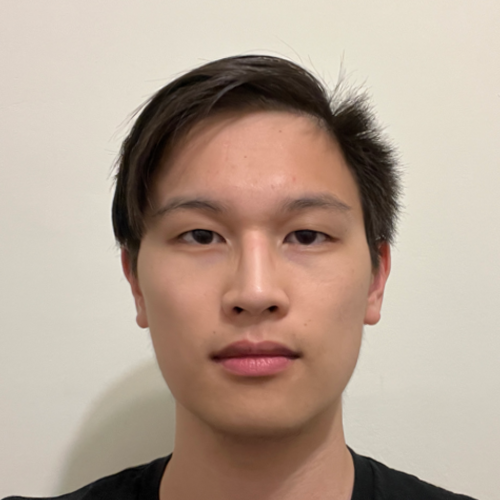
The main goal of this phase was to morph two similar face images into one another. For this task, I decided to morph my face with Twitch streamer extraordinaire BTMC. The following three parts describe the process required to achieve such a transition.My Face
BTMC's Face
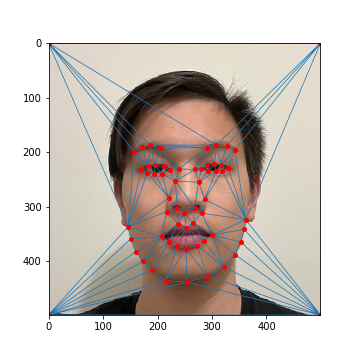
Part 1: Defining Correspondences
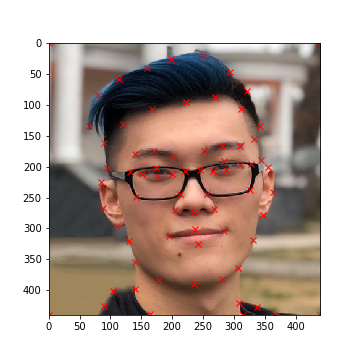
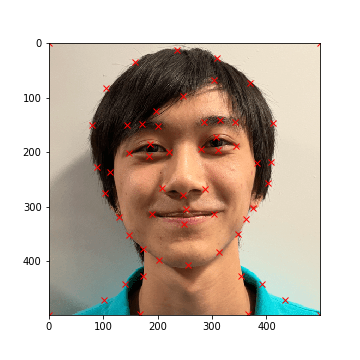
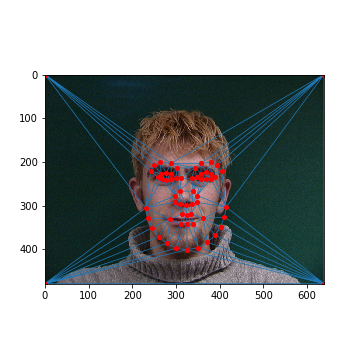
The first task was to define pairs of keypoints between both images, where each keypoint highlights
a facial feature that both of the images share. To do this, a Python program was written to allow
for the selection of keypoints for a specified input image (see def_keypts.py). Note that keypoints
are automatically added to the corners of each image to ensure that the entire photo is warped.
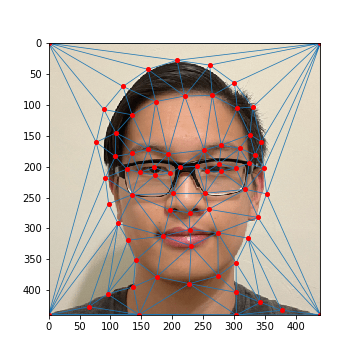
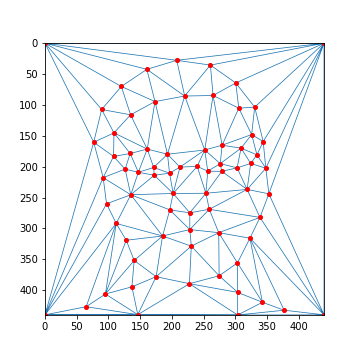
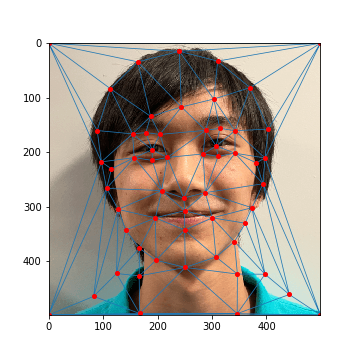
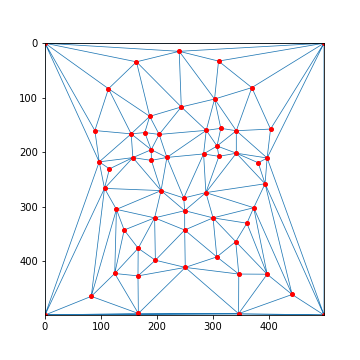
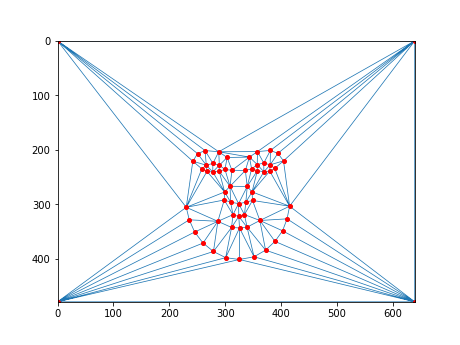
After, we can generate a triangular mask derived from each image's keypoints using Delaunay triangulation. This
serves as a mask that will allow us to warp one image into another. Specifically, we take the average between both
of the image's keypoints and generate a mask from those points.
The keypoints and their corresponding masks for each image are shown below:
My Face: Keypoints

My Face: Average Mask
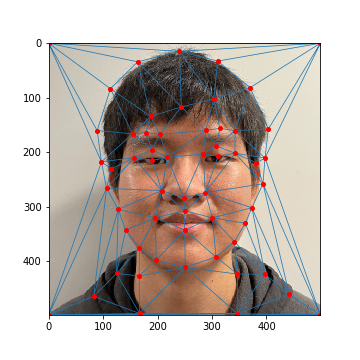
BTMC's Face: Keypoints
BTMC's Face: Average Mask

Part 2: Computing the "Midway Face"
Given the setup from part 1, we can calculate the "midway" face between the two images. To achieve this, we warp both
of the source images to the average Delaunay triangulation. This warp is achieved by iterating through each triangle
in the average Delaunay triangulation:
- For each triangle t' in the average triangulation:
- Find the corresponding triangle t in the source image (achieved by aligning keypoint pairs)
- Define an affine transformation matrix A that transforms the source triangle t into the destination triangle t'
- For each point p' inside the destination triangle t':
- Find the corresponding point p inside the source image (A-1 @ p')
- Interpolate the color of p' in the destination image from the source image using p
- Interpolation was done with scipy's interp2d
The affine transformation matrix can be defined in two different ways:
Algebraically
The general form for an affine transformation is x' = A @ x, defined as:This method was implemented in code.
Change of Basis
With this approach, we can think about representing each triangle as a set of two basis vectors (if we
have two edges of the triangle, then we can find the third by connecting the missing edge). As such,
we can define a transformation matrix T1 from the unit triangle ((0, 1), (1, 0)) to the
source basis vectors and another transformation matrix T2 from the unit triangle to the
destination basis vectors. The resulting affine transformation matrix A would be equal to
T1-1 @ T2.
This method was not implemented in code, but in retrospect this method would've probably been much simpler
to implement than the other method.
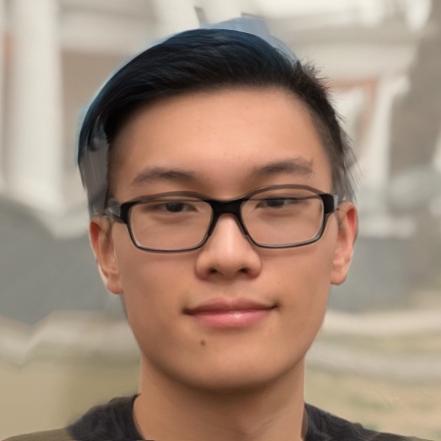
To generate the midway face, we warp both of the source images to the triangular mask generated by the average of both images' keypoints. After, we cross-dissolve the two images by averaging their RGB values together.
My Face (Warped)
Average Triangulation
BTMC's Face (Warped)

My Face (Original)
Mean Face
BTMC's Face (Original)
Part 3: The Morph Sequence
Finally, let's combine all of our work to create a morph sequence! In the previous part, we created the
mean face by using a triangular mask derived from the average of the two keypoints and by cross-dissolving
each warped image equally. However, we don't always have to weigh these equally.
More specifically, we can introduce two parameters warp_frac and dissolve_frac that weigh the
influence each image's keypoints and colors have on the final output. In the previous example, we can think of
warp_frac and dissolve_frac each being set to 0.5.
The morph algorithm generates 45 images by iterating through values evenly distributed between [0, 1] (0 and 1 included).
At each step, we set warp_frac and dissolve_frac to the current value, then morph both source images into
a new destination image defined by our parameters. At the end, we combine all of our images into one gif animation.
Check it out below!
My Face (Original)
Morph Animation
BTMC's Face (Original)
Note that a compressed version of the gif is shown on the website to adhere to website size requirements (25MB).
Additionally, as stated before, there is some ghosting with the glasses frame due to the misalignment of my eyes
with BTMC's relative to our glasses frames.
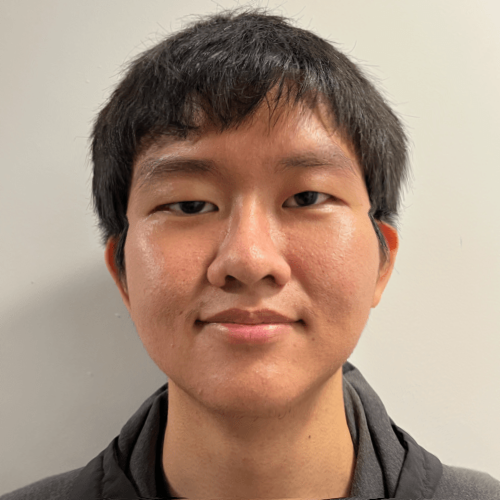
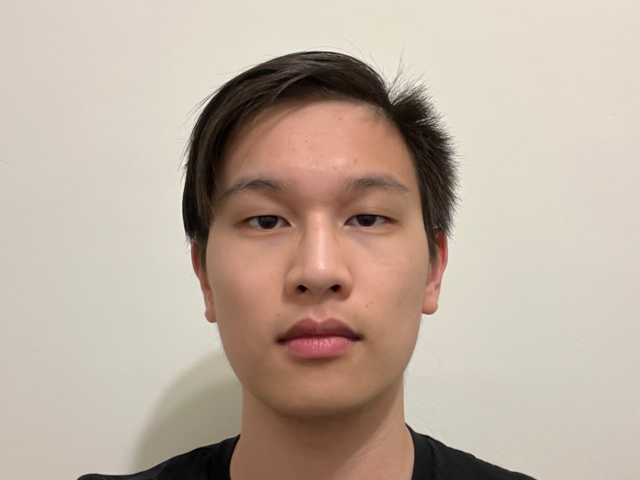
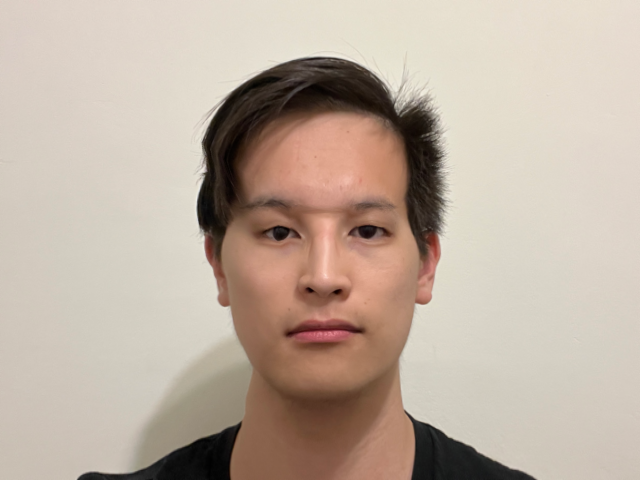
For comparsion, shown below is a morph sequence between two of my friends without glasses where most noticable ghosting
only occurs due to their mismatching clothing.
1. Defining Correspondences
Ben's Face: Keypoints
Ben's Face: Average Mask
Chul's Face: Keypoints

Chul's Face: Average Mask
2. Mean Face
Ben's Face (Warped)
Average Triangulation
Chul's Face (Warped)
Ben's Face (Original)
Mean Face
Chul's Face (Original)

3. Morph Sequence
Ben's Face (Original)
Morph Animation
Chul's Face (Original)
Note that the above gif was compressed to conform to the 25MB website size limit.
Phase 2: Fun with Mean Faces
The goal of this phase was to utilize the mean face of a population to add different features from that population to an individual's face. This process will build off of the warping functions that were implemented during phase 1.Part 4: The "Mean Face" of a Population
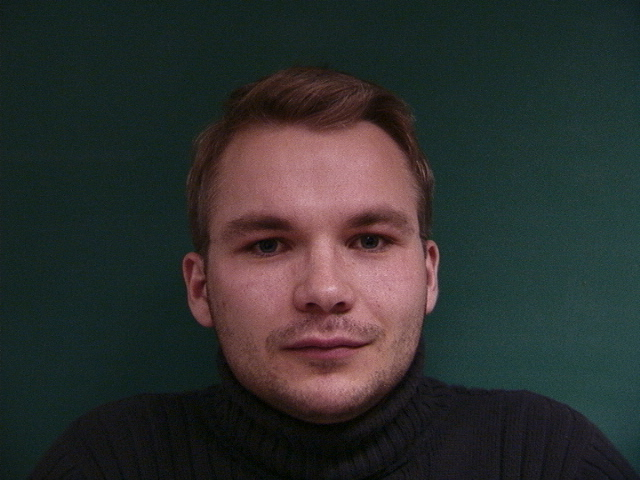
For this part, I decided to generate a mean face using the
Danes dataset
of annotated faces consisting of 37 images (30 males, 7 females). To generate the mean face between all the samples,
we can average all the keypoint samples between each image into one set of average keypoints, then warp all the sample
images to the average keypoints. After, we can average all the warped images together to generate the mean face.
Example Dane Sample (01-1m.bmp)
Average Triangulation
Dane Sample: Average Mask
19-1m.bmp (Original)
19-1m.bpm (Warped)

12-1f.bmp (Original)
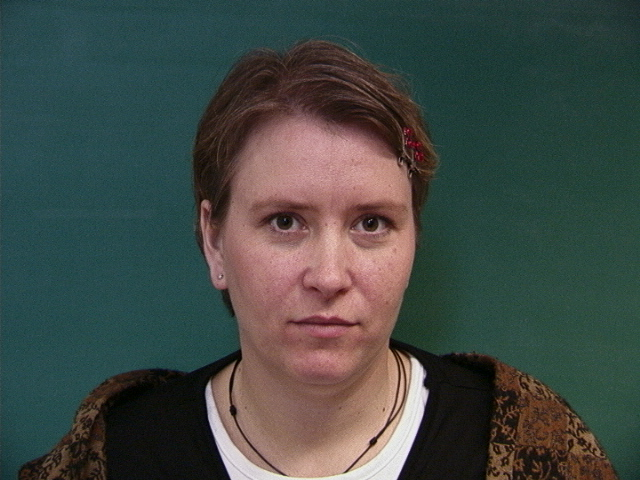
12-1f.bmp (Warped)
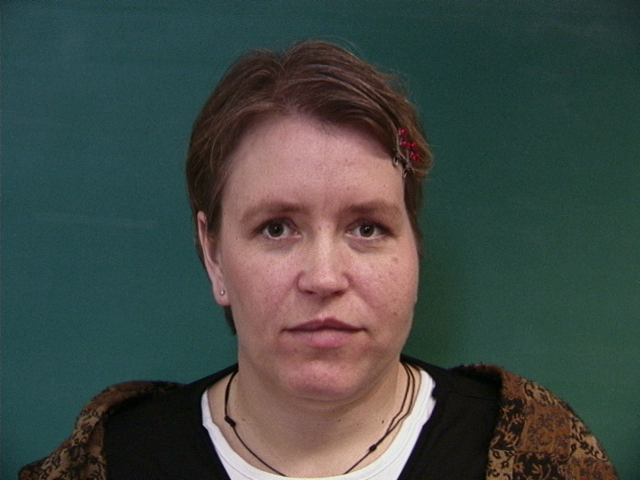
23-1m.bmp (Original)
23-1m.bpm (Warped)
37-1m.bmp (Original)
37-1m.bmp (Warped)
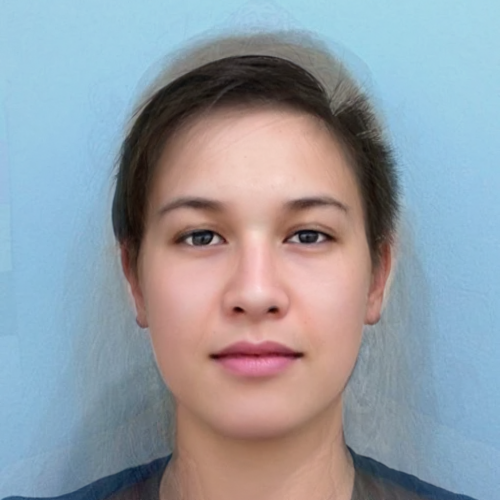
Mean Dane Face
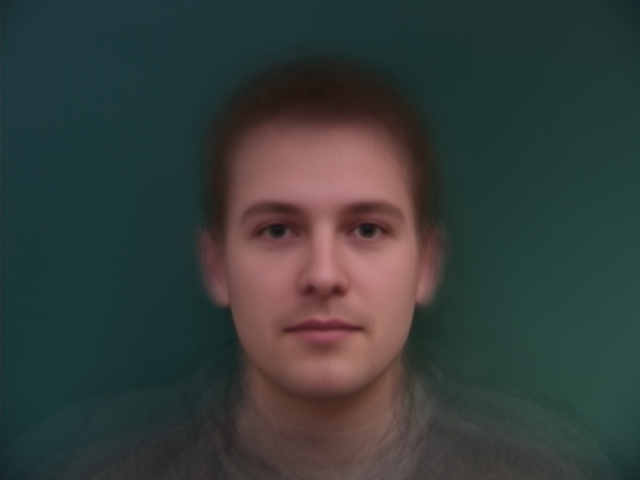
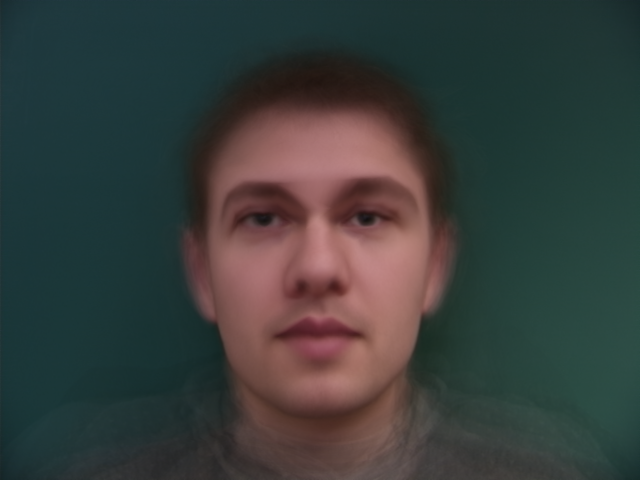
Additionally, we can try morphing my face (without glasses!) onto the average Danes keypoints in an attempt to give me more Danish characteristics, as well as morphing the mean Dane face onto my face to give it some of my characteristics.
My Face (Original)
Me Warped to Mean Dane
Mean Dane Face (Original)
Mean Dane Warped to Me
Part 5: Caricatures: Extrapolating From the Mean
We can also try to amplify Danish features by isolating the features one
lacks from the mean Dane face and adding a factor of those features to the original image. This is
the essence of a caricature: trying to create an image with overly-exaggerated characetristics.
Given the original image's keypoints as key_orig and the mean Dane's keypoints as key_dane, we can get
the isolated Danish features' keypoints by calculating key_dane - key_orig. After, we can calculate
new_keypoints = key_orig + (key_dane - key_orig) * alpha to generate a set of keypoints with exaggerated
Danish features. The larger alpha is, the more Danish the final result will be. Additionally, setting
alpha to a negative number will make the face less Danish ("subtract" Danish features from the face).
Finally, to get the final result we just warp the original image to the new_keypoints. Some examples
of caricatures of my face with the mean Dane face are seen below:
Least Danish (alpha = -0.6)
Less Danish (alpha = -0.3)
My Face (Original)
More Danish (alpha = 0.3)
Most Danish (alpha = 0.6)
I additionally tried to see if isolating the male and female samples in the population and generating caricatures for the mean male/female Dane would yield any differences, but the changes weren't too significant relative to the previous example. This is likely due to the small sample size of the population (only 37 images and 7 female samples).
Female Danish (alpha = 0.6)
Female Danish (alpha = 0.3)

My Face (Original)
Male Danish (alpha = 0.3)
Male Danish (alpha = 0.6)
Bells and Whistles: Changing Gender
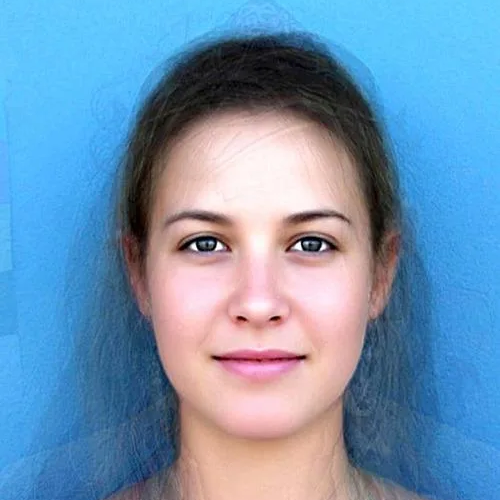
We can follow the previous example with the mean Dane face and try to change gender as well. Provided in this example is a mean face of female residents in Sydney, Australia (source). We define keypoints on the original image (my face) and the mean image, then morph my face into the female face using techniquies described above.
My Face
My Face (Keypoints)
Average Female Face (Keypoints)
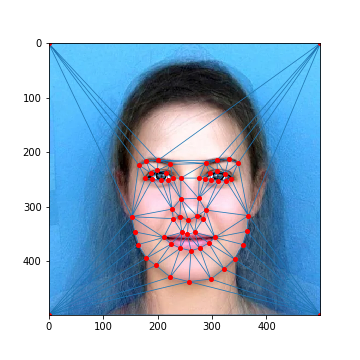
Average Female Face
Shape Morph (Caricature, alpha = 0.5)
Appearance Morph (Warp Female to my Face)

Full Morph (Mean Warp to Caricature)
Bells and Whistles: Fun Morph Sequence (Survivor)
In the past, I used to be a big fan of Survivor, and Season 40 of Survivor (Winners at War) was one of my favorites. As an homage to those memories, I decided to make a collective morph sequence of 5 of my favorite participants, joining them all into one looping gif (in the below YouTube video). In particular, the transition from Parvati to Michelle was the smoothest of the group, and I decided to highlight that specific transition below. Enjoy!
Parvati to Michelle (Compressed)